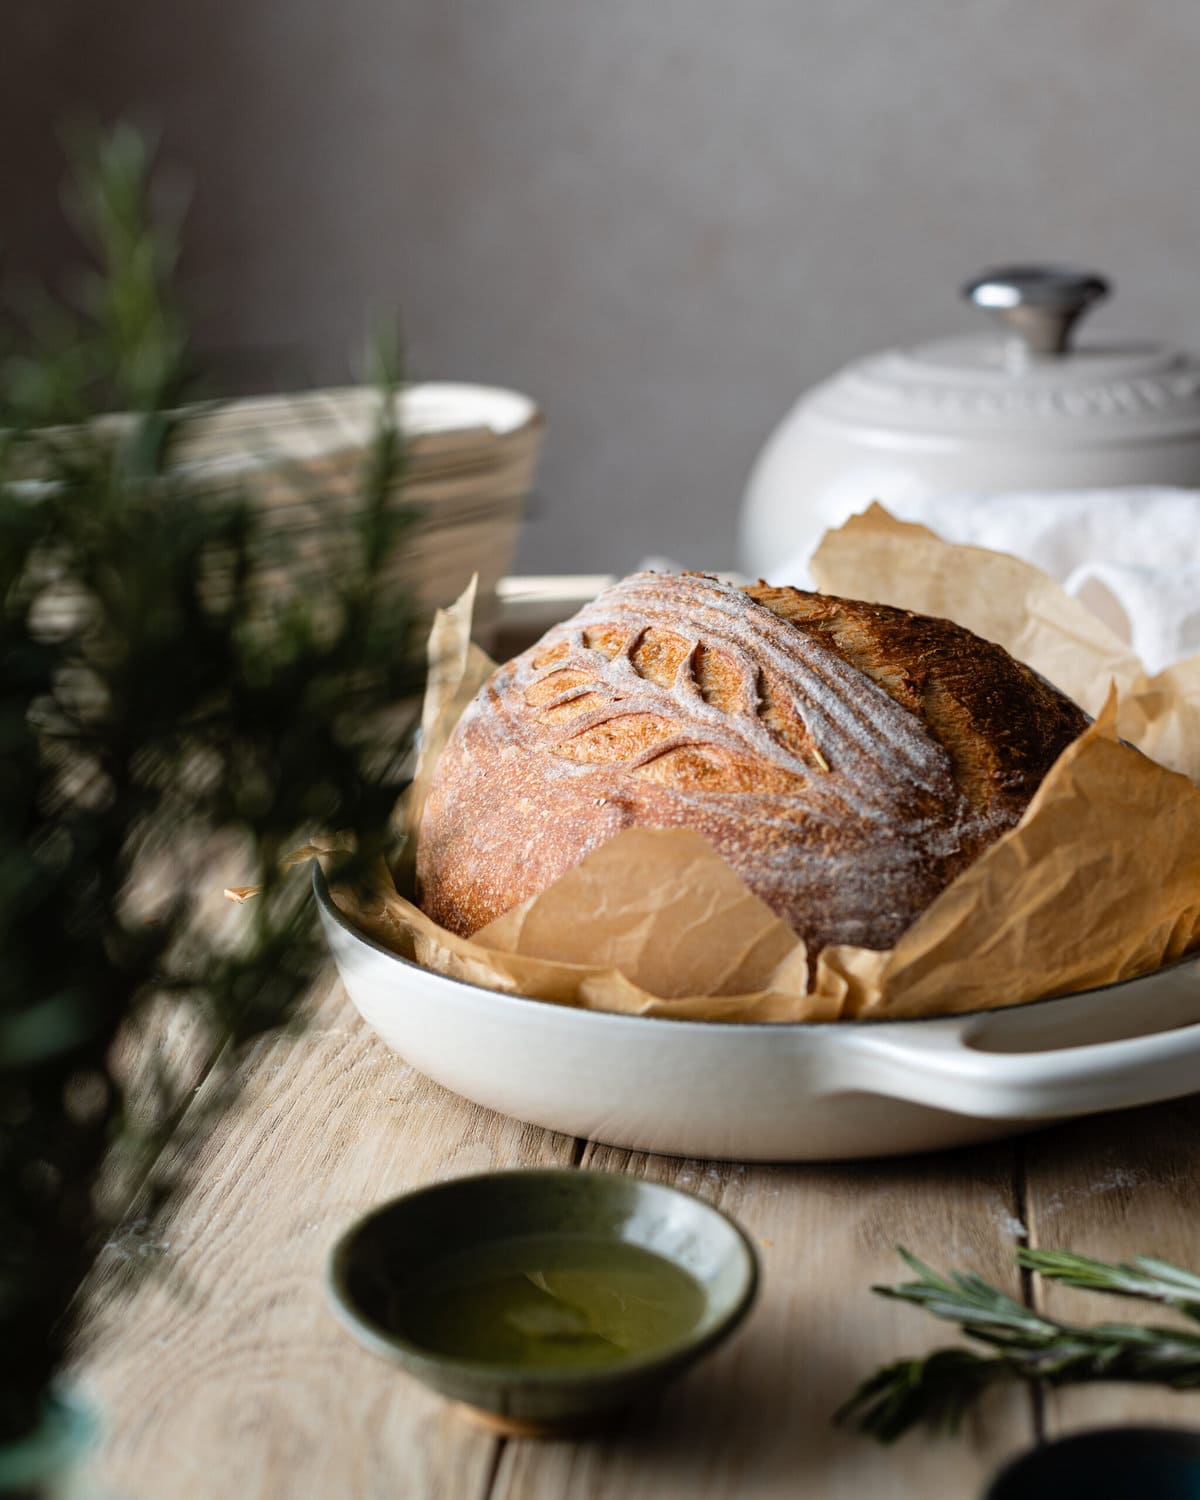
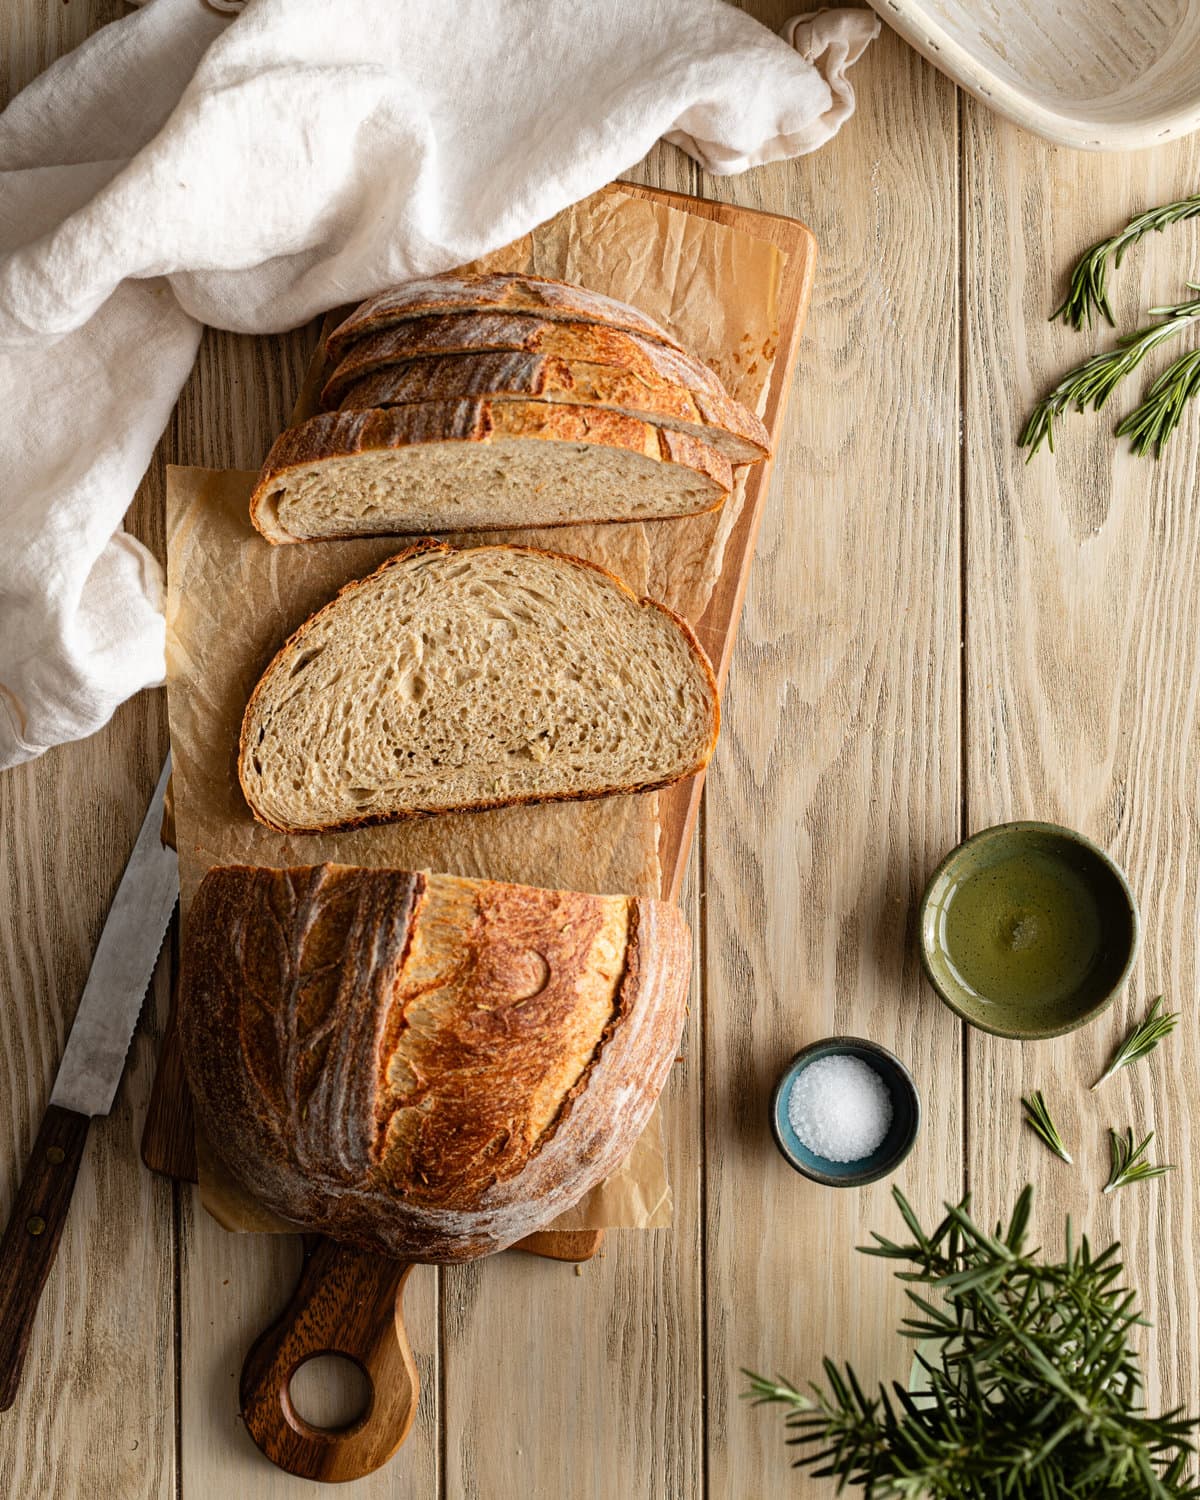
Aromatic rosemary and rich olive oil make this Sourdough Discard Rosemary Olive Oil Bread a delicious savory loaf, perfect for dunking into soups. Olive oil adds richness, imparting a soft crumb and a thin, crisp crust that makes for delicious sandwiches. Using both sourdough discard and commercial yeast makes this bread both flavorful and quick to prepare.
Jump to:
Why I love this recipe
- Sourdough flavor without the time commitment.
- Olive oil makes a thin crisp crust and soft crumb.
- Delicious savory flavor thanks to aromatic rosemary.
- Quick and easy bake - great for beginners!
- Comes together in one bowl.
- Mixed by hand, no stand mixer required!
- Great way to use up sourdough discard.
Sourdough Bread vs. Sourdough Discard Bread
Traditional sourdough bread relies solely on an active sourdough starter, leading to a longer fermentation time of about 2 days due to the reliance on wild yeast. In contrast, sourdough discard bread combines discarded starter with either active-dry or instant yeast, dramatically reducing proofing time.
Prefer long-fermented sourdough bread? Try my recipe for Rosemary Lemon Sourdough Bread.
Why use commercial yeast with sourdough discard?
Adding instant yeast and sourdough discard in a recipe combines convenience and flavor. Because it’s much more efficient at converting starches into sugars and carbon dioxide, commercial yeast dramatically shortens the rise times of dough. For example, the bulk fermentation for my traditional sourdough bread recipe can take up to 4 hours, but this sourdough discard bread only needs a little over 1 hour to rise.
While you won’t get the intense flavor development of a two-day fermentation, adding discard sourdough starter to your bread dough will add a more nuanced, intense flavor than just using instant yeast.
Love quick and easy sourdough discard bread recipes? Try my Sourdough Discard Focaccia, Sourdough Discard Whole Wheat Sandwich Loaf, Sourdough Discard Sandwich Bread and Sourdough Discard Dinner Rolls.
What you need
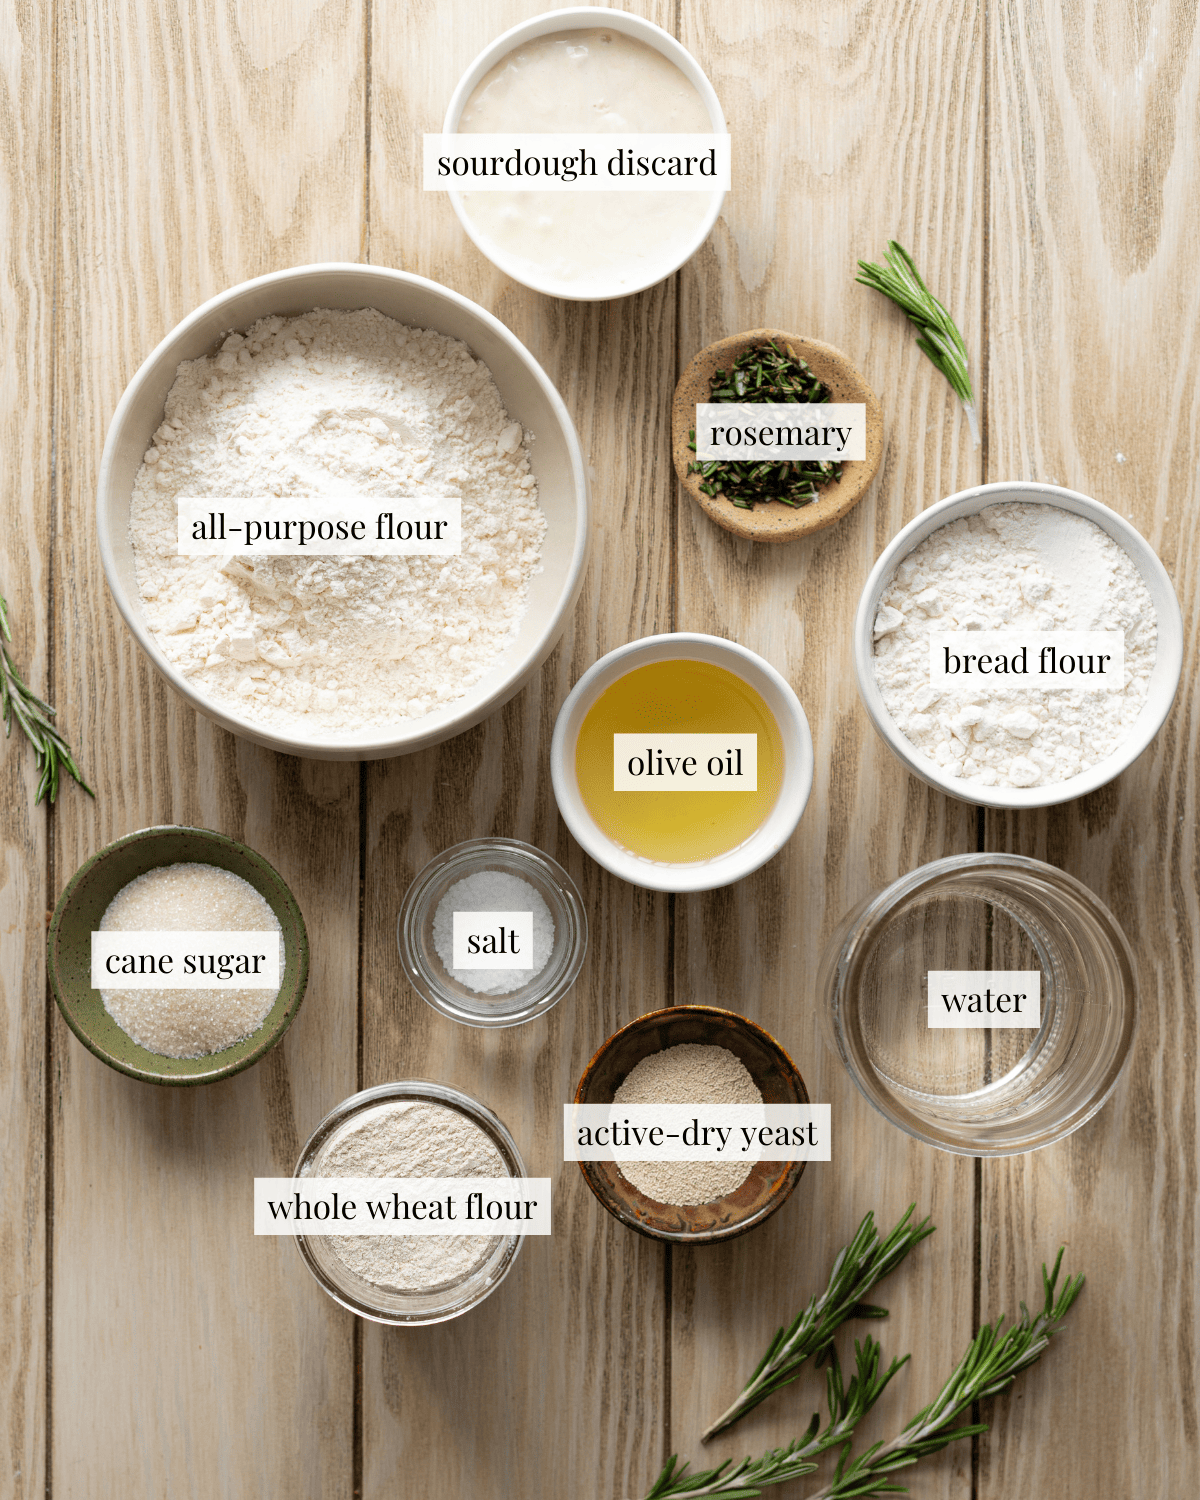
Rosemary: Both chopped fresh rosemary and dried rosemary work for this recipe.
Olive oil: Tenderizes the texture of this bread, giving it a delicate crumb and a more delicate, thin crust. You can substitute another type of oil, but you won’t get the same flavor profile.
All-purpose flour: The low protein content of all-purpose flour imparts softness to this bread and keeps it from becoming too chewy. Substitute bread flour but do not substitute whole wheat or your bread may before too dense.
Bread flour: Provides strength and structure to the dough allowing bread to rise higher in the oven. Substitute all-purpose flour if that’s all you have, do not substitute whole wheat.
Whole wheat flour: Adds a nutty flavor to bread, feel free to substitute bread flour, all-purpose, rye, or spelt. Don’t attempt to make this bread with 100% whole wheat flour.
Sourdough discard: Imparts a delicious, tangy flavor to this bread. You can use your starter directly from the fridge for this recipe. Use an active sourdough starter or add 56 grams of flour and 56 grams of water to your dough if you don’t have any discarded sourdough starter.
Active-dry yeast: You can use instant yeast for this recipe, you can skip blooming your yeast if you choose to do so.
See the recipe card for detailed ingredient information.
TIP: Commercial yeast has a shelf life, make sure yours is not expired before making this recipe or your dough will not rise.
Baking with sourdough discard
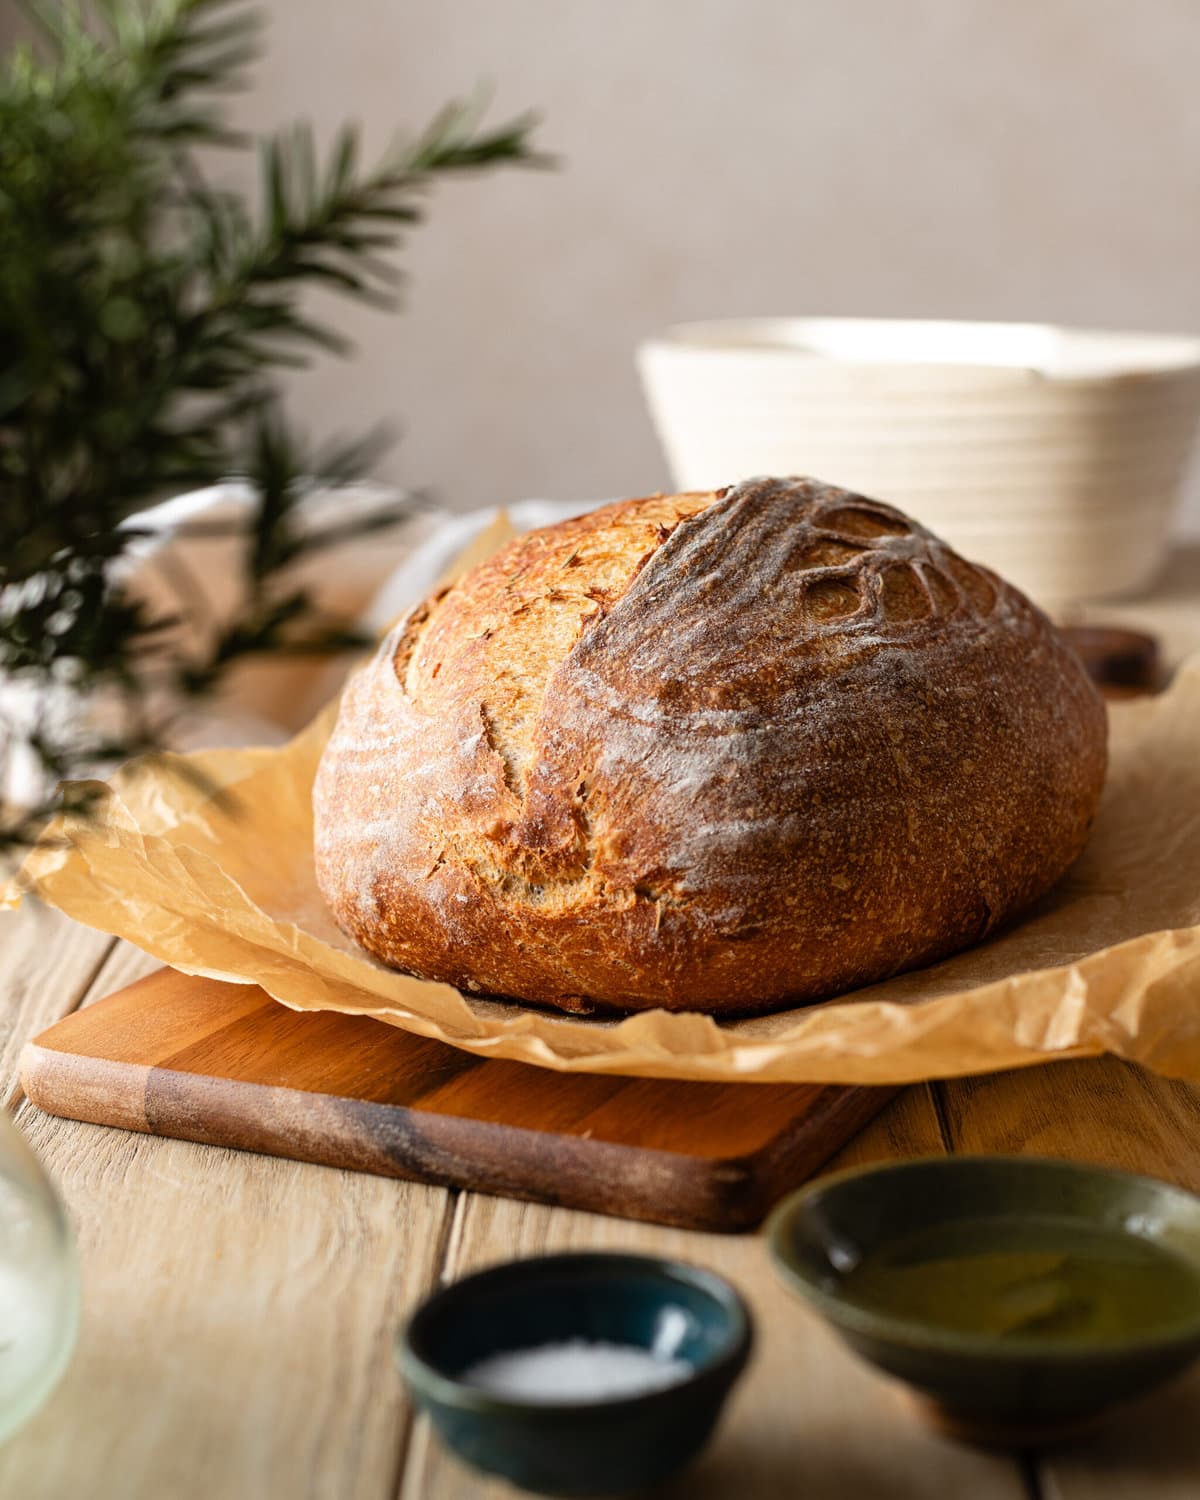
Sourdough discard is any portion of your starter that is removed during the feeding process or any part that is not used to leaven sourdough bread. You can use it in other bakes and dishes or store it in the refrigerator for future use.
This bread is quick to make because it uses active dry yeast as the main leavener instead of an active starter. Sourdough discard imparts a delicious flavor and since it won’t be used to make bread rise, it doesn’t need to be activated and you can use it directly from the refrigerator.
If you’re using sourdough starter discard that has been in the fridge for weeks it will add more flavor, which you won’t get when using a freshly fed starter. Both will work for this recipe but you’ll get different results.
Step-by-step instructions

STEP 1 Make the dough: Bloom the yeast in water and sugar (image 1). Stir in the flour, salt, sourdough discard and rosemary (image 2). Knead the olive oil into the dough (image 3). Continue kneading until all the oil is absorbed and the dough looks smooth (image 4). Cover the dough with plastic wrap and let the dough rest for 15 minutes.
TIP: A brief rest period allows the flour to fully hydrate and initiates the development of gluten, resulting in a less sticky dough that is much easier to handle.

STEP 2 Stretch and fold: Pick up the edge of your dough and stretch is as far as it will go without tearing (image 5). Fold the dough over itself (image 6). Turn the bowl 90 degrees (image 7). Fold the dough once more (image 8). Repeat two more times, this makes one set.
TIP: Each set will consist of 4 folds. You’ll need to complete 3 set of stretch and folds in 15 minute increments.
For example:
9:00 - stretch and fold 1
9:15 - stretch and fold 2
9:30 - stretch and fold 3
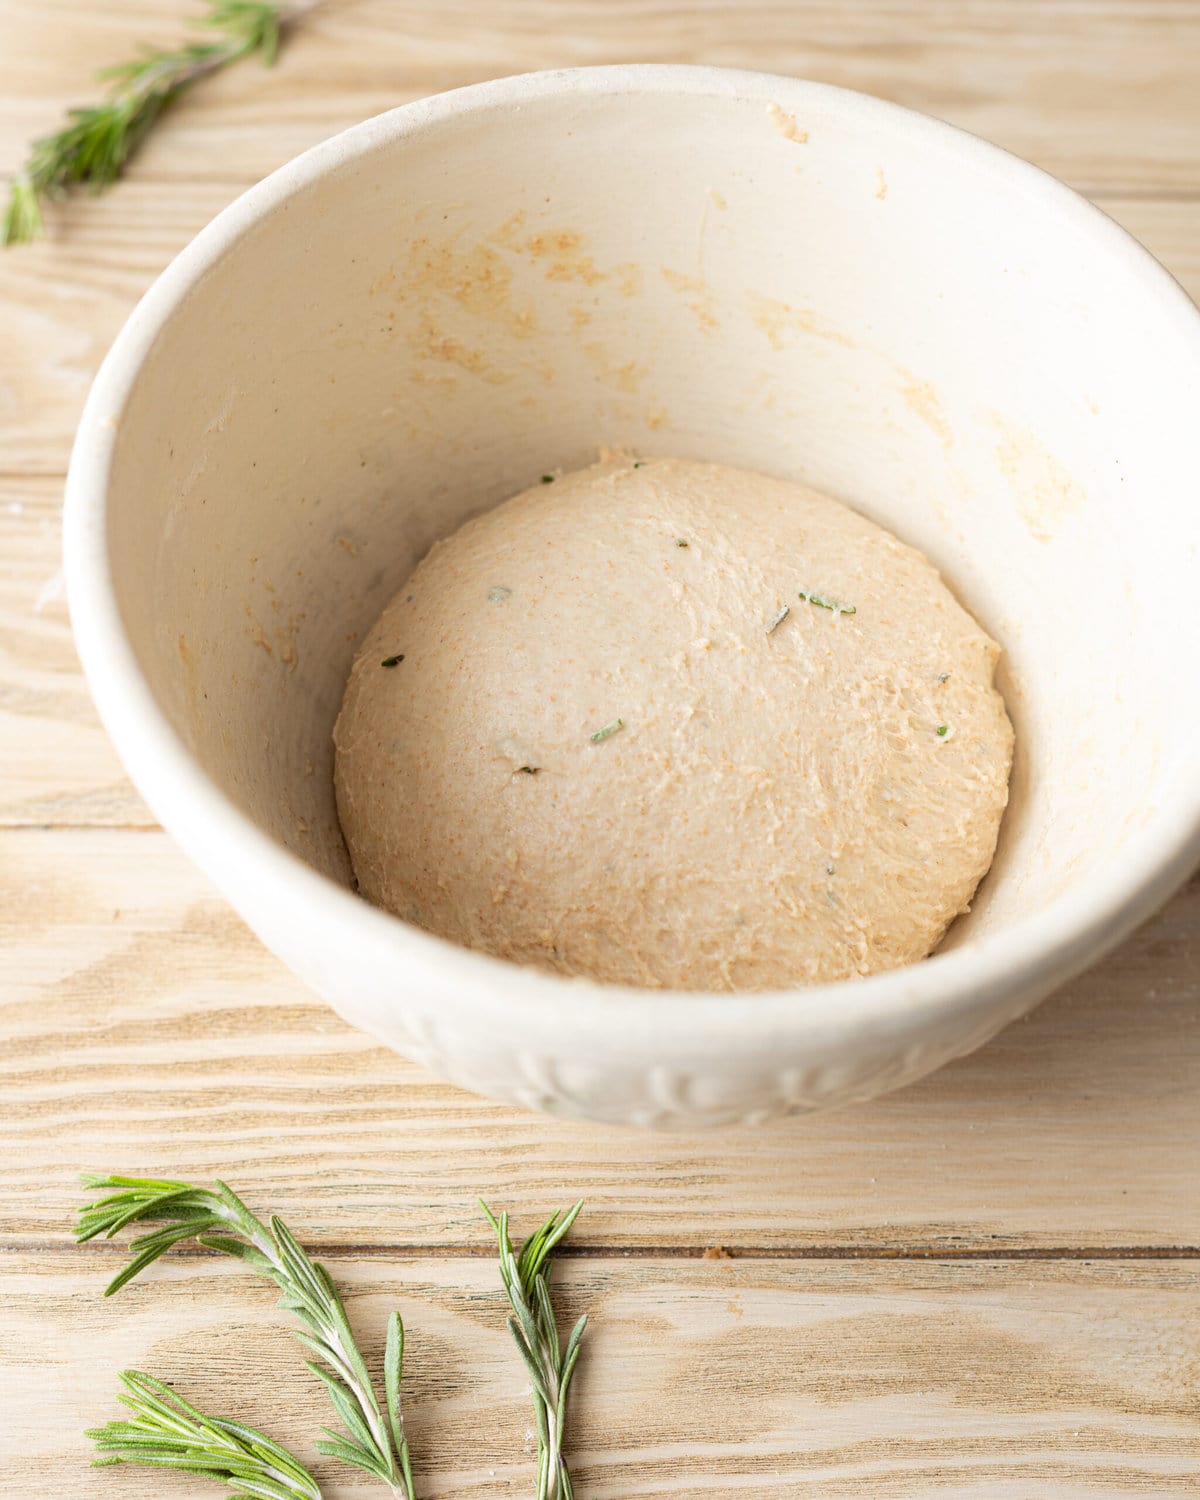
Before folding, dough will look rough and feel sticky.
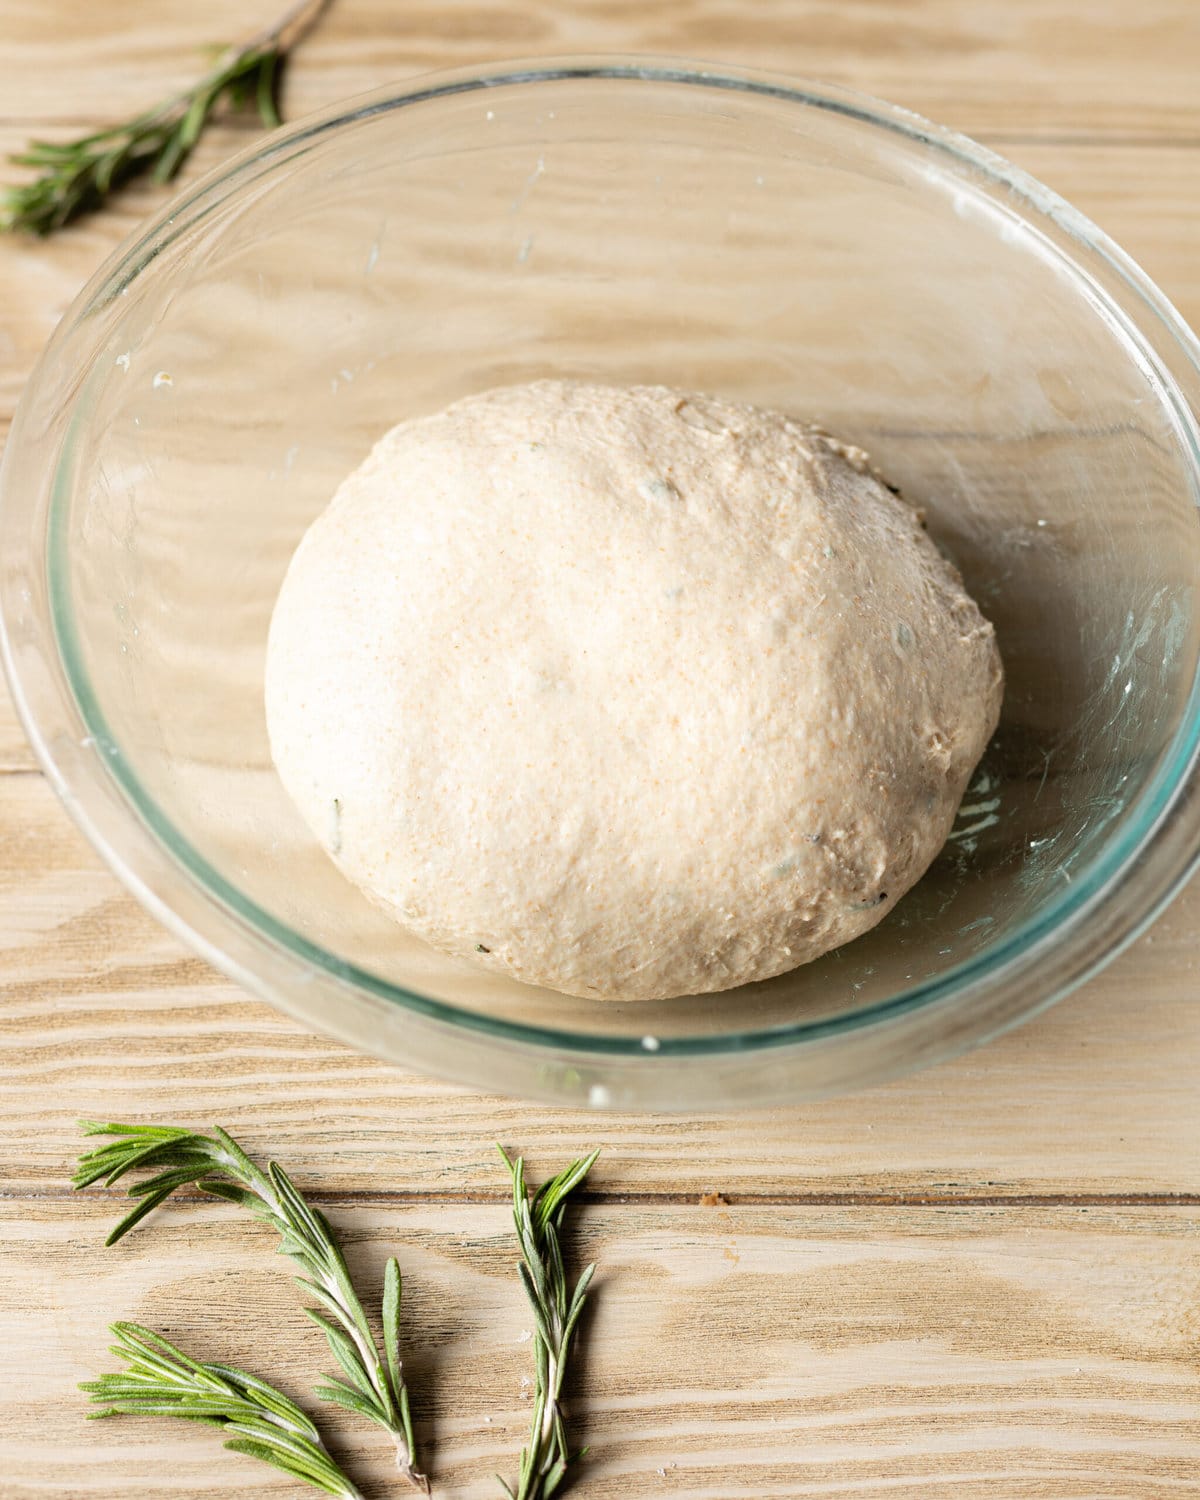
After the last fold, the dough should look smooth and feel supple.

STEP 3 First proof: Set the dough in a warm spot and let it rise for 30 to 45 minutes (image 9). The dough should noticeably increase in volume and feel full of air (image 10).
TIP: I’ll be giving time cues throughout this recipe. However, proofing times may differ depending on the activity of your yeast and the temperature of your kitchen. Cold temperature slow down fermentation so your dough may take much longer to rise during the winter months.

STEP 4 Shaping and final proof: Preshape the dough (image 11). Shape the dough into a batard or boule (image 12). Cover the proofing basket with plastic wrap and let the dough rise for 30 minutes or until puffy and has noticeably increased in volume.
TIP: Use the poke test to test if your dough is ready to bake by pressing your finger lightly on top of the dough. If it holds a dent and springs back slowly then it’s ready to bake. If it springs back too quickly, it's underproofed; if it doesn't spring back at all, the dough is overproofed.

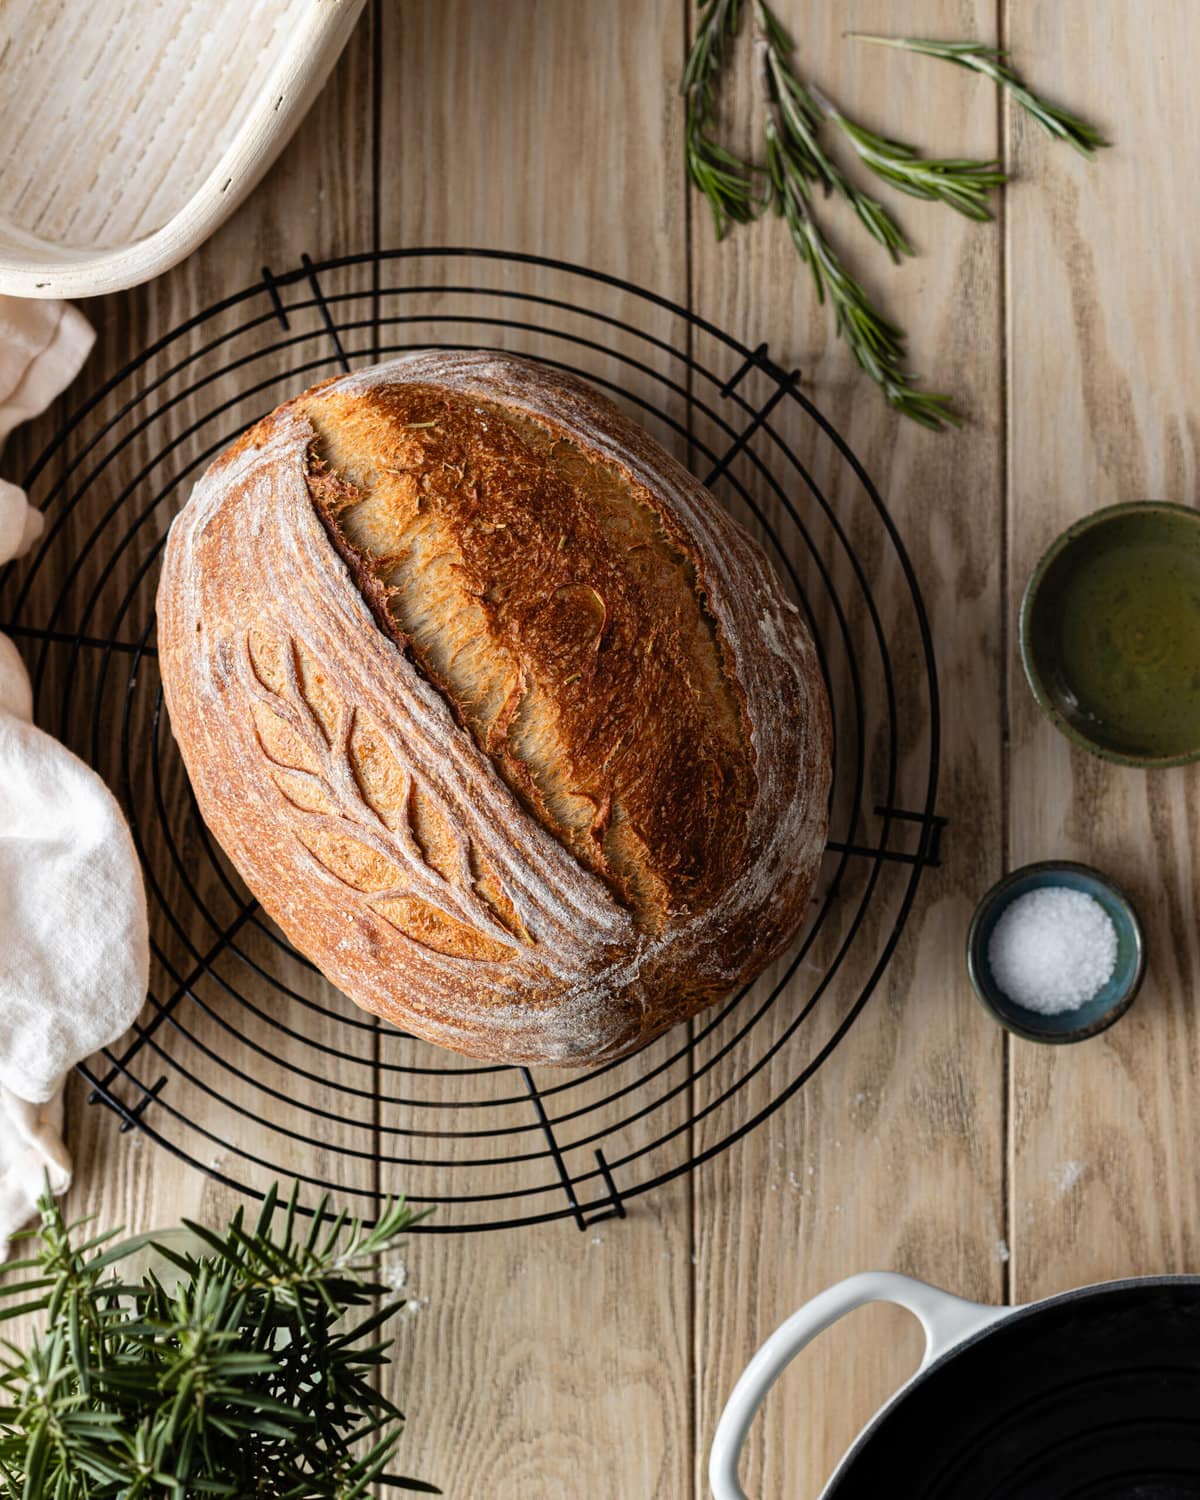
STEP 5 Bake: Score the dough (image 13). Bake at 425F in a Dutch oven covered for 20 minutes and uncovered for 10 to 15 minutes or until golden brown (image 14).
TIP: Using a Dutch oven or a bread pan is the easiest way to add steam as your bread bakes. If you don’t have one, you can bake the dough in a loaf pan.
Baker's Tips
Weigh your ingredients: Measuring by weight is much more accurate than using cups and tablespoons, and will increase the chances of success for your bake.
Be gentle with the dough: This dough can initially feel quite wet and sticky. If it feels too difficult to handle, work with wet hands and use your fingertips to pick up and fold the dough.
Use a sharp blade to score your dough: A dull blade will drag and result in uneven and ragged cuts on the dough's surface. Check out my post on How to Score Sourdough Bread for more information.
Use an instant-read thermometer: The best way to determine whether your bread is fully baked is to probe the center of the bread with an instant-read thermometer. The internal temperature should be between 180F to 190F.
Let the bread cool completely before slicing: Although it may be tempting to tear into this loaf as soon as it comes out of the oven. Be patient and let it cool for at least 2 hours before slicing. Cutting into the bread too soon will cause water to evaporate rapidly, causing the bread to stale quicker.
Recipe FAQs
There are a few reasons why your dough may not be rising
Your yeast is expired and can no longer make dough rise. If your yeast has been in your pantry for quite some time, activate it by mixing it with water and sugar first before mixing it in your dough. The mixture will look bubbly and smell yeasty if it’s still viable.
Your kitchen is too cold, cool temperatures will drastically slow down fermentation or the rate at which your dough rises. If your kitchen is too cold your dough will eventually rise, it may just take longer than the times cued in this recipe.
You used hot water and you may have killed your yeast. Water hotter than 115 F will kill yeast, if you accidentally add hot water to your yeast, start over.
An 8-inch or 9-inch circle or oval banneton will work for this recipe.
If you don’t have a banneton, use an 8-inch mixing bowl lined with a tea towel dusted with rice flour or all-purpose flour.
Sourdough Discard Rosemary Olive Oil Bread Recipe
This section may contain affiliate links
Ingredients
- 280 grams water
- 7 grams cane sugar
- 7 grams active-dry yeast 1 packet
- 113 grams sourdough discard
- 180 grams all-purpose flour
- 90 grams whole wheat flour
- 90 grams bread flour
- 7 grams salt
- 3 grams rosemary fresh or dried
- 28 grams olive oil plus more for greasing
Click US Customary to view volume measurements
Instructions
- Make the dough: Mix the water, active-dry yeast, and sugar in a mixing bowl. Allow the mixture to bloom until it smells yeasty and looks foamy, about 10 to 15 minutes.7 grams cane sugar, 7 grams active-dry yeast, 280 grams water
- Fold in the sourdough discard, dry ingredients and rosemary until no traces of dry flour remain.180 grams all-purpose flour, 90 grams whole wheat flour, 90 grams bread flour, 7 grams salt, 3 grams rosemary, 113 grams sourdough discard
- Knead the oil into the dough one tablespoon at a time, waiting until the dough absorbs the oil completely before adding more. The dough will become gradually less greasy as the oil soaks in.28 grams olive oil
- Cover the bowl with plastic wrap and let the dough rest for 10 minutes.
- Stretch and fold: After the rest period, complete 3 sets of stretch and folds in 15-minute intervals. To complete a stretch and fold, with the dough inside your bowl, pick up the side of the dough closest to you using your fingertips. Stretch the dough out as much as you can without it tearing and fold it over itself. Turn the bowl 90 degrees and repeat 3 more times. This is one set.
- First rise: Let the dough rise at room temperature until doubled in volume. The dough should double in volume and appear bubbly, about 20 to 30 minutes.
- Prep: Preheat the oven to 475 F with a Dutch oven inside.
- Shape: Coat a banneton with rice flour (see note*). Shape the dough into a batard or a boule (see note*). To shape a batard, turn the proofed dough on a clean work surface. Flatten the dough out into a rectangle. Fold the side closest to you towards the center and the top of the dough over the bottom flap. Fold the sides over each other Flip the dough and round it into a boule or roll it into a batard. Place the dough into a prepared banneton with the seam side up.
- Second rise: Cover the banneton with plastic wrap and let the dough rise until puffy and well risen, about 30 to 45 minutes.
- Score: Transfer the dough to a piece of parchment paper with the seam-side down. Score the dough. Place the dough with the parchment paper inside the hot Dutch oven.
- Bake: Bake the dough covered for 25 minutes and uncovered for 10 to 15 minutes or until the loaf measures at least 190F when probed with an instant-read thermometer and reaches your desired level of brownness
- Enjoy: Transfer the baked loaf to a cooling rack. Let the bread cool for at least 2 hours before slicing.
- Store: This bread tastes the best the day it is baked, but will store well for up to 5 days in an airtight container at room temperature.
Tips
These recipes were developed and tested using grams for precise measurements. To increase your chances of success, I recommend investing in a kitchen scale. I've included rough volume estimates (in tablespoons and cups), but they might not be totally accurate.
Remember all ovens are unique, these recipes were tested in my oven which runs cooler than others. You might need to lower the temperature if your bake appears to be browning too quickly. Monitor your bake closely and make adjustments if needed.
Notes
- Make sure your yeast is not expired before attempting this recipe. Both instant yeast and active-dry yeast will work.
- Allow the dough to rest if it feels too sticky to handle. Be gentle with the dough, as handling it roughly will break gluten bonds and make the dough much more difficult to handle.
- The best way to determine whether your bread is fully baked is to probe the center of the bread with an instant-read thermometer. The internal temperature should be between 180F to 190F.
- Use a mixing bowl lined with a tea towel dusted with flour if you don’t have a banneton.
- See my post for detailed boule shaping instructions.


Sandy
Hi. I am trying to print the recipe but am asked to create an account with Grow to "unlock the print button." Is this necessary, or is there another way to print recipes? I would much prefer to not create another account. Thank you.
Hannah Dela Cruz
You should be able to print by providing your email. It goes in my mailing list and you will get emails about new recipes/blog updates. I never send spam and only email once per week. You can unsubscribe at any time.
Vicki
I had issues with this recipe. My dough was very stiff, possibly not wet enough. I think trying to mix the oil into it after adding the flour caused the dough to be overworked and it was definitely not stretchy enough to do proper stretch and folds. I cooked the loaf anyway and it was very dense and almost seemed undercooked. Even though the loaf did rise and double in size it was very small.
I really want to like this recipe and have made some of your other recipes with good success. Next time I think I will try just mixing the oil in with the water at the beginning. I don't know if it just my inexperience and not understanding how dough works or the elevation I live at but I will try again.
Hannah Dela Cruz
Oh no! I'm so sorry to hear this Vicky! A few factors might be at play here, including the age of your flour and the humidity in your kitchen. Older flour tends to dry out, which leads it to absorbing more water. If it's dry where you live, the dough could be drier as well. If you ever want to try the recipe again, I would suggested adding the flour a little at a time to make sure everything is hydrated and mixed well. You can also add a few tablespoons of water to the dough to make sure it "feels right" to you. Unfortunately, there are so many factors that go into bread baking that recipes can't account for all the time. Thanks for trying it and I'm sorry it wasn't more of a success.
Laurie
I’m at shaping and baking day but the dough is soooo sticky. Like it needs more flour but I’ve measured everything along the way. Any ideas?
Make It Dough
If you feel it needs more flour add more. This is quite a high hydration and the addition of the oil will add more moisture. Folding should take care of the stickiness.
janster7777
I made 2 loaves of this delicious roasted garlic, rosemary bread yesterday. Just as I was putting it in the fridge my brain screamed SALT! You dummy!!! You left out salt. I put them in the fridge and went to bed in disgust! Any suggestions? Bake and feed to birds? Toss in the trash and go buy more garlic? 😞 thanks, Jan
Make It Dough
Oh no! Have you shaped the dough? I’m afraid it may be too late. But why not bake them anyway and see how they turn out?
janster7777
Okay, this morning I took the bread out of the bannetons. I individually mixed 8 grams of salt with 10 grams of water. Added that to each loaf. Did a preshape, then a final shape, and stuck all 4 back in the fridge. I’m calling this an experiment.
I will say, the dough felt much better. I’ll bake one tonight just to see how this comes out. Might be a whole lot of croutons 🙈
Make It Dough
How did your loaves turn out?