

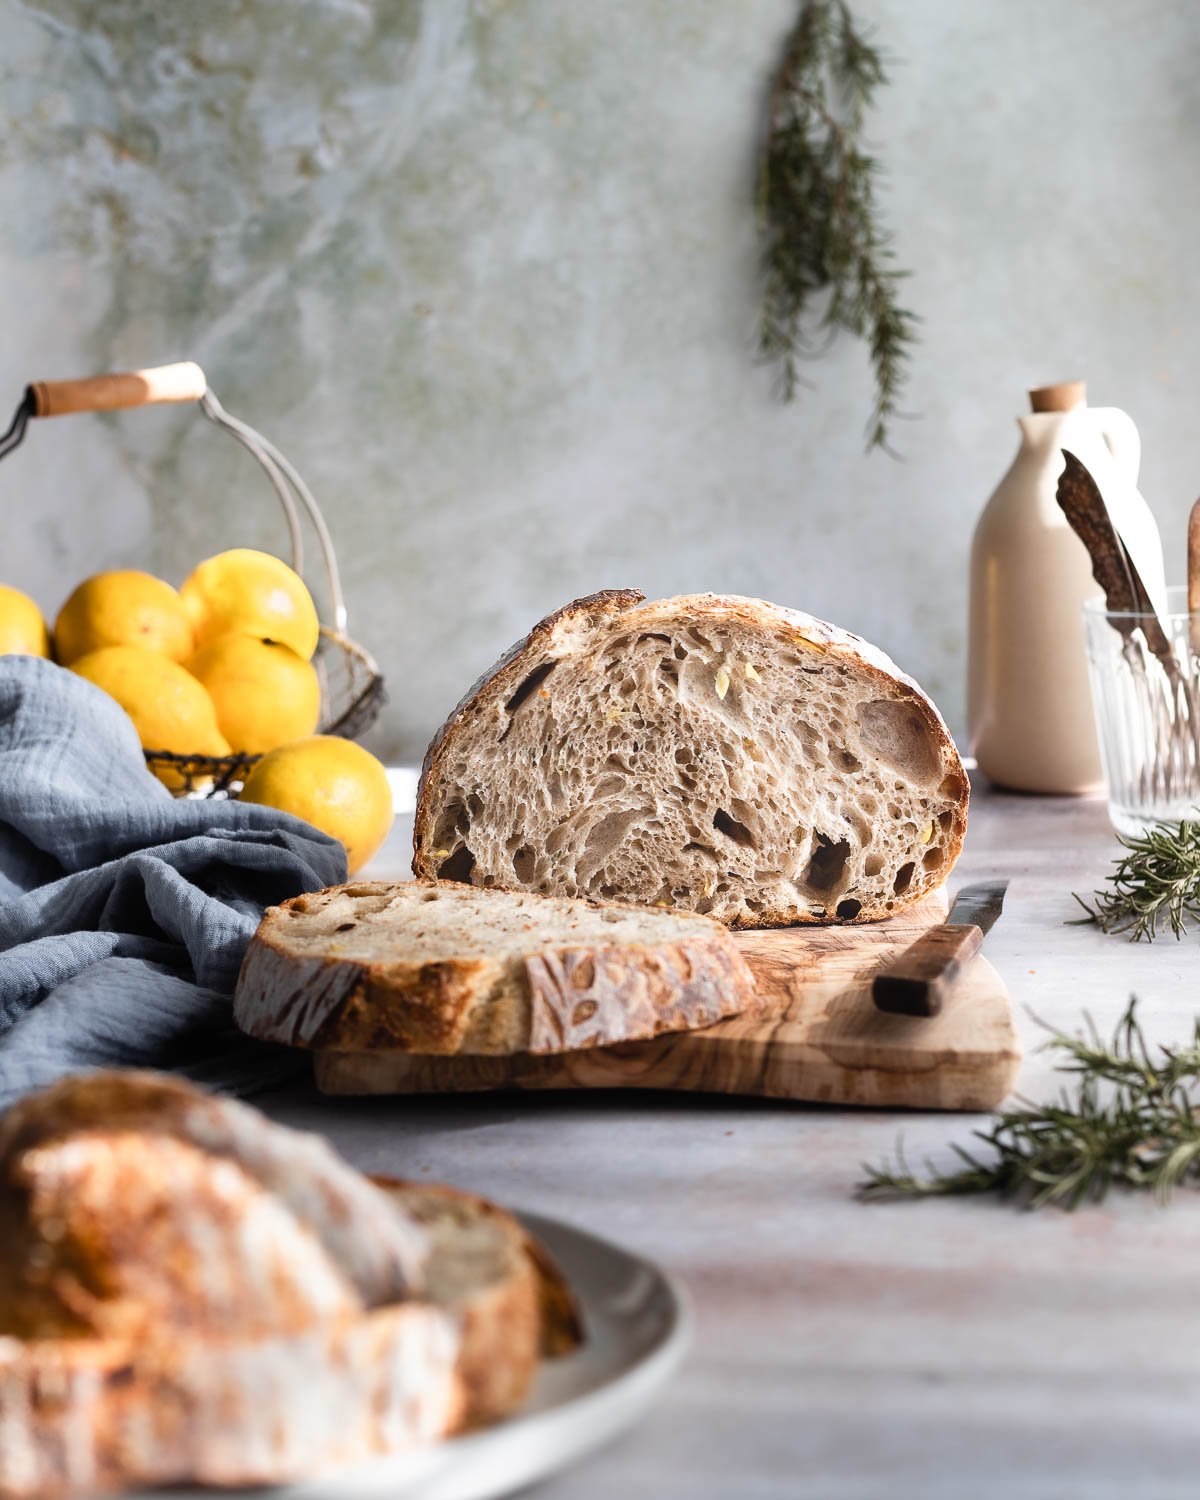
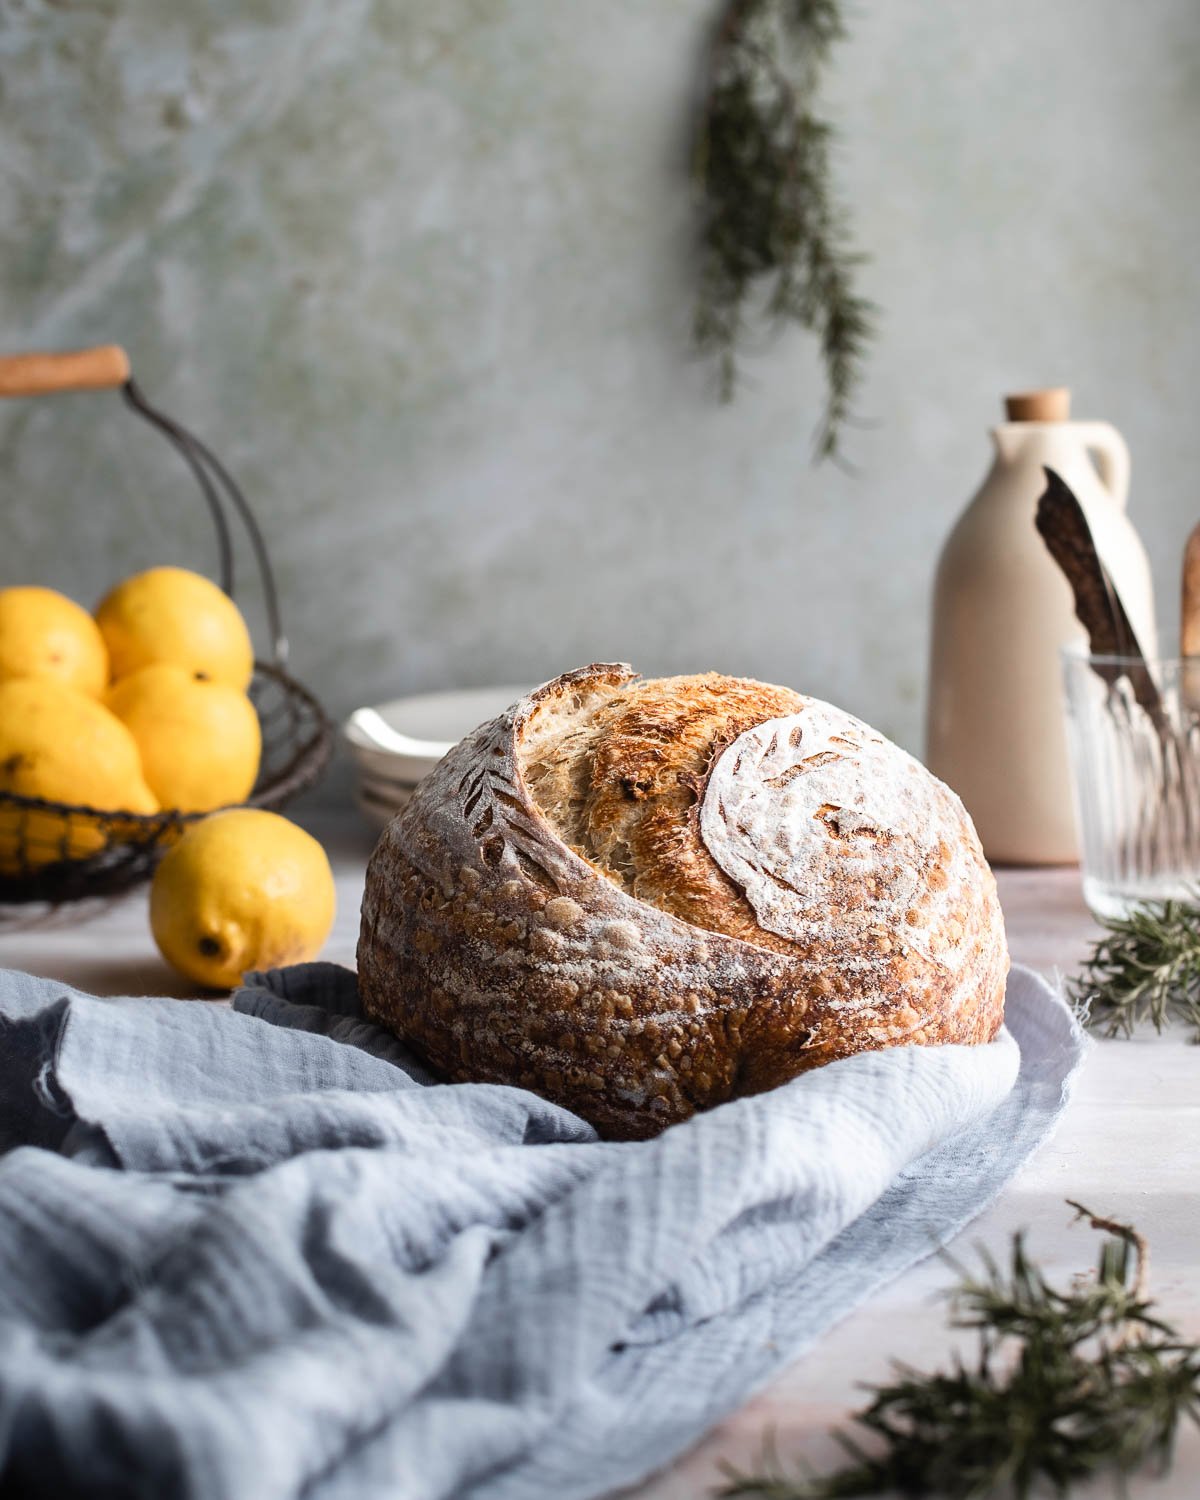
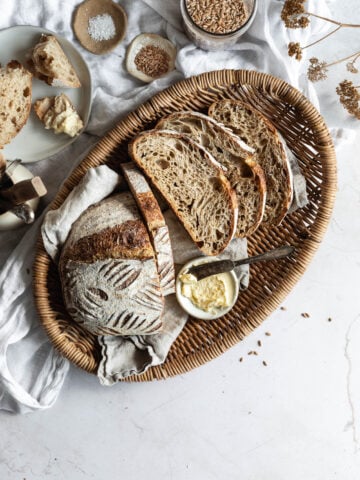
This rustic Rosemary Sourdough Bread is crusty and delicious with flavors of aromatic rosemary and bright citrus. Lemon zest and dried rosemary are the perfect complement to the tangy flavor of sourdough. You'll love this bread dipped in soup, as a side for your holiday meal, a base for stuffing or simply smeared with a little homemade butter.
Before I learned how to make sourdough, I loved buying loaves of rosemary bread from the grocery store. Every time the weather started getting chilly, we'd grab a loaf and cook a big pot of my boyfriends' favorite beef and barley stew. Homemade Rosemary Sourdough Bread is even better, especially with the addition of lemon zest which brings out the delicious flavor of herbaceous rosemary.
Jump to:
Adding inclusions to sourdough bread
Incorporating inclusions is a great way to mix up a Basic Sourdough Loaf. Adding mix-ins can impede gluten development which can affect the rise and texture of your bread. Developing strength through autolysis and folding add-ins into your bread dough early in the process helps with creating and maintaining strong gluten bonds. This allows your bread to bake up light and airy!
I first developed this recipe using fresh rosemary. However, it didn't impart enough flavor to my baked loaf. Organic dried rosemary imparts extra flavor and worked much better. Lemon peel adds a delicious brightness to this savory bread. I found using a peeler and adding larger chunks of lemon peel added the best flavor. However, you can use a zester if that's easier for you.
If you love bread with mix-ins, try my Cranberry Walnut Sourdough Bread!
High altitude baking
I created this recipe with my friend and fellow cookbook author, Mimi Council. Mimi founded the first organic bakery in America. She's an amazing baker and an expert on high altitude baking. We met during a blogger trip earlier this year and knew we wanted to collaborate on a few sourdough recipes!
If baking at high altitude, for the best results bake this loaf of bread at 500°F covered for 15 to 20 minutes, and uncovered for 5 to 10 minutes, depending on how dark you'd like the crust. You'll notice that this is much shorter than the times I've specified in the recipe!
If you're looking for tried and true organic recipes and tips for baking at high altitude, check out Mimi's blog and her cookbooks, Cookies for Everyone, The Mountain Baker and Effortless Eggless Baking.
Ingredients
Bread flour: High-protein bread flour makes dough stronger and more elastic and results in a chewy and airy texture when baked
Whole wheat flour: Whole wheat adds a delicious nutty flavor to bread, if you don't have any feel free to substitute rye, spelt or just use all bread flour
Water: Use warm water to encourage the fermentation process
Active sourdough starter - Main leavener for this recipe, it allows dough to rise and imparts a tangy flavor
Salt: Use sea salt or Kosher salt for the best results
Lemon peel: Imparts a bright citrus flavor
Organic dried rosemary: Aromatic rosemary makes this loaf deliciously savory, double the amount if you are using fresh
Step-by-step instructions
This loaf takes two days from start to finish. I know that sounds like a lot of time, but most of the process is completely hands off and I promise it goes quickly. Sourdough needs to rise untouched for a long time, so I'm usually able to catch up on work and do chores while my dough is resting.
Most of the work is done on the first day, then after shaping you'll let the dough rest in the refrigerator overnight for its final rise. I love how I can just bake this dough off whenever I'm ready the next day.
For more detailed explanation about these steps, read my Basic Sourdough Bread guide.
- Autolyse dough
- Combine only the bread flour, whole wheat flour and water in a large mixing bowl until the mixture forms a rough dough. Set aside for 1 hour.
- Prep the inclusions
- Peel the rind off of 1 lemon and finely dice
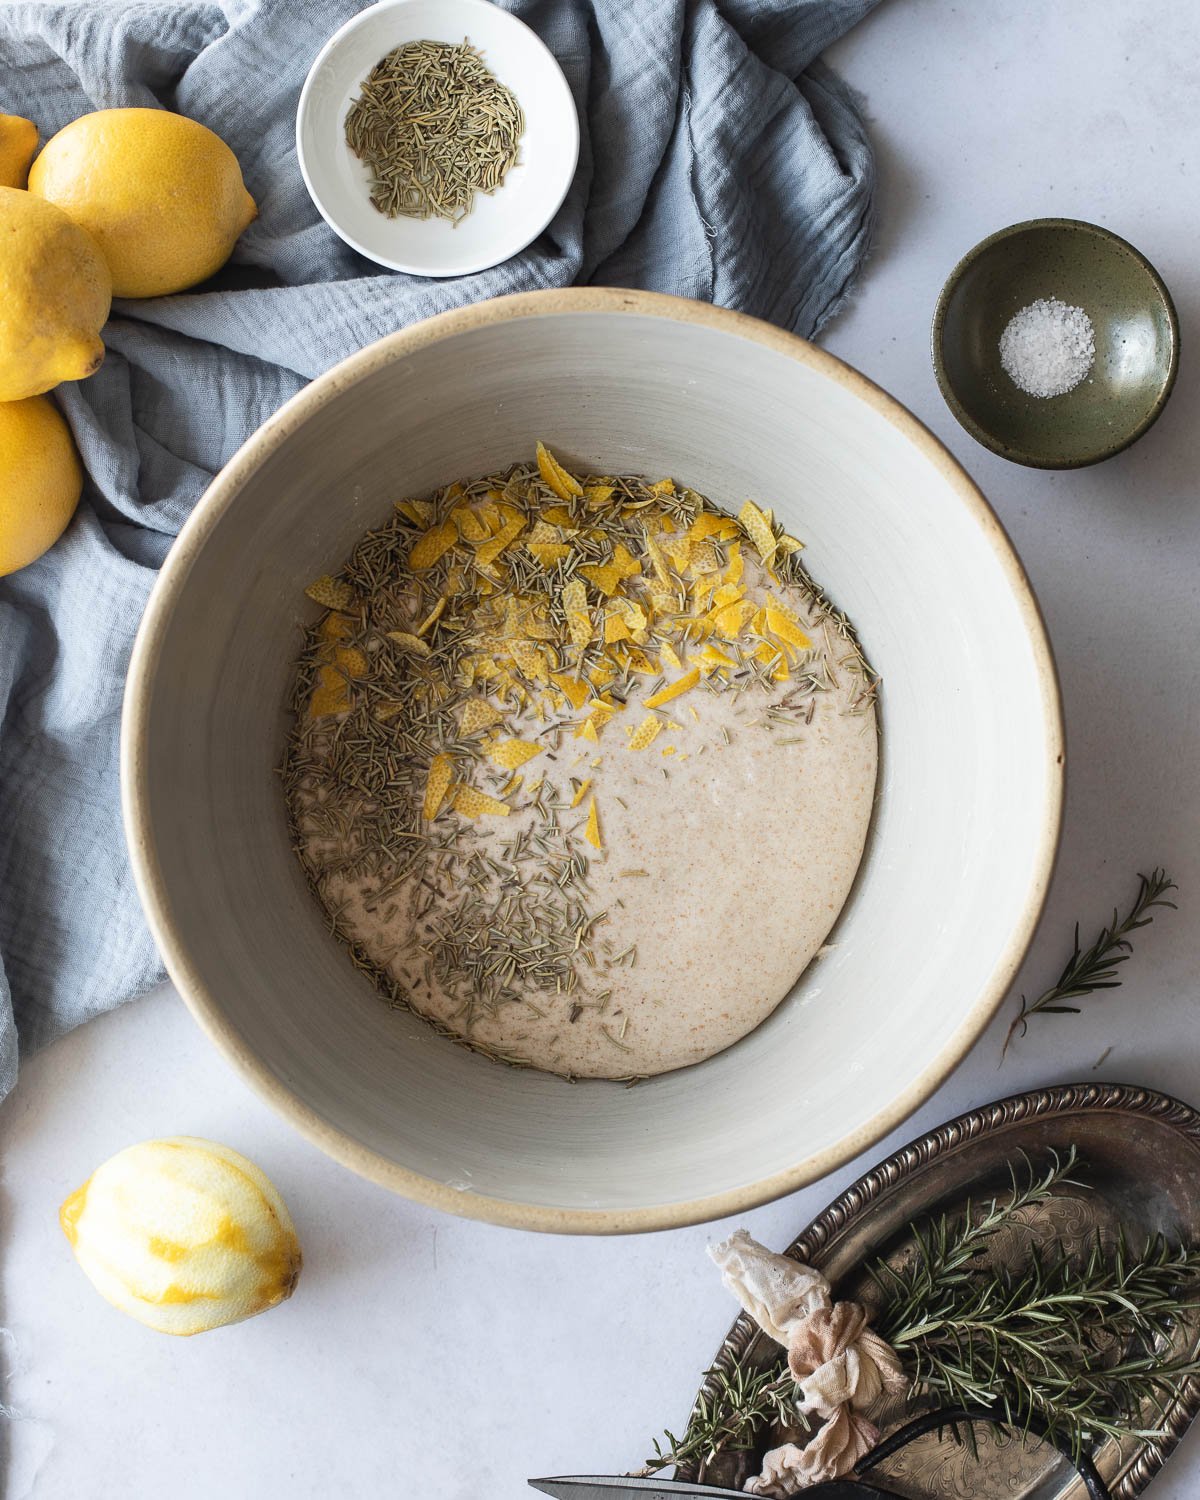
- Mix the dough and add inclusions
- Fold the sourdough starter, salt, lemon zest and rosemary to the dough. Let the mixture rest for 30 minutes.
- Fold dough
- Perform 3 to 4 sets of coil folds in 30-minute intervals
- Rest
- Let the dough rest untouched in bowl covered with plastic wrap for 1 hour.
- Pre-shape
- Round the dough into a tight ball, cover and let the dough rest for 15 minutes. Pre-shaping will create additional tension and prepares the dough to hold its final shape.
- Shape
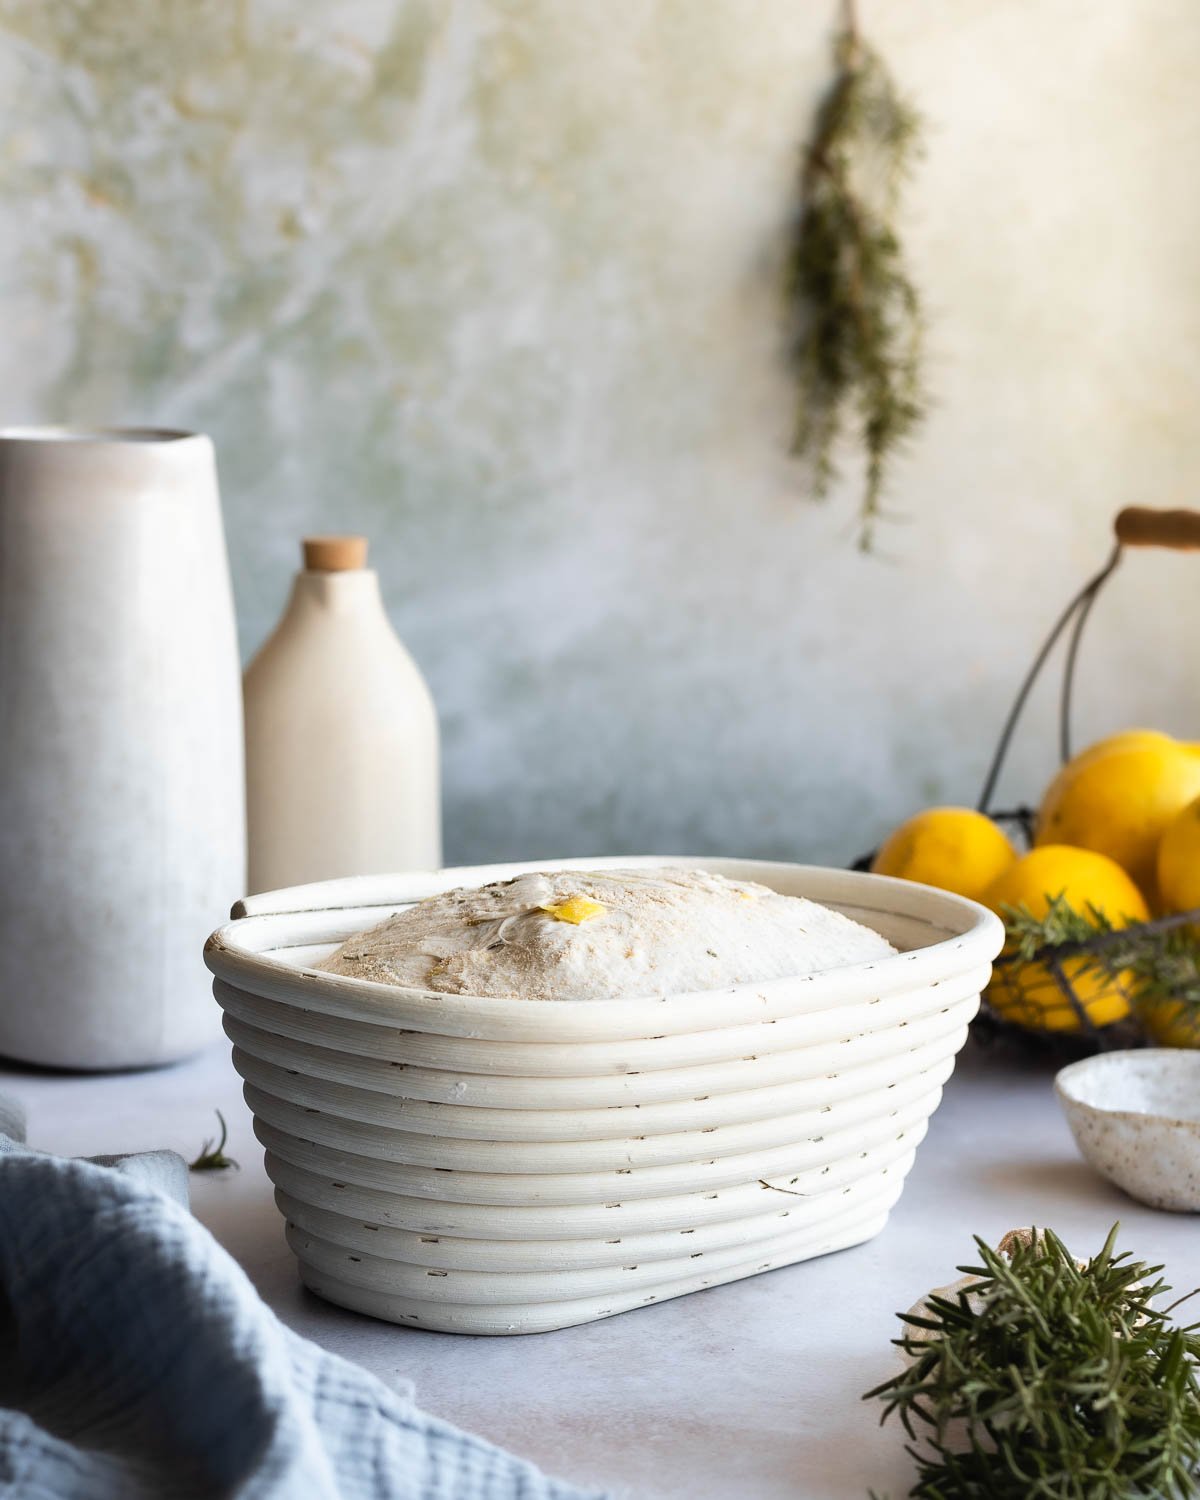
- Shape the dough and place it in the proofing vessel of your choice.
- Cold proof in the refrigerator overnight
- Place the dough into the refrigerator overnight. This will allow your dough to further develop flavor while preventing it from becoming over-proofed.
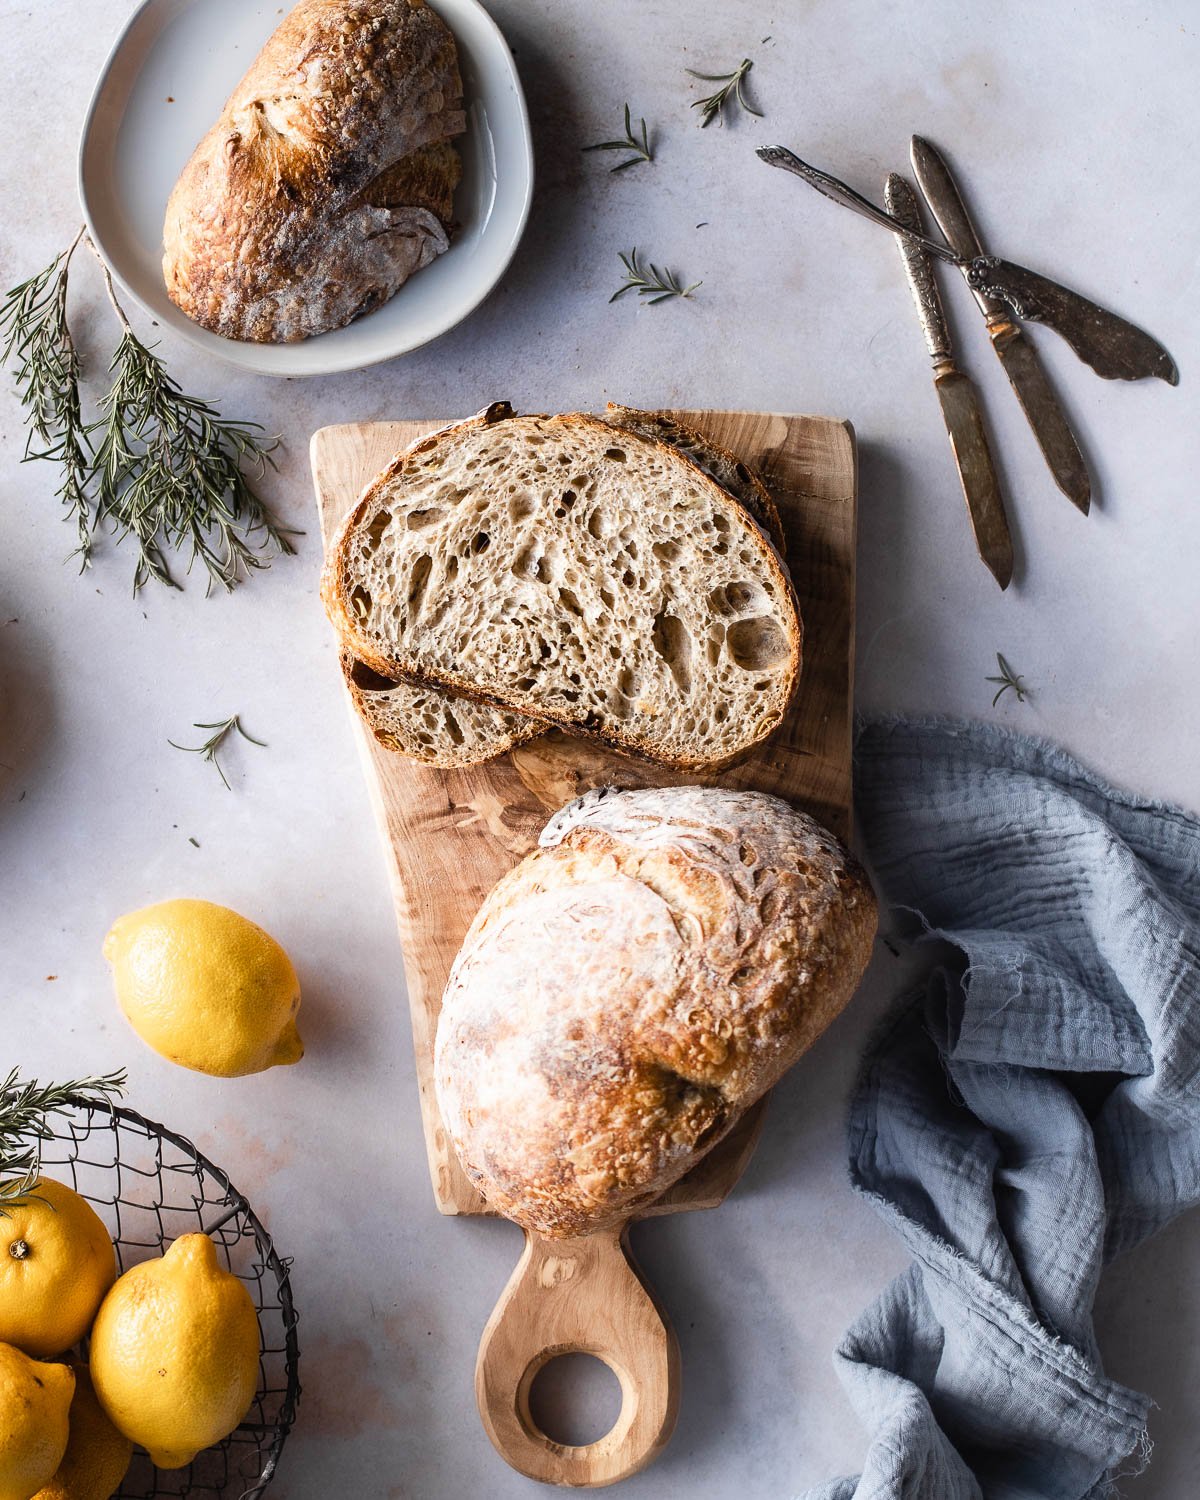
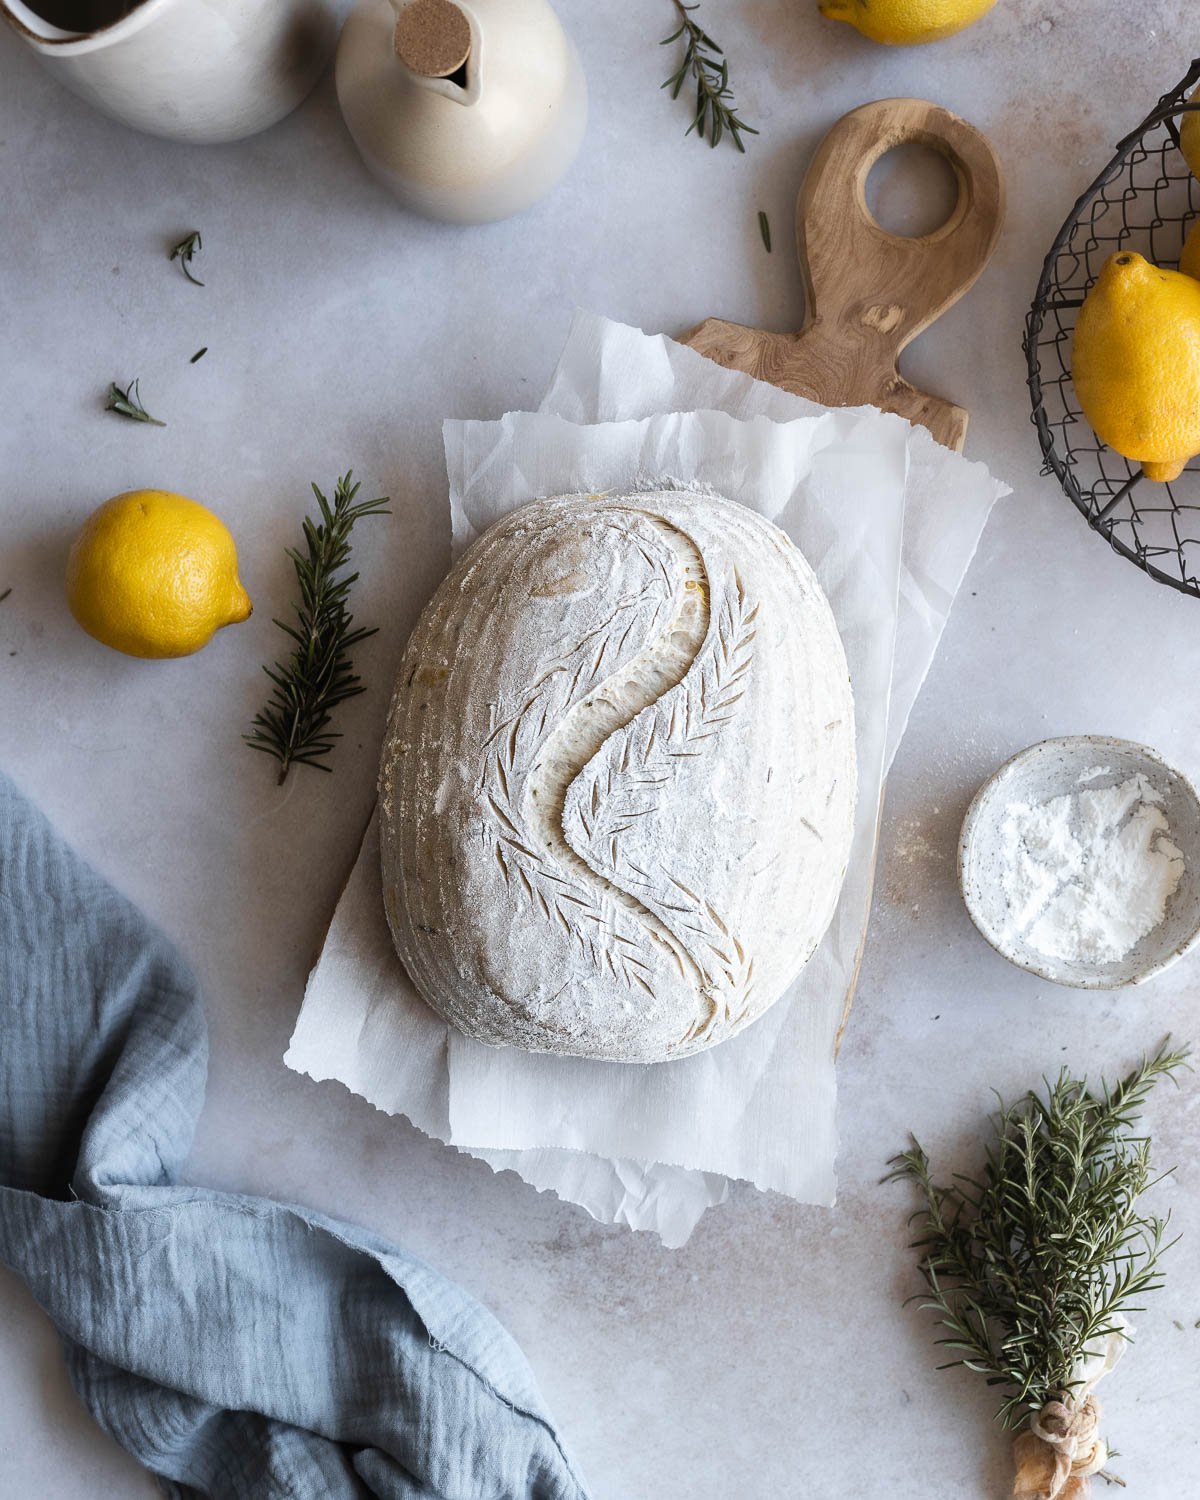
- Score the dough
- Using a razor blade, cut a large gash on the dough to direct the release of steam and expansion of the bread.
- Bake
- Bake the dough in an oven preheated to 500 F with Dutch Oven inside covered for 30 minutes and uncovered for 10 to 15 minutes depending on how dark you want your crust
Need more detailed step-by-step bread making explanations? Check out my Sourdough Bread 101 virtual course!

Bulk Fermentation
Fermentation begins as soon as the starter is mixed into your dough. This step of the process usually takes about 4 to 5 hours for me. However, this can be highly variable depending on the activity of your starter and the temperature of your kitchen. I'll be giving time cues here but keep in mind that fermentation may occur at a different pace in your home kitchen.
I like to start a 4 hour timer as soon as I mix my starter into my dough, then I observe my dough as the end of my timer gets close. If my dough looks airy, bubbly and has increased in volume then I proceed to shaping. Pay attention and feel free to shorten or even add time depending on how your dough is progressing.
Short on time? Check out my recipe for Sourdough Discard Rosemary Olive Oil Bread instead!
Shaping
Feel free to shape this dough however you like. Check out my guides on Sourdough Batard Shaping and Sourdough Boule Shaping for detailed descriptions!
Scoring
Scoring bread has a very important purpose, it directs the expansion of the dough and gives the steam a way to escape while it bakes in the oven.
Want to learn how to score decorative patterns on sourdough? Check out my Sourdough Scoring Guide!
Recipe FAQs
Autolyse simply refers to the rest period after flour is mixed with water. It kickstarts gluten development and allows the dough to build strength and extensibility before fermentation begins. This extra step, allows your bread to stay nice and light with an open crumb even with inclusions.
If you don't have a banneton, you can shape your dough into a boule and proof it in a mixing bowl lined with a tea towel.
Yes! Fresh rosemary is not as aromatic as dried rosemary so you'll need to double the amount for this recipe to detect the flavor in the bread.
You may also like

Did this recipe rise to the occasion?
★★★★★
Leave a star rating and a comment. Your feedback inspires future recipes and helps others feel confident choosing what to bake next. I read and respond to every message.
If you're looking for additional ways to support my work, share this recipe or buy me a Ko-fi. Every little bit helps me keep creating the recipes and guides you enjoy.
Thank you for your support!
Rosemary Sourdough Bread Recipe
Equipment
- Peeler
This section may contain affiliate links
Ingredients
- 90 grams whole wheat flour
- 300 grams bread flour
- 282 grams water
- 113 grams sourdough starter mature and active
- 8 grams salt
- 6 grams dried rosemary
- 1 lemon
Click US Customary to view volume measurements
Instructions
Day 1
- Autolyse: In a large mixing bowl, combine whole wheat flour, bread flour and water. Using a wooden spoon or spatula, stir the ingredients together until no traces of dry flour remain. Cover the bowl with plastic wrap, set in a warm place and let the dough rest for 1 hour.
- Prepare the inclusions: Using an apple peeler, strip the rind off of 1 lemon, but be careful not peel too deeply into the bitter white pith. Finely chop the rind and set aside.
- Add the starter and inclusions: Add the sourdough starter, salt, dried rosemary and lemon peel to the autolysed dough. Fold the dough over the sourdough starter and the inclusions until fully incorporated. Cover the bowl with plastic wrap and set in a warm place for 30 minutes.
- Strengthen the dough: Perform a coil fold by picking the center of the dough with your fingertips. Lift the dough until the ends release from the bowl. Turn the bowl 90 degrees and perform another coil fold. Transfer the dough to a clean, lightly-oiled bowl, cover with plastic wrap and set in a warm place for 30 minutes.
- Working in the bowl, complete 3 to 4 more sets of coil folds in 30 minute intervals. Cover the bowl with plastic wrap and set in a warm place after each fold. Once the dough looks smooth and feels strong, let the dough rest untouched for 1 hour.
- Preshape the dough: Turn the dough out on a lightly floured surface. Using a bench knife, turn the dough over and gently round it into a tight ball. Cover the dough with a tea towel and leave the dough to rest for 30 minutes.
- Shape the dough: Shape the dough into a boule or a batard. Cover the bowl with plastic wrap.
- Cold proof: Place the dough in the refrigerator to proof overnight.
Day 2
- Prep: Preheat the oven to 500 F with a Dutch oven inside.
- Score the dough: Turn the dough out onto a piece of parchment paper. Cut a large gash on the dough at least ¼ to ½ inch deep.
- Bake: Transfer the dough into the Dutch oven with the parchment paper. Bake covered for 25 to 30 minutes and uncovered for 10 to 15 minutes, depending on how dark you'd like the crust.
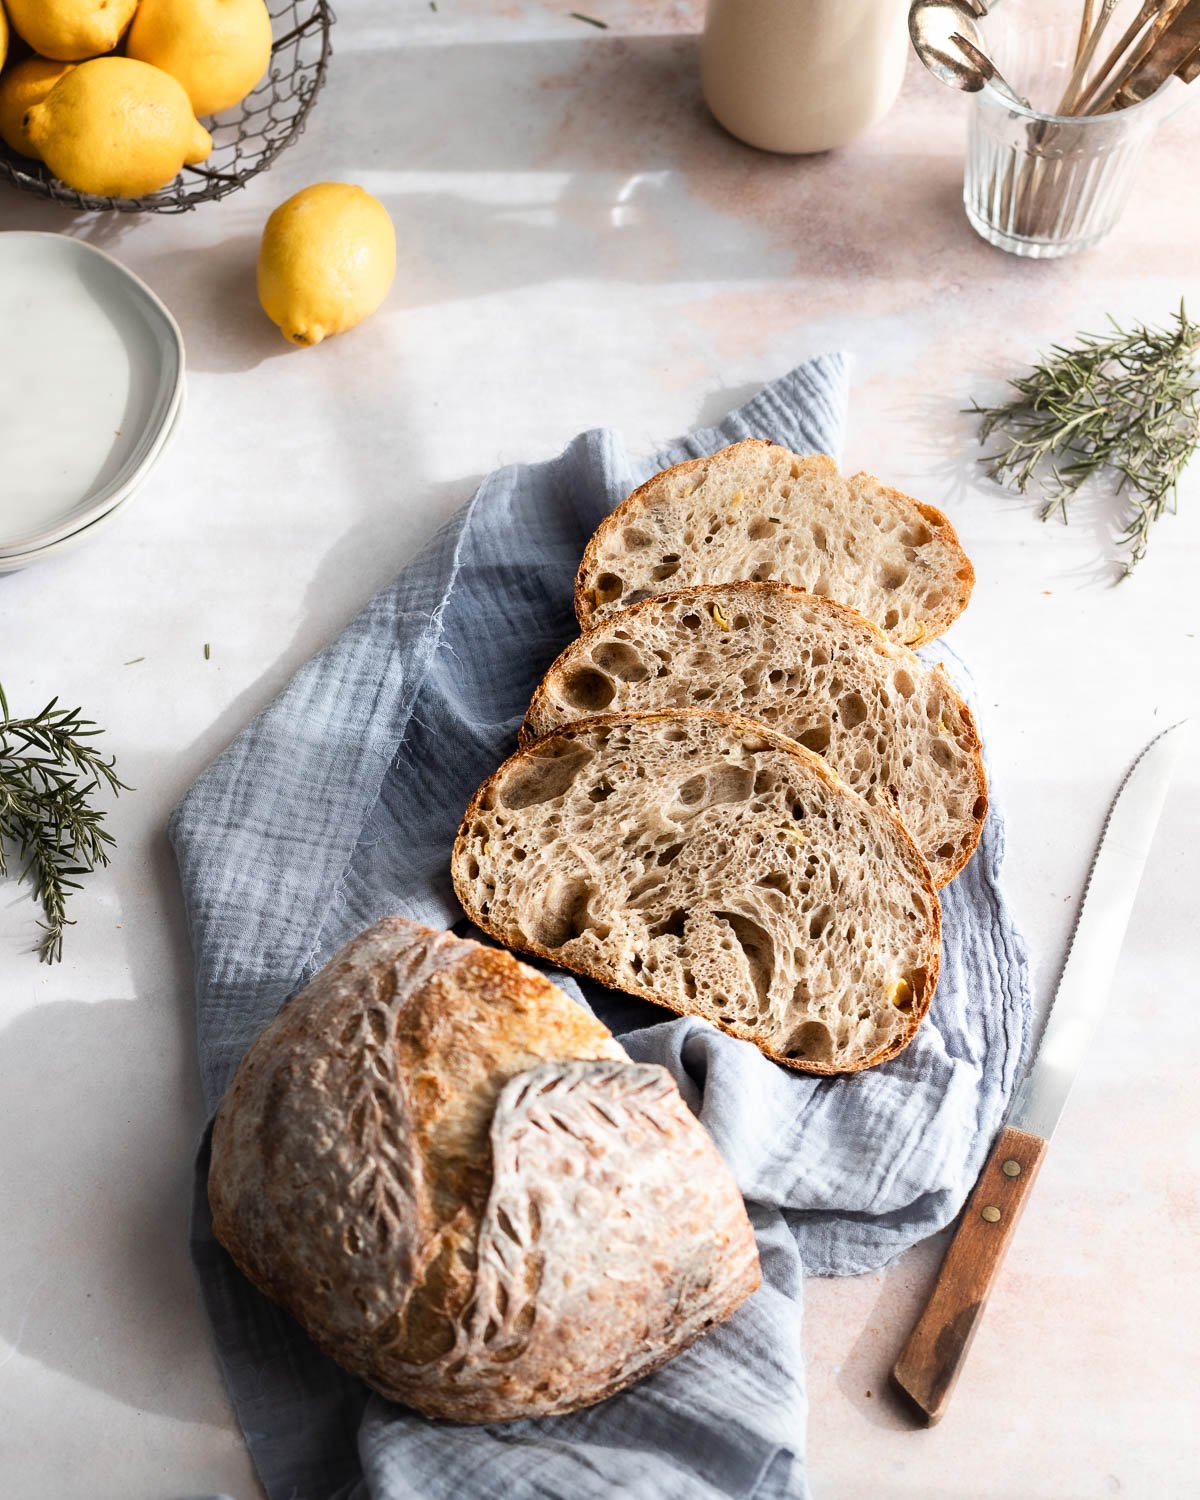
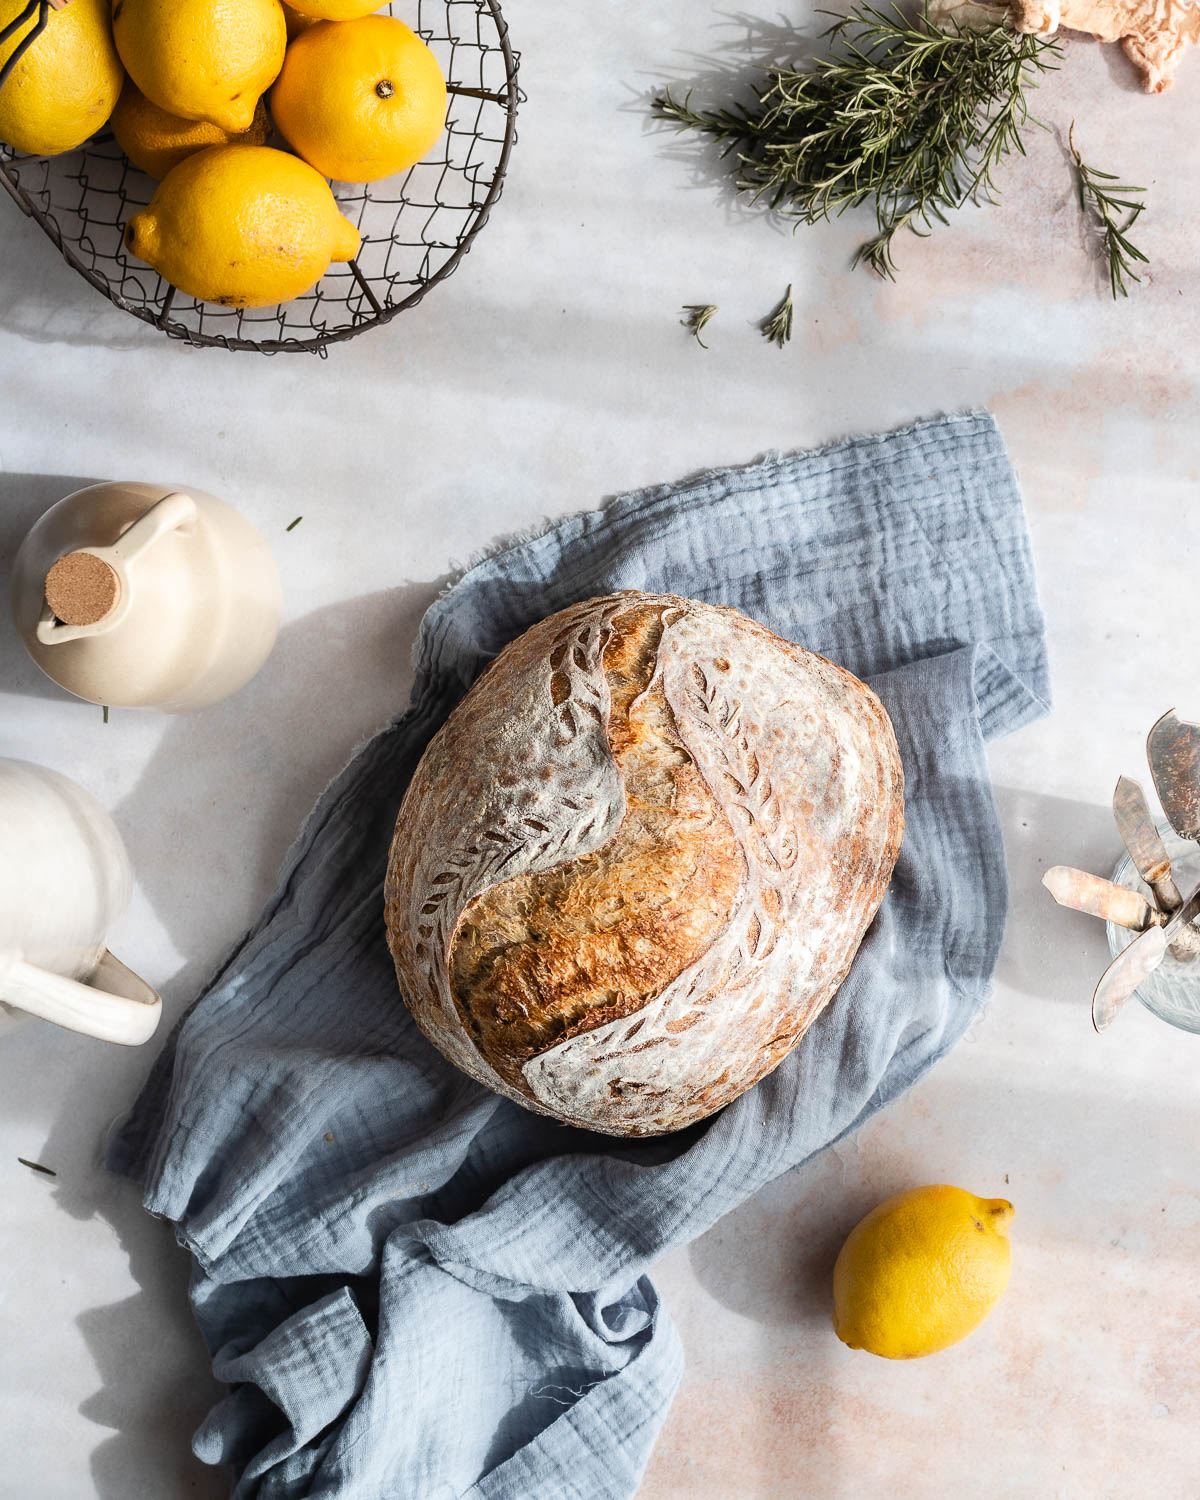
- Serve: Transfer the bread to a wire rack and allow it to cool for at least 2 hours before slicing.
- Store: Store any leftover slices of sourdough in a ziplock bag at room temperature for up to 3 days.
Tips
These recipes were developed and tested using grams for precise measurements. To increase your chances of success, I recommend investing in a kitchen scale. I've included rough volume estimates (in tablespoons and cups), but they might not be totally accurate.
Remember all ovens are unique, these recipes were tested in my oven which runs cooler than others. You might need to lower the temperature if your bake appears to be browning too quickly. Monitor your bake closely and make adjustments if needed.
Notes
Nutrition
I am not a nutritionist or dietitian, any nutrition information provided is an estimate.


Tina says
DELICIOUS! I almost skipped the lemon peel, then almost used my microplane because i felt lazy - boy howdy am i glad i stuck with the recipe - the lemon flavor is so wonderful and bright!! I actually forgot salt on my first batch like a goof, but it was still so good. i just know it will be mindblowing next batch when i remember the salt LOL
Hannah Dela Cruz says
Hi Tina! So glad you went with the lemon peel strips. They do make sure a big difference.
Sandy says
This is a beautiful, fragrant and delicious loaf !
Sandy says
I’m confused! Usually after stretch and fold I let the dough do a first proof on the kitchen counter / that takes hours. Then I shape and put the dough into a banneton overnight before baking. The first rise is skipped here. Is that intentional ?
Thx
Hannah Dela Cruz says
Hi! The first rise isn't skipped. It happens while the dough is being folded as well. So the dough has a 4 hour bulk ferment which includes several intervals where you're folding it and a 1 hour rest on the counter. It should be 4 hours total of bulk fermentation.
Sandy says
The bread turned out beautifully ! It’s a keeper!
Thank you
Julia says
Hi! I was confused by this too as all other bread recipes I've seen include a bulk ferment on top of the stretch and folds/coil folds. In my case the bread turned out gummy and dense (I think underproofed?)-- which is odd because my kitchen is HOT this time of the year! Do you think adding that would help next time? Or could it be that it lost hydration because I kept it covered with a damp tea towel instead of plastic during the cold ferment? Thanks either way, it is so fragrant I am tempted to eat it all the same haha
Hannah Dela Cruz says
Hi Julia – this sounds like the bulk ferment was too short. Bulk fermentation starts as soon as you add your starter, so the dough is fermenting the entire time, even during folds. If it doesn’t feel light and full of air when you go to shape, it needs more time. The timelines in my recipes are just a guide since fermentation depends on your starter and environment. If your dough seems underproofed, let it rest for another hour or two before shaping.
Dave says
day 2...out of the fridge...into the oven. how much time between ❓ the dough has to recover and start producing Co² in a final rise.
Hannah @ Make It Dough says
Hi! The dough is baked immediately out of the fridge. Letting it rise out of the oven will cause the dough to become overproofed. Fermentation slows but it doesn't stop in the fridge so your dough is ready to go after the overnight rise.