

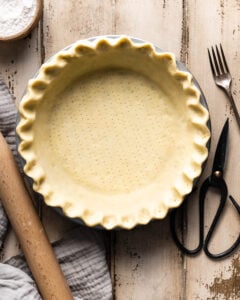
If you've dreamed slicing into a golden pie filled with juicy fillings but have had trouble making pie crust in the past, this recipe is for you! I'll show you how to use your sourdough discard to make an all-butter pie crust that turns out tender and extra flaky every time.
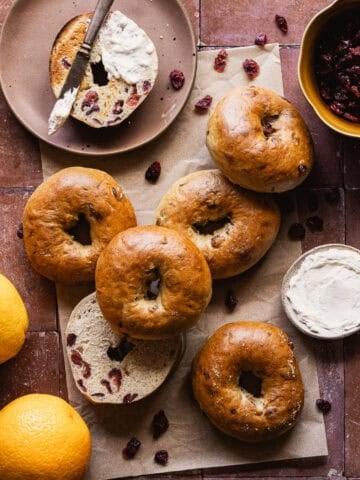
Sourdough adds a delicious flavor to flaky pastry that works beautifully for apple pie at Thanksgiving, pumpkin pie in the fall, or even empanadas when I'm feeling nostalgic for the snacks my family used to make.

I originally published this recipe in Nov. 2022 and have added new photos and tips for success.
5-STAR REVIEW
I am 81 years old and have finally learned how to make a really flaky pie crust. Thank you for this recipe. I made some hand pies with it and they were absolutely delicious!!!!
Brenda
There's nothing more frustrating than spending time and money on a pie, only to have the butter melt out in the oven and end up with a tough, gummy crust. I've had my fair share of pie failures usually from overworking the dough or letting the butter get too warm, which causes the crust to bake up dense instead of light and flaky.
My recipe includes one small extra step that makes a big difference, lamination! This means folding the dough a few times to build layers of butter and dough. It's a simple technique that guarantees a flaky, tender crust even if pie dough has given you trouble in the past.
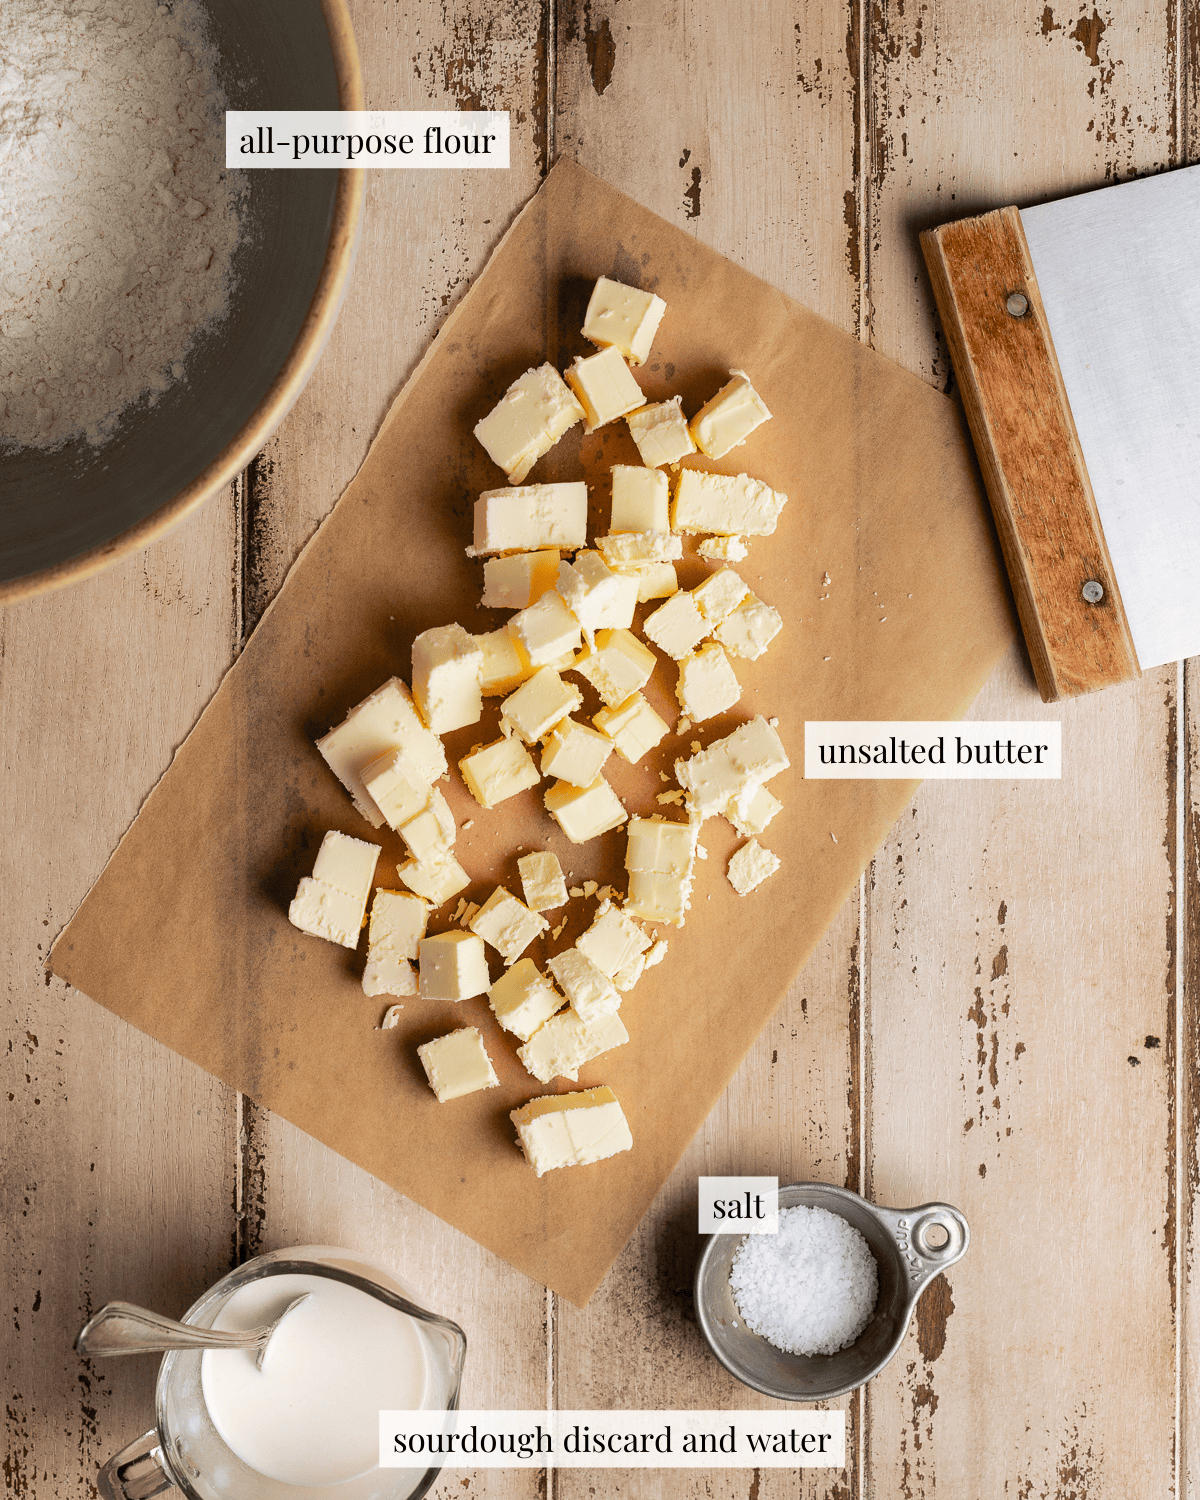
Ingredients
Step-by-step Instructions
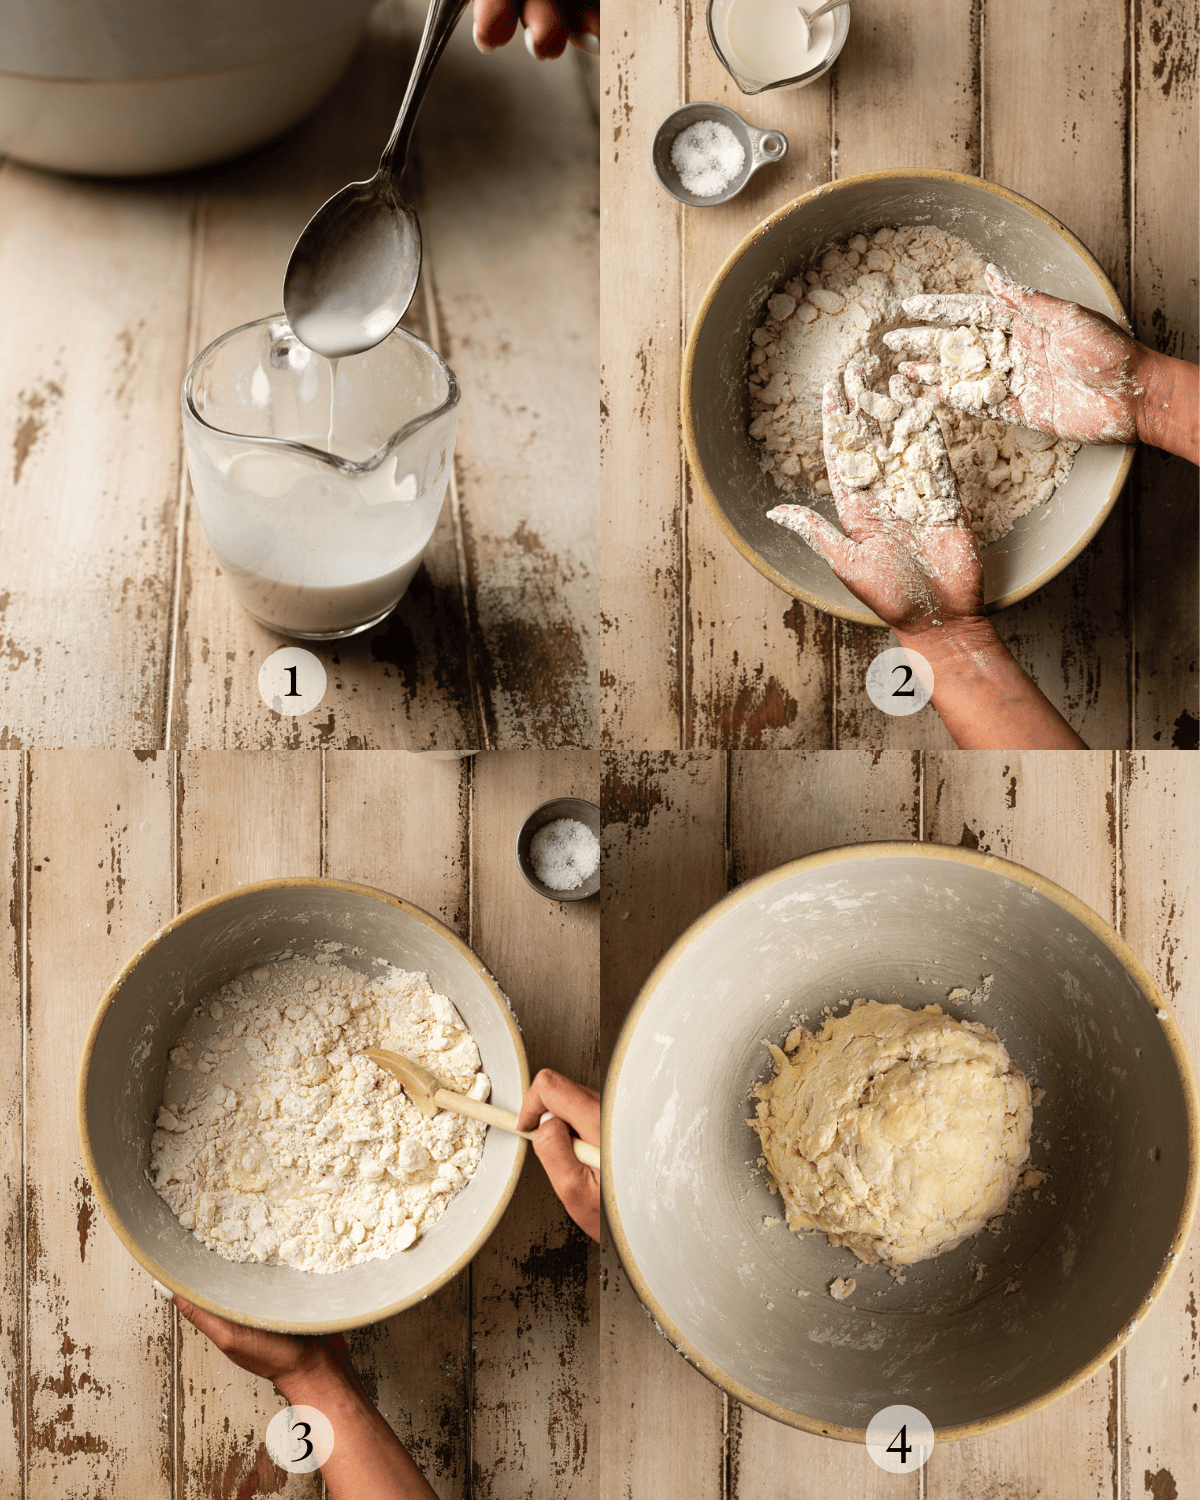
Make the dough
Dissolve the starter in water (image 1). Rub the butter into the flour and salt using your hands or a pastry blender (image 2). Stir the dissolved starter into the butter and flour mixture (image 3). Gather dough up into a ball turn it out on to a piece of plastic wrap, refrigerate for at least 30 minutes (image 4).
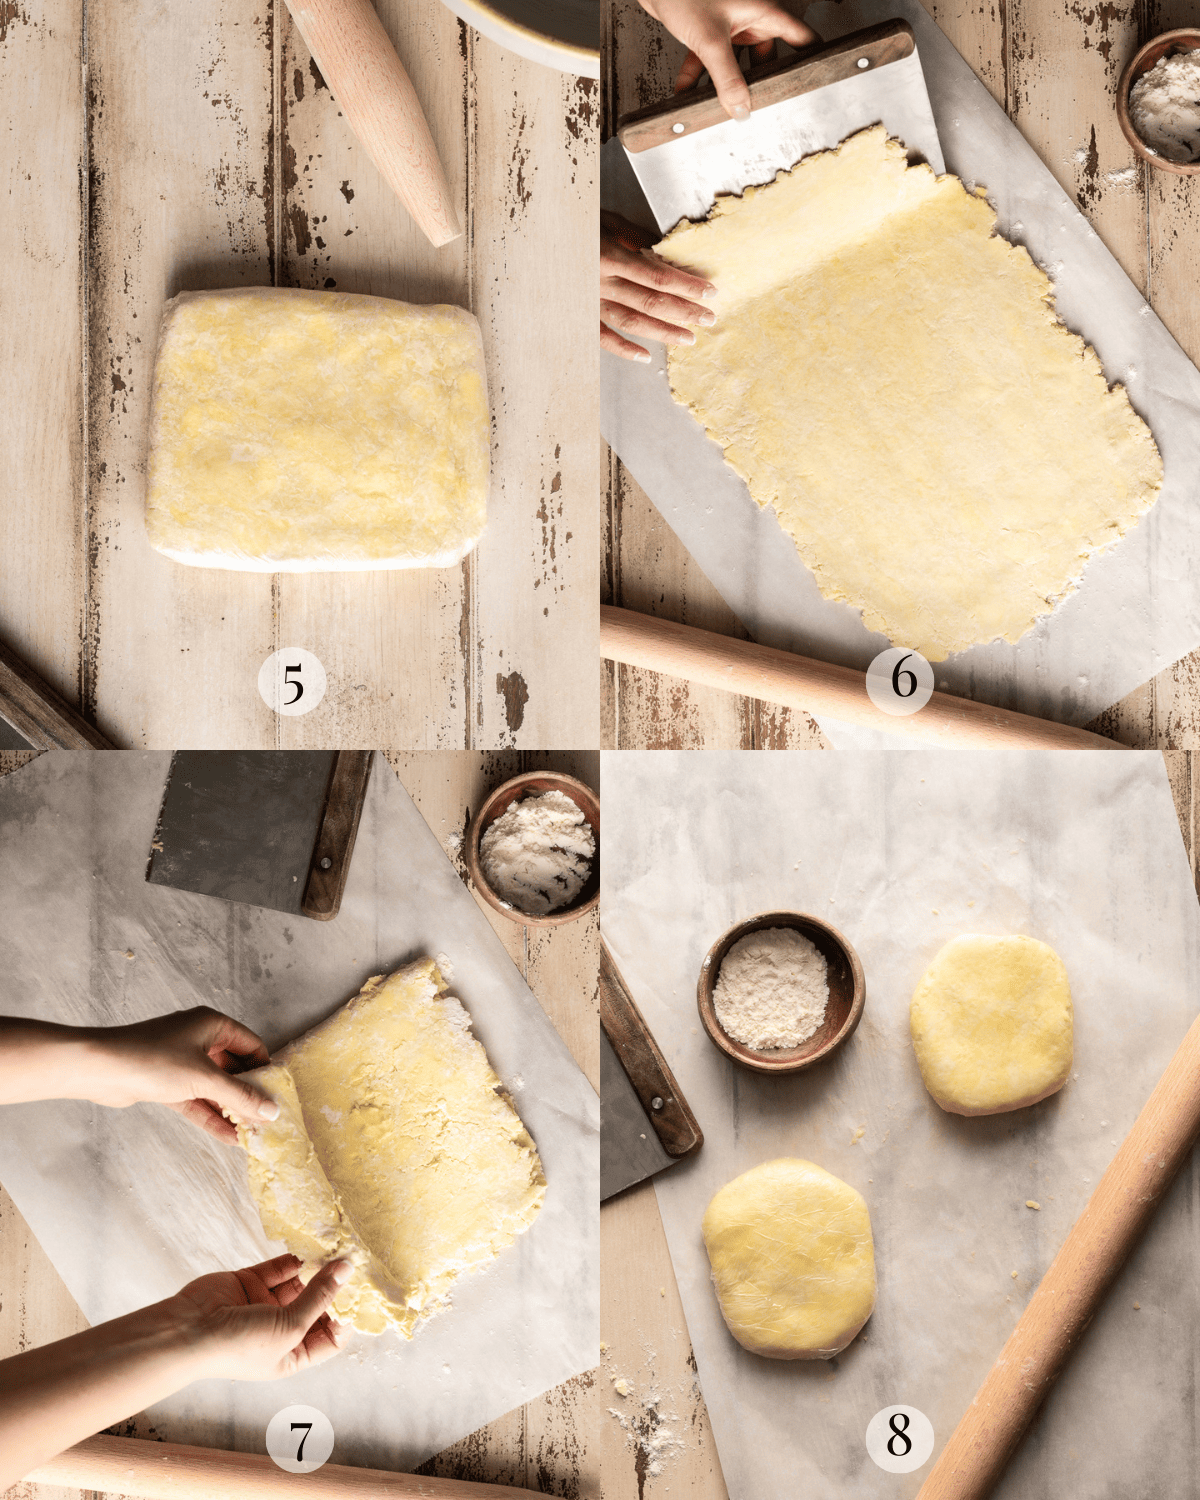
Laminate the dough
Wrap the dough in plastic wrap and flatten it out into a rough rectangle, chill the dough for at least 30 minutes (image 5). Flatten the dough out into a large rectangle about ⅛-inch thick, size doesn't have the be exact. Fold the dough in half(image 6). Fold the dough once more until it's only a quarter it's original size (image 7). Divide the dough in half. Round the dough into two discs. Wrap each portion of dough in plastic wrap and refrigerate for at least 2 hours before using (image 8).
Lamination is totally optional! If you're already successful with creating tender pie crusts then you can totally skip this step
Roll out the dough
Roll out the dough (image 9). Carefully transfer the dough to a pie plate (image 10).

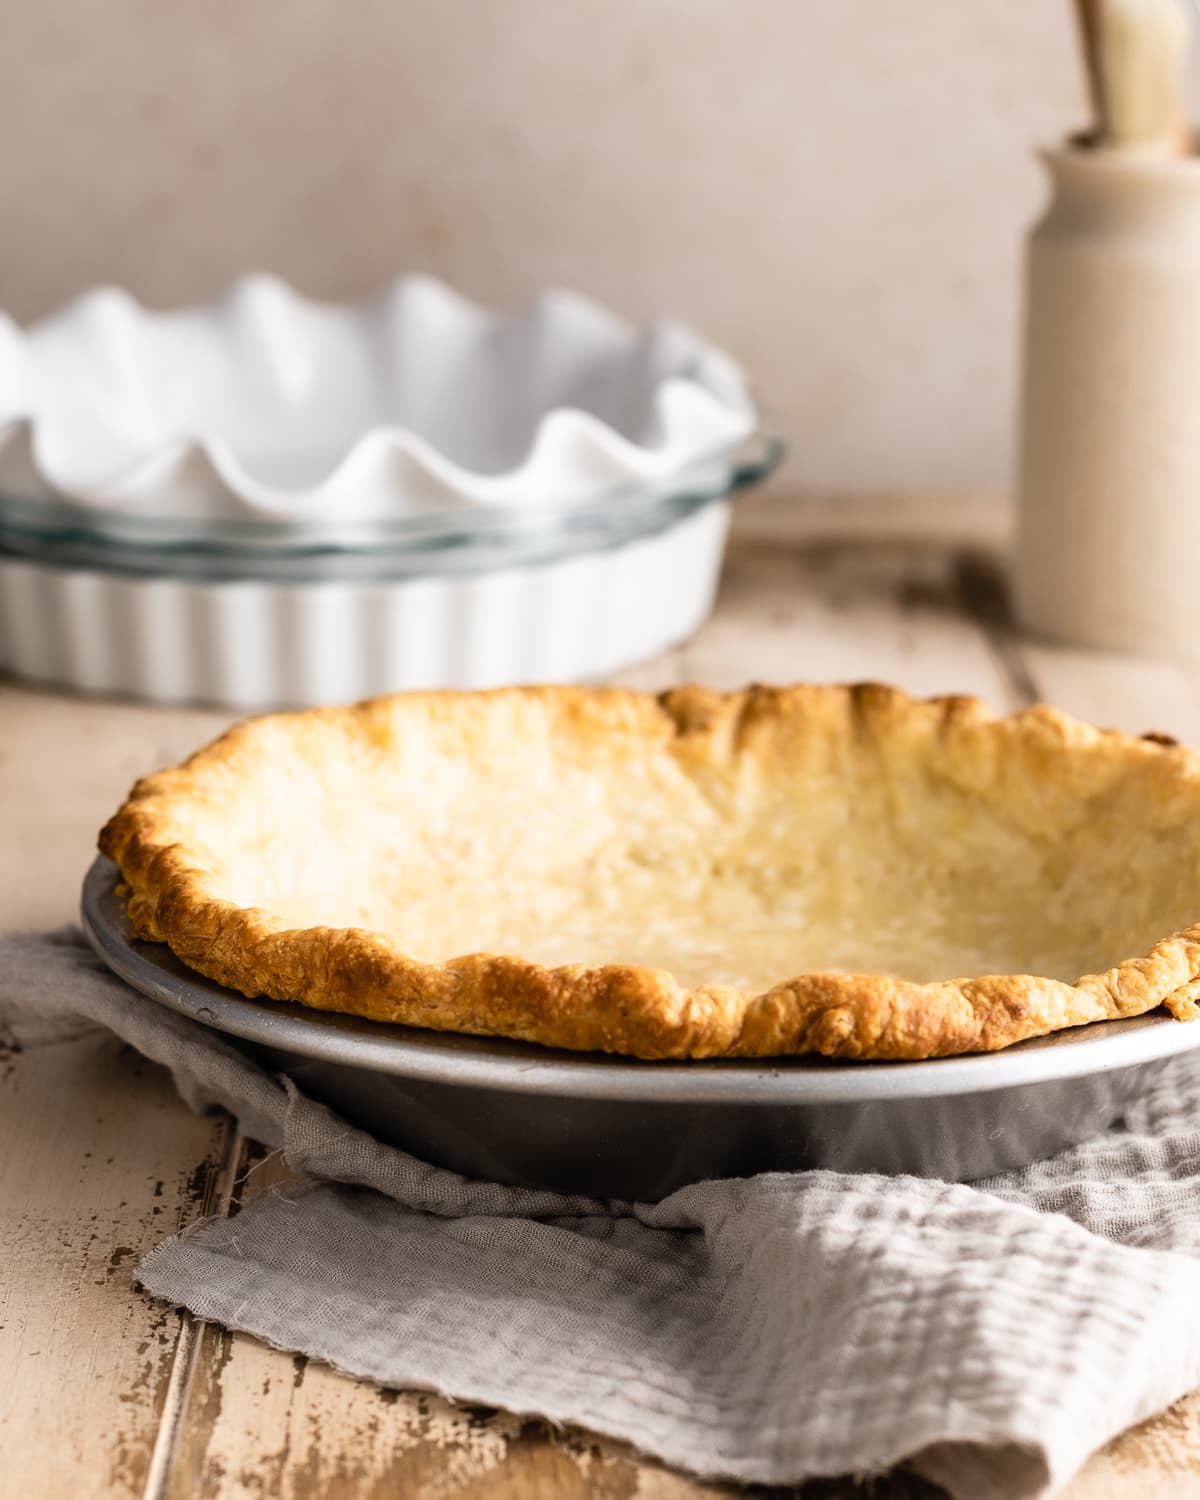
Bake the crust
Par-baking: Bake the dough at 425 F with pie weights for 20 minutes, remove weights from the bottom crust and continue baking at 375 F for 7 minutes or until the crust is just beginning to brown.
Blind Baking: Bake the dough at 425 F with pie weights for 20 minutes, remove weights and continue baking at 375 F for 7 minutes or until the crust is just beginning to brown.
Baking a Double-crust Pie: Assemble your pie. Bake the pie at 400 F for 40 to 45 minutes or completely browned.
Tips from Hannah's Test Kitchen
- The dough might feel a little crumbly right after mixing but, don't worry, that's totally normal. Adding more water can lead to too much gluten, so hold off. Plus the dough will come together as you laminate.
- If your dough starts to feel greasy or sticky while you're rolling it out, just wrap it up and pop it in the fridge. That means the butter is starting to melt, and cooling it down will help you keep those flaky layers intact.
- Once you're ready to fill your pie plate, take the dough out of the fridge for 5 minutes before rolling it out. Trying to roll the dough out straight from the fridge can cause it to crack or break apart. Letting your dough warm up a little will make it much more pliable and easier to work with.
How much does this recipe make?
This recipe makes enough for:
- 1 double crust pie
- 2 single crust pies
- 1 large galette
- 4 mini galettes
- 1 batch of sourdough turnovers
Can I make this ahead of time?
Prep ahead:
This dough keeps beautifully, so you can prep it up to a week in advance. Just laminate, wrap it tightly in plastic wrap, and stash it in the fridge until you're ready to roll it out.
Freeze for later:
You can also freeze the dough for up to a month. When you're ready to use it, let it thaw overnight in the fridge and roll it out according to the recipe instructions.
Did this recipe rise to the occasion?
★★★★★
Leave a star rating and a comment. Your feedback inspires future recipes and helps others feel confident choosing what to bake next. I read and respond to every message.
If you're looking for additional ways to support my work, share this recipe or buy me a Ko-fi. Every little bit helps me keep creating the recipes and guides you enjoy.
Thank you for your support!
Extra Flaky Sourdough Pie Crust
This section may contain affiliate links
Ingredients
- 226 grams unsalted butter cold
- 56 grams water plus more if needed
- 75 grams sourdough discard
- 270 grams all-purpose flour
- 6 grams salt
Click US Customary to view volume measurements
Instructions
- Prep: Cut the butter into ½ inch cubes. Place them in the refrigerator until ready to use. Stir the sourdough discard in water until almost completely dissolved. Set aside.226 grams unsalted butter, 75 grams sourdough discard, 56 grams water
- Cut the butter into the flour: In a large mixing bowl, toss the butter, salt and all-purpose flour together making sure all the butter pieces are completely coated. Use your fingers to squeeze the butter pieces into flat discs, continue working the butter into the flour by rubbing everything together using your palms.270 grams all-purpose flour, 6 grams salt
- Make the dough: Make a well in the center of your flour mixture and pour the discard mixture in the center. Use a stiff spatula or sturdy wooden spoon to toss the flour and discard mixture together.
- Using your hands, begin lightly kneading and bringing the dough together, until it comes together in a cohesive mass (it's ok if it looks a little dry). Add more water a tablespoon at a time if the crust is too crumbly.
- Wrap the dough in a piece of plastic wrap and refrigerate for at least 30 minutes.
- Laminate the dough: Unwrap the dough and place it on a clean, floured surface. Dust your rolling pin with flour and flatten the dough out into a large rectangle, about ⅛-inch thick.
- Fold the dough in half, fold it once more, until it's only a quarter it's original size.
- Divide the dough in half.
- Chill: Round the dough into two discs. Wrap each portion of dough in plastic wrap and refrigerate for at least 2 hours before using.
- Roll out the dough: Set the dough out at room temperature for 15 minutes. Unwrap the dough and set it on a lightly-floured surface. Dust your rolling pin in flour. Flatten the dough out into a large circle, perform a quarter turn after each time you pass the rolling pin over the dough. Continue until you've rolled the dough out into your desired size.
- Carefully transfer the dough to a pie plate. Chill the dough covered in plastic wrap and refrigerate for at least 30 minutes before baking.
- To par-bake: Line chilled pie dough with a piece of crumpled parchment paper. Fill with pie weights (see note). Bake at 425 F for 15 minutes. Remove the parchment with pie weights, return the crust to the oven and continue baking at 375 F for 7 to 10 minutes or until the bottom begins to brown.
- To blind bake: Line chilled pie dough with a piece of crumpled parchment paper. Fill with pie weights (see note). Bake at 425 F for 15 minutes. Remove the parchment with pie weights, return the crust to the oven and continue baking at 375 F for 15 to 20 minutes or until the bottom is completely browned.
- To bake a double crust pie: Assemble your pie. Bake the pie at 400 F for 40 to 45 minutes or completely browned.
- Storage: Refrigerate the dough for up to a week or freeze for up to 1 month.
Tips
These recipes were developed and tested using grams for precise measurements. To increase your chances of success, I recommend investing in a kitchen scale. I've included rough volume estimates (in tablespoons and cups), but they might not be totally accurate.
Remember all ovens are unique, these recipes were tested in my oven which runs cooler than others. You might need to lower the temperature if your bake appears to be browning too quickly. Monitor your bake closely and make adjustments if needed.
Notes
- 1 double crust pie
- 2 single crust pies
- 1 large galette
- 4 mini galettes
- 1 batch of sourdough turnovers
Nutrition
I am not a nutritionist or dietitian, any nutrition information provided is an estimate.


Jane says
This was the flakiest most amazing pie crust I have ever made. The recipe is also very forgiving I thought the lattice looked horrible until I baked it.My apple pie was a hit thanks to your recipe.
Thank you
Hannah Dela Cruz says
Hi Jane! Thank you so much for your feedback and for trying my recipe. Love that it worked so well for you.
Mary Ann says
What does laminate mean when making a sourdough pie crust?
Mary Ann
Hannah Dela Cruz says
Hi Mary Ann! Laminating means rolling out the dough and folding it a few times. This creates layers of dough and butter which help the crust puff up as it bakes making an extra flaky crust. There are instructional photos in the step-by-step section of the blog post that may be helpful for you.
Maggie says
This is my favorite pie crust so far, it really is extra flaky! This recipe compared to others I've tried is a little wetter, which i prefer because it is so much easier to work with, but it also gives me the freedom to use plenty of flour while rolling and laminating. I use it to top my chicken pot pie and it's wonderful. I have a harder time using it for pie crust. I'm making a pumpkin pie right now and blind-baking it. My first thought is that this recipe (and all recipes I've tried) aren't quite big enough. I like the edges to lay flat on my pie pan with the dough doubled over and pinched. I find that if I can't get a good layer folded on top of the pie pan, I have sinking issues. (Maybe my pie pan is bigger than it should be since this is always an issue for me?) So next time I make this recipe, I'm going to make it about 1.25 times bigger so that I have plenty of dough to work with. It will be absolute perfection on the chicken pot pie as is. I cannot wait for dinner!
Hannah Dela Cruz says
So glad you found a way to make it work! Increasing the recipe is probably a good idea!
Nicole says
Best success I’ve had with a pie crust! I’ve used this recipe multiple times for chicken pot pie and quiche. I even froze a ball of crust for about 4 months, thawed in fridge overnight, and just made a perfect crust with it this morning. So good and flaky
Hannah Dela Cruz says
Thanks for your feedback! I love that this has helped you make delicious pies.
Crystal says
I made this pie crust for a chicken pot pie and it was delicious. I had to add 3-4 tablespoons of flour more in step 4 because it the dough was so wet, it was impossible to knead. The bottom crust was a little underdone and since my oven is a new convection oven, I think I need to lower the temperature. Next time I will try baking 350°F for 45-50 minutes to see if that works.
Hannah Dela Cruz says
Hi Crystal, thank you so much for your feedback! I'm glad the pie crust still turned out delicious despite some setbacks!
Denise says
amazing! best pie crust I've ever made and tasted. unbelievably flaky crust. thank you so much
Hannah Dela Cruz says
You're so welcome. So happy you loved the recipe!
Brenda says
I am 81 years old and have finally learned how to make a really flaky pie crust! Thank you for this recipe! I made some hand pies with it and they were absolutely delicious!!!!
Talene Manahan says
I’ve made pie crust a few times before, but went back to store bought because I didn’t think my efforts were worth the extra work. I saw recipes for pie crust with discard a while back when I was looking for ways to use the discard rather than throw it away. I had some apples that were about to be past their prime so I decided to give this recipe a try. I halved the recipe since I was making two individual Dutch apple mini pies in some oven safe small ceramic crocks. I chose to laminate in hopes of a flaky crust. Wow! Thank you for sharing this recipe. I don’t think I’ll be buying my crusts anymore. I was impressed with how it turned out, and unlike the store bought that I have to cover part way through baking because they tend to burn, this crust was beautiful even with the extended bake time to fully cook the apples. This crust recipe makes a crust with wonderful texture and flavor!
Hannah Dela Cruz says
Thank you so much for sharing your experience with this recipe! I had the same history with pie crusts and lamination also made a world of difference for me. Glad this recipe changed your relationship with pie crusts they are so worth the effort.
Abby says
Hey I was just wondering if I could freeze the pie crust for future use and If so at what stage would i? thx😁
Hannah @ Make It Dough says
absolutely! you can freeze the crusts after you've separated them into 2 discs. wrap them tightly in plastic wrap and they will keep well for up to 2 months.