

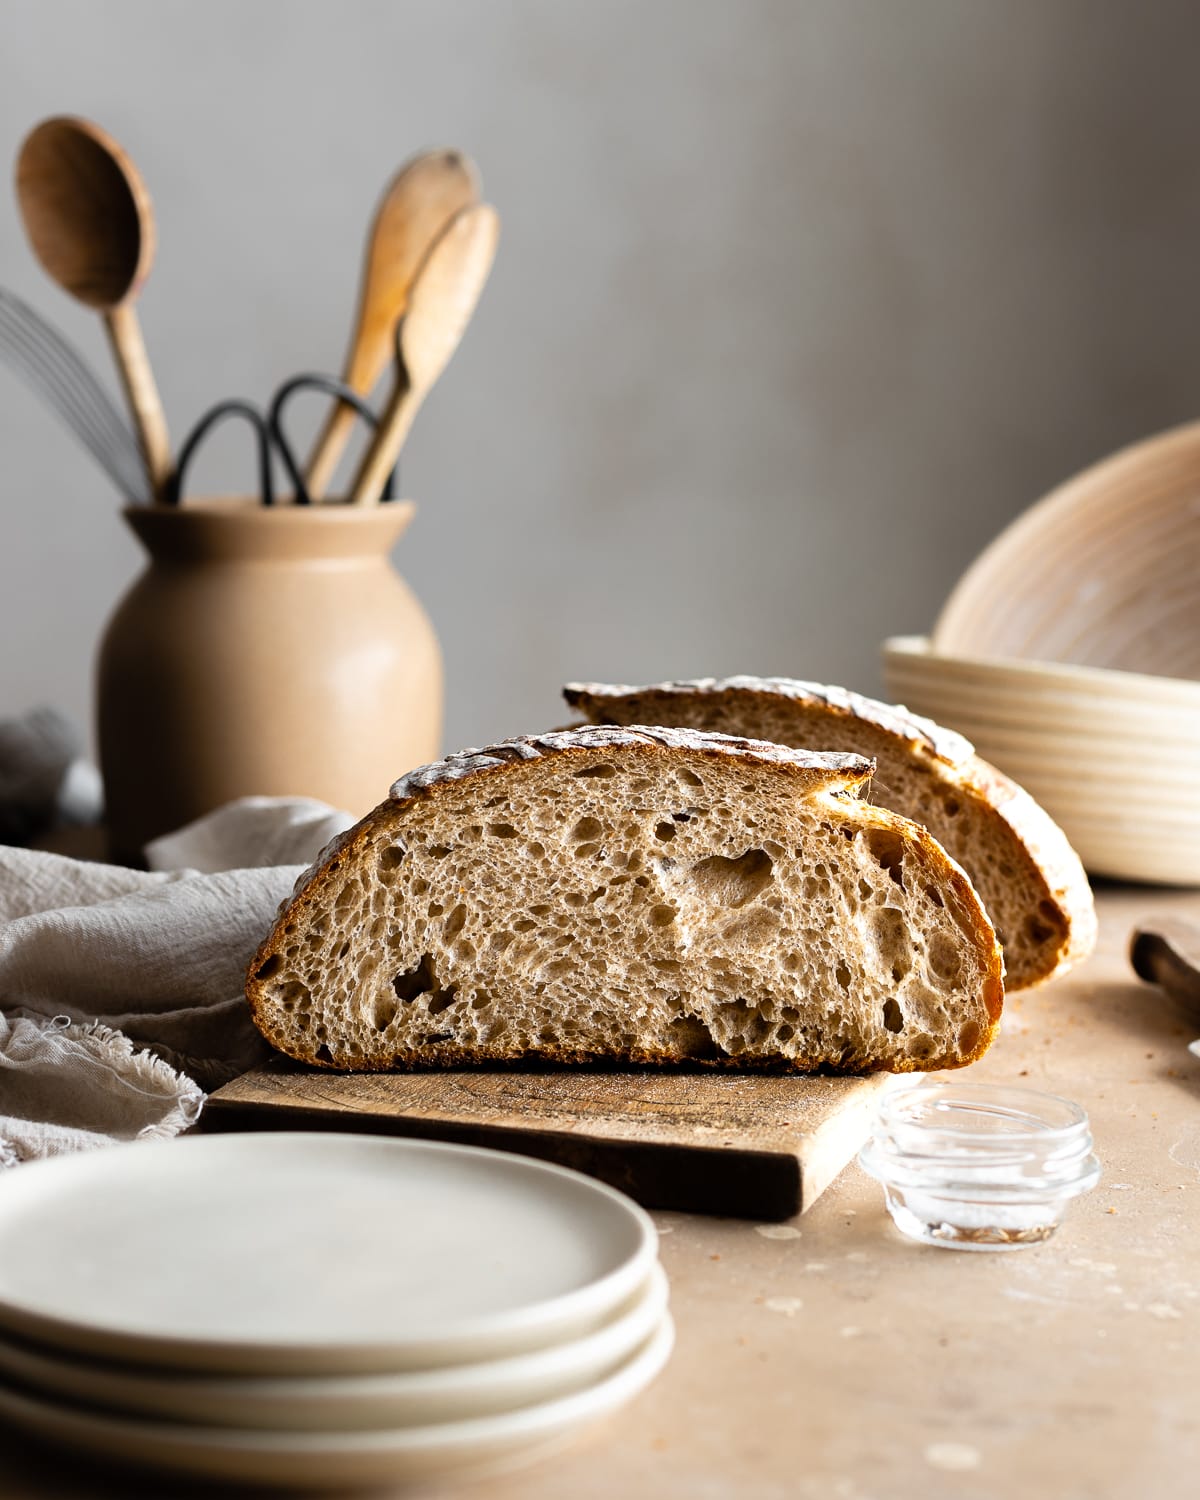
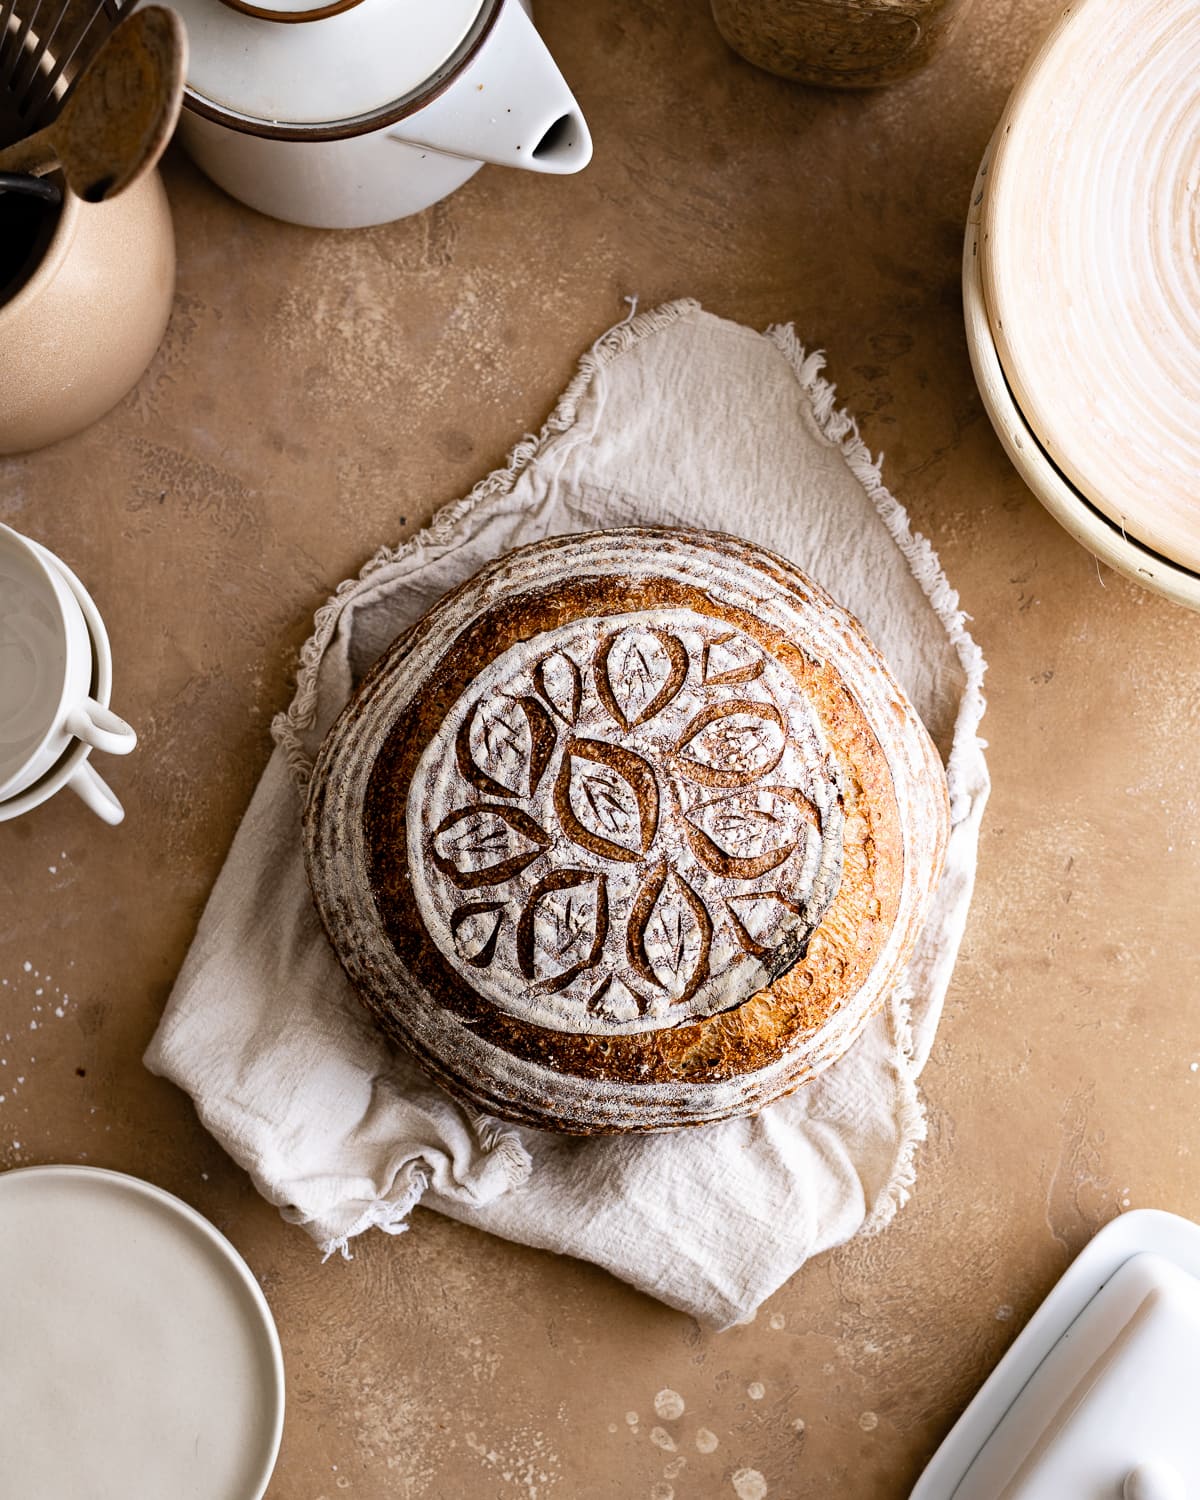
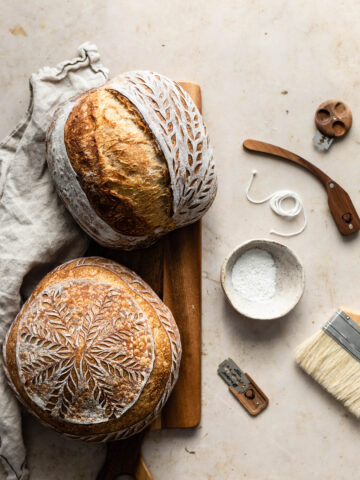
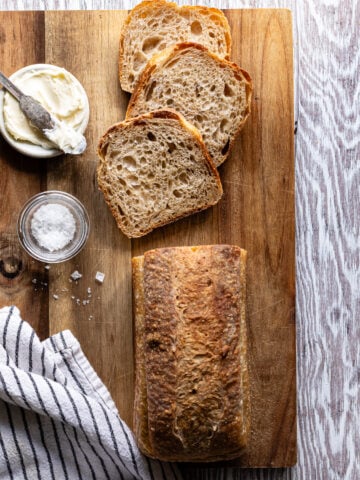
A round loaf of crunchy bread has a rustic and comforting feel that's perfect for tearing. Learn how to shape sourdough into a simple round boule with this easy step-by-step shaping guide.
Jump to:
What is a Boule?
Boule is French for ball and is commonly used to describe a round-shaped bread. A boule is one of many ways to shape dough. It gives a more rustic feel to crusty bread than a sourdough batard (oval shape) or a sandwich loaf. It's a simple shaping style that's perfect for beginners.
The Purpose of Shaping
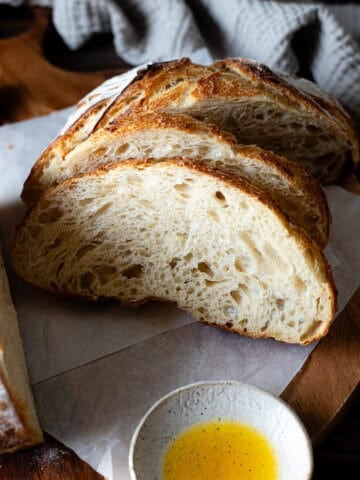
Shaping coaxes your dough into its final form, generating tension and structure that aids in upward expansion during proofing. It forms a skin that promotes an even exterior, and a loaf with a thin, crispy crust. Furthermore, it guides oven spring, ensuring uniform expansion during the baking process. Needless to say, shaping is pretty important!
What is Surface Tension?
Surface tension is the elastic "skin" that forms on the outer layer of liquids and is what prevents dough from falling apart. Techniques like stretch and fold and shaping helps increase this tension, enabling the dough to preserve its shape during proofing and its final expansion in the oven (oven spring).
Autolyse is another great way to add surface tension to your dough. Read my guide on how to incorporate autolyse in sourdough baking to learn more.
What You Need
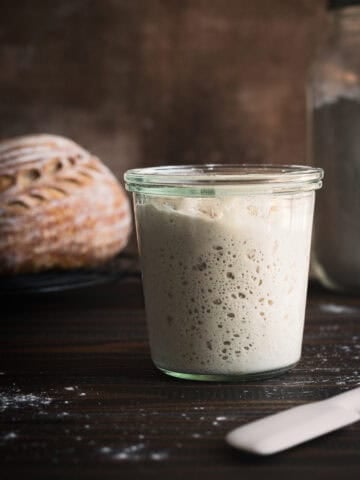
The first thing you need is dough that's gone through the first rise. Use your favorite homemade sourdough bread recipe.
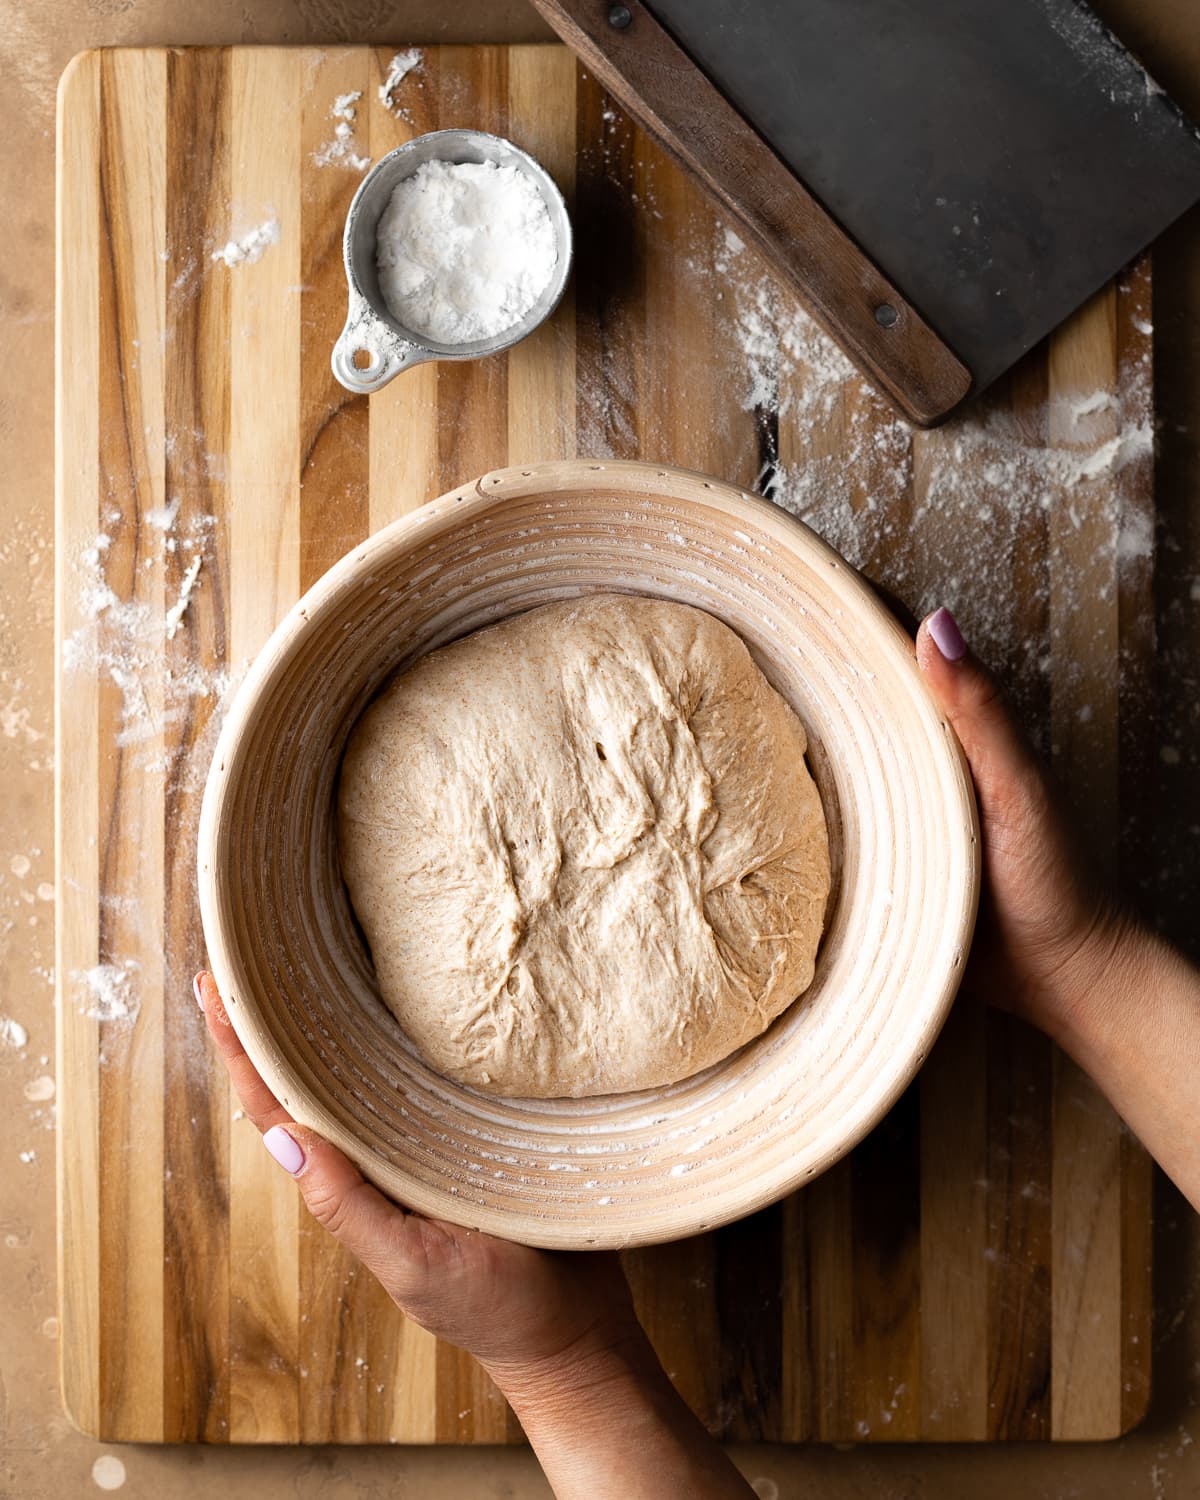
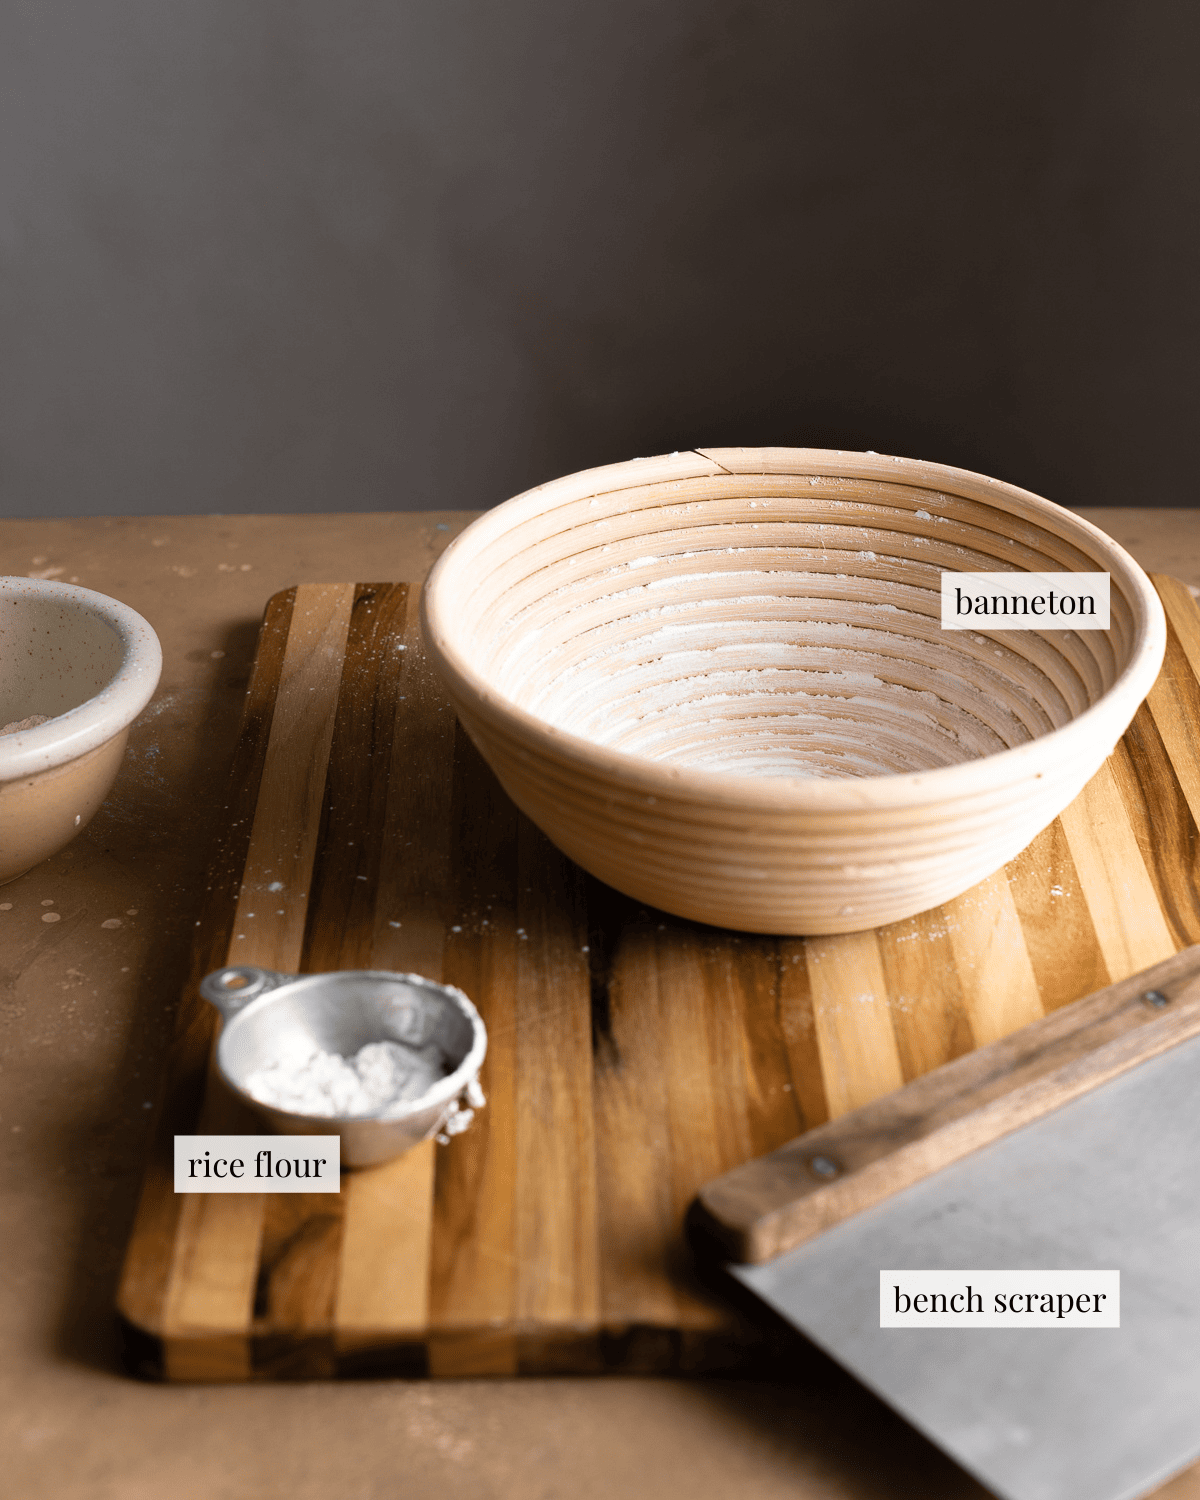
- Proofing basket: This is the container you'll place the dough in after the final shape and before final proof, it helps your dough rise up instead of spreading out.
- Round banneton: A rattan, wood or cotton basket, the organic materials naturally wick excess moisture away from the dough during final proof.
- Medium bowl (about 8 inches): I love this option as so many people already have one in their kitchen or can purchase one easily.
- Bench knife: a useful tool for any baker, especially when handling wet and sticky doughs during shaping, It facilitates easy flipping, rounding, and dragging. It's also useful for dividing dough to make Sourdough Dinner Rolls or Sourdough Flatbread.
- Rice flour (optional): rice flour doesn't have any gluten, this creates a nonstick surface between the dough and proofing basket. It also has an added benefit of making your sourdough scoring patterns pop. If you don't like the taste of rice flour you can substitute cornmeal or semolina.
- Kitchen towel (optional): when using a mixing bowl, line it with a kitchen towel dusted with rice flour to prevent the dough from sticking, you can also line a banneton with one if you don't want flour to build up.
- Brush (optional): will help brush away any excess bench flour so not too much gets incorporated into your dough.
Step-by-step Instructions
Pre-shape
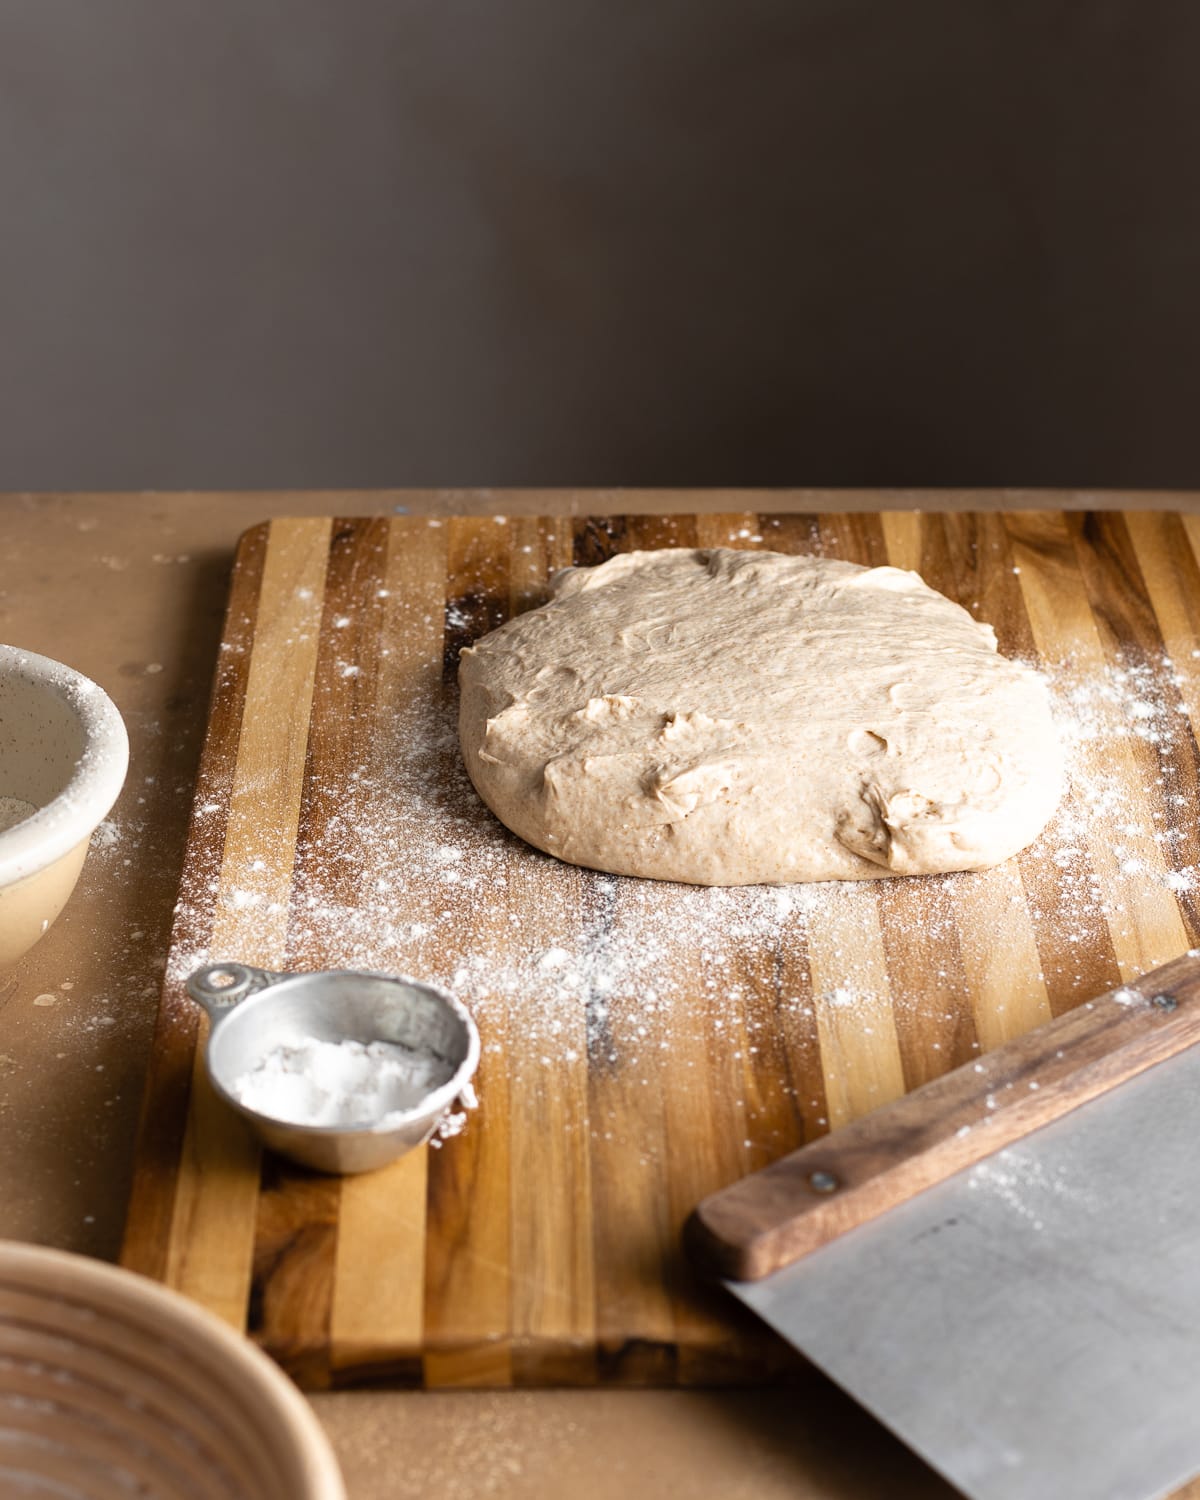
Step 1: At the end of bulk fermentation, turn bread dough out on a well-floured surface. Flip the dough over (divide if needed).
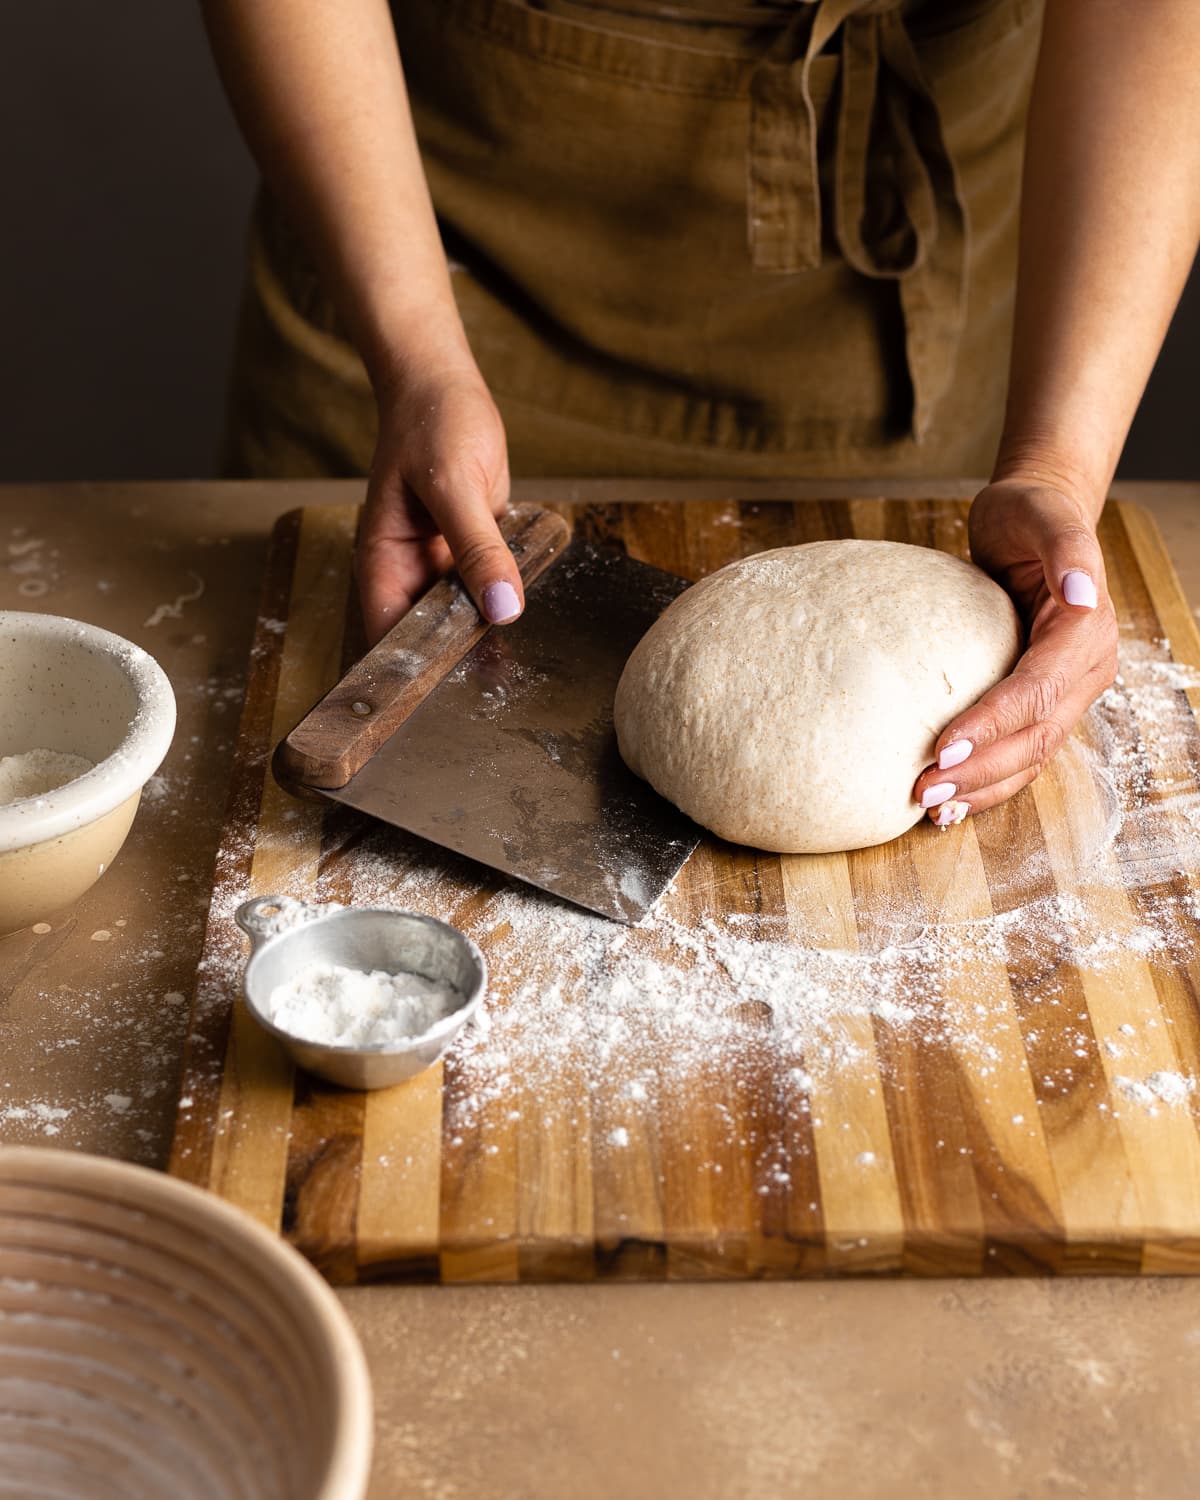
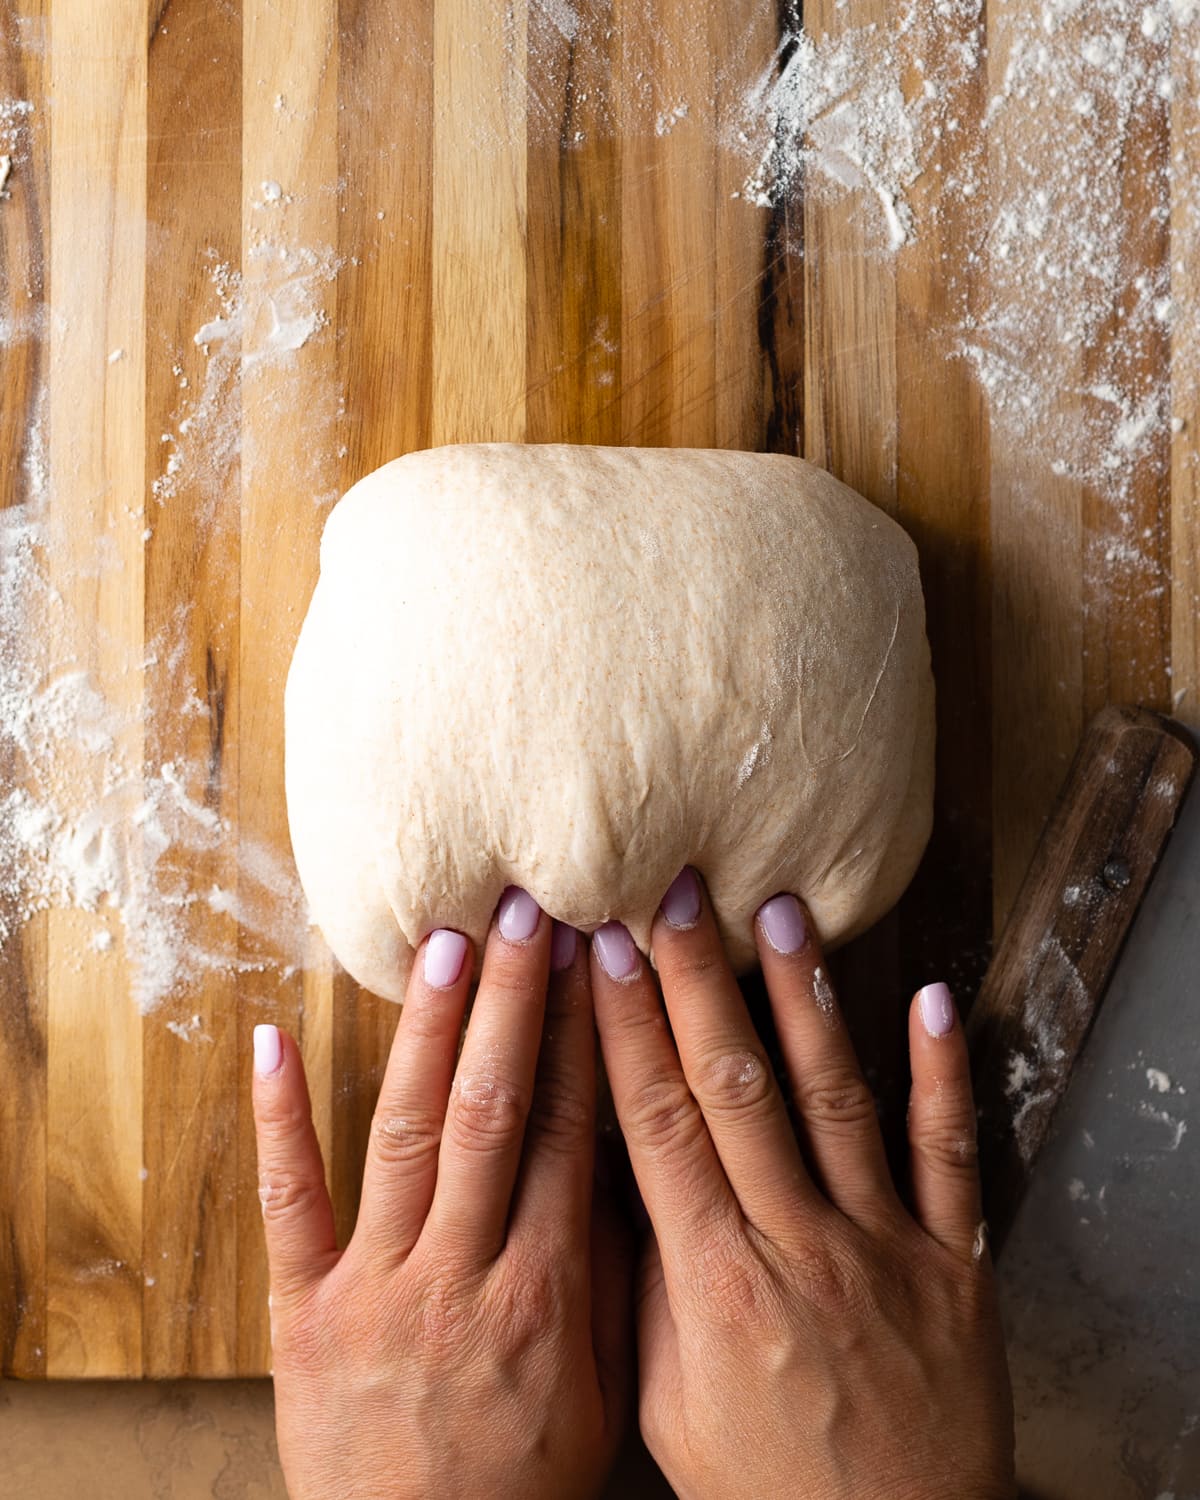
Step 2: Tuck a bench knife or the blade of your palms on the bottom of the dough and round it into a taut ball. Let dough rest covered with a tea towel on your bench for 15 minutes
TIP: Don't skip pre-shape! It preps the dough for its final shape, enhancing strength and structure, while also making the handling of sticky dough much easier with a brief bench rest.
Final Shape
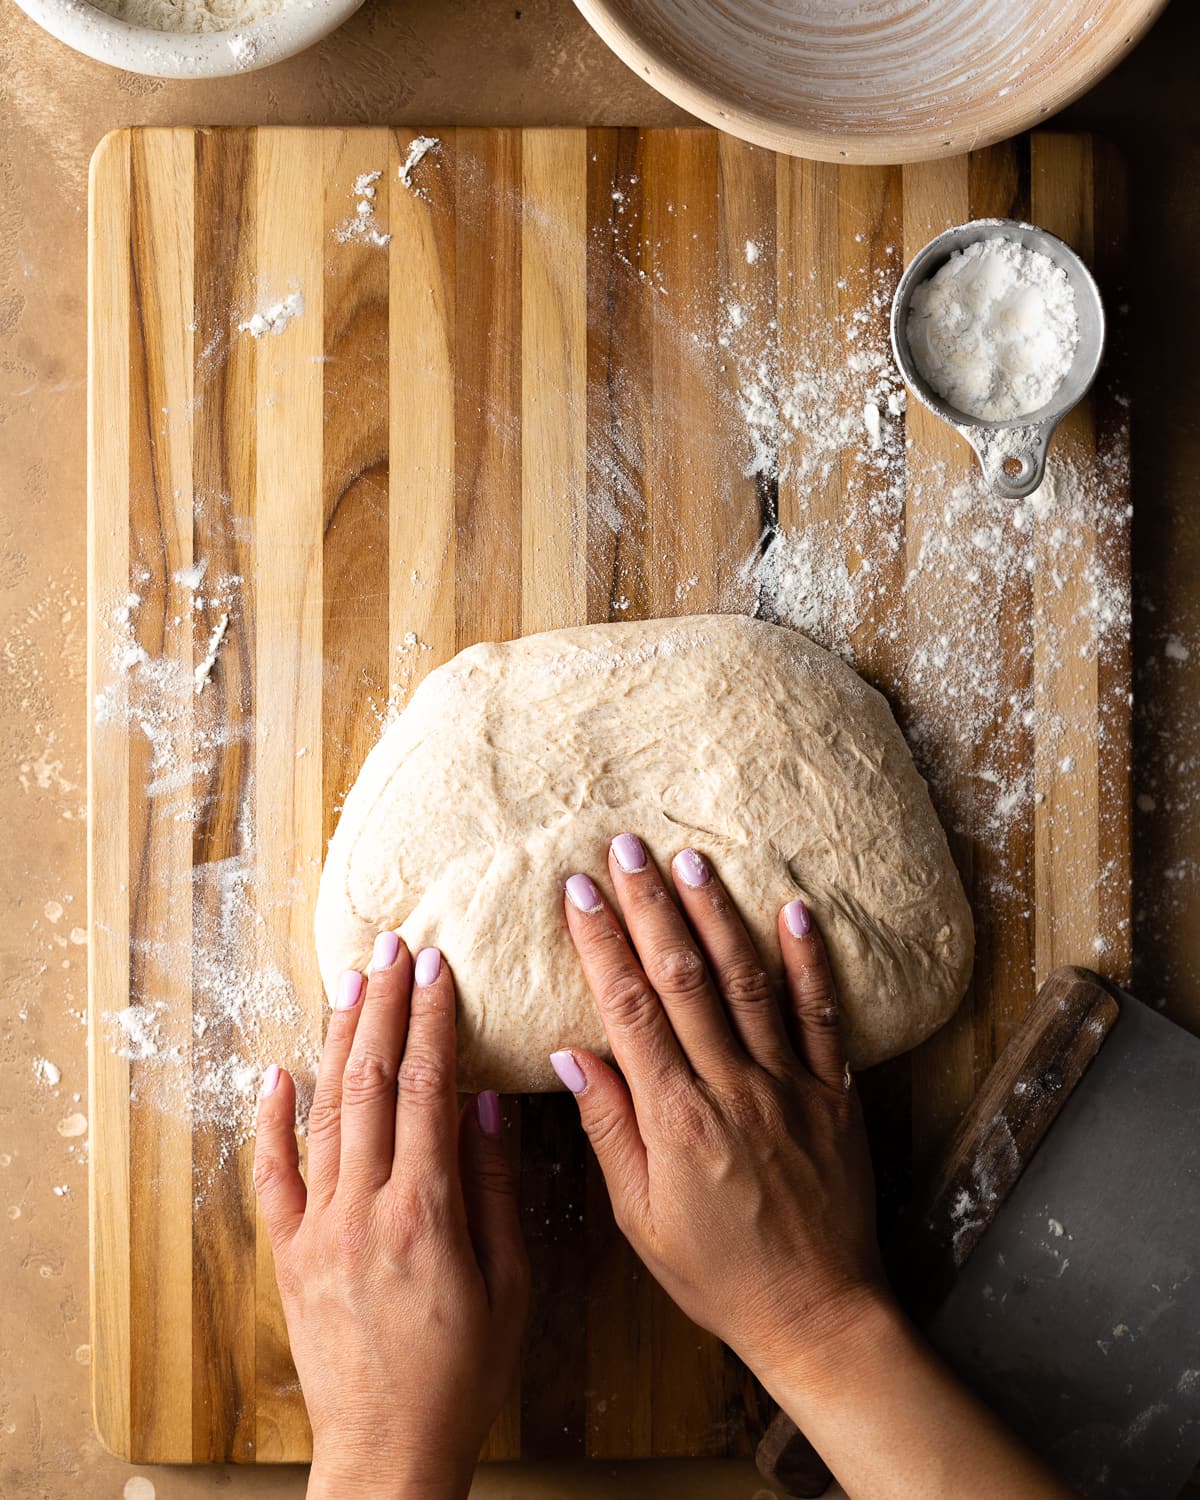
Step 1: Using your bench knife turn the dough over so the top of the dough is now on the bottom, fold the side closest to you (bottom) towards the middle.
Step 2: Starting on the left side, stretch the dough as far as it will go without tearing and fold it towards the center.
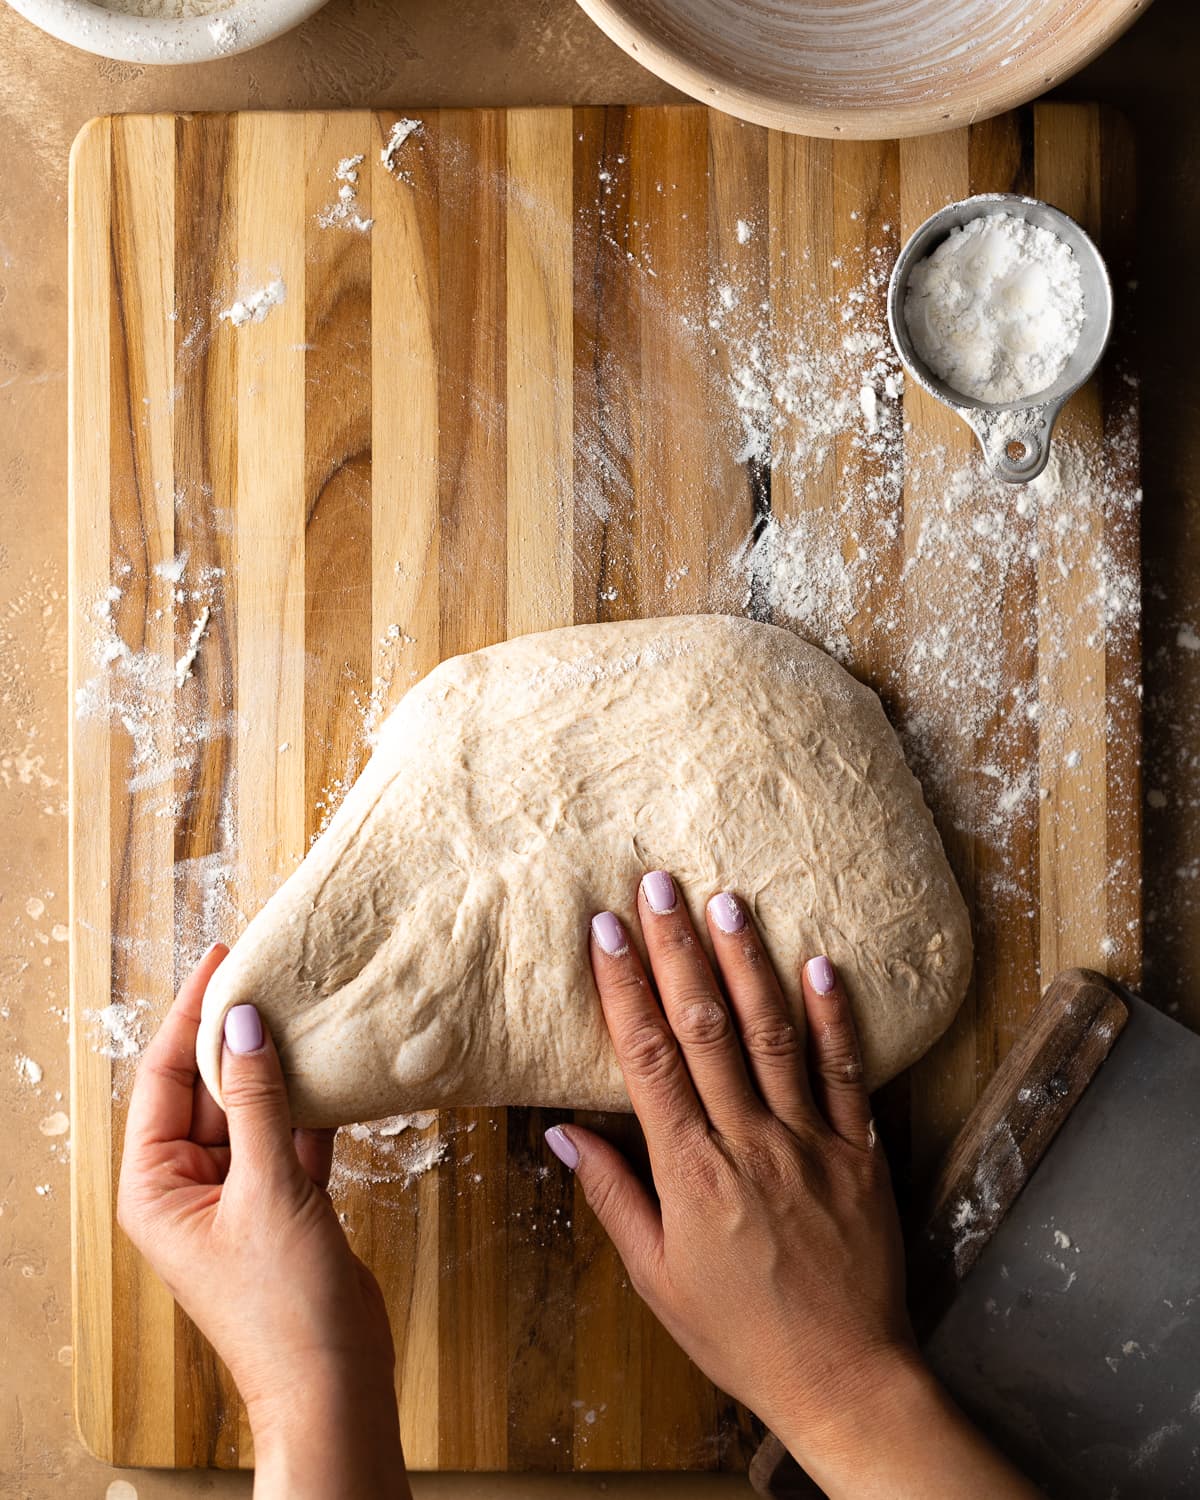
Step 3: Repeat with the right side of the dough, folding it over the left flap.
Step 4: Stretch the top and fold it over the dough, use your fingertips to gently push the dough until it completely flips over.
TIP: Handle your dough gently. While it's essential to create surface tension, take care not to tear the skin, as this could cause the dough structure to collapse and potentially lead to your loaf flattening out as it bakes.
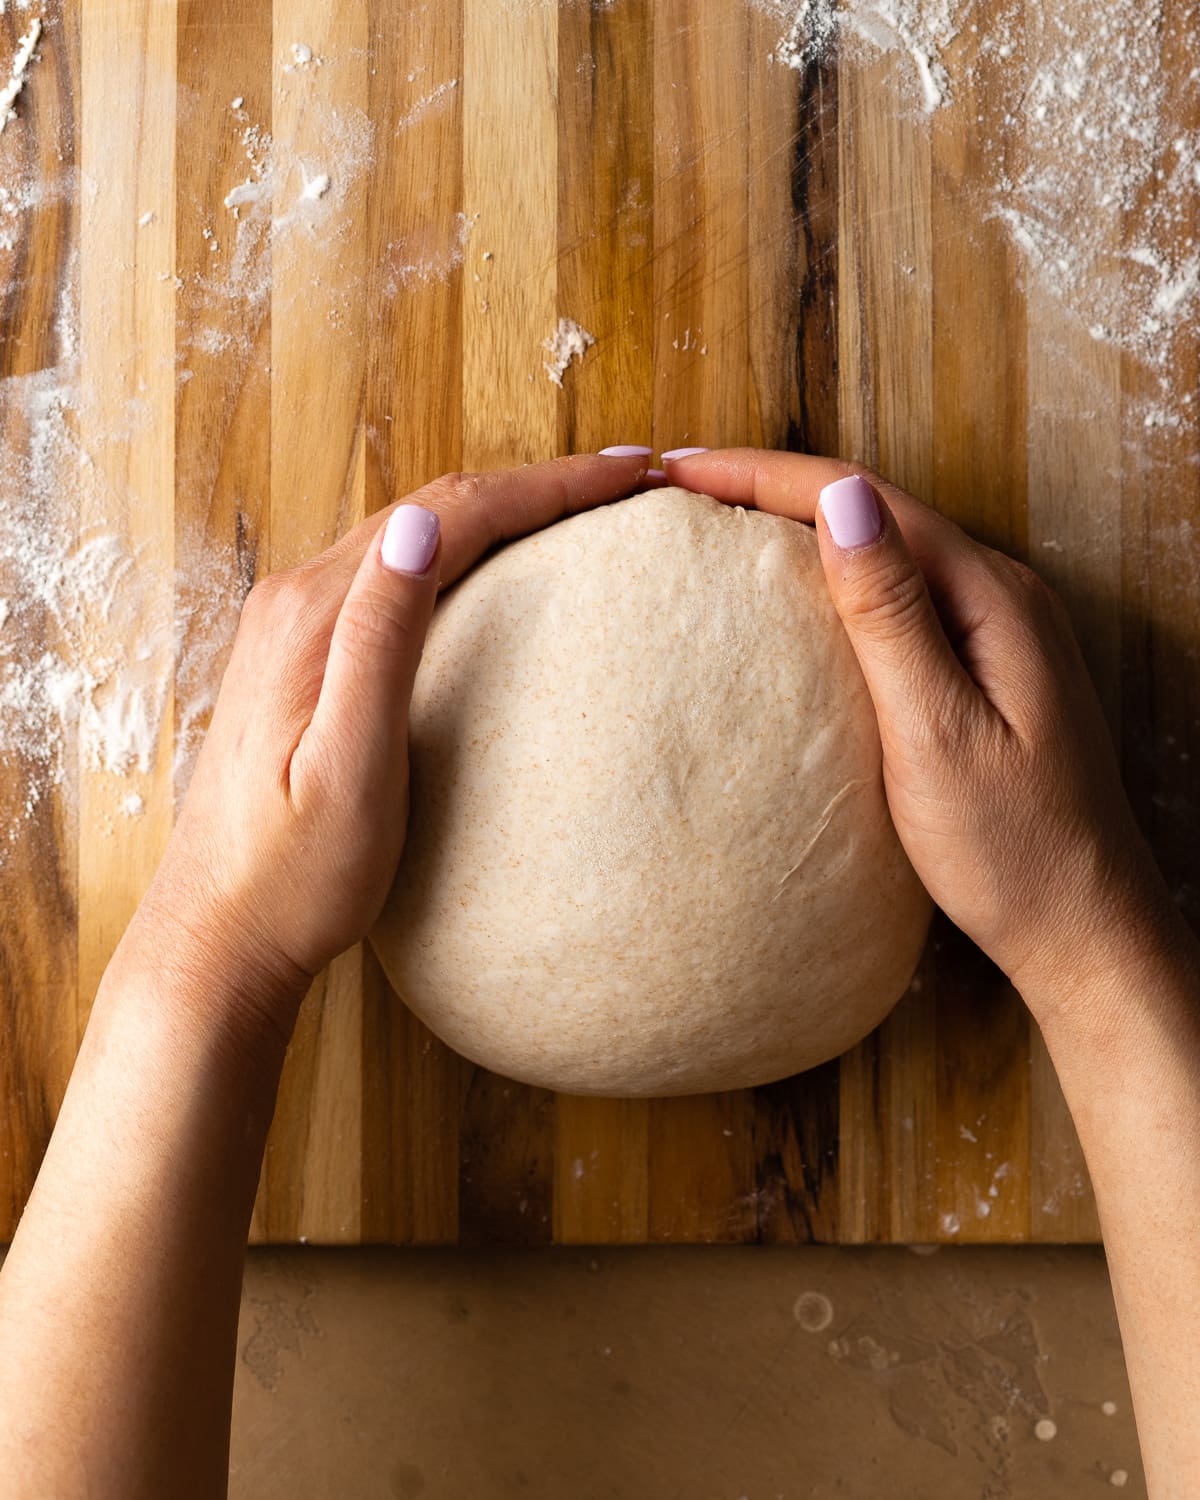
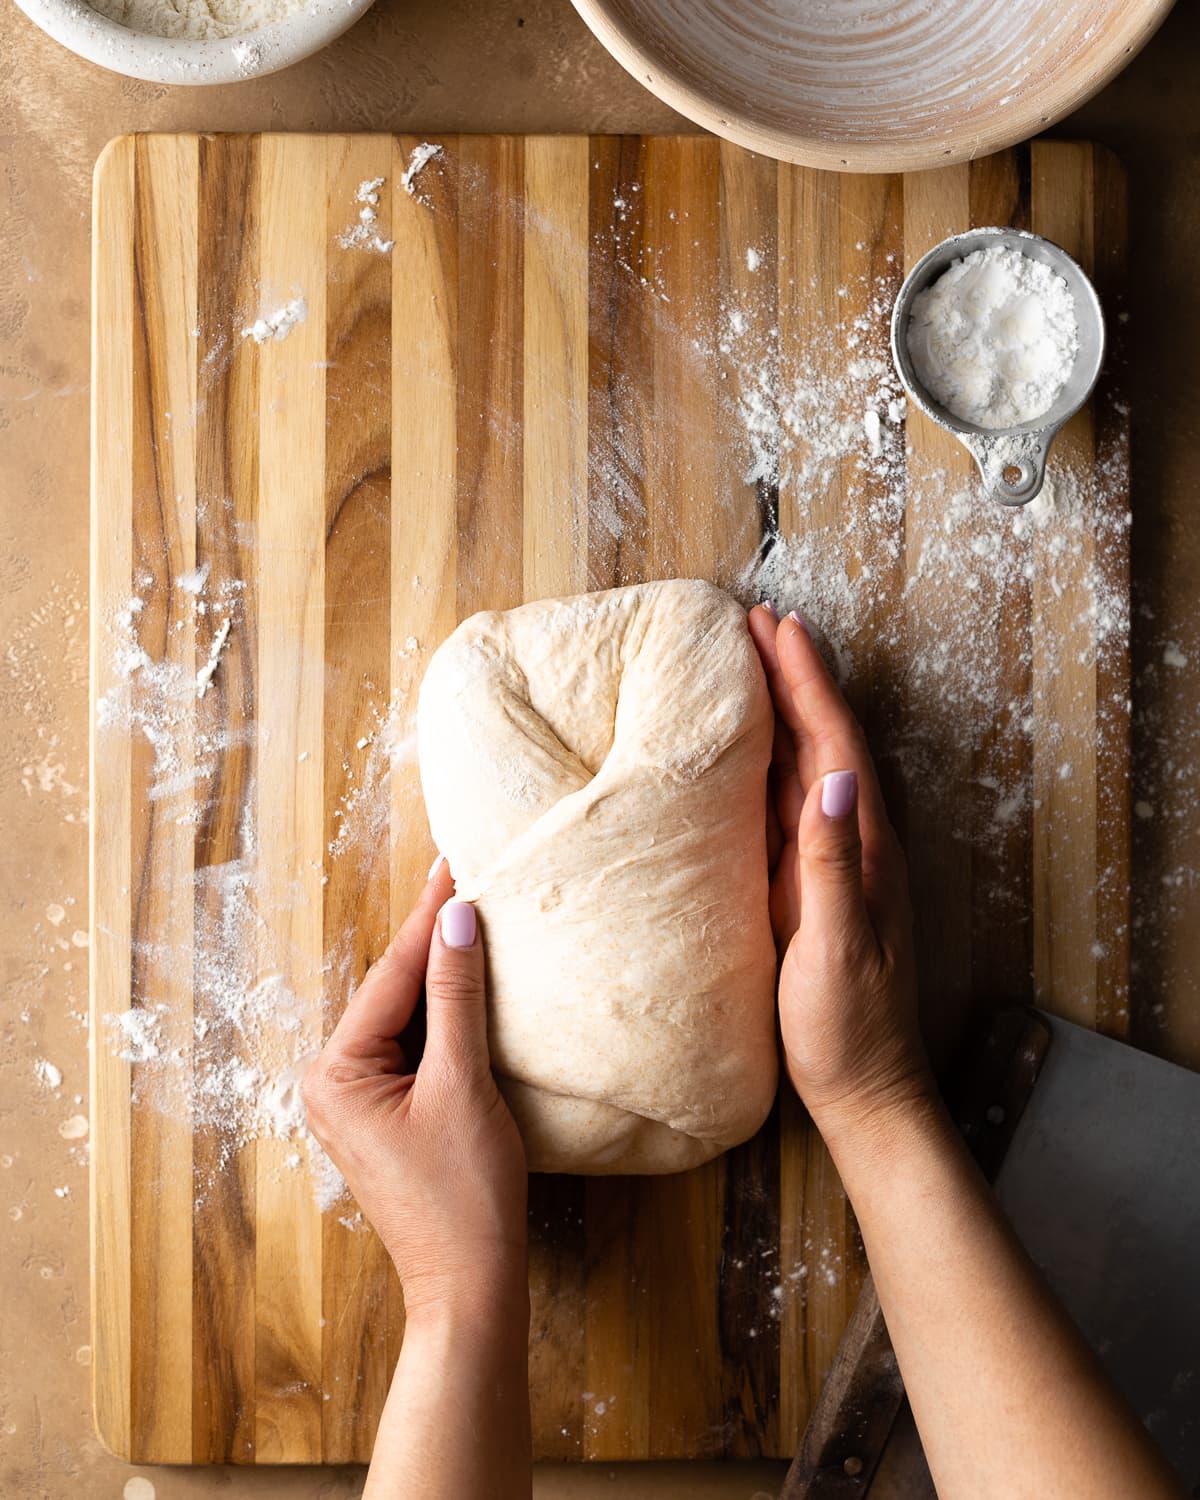
Step 5: Use the blades of your palm to tuck the bottom of the dough, lightly drag the dough in a circular motion 2 to 3 times the work surface until the dough feels tight and smooth (be careful not to tear the dough).
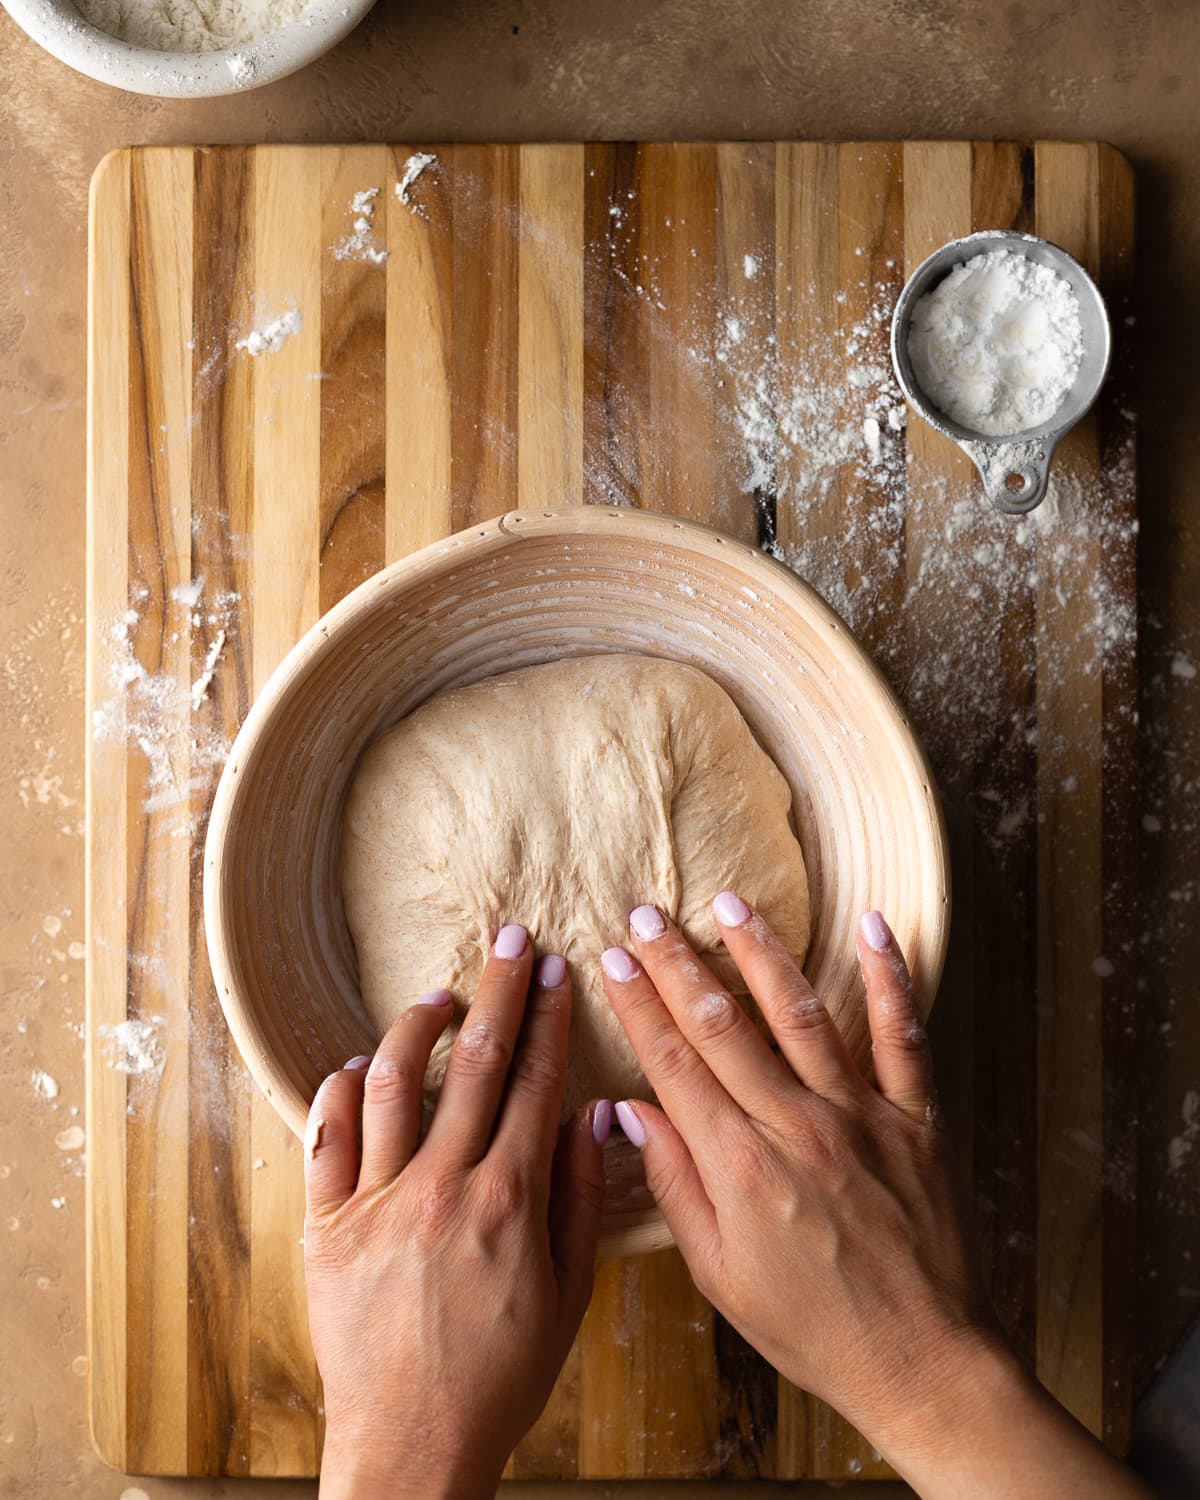
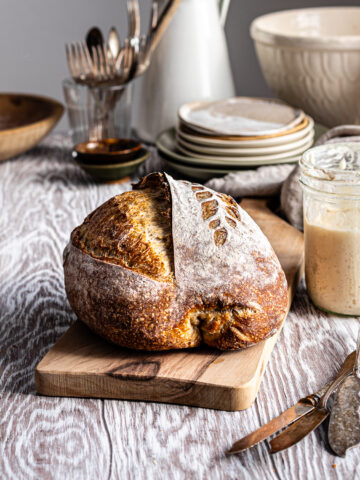
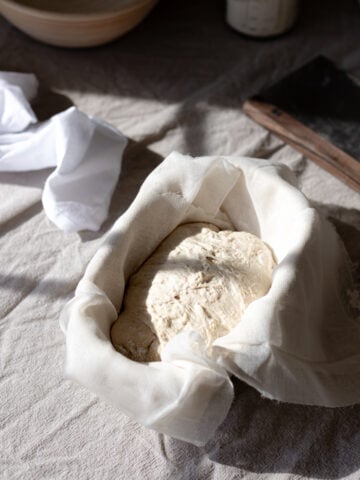
Step 6: Using your bench knife, pick up the dough and nestle it into a proofing basket dusted with rice flour with the seam side up, pinch the seam shut to create more structure in the dough, wrap in plastic wrap for the final rise
Baking Tips
- Use damp hands. If you struggle with handling sticky high-hydration dough, wet your hands slightly before shaping.
- Don't be afraid of using bench flour. Often, bakers can be overly cautious about using too much bench flour during shaping. However, insufficient flour can result in dough sticking to your work surface and potential tearing. Use an appropriate quantity of flour to prevent sticking, then delicately brush away any excess.
- Prevent dough from drying out. Wrap your proofing basket in plastic wrap for final proofing, this will prevent a thick dry skin from forming on your dough which could cause your crust to crack while it bakes.
Ready to try out your shaping skills? Check out my recipes for Spelt Sourdough Bread, Rustic Rosemary Lemon Sourdough Bread and Delicious Dark Chocolate Sourdough Bread.
FAQs
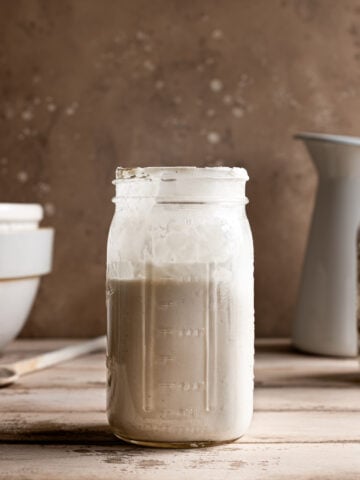
Dough is ready to be shaped once it's fully fermented. Some signs to look for are, a noticeable increase in volume, a few bubbles of varying sizes on the surface of the dough, it should feel like air has built up inside and it should easily slide out of the container when you turn it out onto your work surface.
Knowing when to end bulk fermentation or first rise, is the most important skill in bread baking. As you continue to bake you'll get a better feel of dough and develop an instinct that will help you better determine when your dough is ready to shape.
Pre-shaping gets the dough ready to take its final form and makes it a little bit easier to handle during shaping. If you're dealing with a high hydration sourdough it is also a great way to create added strength and structure.
If you don't shape your dough, your bread will be flat like a ciabatta or focaccia bread.
The great thing about shaping your loaf into a boule is that you can use some household items as a proofing vessel! Simply use an 8-inch mixing bowl lined with a kitchen towel that's been dusted with rice flour or semolina. If you're using all-purpose, dust your kitchen towel more heavily.

Did you make this recipe? Do you have questions? Let me know below!