

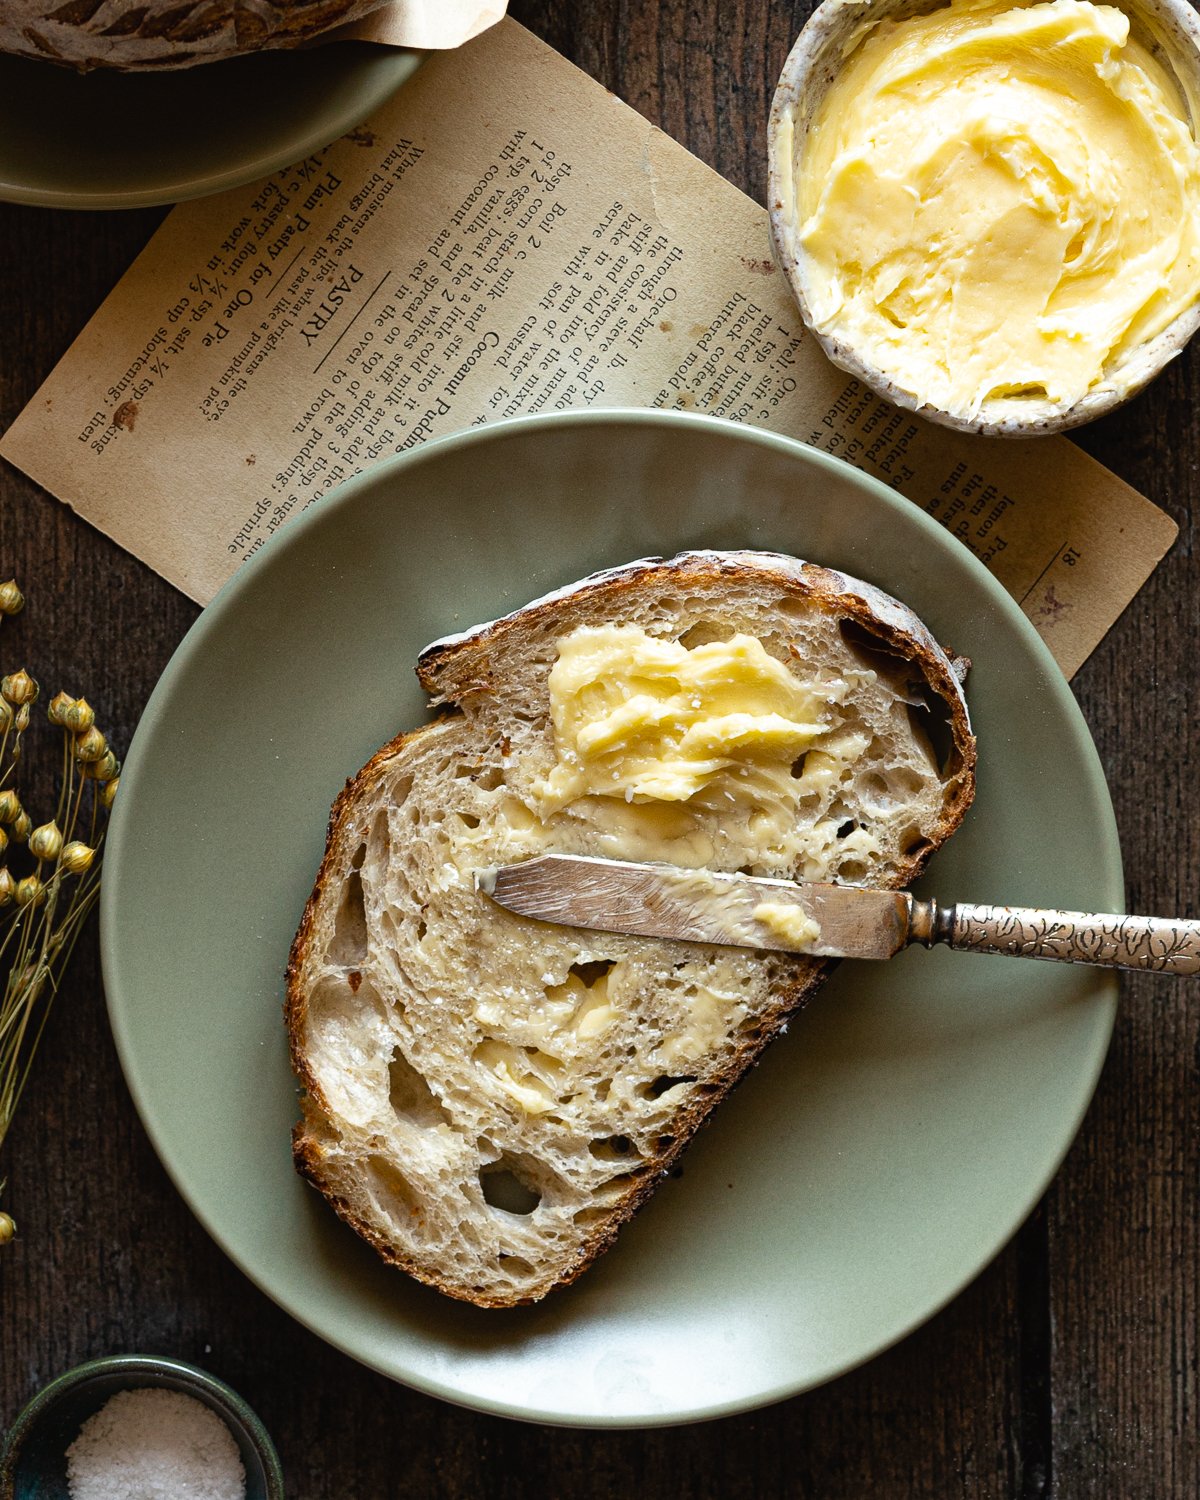
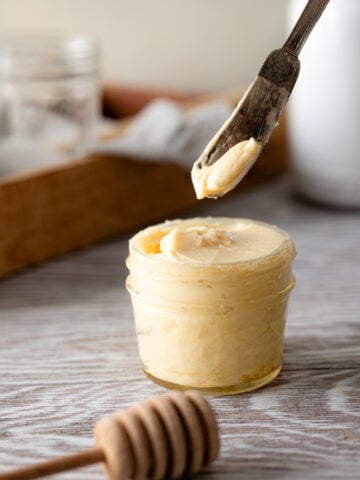
Luscious, creamy, slightly tangy and made with only 3 ingredients, Homemade Cultured Butter is such a special treat. Spreading it on a piece of toast is my absolute favorite way to enjoy sourdough bread.
In this post, I'lll teach you everything you need to know about making butter at home, whether you choose to culture it or simply make a quick and easy butter recipe. The best part of this process is that it also results in real deal buttermilk.
Jump to:
What is cultured butter?
Cultured butter is simply butter made from fermented heavy cream. You probably already know that butter is made from heavy cream. All we're doing here is adding an extra step to the process by combining yogurt which contains probiotics and live cultures with cream. The live cultures metabolize the milk sugars and convert them into lactic acid and other byproducts. This enhances and deepens the flavors of our cream, the result - delicious, flavorful butter with a slight tang.
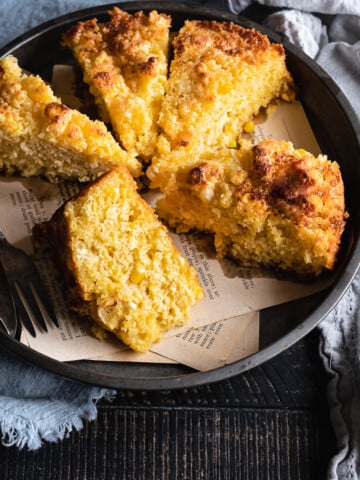
The delicious flavor of cultured butter makes the best homemade honey butter.
Serve homemade cultured butter on a slice of Sourdough Bread, toasted Sourdough Discard Sandwich Bread, a stack of Sourdough Discard Buttermilk Pancakes or with Homemade Sourdough Pretzels.
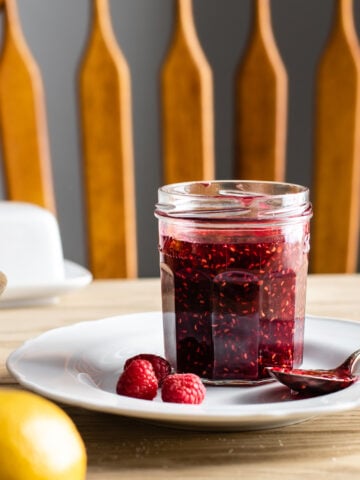
Make your own homemade buttermilk
Traditionally the byproduct of the butter churning process, most buttermilk that you see on the shelves today is simply milk with added live cultures. Since cream has a higher percentage of butterfat, about 36% compared to 4% in whole milk, the buttermilk you get in this recipe will be richer than anything you can purchase at the store. This results in baked goods that are more tender with a fluffier texture.
How to store your buttermilk
I like to keep my buttermilk in a Mason jar in the refrigerator. Remember to label it with the date. Since it's cultured, it will have a longer shelf life.
How to use buttermilk
- Make more cultured butter! Since your buttermilk has been cultured its loaded with probiotics, and you can use it instead of yogurt to culture your heavy cream.
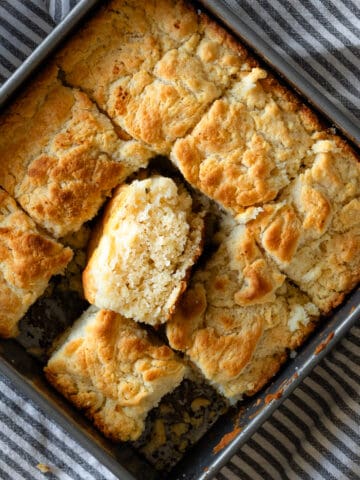
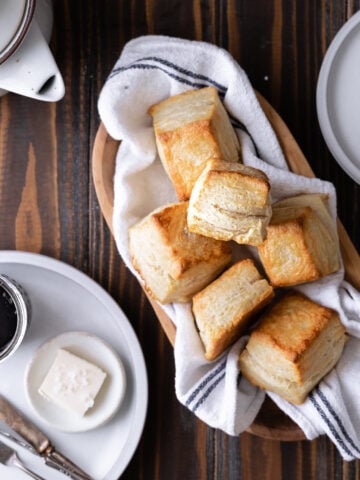
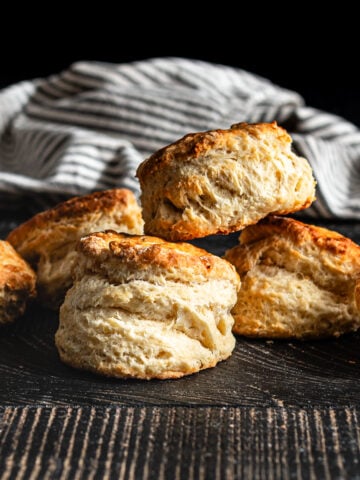
- Buttermilk is a great tenderizer for baked goods, a great addition to Sourdough Scones, Sourdough Biscuits or Sourdough Blueberry Muffins.
What you need
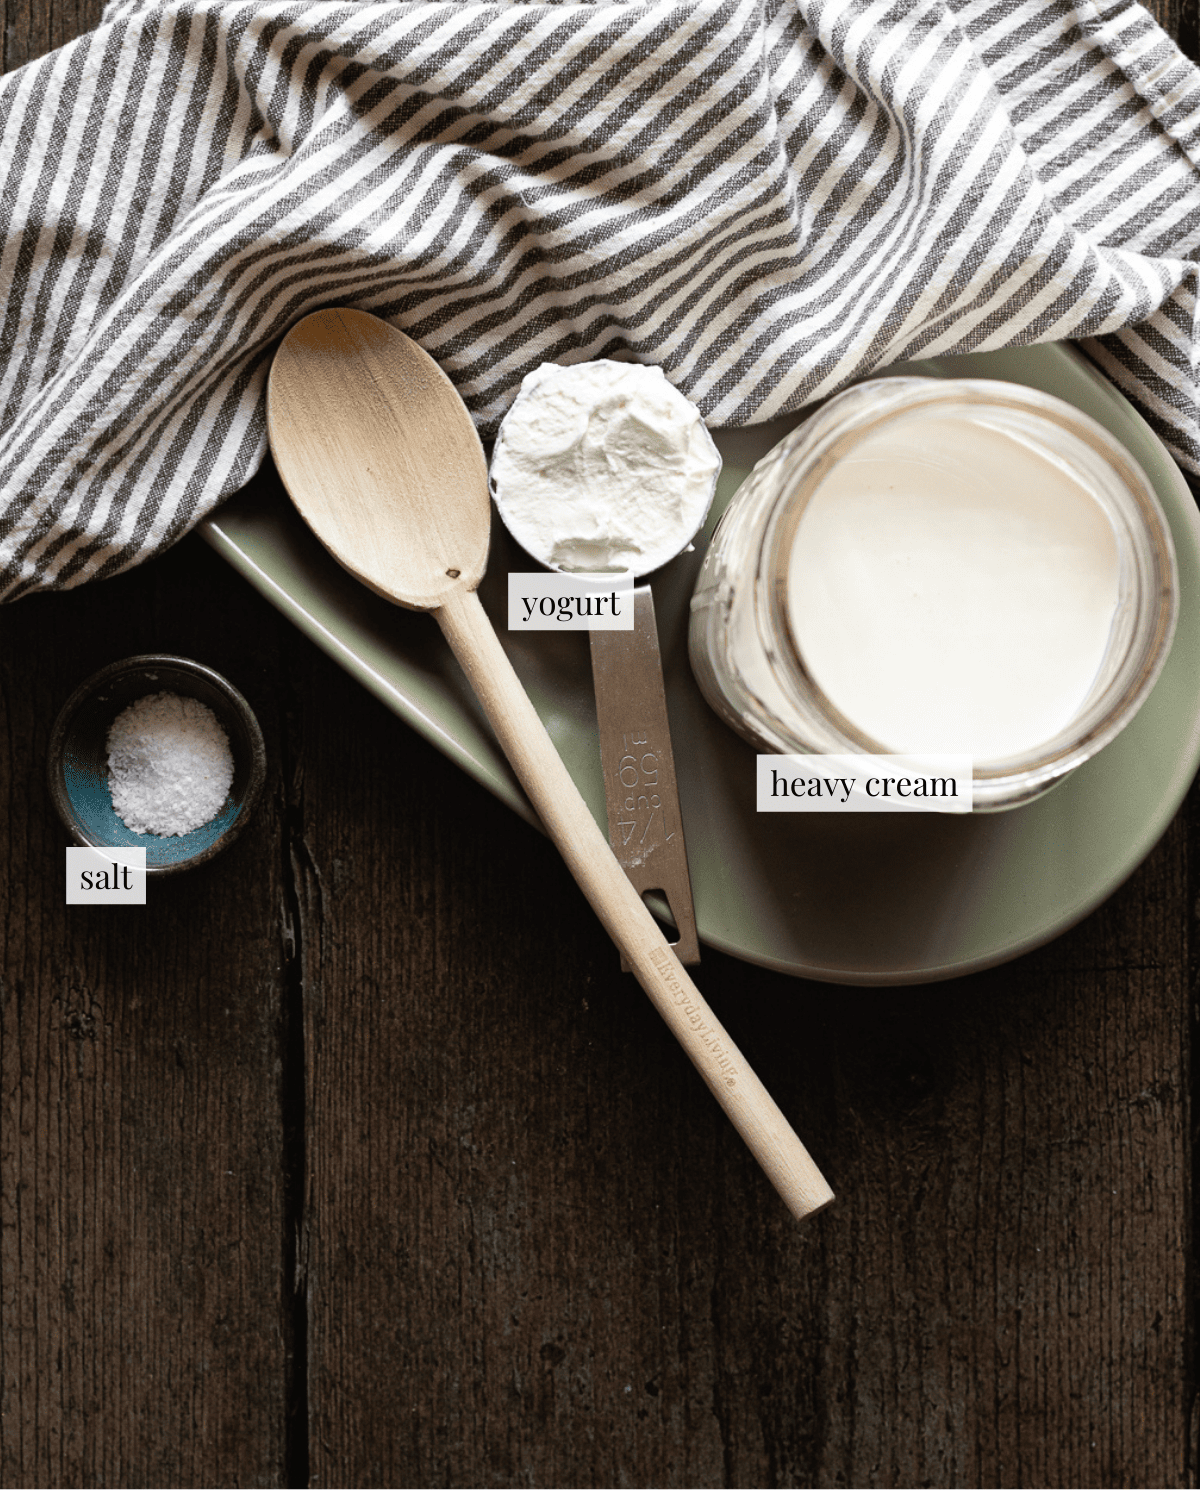
Heavy cream - All butter is made from heavy cream. If you have access to it, try and purchase cream from a local dairy. Organic is ideal but non-organic would work fine too, just make sure you don't get something that's ultra-pasteurized as it can contain additives and thickeners that can negatively affect the culturing process.
Yogurt - The type of yogurt we can access on our grocery store shelves have been increasing in the past few years. Any type would work fine here, ie Greek, Icelandic, etc. Just make sure you are using plain yogurt without any added flavor and that it specifically mentions live cultures in the packaging. If you don't have yogurt, you can also use creme fraiche, sour cream or cultured buttermilk. Just make sure they contain live cultures, remember we need those cultures to ferment our cream!
Salt (optional) - Enhances the flavor of our cultured butter. You can use any type of salt, Himalayan, smoked, Kosher, sea salt, etc. Totally optional but highly recommended.
Step-by-step instructions
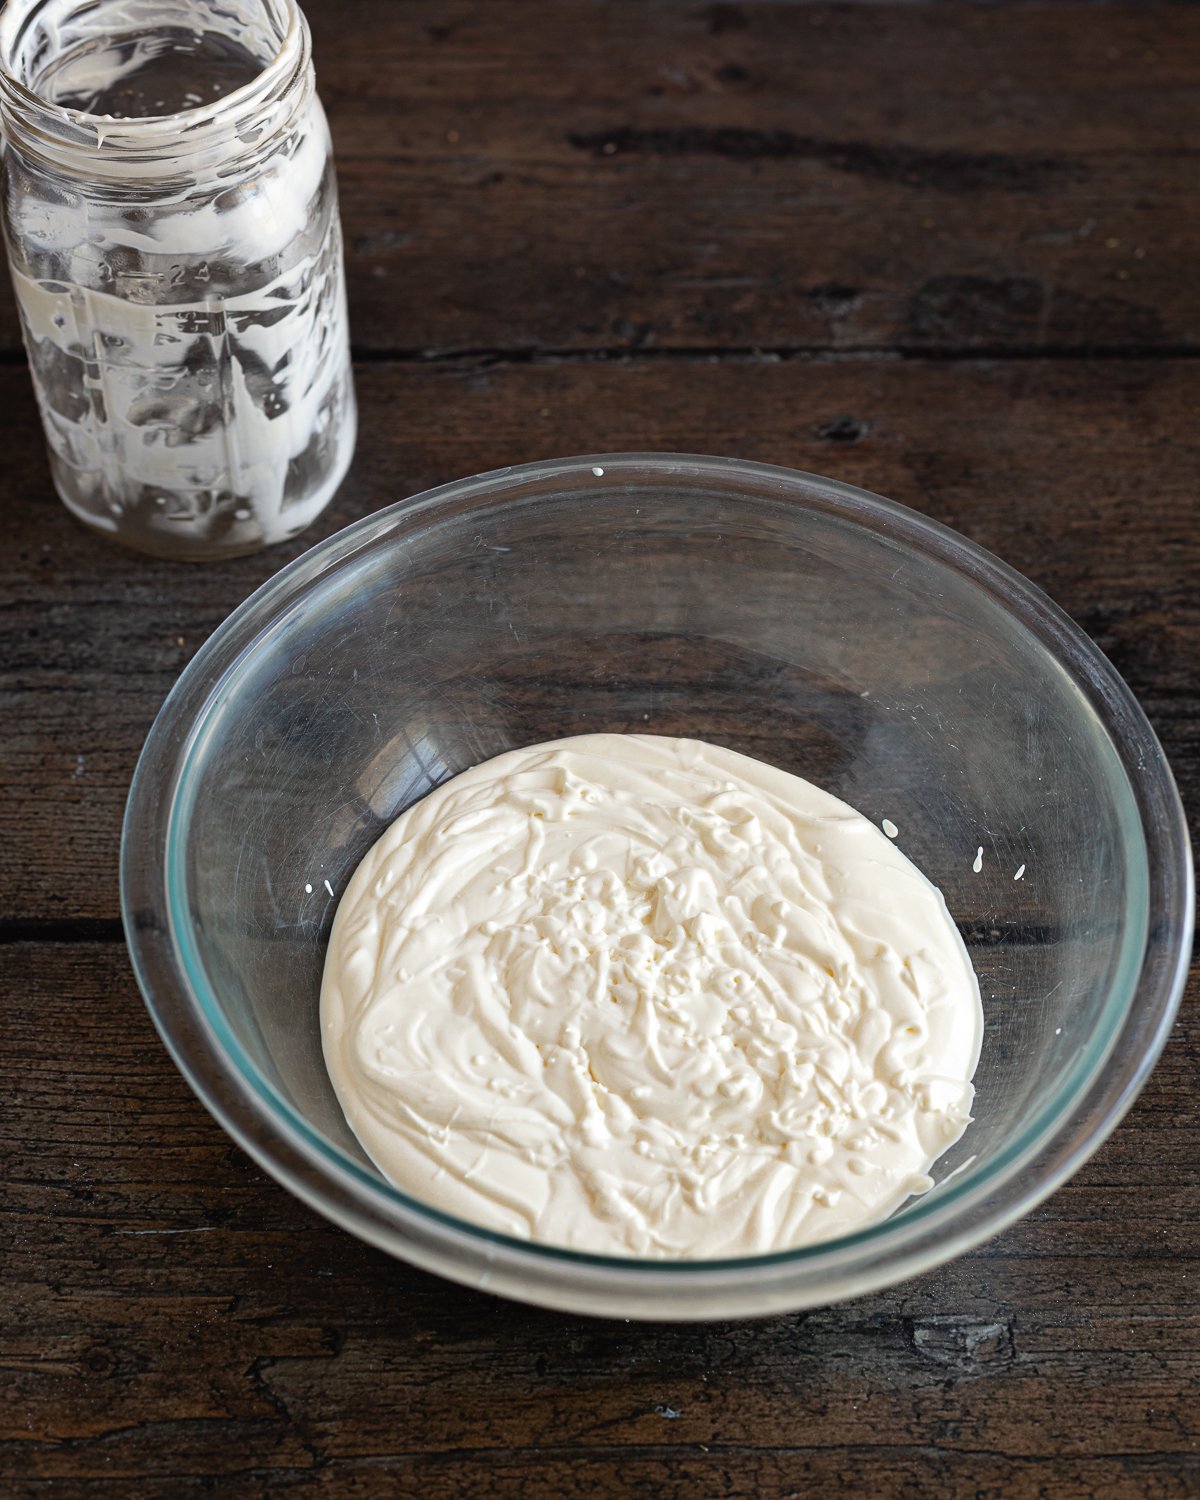
1. Combine cream and yogurt in a covered jar and culture for 24 to 48 hours at room temperature.
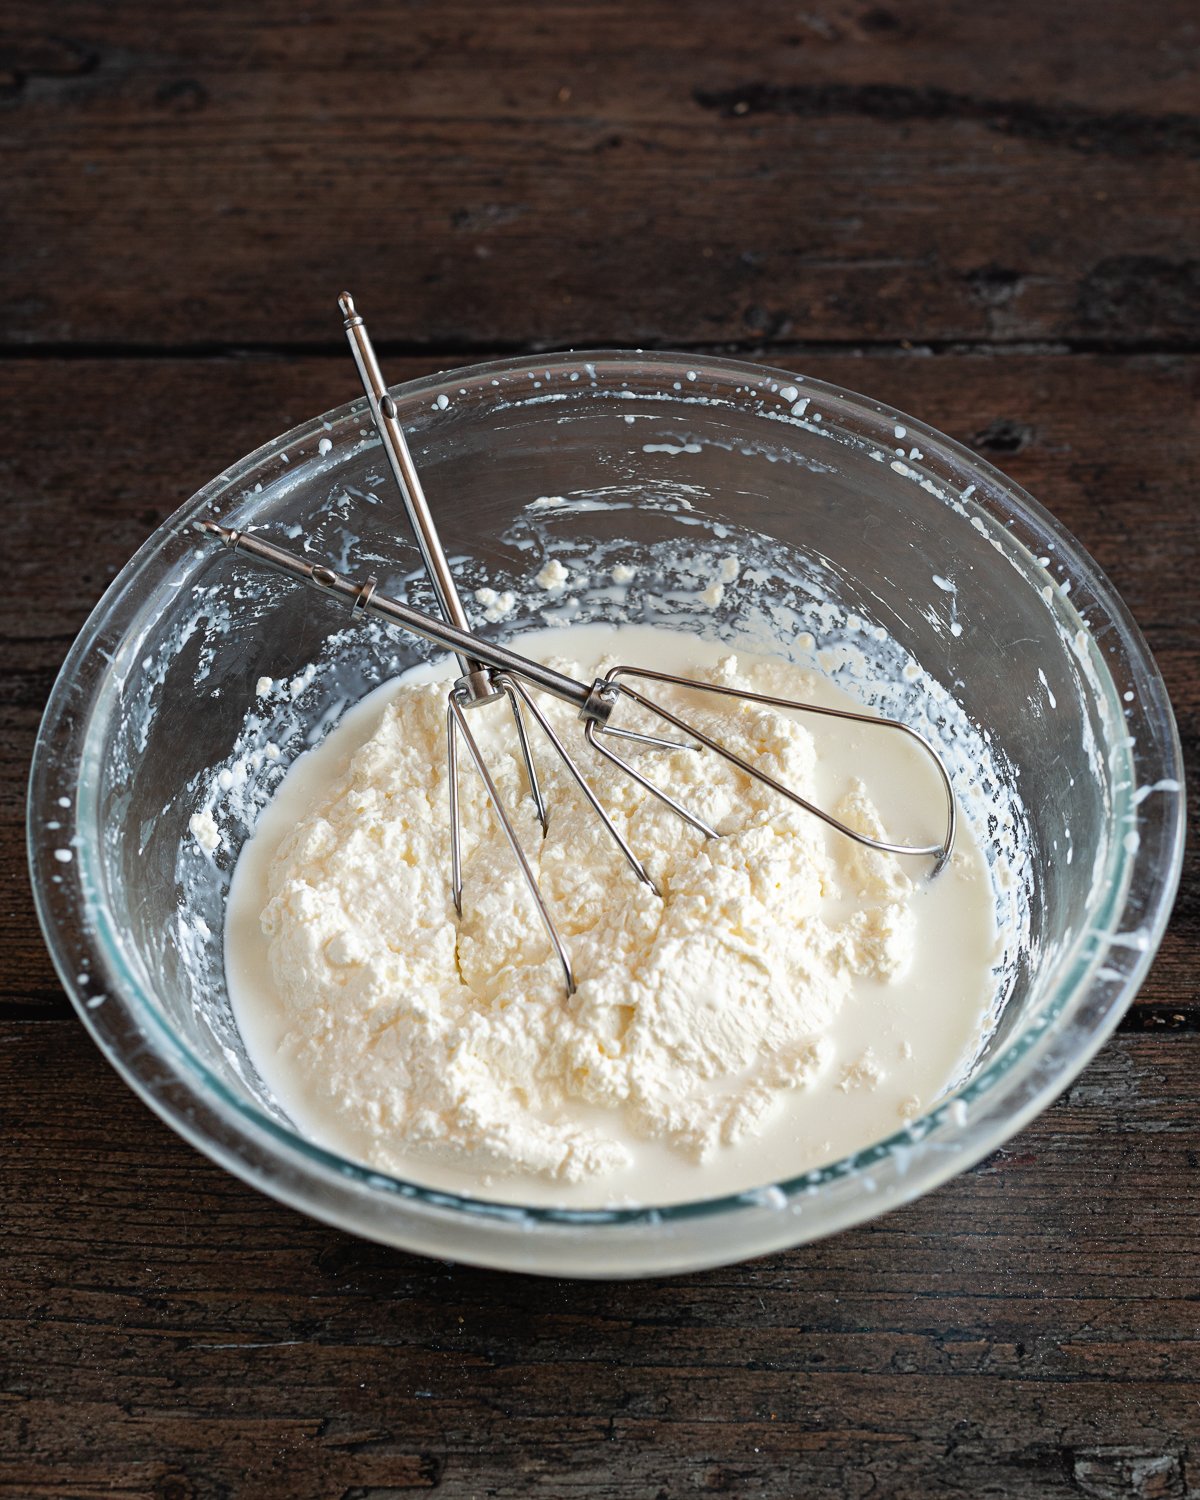
2. Chill the cream for 1 hour and whip until curds form and the buttermilk separates.
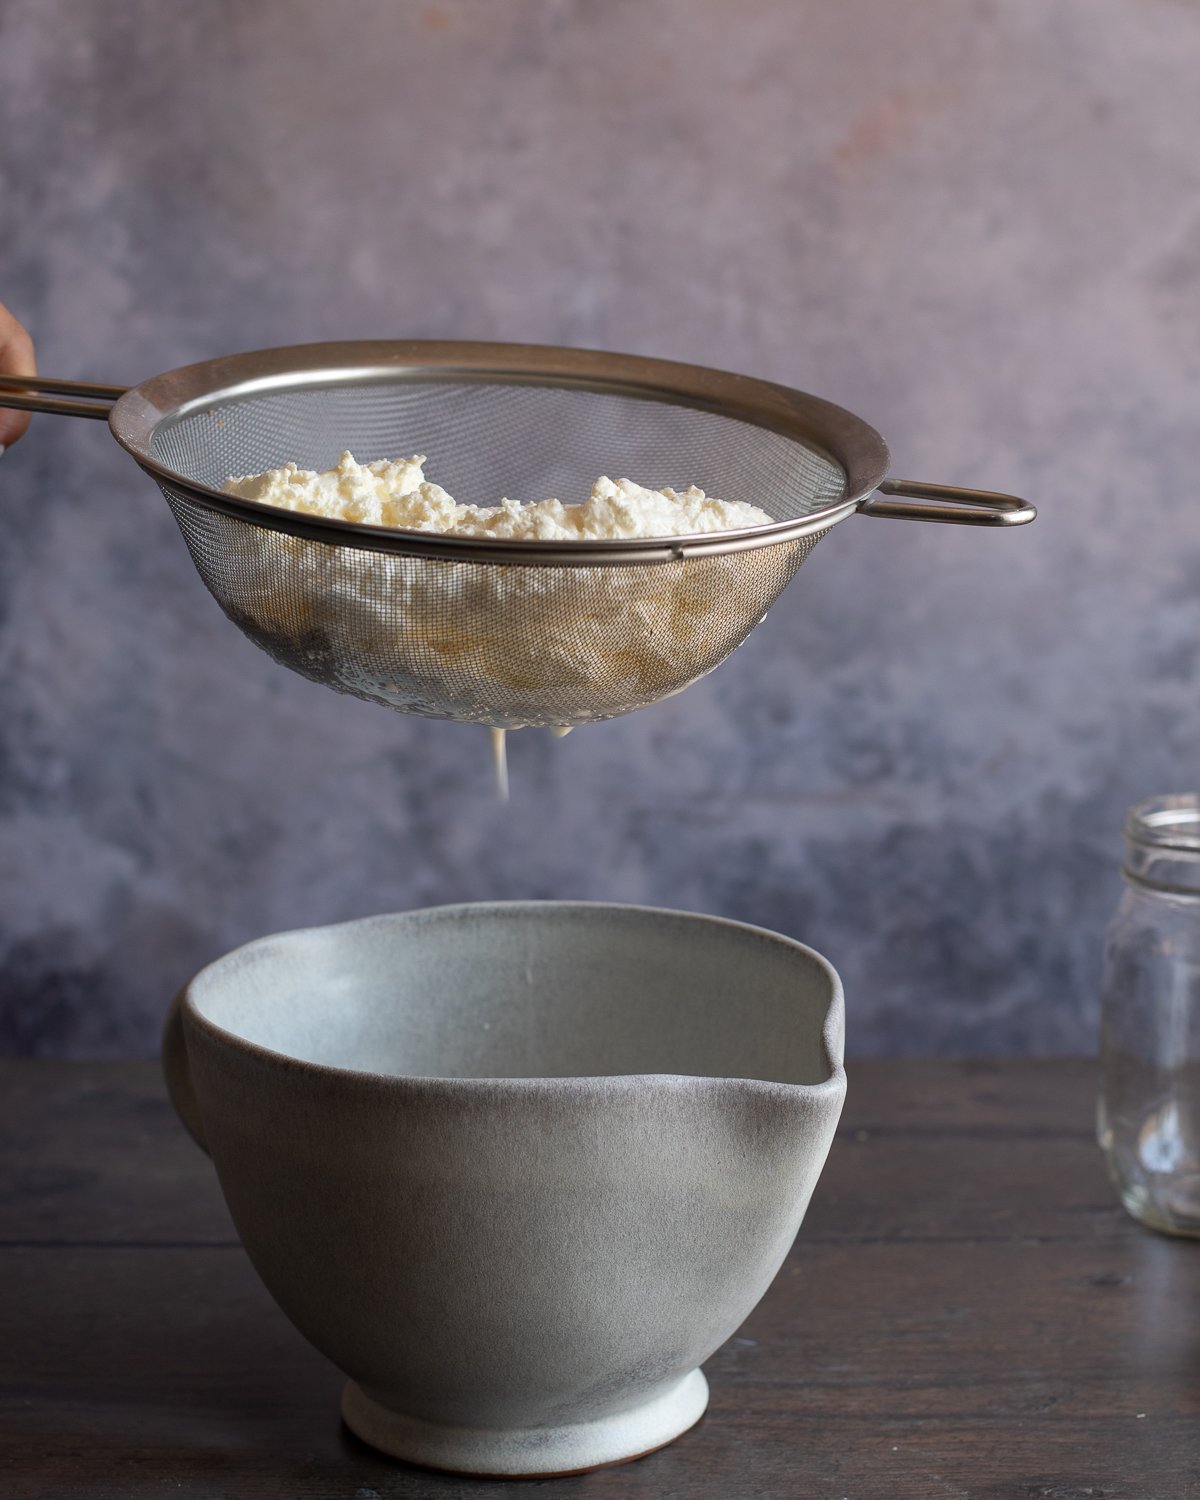
3. Strain the mixture over a large mixing bowl (save the buttermilk!).
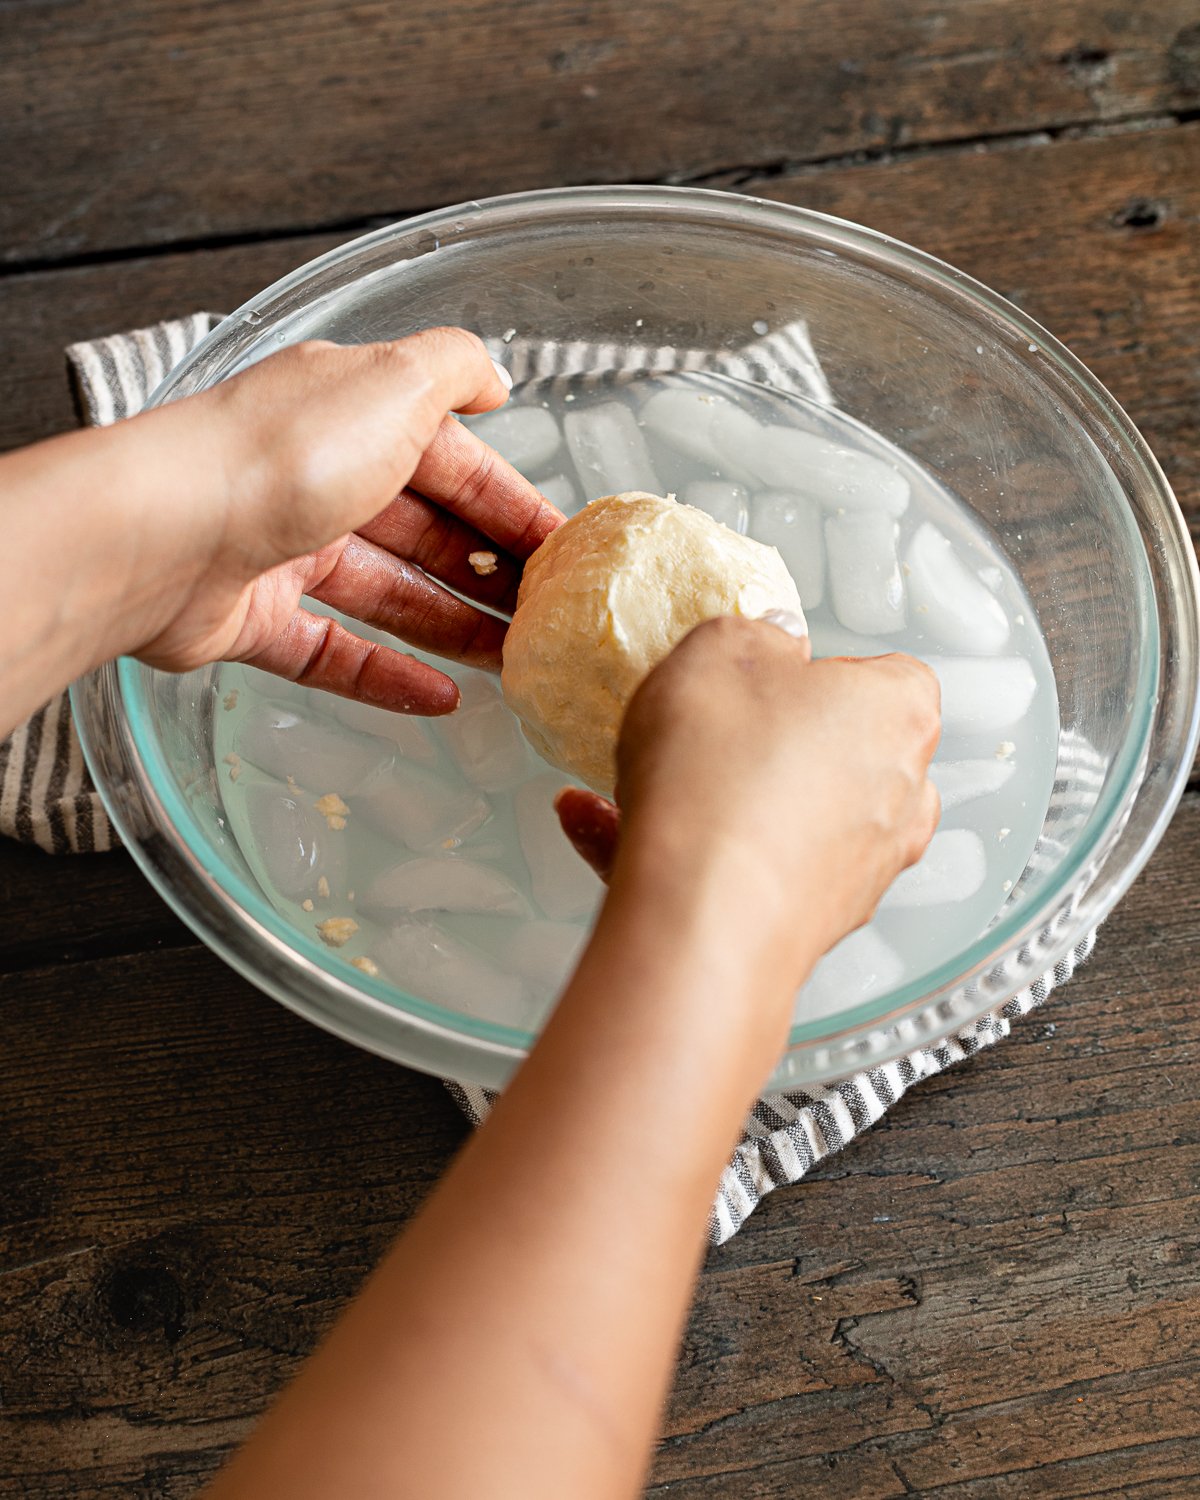
4. Transfer the curds into a mixing bowl filled with ice water. Squeeze as much of the buttermilk out of the curds as you can.
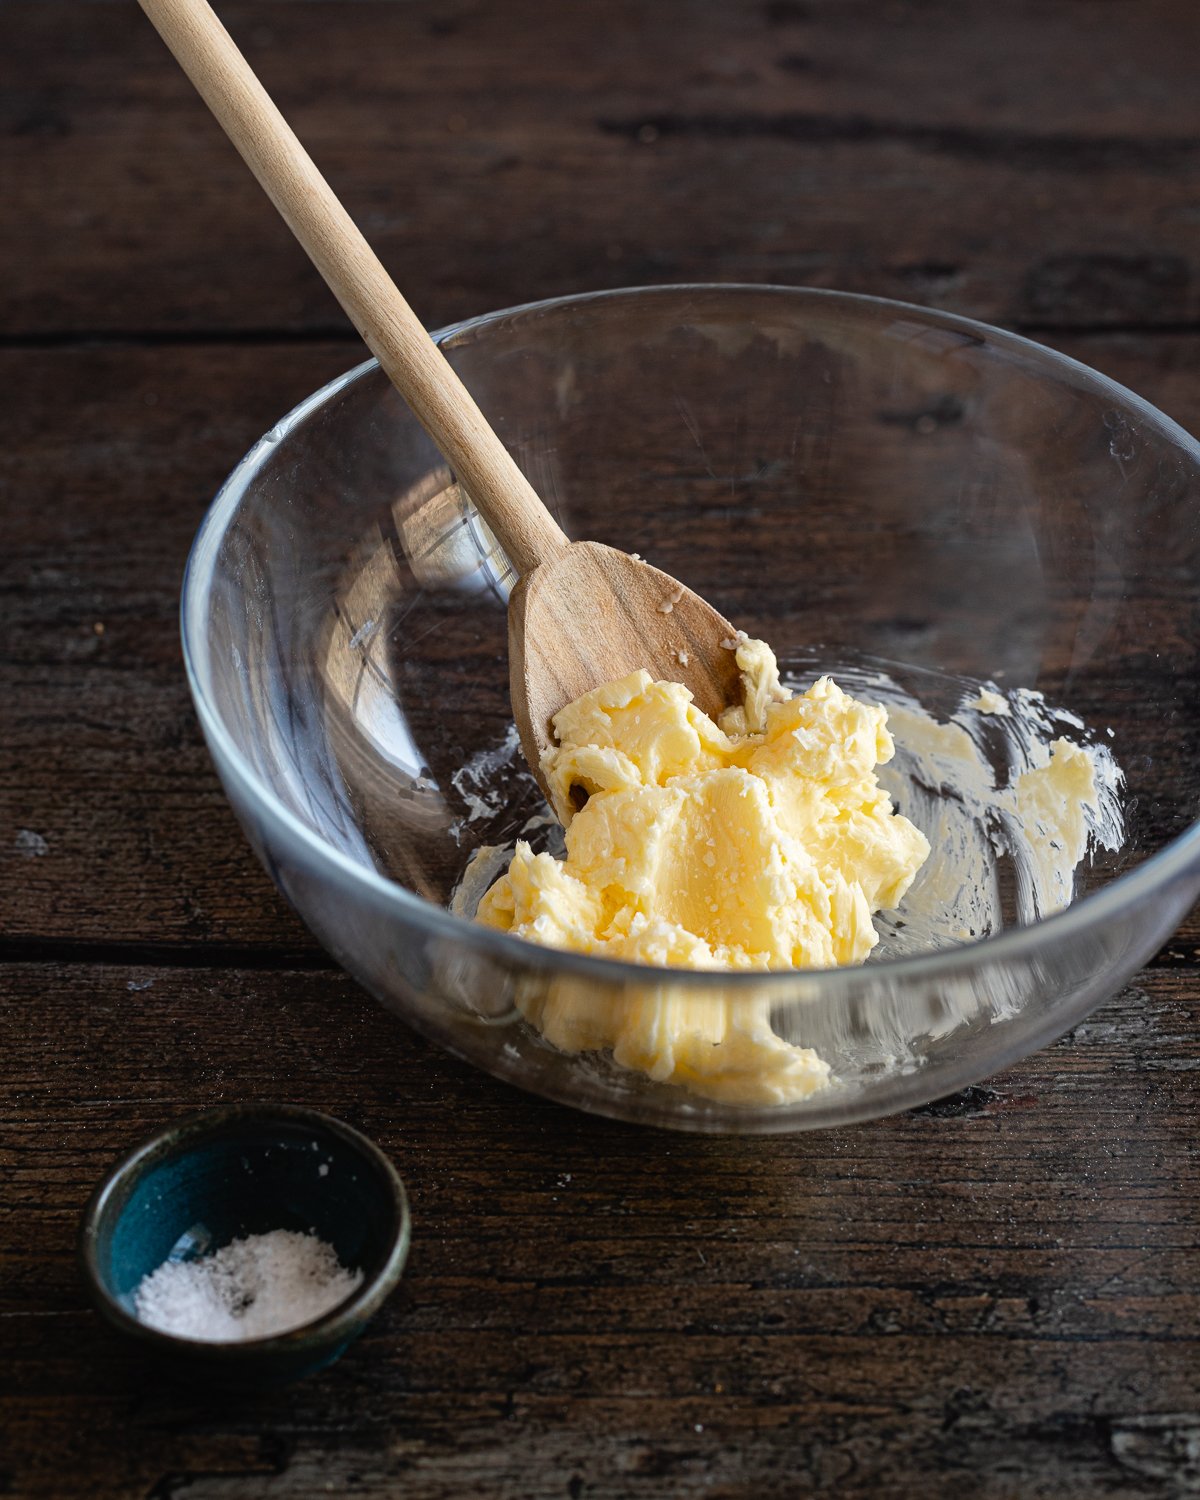
5. Fold salt into the butter.
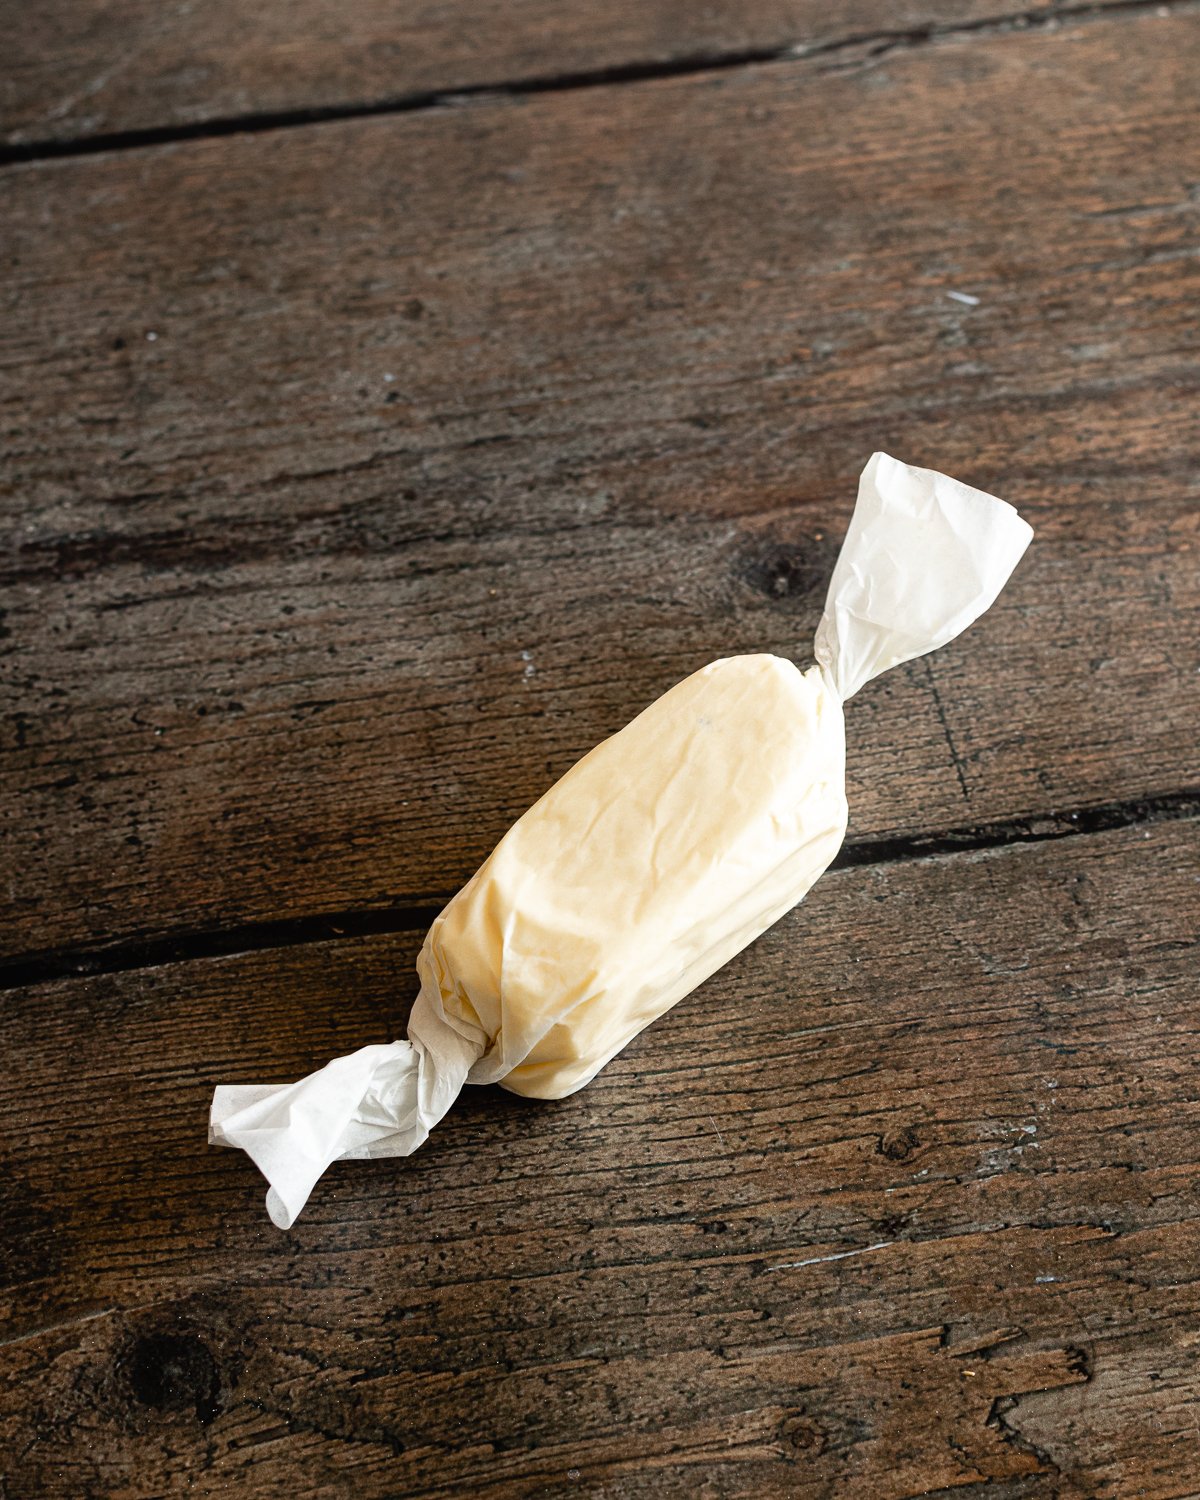
6. Divide the butter into 3 portions and wrap in parchment or wax paper.
Recipe FAQs
Cultured butter is made out of cream that has been fermented with yogurt or another dairy product with live cultures. Cultured butter has a more pronounced, nuanced flavor and has a little bit of a tang because of the fermentation process.
In terms of taste, cultured butter is more flavorful than regular butter. It's also loaded with probiotics which are beneficial to gut health.
Absolutely, you can substitute cultured butter for regular butter in any recipe, or vice versa. If you add salt to your cultured butter, adjust your recipe for the added salt content.
Ways to enjoy Homemade Cultured Butter
Did this recipe rise to the occasion?
★★★★★
Leave a star rating and a comment. Your feedback inspires future recipes and helps others feel confident choosing what to bake next. I read and respond to every message.
If you're looking for additional ways to support my work, share this recipe or buy me a Ko-fi. Every little bit helps me keep creating the recipes and guides you enjoy.
Thank you for your support!

Cultured Butter and Buttermilk Recipe
Equipment
- 32 oz jar
- Hand mixer or stand mixer
- Mesh strainer
- spatula
- Parchment paper
This section may contain affiliate links
Ingredients
- 473 g heavy whipping cream
- 56 g yogurt
- 8 g salt
Click US Customary to view volume measurements
Instructions
- Culture cream: Combine yogurt and heavy cream in a large jar. Seal jar lightly and let the cream ferment for 24 to 48 hours.
- Chill the cultured cream: Let the cream chill for at least 1 hour.
- Churn butter: Pour the cream into a large mixing bowl or the bowl of a stand mixer. Whip the cream using a mixer with a whisk attachment until the mixture transforms into curds and the buttermilk begins separating.
- Strain: Place a mesh strainer over a large measuring cup or mixing bowl. Pour the butter with the buttermilk into the strainer. Gently squeeze the butter through the strainer using a spatula. Try to squeeze as much of the buttermilk out as possible without squeezing it through the strainer.
- Store buttermilk: Store the buttermilk in a jar and refrigerate.
- Rinse butter: Place the butter into a bowl of ice water. Squeeze the butter to get rid of the buttermilk. Rinse the butter until the liquid runs clear. You must get the buttermilk out or your butter may go rancid.
- Add salt to the butter: Place the butter into a mixing bowl and add salt. Using a wooden spoon, knead the salt into the butter until fully incorporated.
- Store: Divide the butter into 3 portions, about 113 grams each. Place each piece of butter on a piece of parchment or wax paper. Form the butter into a cylinder and wrap it. Your butter will keep well in the refrigerator for 3 months or in the freezer indefinitely.
Tips
These recipes were developed and tested using grams for precise measurements. To increase your chances of success, I recommend investing in a kitchen scale. I've included rough volume estimates (in tablespoons and cups), but they might not be totally accurate.
Remember all ovens are unique, these recipes were tested in my oven which runs cooler than others. You might need to lower the temperature if your bake appears to be browning too quickly. Monitor your bake closely and make adjustments if needed.
Notes
Nutrition
I am not a nutritionist or dietitian, any nutrition information provided is an estimate.
Patti Y Peltier says
I would love to make this butter, but want to make sure. I am assuming regular heavy cream from grocery store works?
Hannah Dela Cruz says
Hi Patti! Yes any brand of heavy cream from the grocery store will work.
Frances Petrice says
I have a question. Can you just set the cream out of the refrigerator for about 24 hrs without adding the yogurt, sour cream etc to ferment before churning or is it imperative that yogurt or sour cream is added before culturing?
Hannah Dela Cruz says
Yogurt and sour cream contain active cultures which help ferment the cream. If you're using pasteurized cream I would not leave it out overnight on its own.
You can totally skip fermenting the cream and just make the butter out of the heavy cream that you have.
Courtney says
I used the ingredient amounts you suggested and followed all the steps, but I only got 130g of butter total. What could I have done wrong to only get a third of what you did?
Hannah Dela Cruz says
Hi Courtney! My math may be a little off - I'm going to try this again soon and let you know.
Rachel says
SUCCESS! Thank you for you help, Hannah. My utter is delicious on my freshly made sourdough bagel.
Rachel says
Yes, it definitely separated and there were curds like in your photo. I’ll start over from scratch now that I know what to look for.
One more thing, in the directions you say to start on low when using a mixer. Do you increase the speed or keep at low? I’m using a Kitchenaid.
Thank you so so much for your help, Hannah!
Hannah @ Make It Dough says
Definitely start on low and increase gradually. Just so your cream doesn't splash around everywhere.
Rachel says
Yes, I have what looks like a beautiful icing. I’ve got in back in the refrigerator and will try it again in an hour. It separated perfectly but I’m a ruler follower and so waited the 5 minutes 🤷🏻♀️
Hannah @ Make It Dough says
The whipped stage/icing stage usually comes before they separate into curds. Did you see the milk sloshing around in your bowl?
Rachel says
My curds separated in 3 minutes so I kept mixing and now I have no curds. Help!
Hannah @ Make It Dough says
I've never run into this problem before! So sorry. Did your curds emulsify into the buttermilk somehow?