

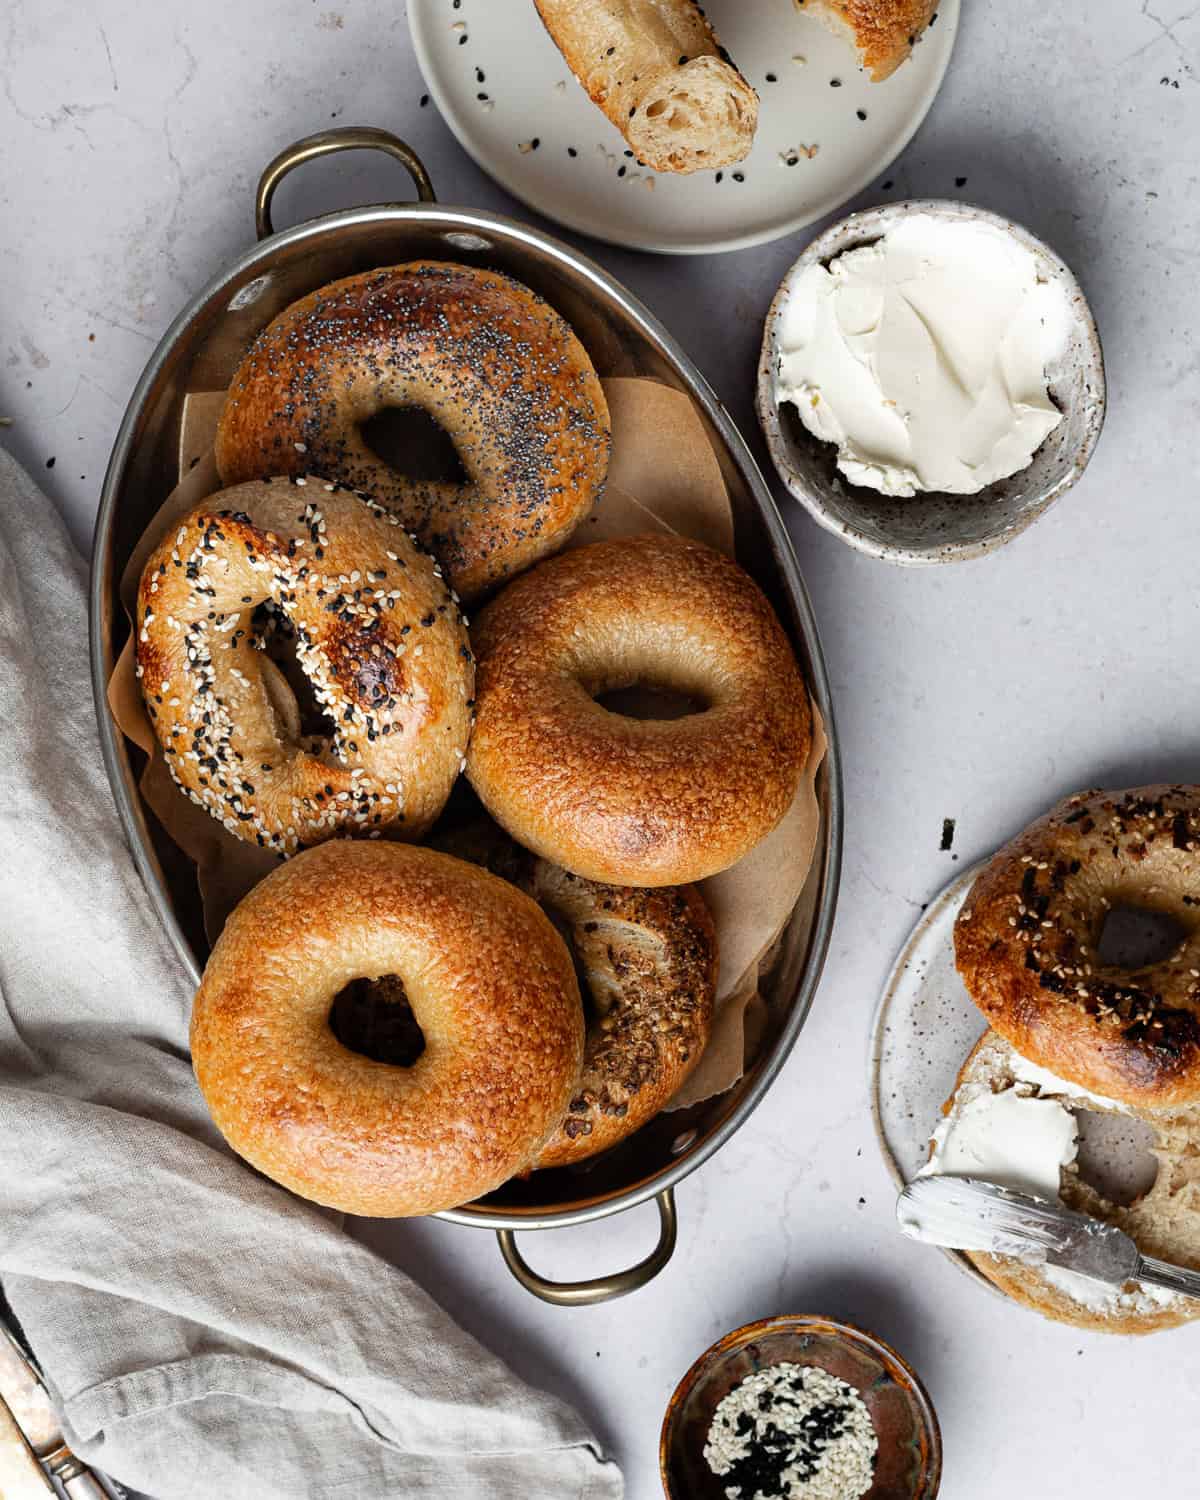
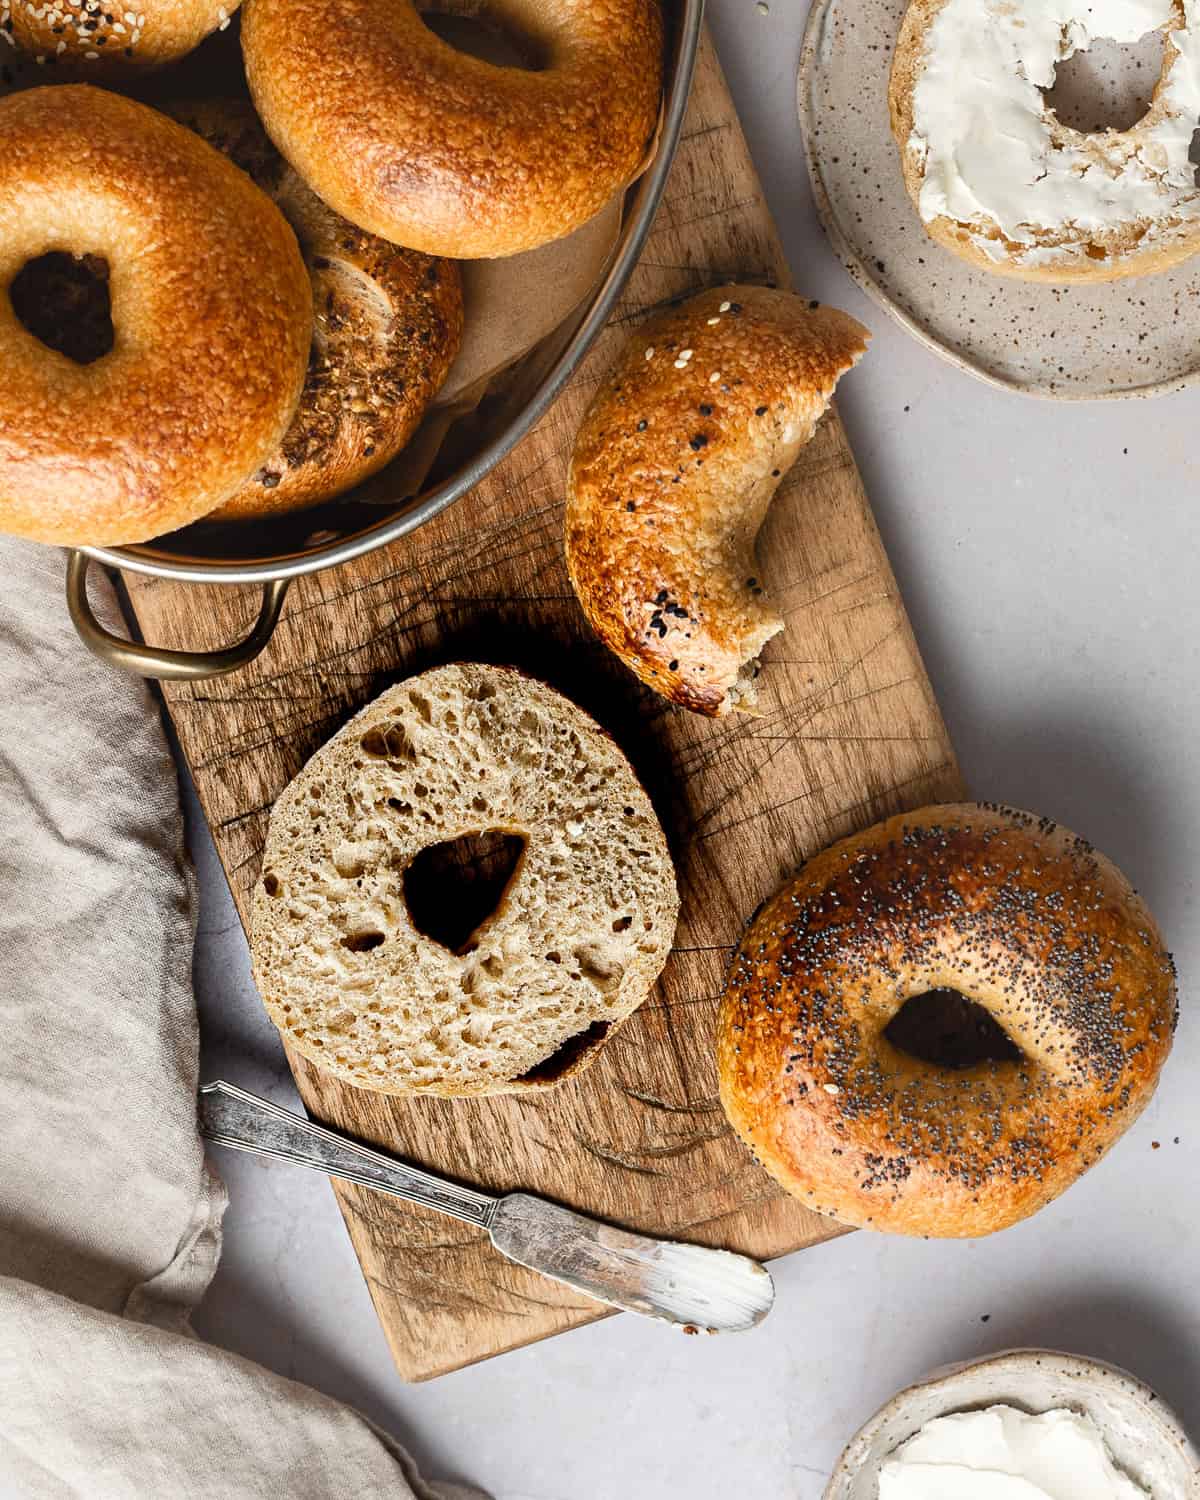
Chewy with a plush but tight crumb and a shiny brown crust, these Sourdough Bagels are so good you won't ever run to the store to buy them! The taste, texture and flavor of fresh bagels topped with cream cheese are out of this world, and using sourdough imparts a delicious flavor that elevates these to another level.
Jump to:
What Makes Bagels Special?
Their shiny, golden brown crust, chewy texture and iconic shape make bagels so special. They are a little bit denser than a normal slice of bread with a much tighter crumb structure. Bagels are made with a very long hydration dough (about 48 percent) and high-protein bread flour. Perfect proofing and boiling the dough in water before baking gives them their characteristic chewiness and smooth, glossy crust.
If you like the taste and texture of bagels, you'll love my Sourdough Pretzels!
These are most definitely a 5 star! I've made them twice now and they've turned out absolutely fantastic both times. My family devoured them. Thank you for a wonderful recipe!
- Promise
Ingredients and Substitutions
- Bread flour: High-protein bread flour helps with gluten development resulting in chewy bagels with a shiny, smooth crust. Do not substitute all-purpose flour or your bagels will taste more like bread rolls.
- Active starter: Make sure your starter is mature, healthy and active before attempting this recipe, otherwise your dough won't rise and your bagels will be tough and gummy.
- Barley malt syrup: Helps with browning and imparts sweetness to the dough (substitute honey or brown sugar).
- Baking soda: When combined with hot water, it creates an alkaline solution that gelatinizes the surface of the dough resulting in a shiny, dark brown and crunchy exterior. There's no substitute for this ingredient.
Sample bake schedule for Sourdough Bagels
10:00 PM: Active starter
08:00 AM: Mix the bagel dough and rest for 1 hour.
09:00 AM: Knead the dough until smooth.
01:00 PM: Transfer the dough to the refrigerator to proof overnight.
09:00 AM: Shape the dough and final proof (1 hour). Preheat oven.
10:00 AM: Poach bagels.
10: 30 AM: Bake at 475 F for 15 minutes.
Looking for a quicker bagel recipe? Try my Sourdough Discard Bagels!
How to Shape Sourdough Bagels
Method 1: Easy Shaping
Round the dough into a tight ball. Poke a hole in the center. Using your fingertips, lightly stretch the dough to make the hole larger.
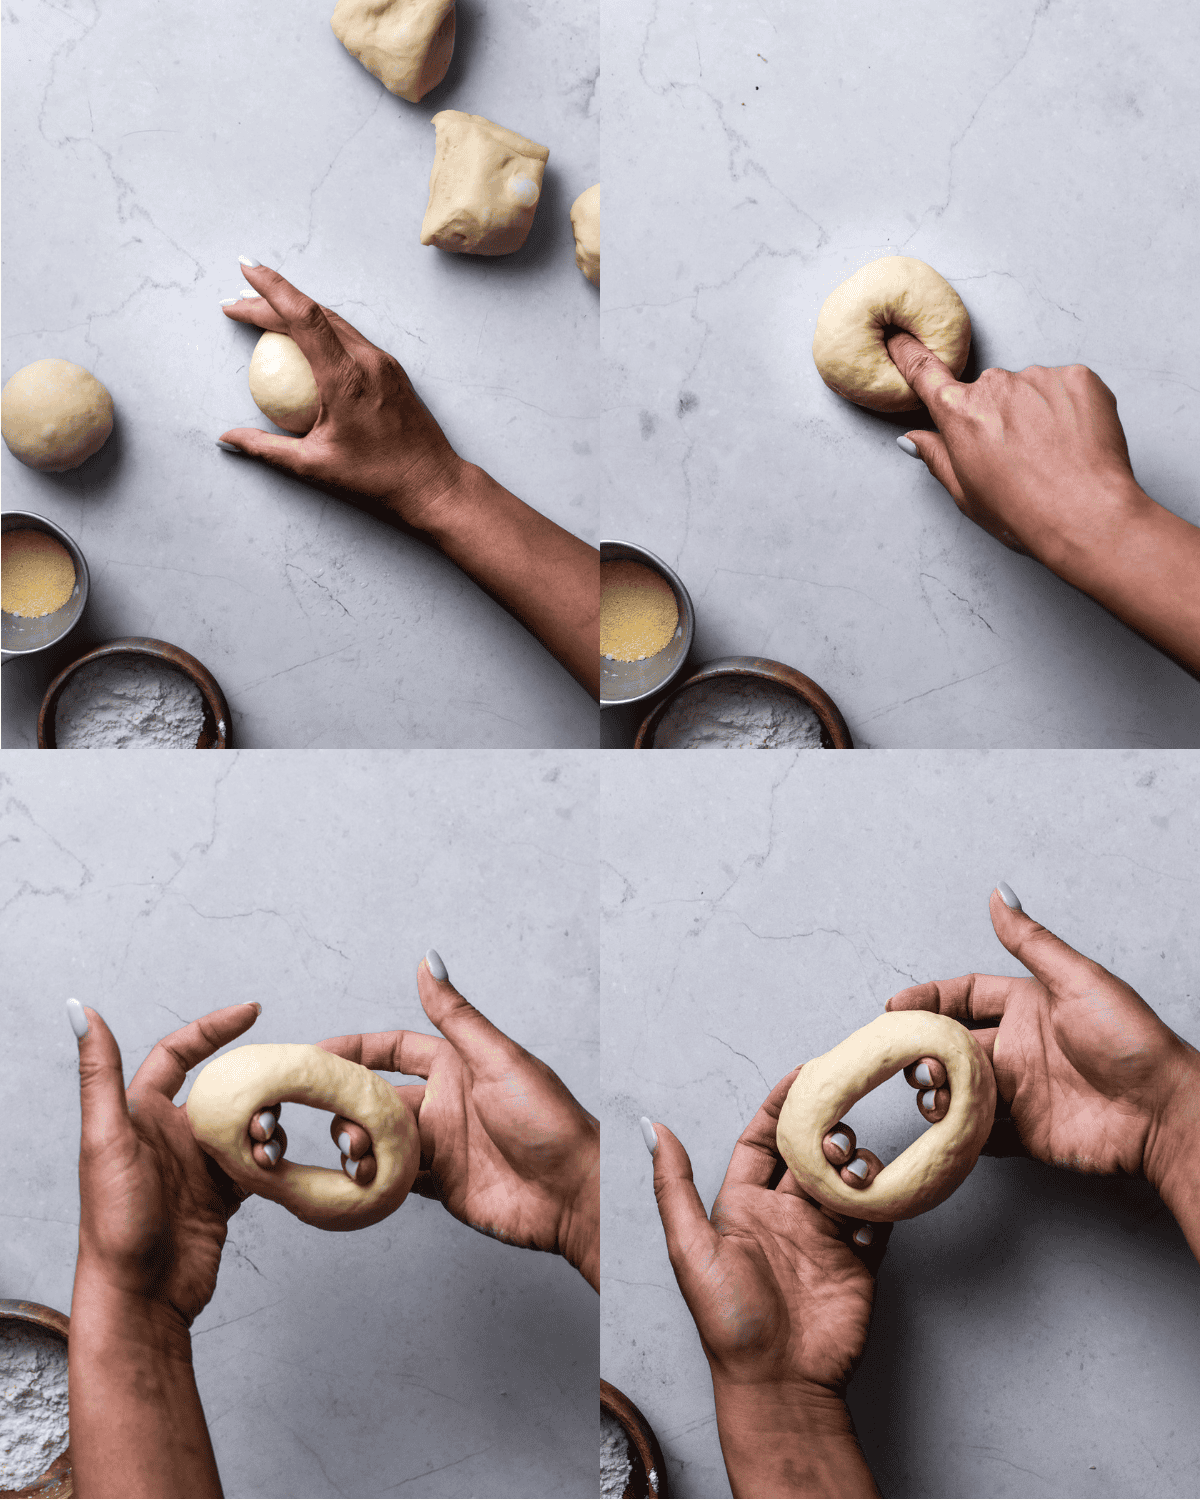
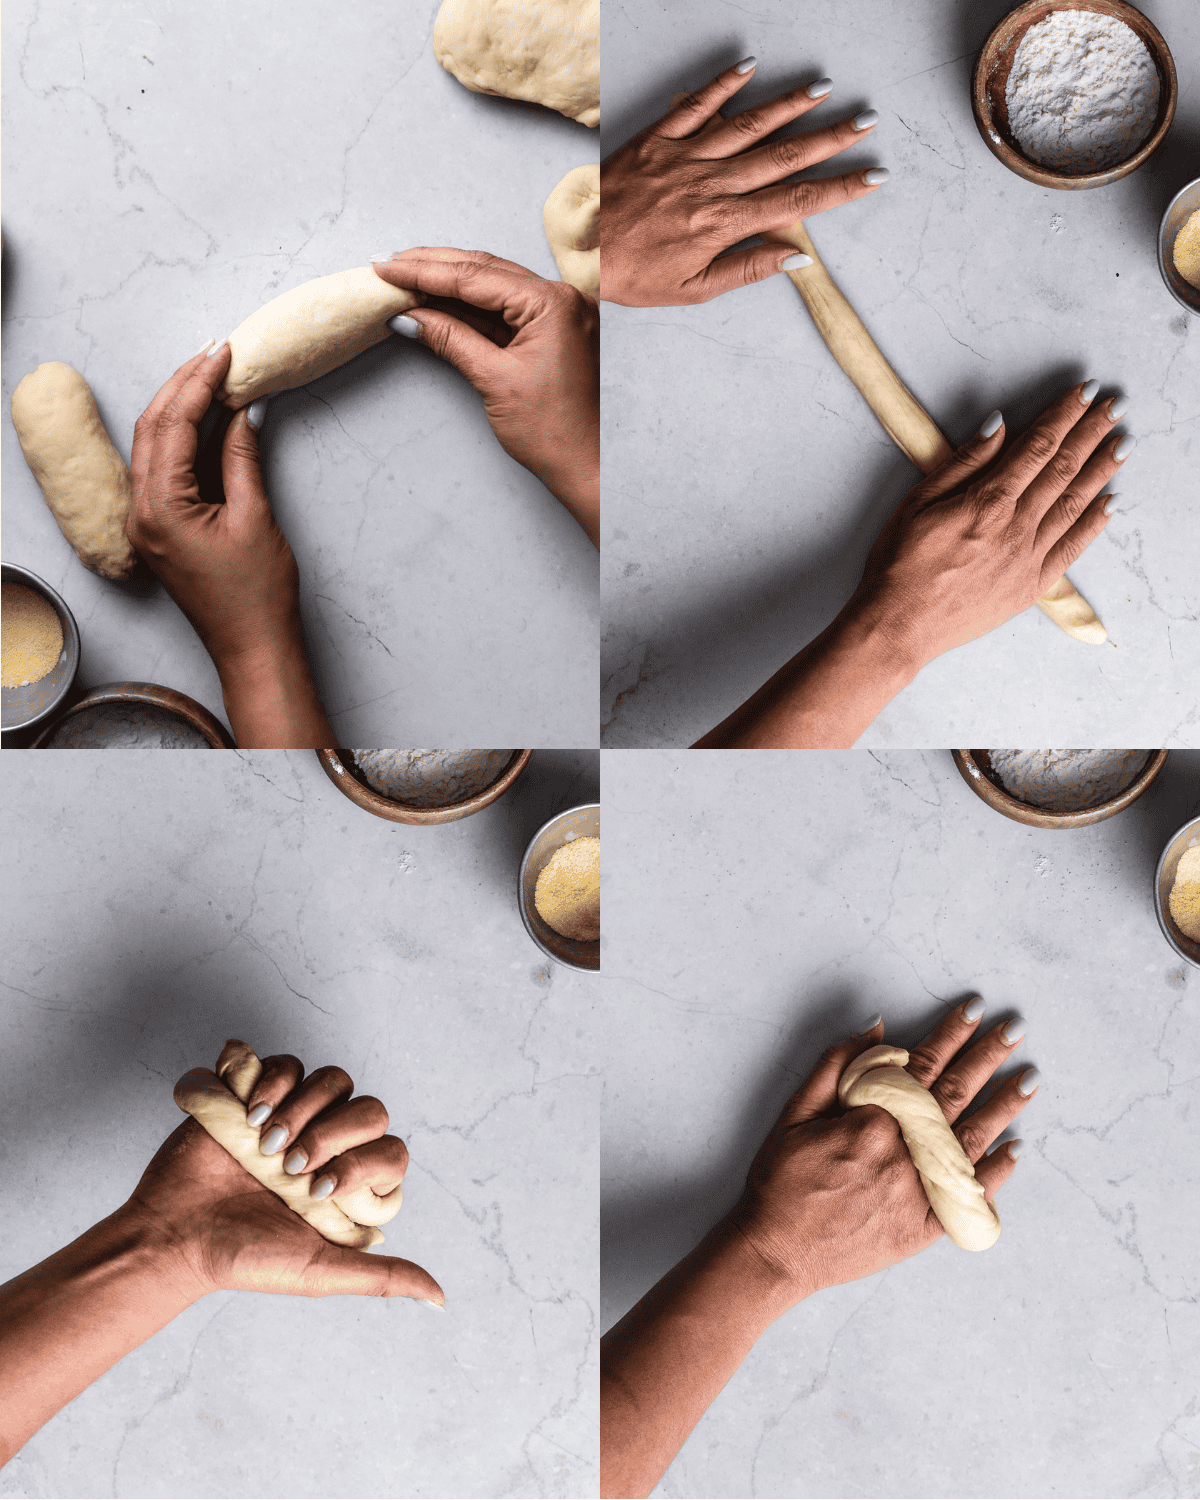
Method 2: New York Style
Pre shape the dough into small logs. Roll each log into a long rope. Wrap the dough around your hand with the ends overlapping on your palm. Roll the dough using the palm of your hand until the ends adhere to each other
Baker's Tips
Use an active sourdough starter: To make any good sourdough bread you'll need a healthy and mature active starter. If your weak sourdough starter is weak, your dough won't rise and your bagels will be dense and gummy.
Develop a strong gluten network: Crinkly bagels are an indication of poor gluten development. Another benefit of well-developed gluten is the chewy texture that's a signature of bagels. I kneaded my bagels by hand but using a mixer or food processor will make the process easier and quicker.
Boil bagels in hot but not boiling water: The water needs to be hot to encourage the dough to swell which results in a plush crumb, but overly bubbling water will restrict yeast activity too much causing your bagels to collapse as they are baked.
Don't overproof!: Proofing sourdough bagels can get tricky. When I first started testing this recipe I over-proofed my dough consistently. This resulted in dull bagels with a tough texture (your jaw will think its being punished) and an open crumb. Proof your shaped bagels until they look like they've built up some air but not doubled. Use the float test to determine readiness, to do this drop one bagel in a bowl of lukewarm water and don't proceed until your bagels float.
Use the float test: Drop one bagel in a bowl of lukewarm water. If your bagels float then you're ready to proceed to poach, if it sinks then cover your dough and continue proofing for another 15 to 30 minutes
Recipe FAQs
Dense bagels are usually underproofed, make sure your bagel dough doubles in volume during bulk fermentation and make sure your bagels pass the float test before poaching and baking.
Flat bagels could be the result of proofing issues. Underproofed dough won't build enough air to puff up as they bake. While over proofed bagels will have an open crumb flatter profile, these are usually still delicious but will not taste like a signature bagel.
Once the bagels are fully cooled, spit the bagels in half and wrap each bagel in 2 layers of foil. Place the wrapped bagels in a ziplock bag and freeze for up to 1 month. Leave the frozen bagels out at room temperature for 10 minutes, this will make it easier to separate the bagel halves. Toast the bagels before serving.
You may also like
Did this recipe rise to the occasion?
★★★★★
Leave a star rating and a comment. Your feedback inspires future recipes and helps others feel confident choosing what to bake next. I read and respond to every message.
If you're looking for additional ways to support my work, share this recipe or buy me a Ko-fi. Every little bit helps me keep creating the recipes and guides you enjoy.
Thank you for your support!

Sourdough Bagels
Equipment
- Slotted spoon
This section may contain affiliate links
Ingredients
Bagel Dough
- 150 grams sourdough starter mature and active
- 28 grams barley malt syrup
- 226 grams water
- 9 grams salt
- 540 grams bread flour
Prep
- 30 grams Corm meal
Poaching Liquid
- 28 grams barley malt syrup
- 4 grams salt
- 10 grams baking soda
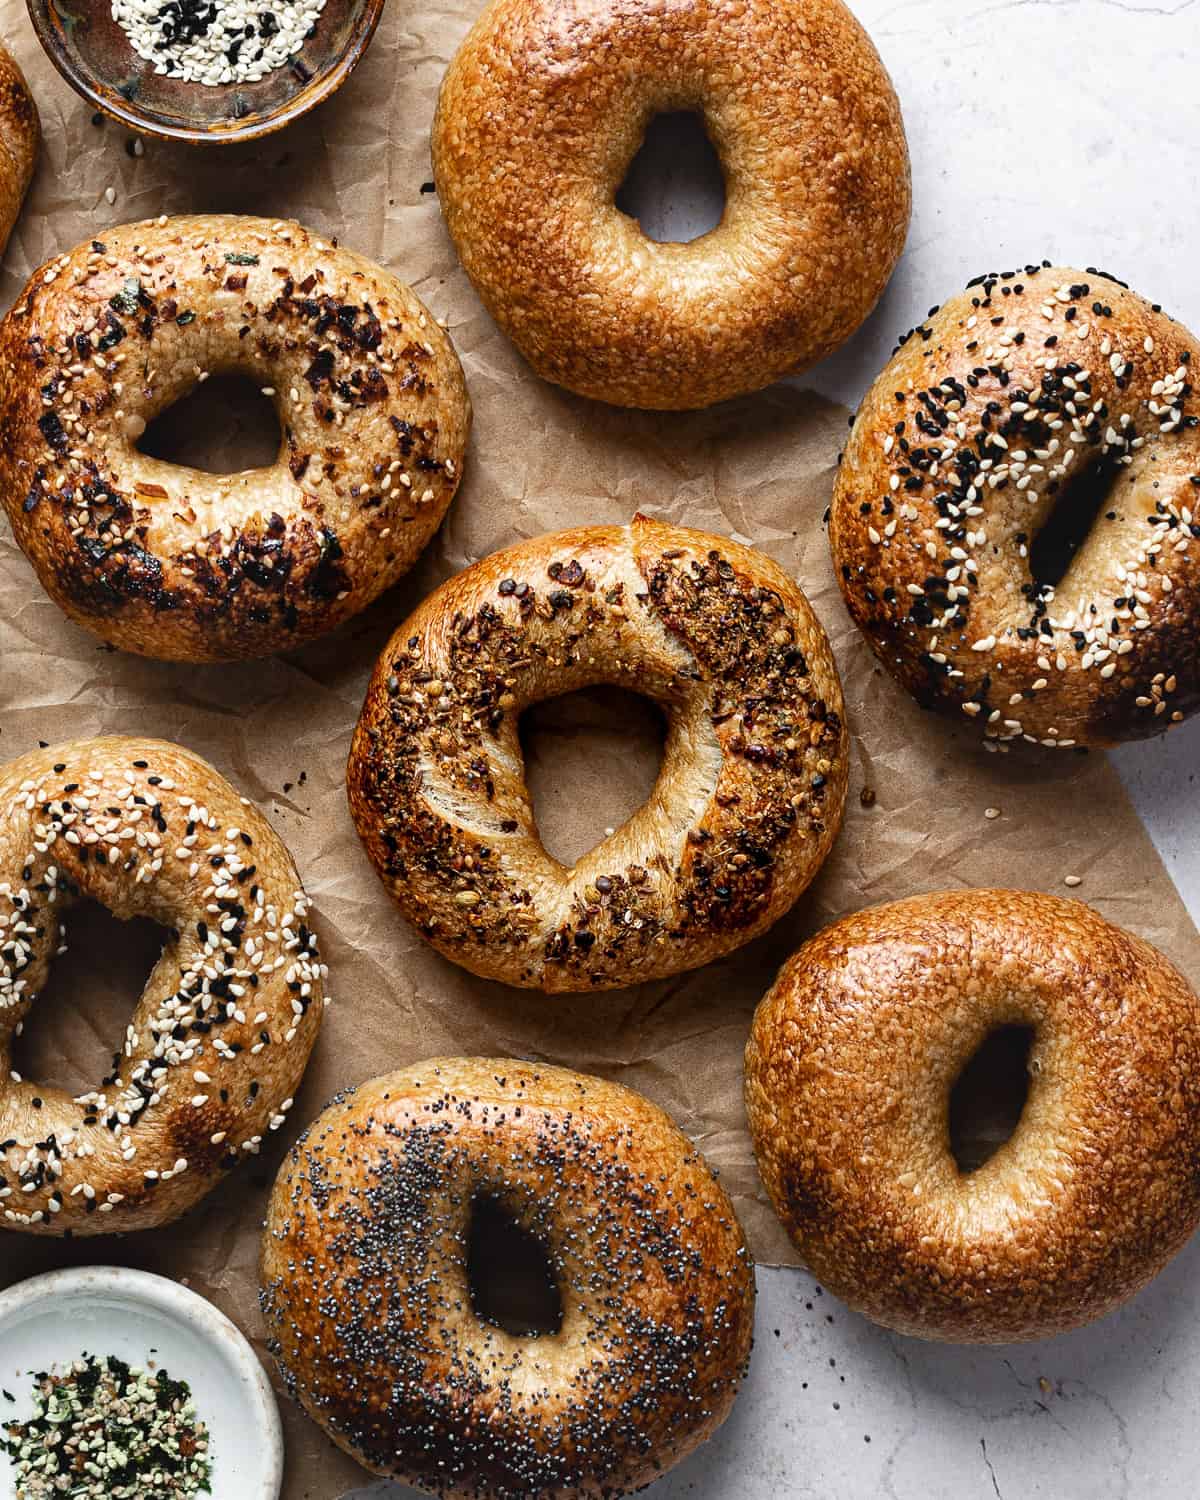
Suggested Toppings
- Sesame seeds
- Poppy seeds
- Cinnamon sugar
- Caraway seeds
- Everything bagel seasoning
- Za'atar seasoning
- Furikake
- Dried onion
Click US Customary to view volume measurements
Instructions
- Mix your dough: In a large mixing bowl, dissolve active starter and barley malt syrup in water. Stir the bread flour and salt in the dissolved starter. This is quite a dry dough so you may have a difficult time incorporating all the flour. Use your hand to knead the mixture together until all of the flour is hydrated. Cover the bowl with plastic wrap and let the dough rest for 1 hour (skip rest if using a machine to mix).150 grams sourdough starter, 28 grams barley malt syrup, 226 grams water, 9 grams salt, 540 grams bread flour
- Strengthen the dough: Turn the dough out on a clean work surface. Knead the dough for 10 to 15 minutes or until the dough is completely smooth and no longer tears easily. Round into a tight bowl and place in a lightly-oiled bowl. Cover the dough with plastic wrap and set it in a warm place.
- Bulk ferment: Let the dough rise until bubbly, airy and doubled in volume, about 4 to 6 hours.
- Cold proof: Deflate the dough, gather the dough into a tight ball and cover with plastic wrap. Place the dough in the refrigerator and let the dough proof overnight.
- Shape the dough: Dust a baking sheet with cornmeal. Divide the dough into 8 to 10 equal portions. Round each portion of dough into a tight ball.30 grams Corm meal
- Shaping method 1: Use your index finger to poke a hole in the center of your dough. Stretch the hole out using your peace fingers. Create a hole arger than you think you need, about 2 to 3 inches in diameter, as the dough will snap back as it rises. Place the shaped dough on the prepared baking sheet.
- Shaping method 2: Flatten each ball of dough into an oval. Roll the dough into a log, let the dough rest for 15 minutes. Use your palms to roll the dough into a long rope, about 8 inches long. Wrap the rope around your hand, pinch the ends together and roll the dough until the ends adhere to each other. Placethe shaped dough on the prepared baking sheet.
- Final proof: Cover the baking sheet with plastic wrap. Let the dough rise for 45 minutes to an hour or until noticeably puffy, but not doubled.
- Prep: When your bagels are close to being ready, preheat the oven to 475 F.
- Float test: Fill a large bowl with lukewarm water. Place a shaped bagel in th bowl of water, if it floats then you're ready to proceed.
- Poach the bagels: Bring a large pot of water to a boil. Once boiling, add the baking soda, barley malt syrup and salt to the water. Turn the heat down to a simmer and drop 2 to 3 bagels into the water, do not overcrowd the pot. Cook the dough for 1 minute, flipping halfway through. Return the poached bagels to the baking sheet spaced about 2 inches apart. Finish with your toppings of choice.28 grams barley malt syrup, 10 grams baking soda, 4 grams salt
- Bake: Bake the dough for 15 minutes or until golden brown and measures 200 F when probed with an instant read thermometer.
- Serve: Transfer bagels to a wire rack and let cool for 30 minutes before slicing. Freshly baked bagels are delicious even without toasting!
- Store: Store cooled bagels in a ziplock bag at room temperature for up to 5 days. For best results, toast leftover bagels before enjoying.
Tips
These recipes were developed and tested using grams for precise measurements. To increase your chances of success, I recommend investing in a kitchen scale. I've included rough volume estimates (in tablespoons and cups), but they might not be totally accurate.
Remember all ovens are unique, these recipes were tested in my oven which runs cooler than others. You might need to lower the temperature if your bake appears to be browning too quickly. Monitor your bake closely and make adjustments if needed.
Notes
- Make sure your starter is mature, active and healthy before attempting this recipe.
- If the dough snaps back when shaping, let it rest for a few minutes before continuing.
- Careful not to overproof the dough or your bagels will become dull, tough and wrinkly.
Nutrition
I am not a nutritionist or dietitian, any nutrition information provided is an estimate.
T says
Delish! I used brown sugar dissolved in water at 1:1 simple syrup ratio but followed the rest recipe religiously. I couldn't make my gas oven beat somewhat 200 degrees Celsius, so baking till the goal inside temperature was achieved took me twice the time, nevertheless is turned out so good. Definitely doing it again. Big thanks, Hannah!
Hannah Dela Cruz says
So happy you tried this one and proud of you for succeeding! Bagels are not an easy bake. Glad you loved them.
Promise says
These are most definitely a 5 star! I’ve made them twice now and they’ve turned out absolutely fantastic both times. My family devoured them. Thank you for a wonderful recipe! 😋🥯💕
Kayla says
Hi! Do you think I could stick my bagels back in the fridge at the start of the final proof?
I was hoping I could shape then before work and bake them after!
Hannah Dela Cruz says
Hi Kayla - I think this would work just fine! If your bagels don't pass the float test, just set them out at room temp while your oven preheats.
Clare says
Delicious! Thank you
Hannah Dela Cruz says
Thank you Clare! Love hearing your feedback.
Evelyn says
I only found barley malt powder. How do I mix it, what proportion of liquid do I add to male the 28 gms of syrup? Thx
Hannah @ Make It Dough says
I don't know that barley malt powder and barley malt syrup are the same thing. You can always substitute honey, molasses or brown sugar.
Samra says
Hello and ty for this recipe! I've tried a few kinds of sourdough bagels that are vegan and this is by far the tastiest. I overbaked mine however and a bit crunchy as I try to get used to my new bread oven. Mine doubled during the bulk and passed the float test the following day, although they don't get too puffy (I made 10 from this recipe)...any suggestions on that are these more of a Montreal style rather than NY?
Hannah @ Make It Dough says
Hi Samra! Thanks for trying the recipe. Bagels are not supposed to puff up too much and are supposed to have a tighter crumb. Crunchy bagels are usually over proofed and start resembling crusty sourdough bread. You really do have to bake these at just the right moment (not quite doubled but have passed the float test).
Evelyn says
Samra, you are a girl after my own heart. I'd love to be able to make Montreal bagels. Hope you get the answer so we can both use it. Good luck P.S, I am from Montreal.
Hannah @ Make It Dough says
I've never had Montreal bagels, so I'm not sure that I would do the recipe justice.
Monique says
Is there a 'print' button for your fabulous recipes?
Nora says
Is the time correct for boiling the bagels..... 30 minutes per side?
Thanks
Make It Dough says
This was a typo and has been edited
Polly Ferguson says
"Cook" (Boil) the bagels for 30 minutes? Just checking, because usually the bagels are boiled for about 30 seconds on each side.
Make It Dough says
This was a typo and has been edited within the recipe