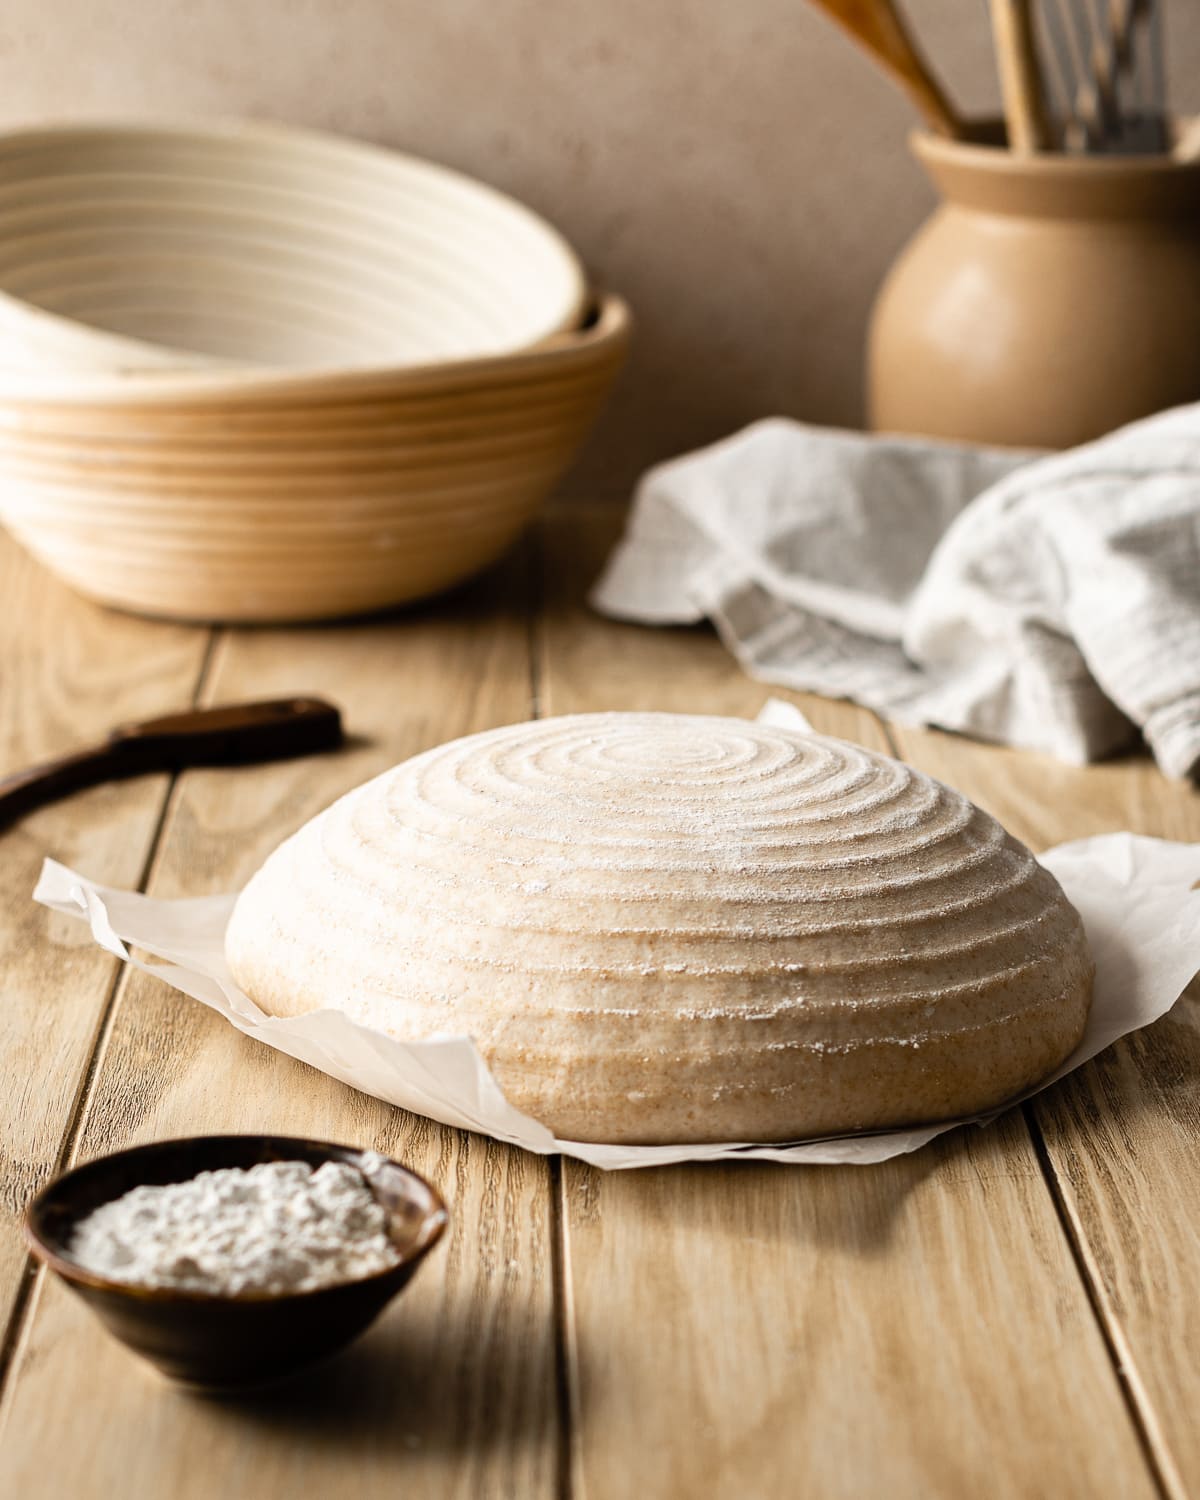
Autolyse is the rest period following the mixing of flour and water. It's a fancy name for a very simple step that imparts a myriad of benefits to sourdough bread. It makes dough much easier to handle and results in tastier bread. In this post, I'll discuss why autolysis is worth the extra time and why you may want to add it to your bread baking process.
Jump to:
History of autolyse
Autolyse is a technique developed and popularized by Professor Raymond Calvel as a response to the industrialization of bread production in France. The use of electric mixers resulted in the deterioration of the quality of the bread. He found that aggressive mixing heated up the dough and sped up fermentation which stripped the flavor and color from bread. Think all the mass produced bland white bread in the United States before the Sourdough Renaissance that we all enjoy today.
Calvel found that letting dough rest and allowing the flour to hydrate effortlessly resulted in dough development without the need for excessive mixing. Autolyse was used to maintain the color and flavor of bread.
What is autolyse?
You probably already autolyse your dough without even knowing it. In scientific terms it is defined as the destruction of a cell through the its own enzymatic activity.
In bread baking it describes the rest period that follows the mixing of flour and water. During this period protease enzymes degrade protein in flour increasing extensibility, and amylase enzymes process starch into sugars making them readily digestible for yeast (source: King Arthur Baking Company). This kickstarts gluten development and enzymatic activity resulting in dough that is stronger, smoother and much easier to work with.
In most sourdough recipes, autolyse is done without the addition of sourdough starter, salt and any other ingredients. This allows the flour to properly hydrate without the salt or add-ins leaching water away. Gluten is also activated so dough builds structure and strength before fermentation begins.
Autolyse vs. Fermentolyse
In some recipes fermentolyse is commonly used to refer to autolyse that includes sourdough starter, and no salt or other ingredients.
Fermentation begins as soon as sourdough starter is added to your dough, so if you are adding this step to your process, include it in your timed calculations for bulk fermentation.
The relationship between autolyse and gluten development
Gluten development is kickstarted as soon as water is added to flour. Gluten bonds automatically form without kneading or folding.
Good gluten structure is a combination of elasticity and extensibility. Elasticity allows dough to snap back and keep its shape, while extensibility enables it to stretch so it can expand as the fermentation process occurs. The autolyse phase essentially achieves the goal of kneading and dough handling, giving gluten development a head start without as much effort.
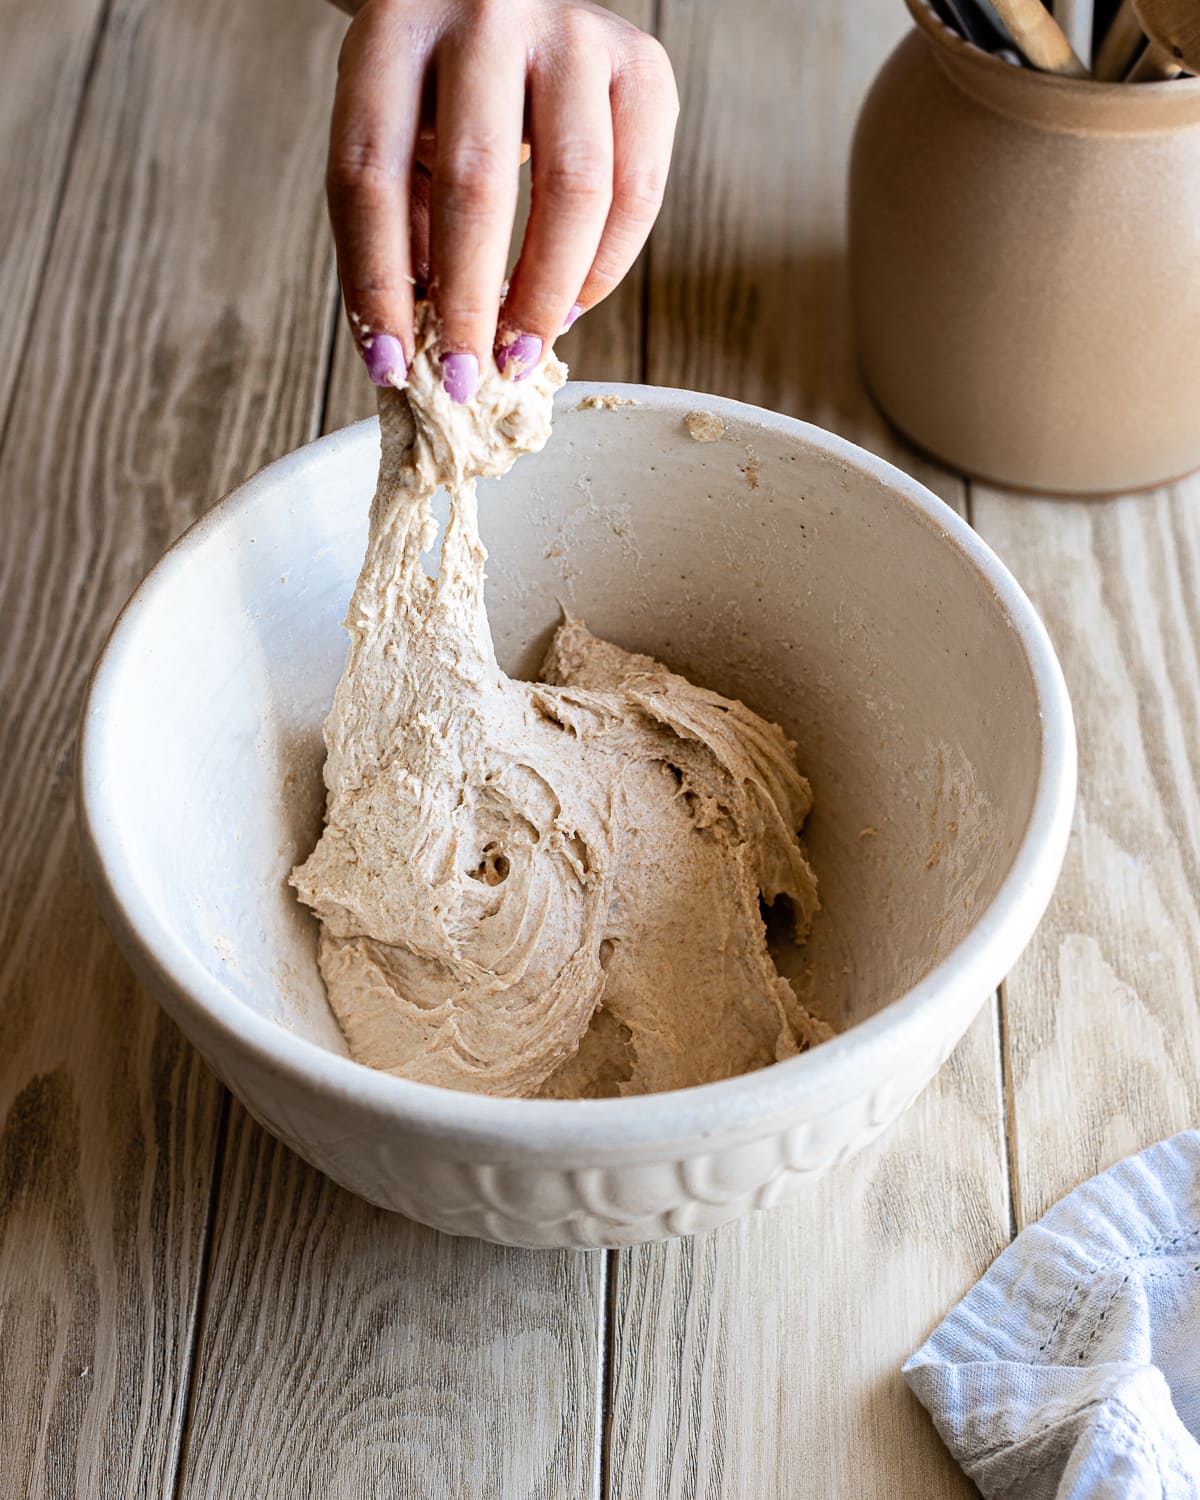
Before autolyse: Dough is sticky and tears easily.
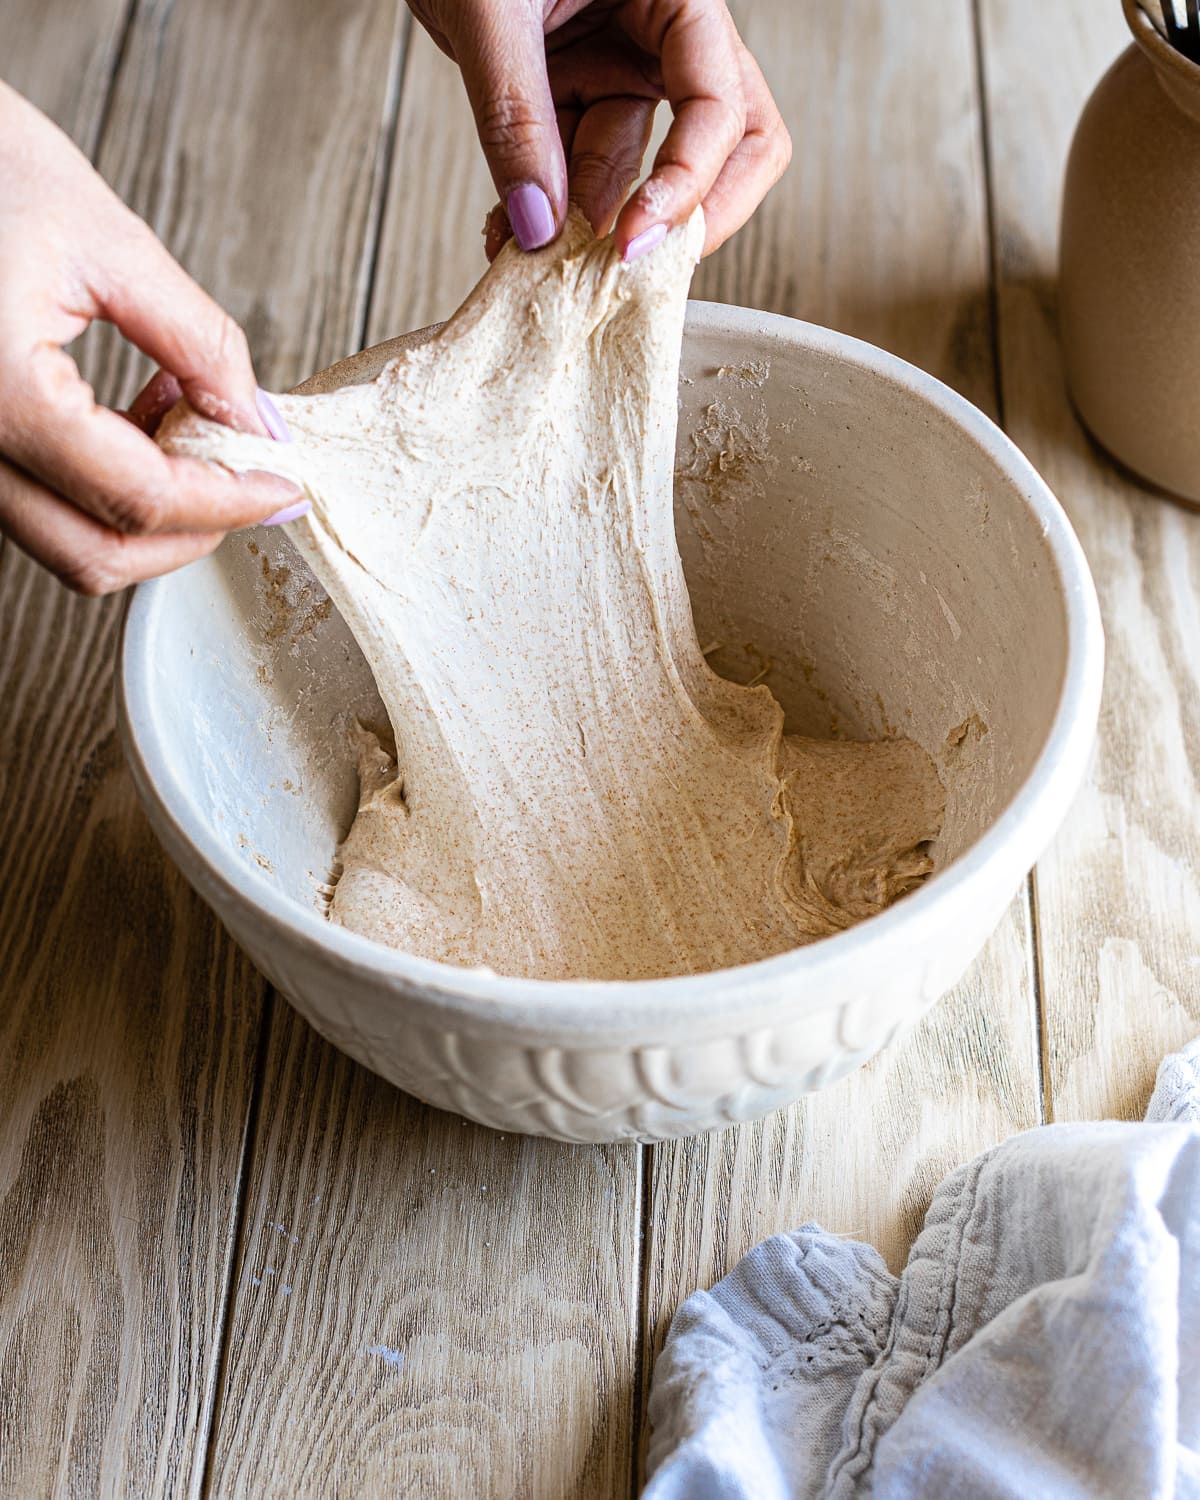
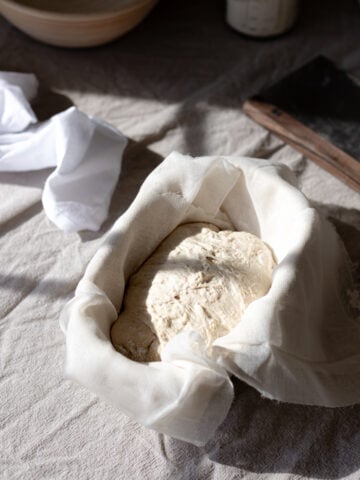
After autolyse: Dough is smooth and maintains its structure when stretched out.
Benefits of autolyse
Makes dough easier to work with: Gluten development makes bread dough less sticky and easier to handle. This makes it a great addition to the bread-making process for beginners who are not comfortable with handling tacky, wet dough. It builds structure which benefits higher hydration doughs.
Better gluten development with less effort: Autolysis requires less mixing, and automatically strengthens gluten bonds without the need for mixing.
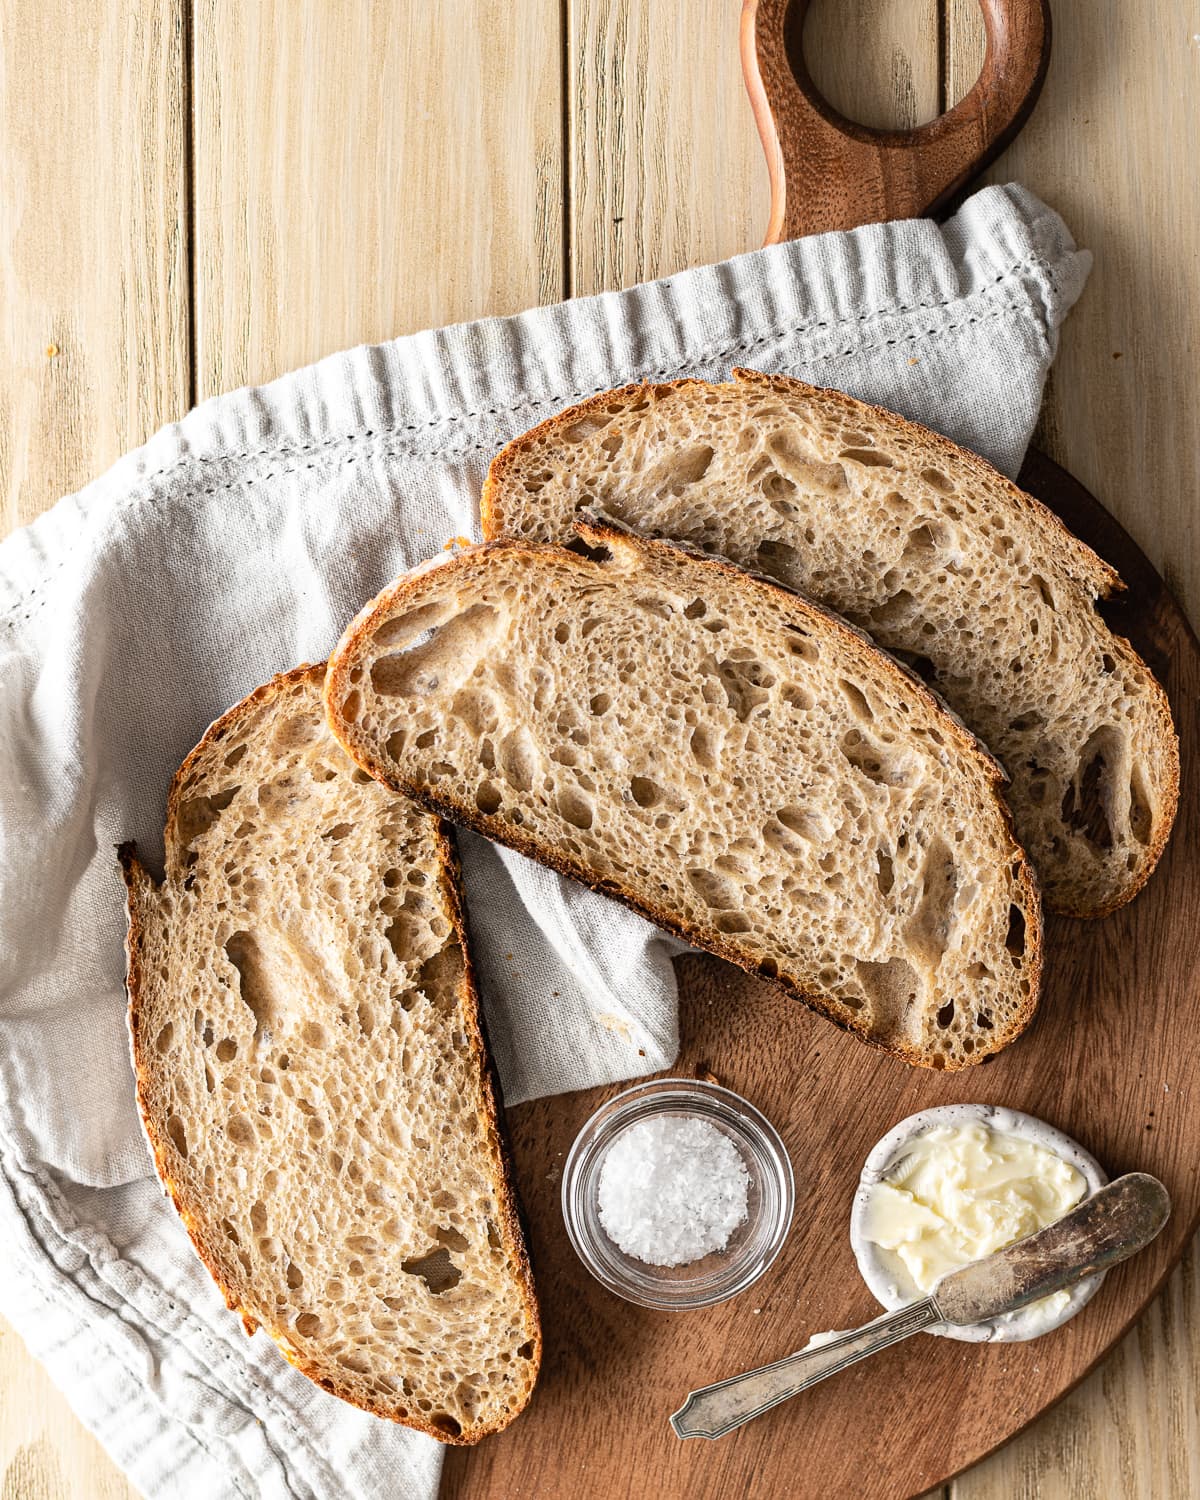
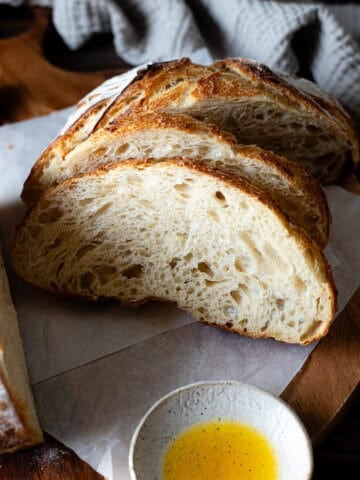
Softer, more open crumb: The autolyse period supports amylase enzyme activity which increases extensibility and dough’s ability to hold on to carbon dioxide which tenderizes dough resulting in soft bread with an open crumb.
Increased flavor: Intense mixing can result in over-oxidation which destroys Cartenoids, which contribute to the flavor and color of bread, and this results in blander bread. During the autolyse period dough automatically becomes smooth and stretchy eliminating the need for excessive mechanical mixing.
Improves texture of whole wheat bread: Extended autolyse imparts an added benefit for breads made with whole wheat flour. This type of flour includes bran has sharp edges that impede dough development by destroying gluten strands. These edges soften during the autolyse period, resulting in softer, fluffier bread.
How long should I autolyse my dough?
You can autolyse dough for as little as 10 minutes or as long as overnight. Most of the time, I autolyse my dough for 1 hour.
For doughs that incorporate a high proportion (50% or more) of whole wheat, I have soaked my flour overnight, creating a soaker, a technique I discovered in Peter Reinhat’s Whole Grain Breads book, a great resource for anyone who wants to learn more about baking with whole wheat and whole grain flours.
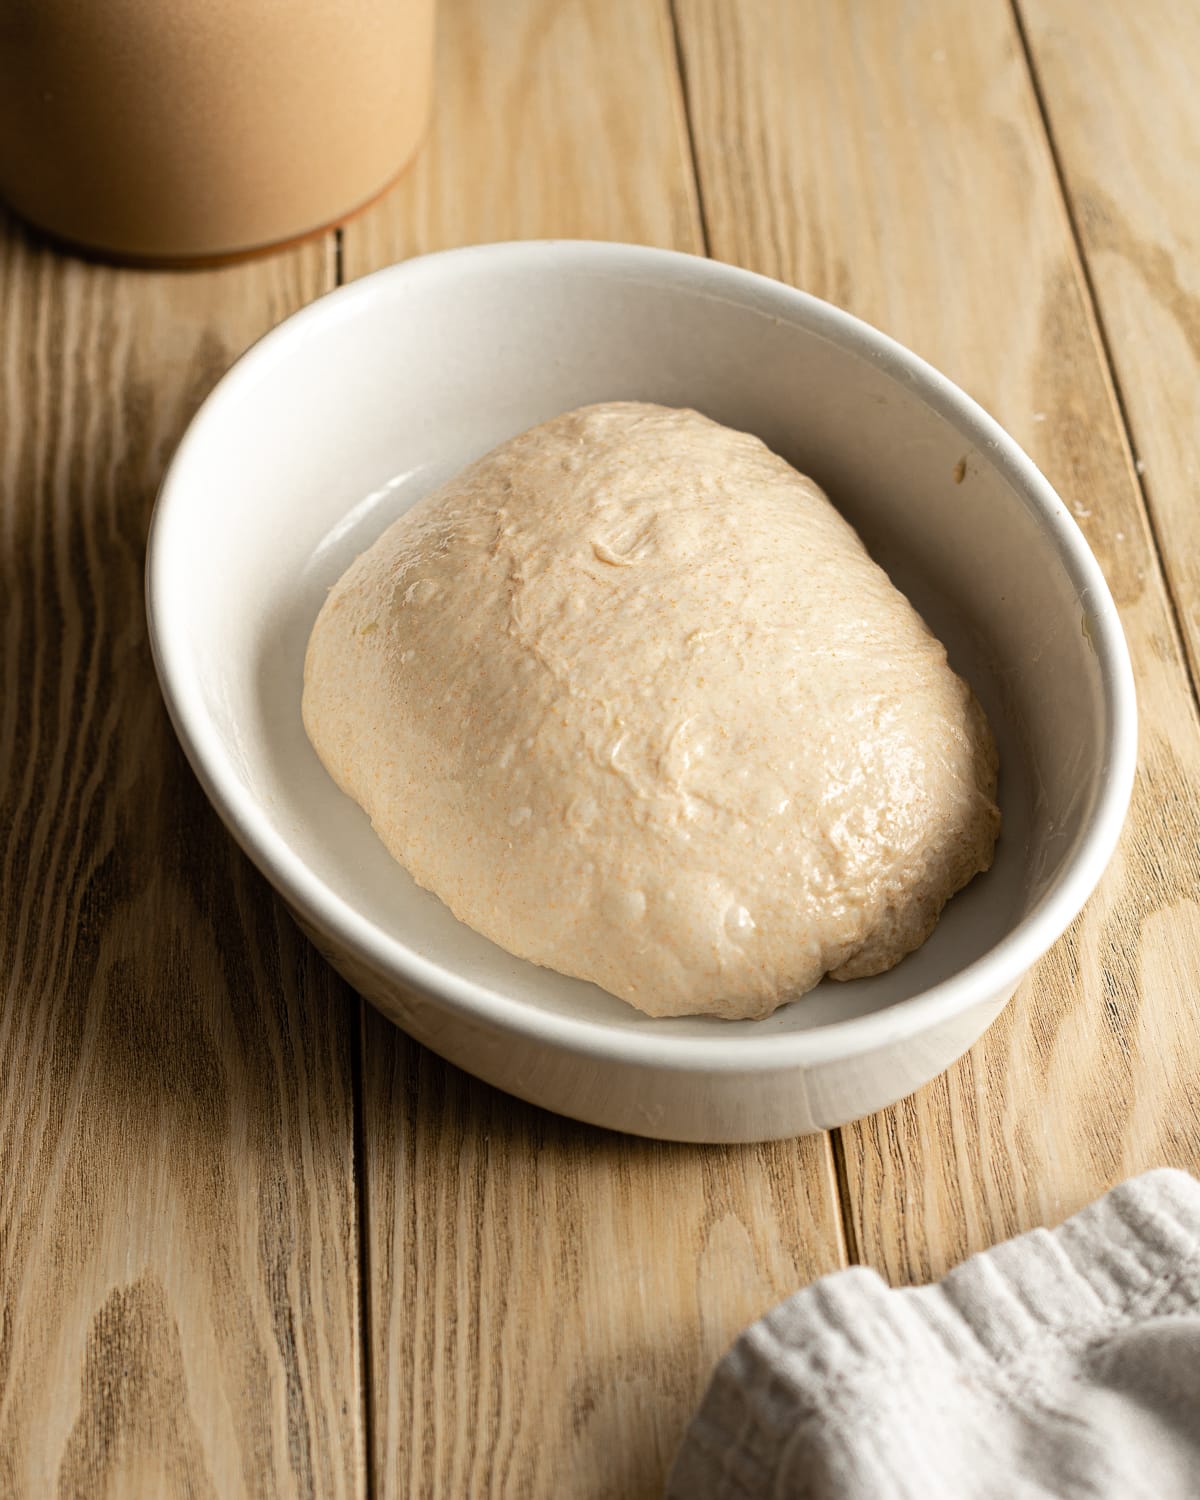
How to incorporate autolyse in the sourdough process
Adding the autolyse method into your bread-making process couldn’t be easier! It’s a step that can be added to most sourdough bread recipes, with a few exceptions that I discuss below. Simply mix the flour(s) and water together in a recipe and leave the mixture untouched for an extended period of time before adding the remaining ingredients.
Step-by-step instructions
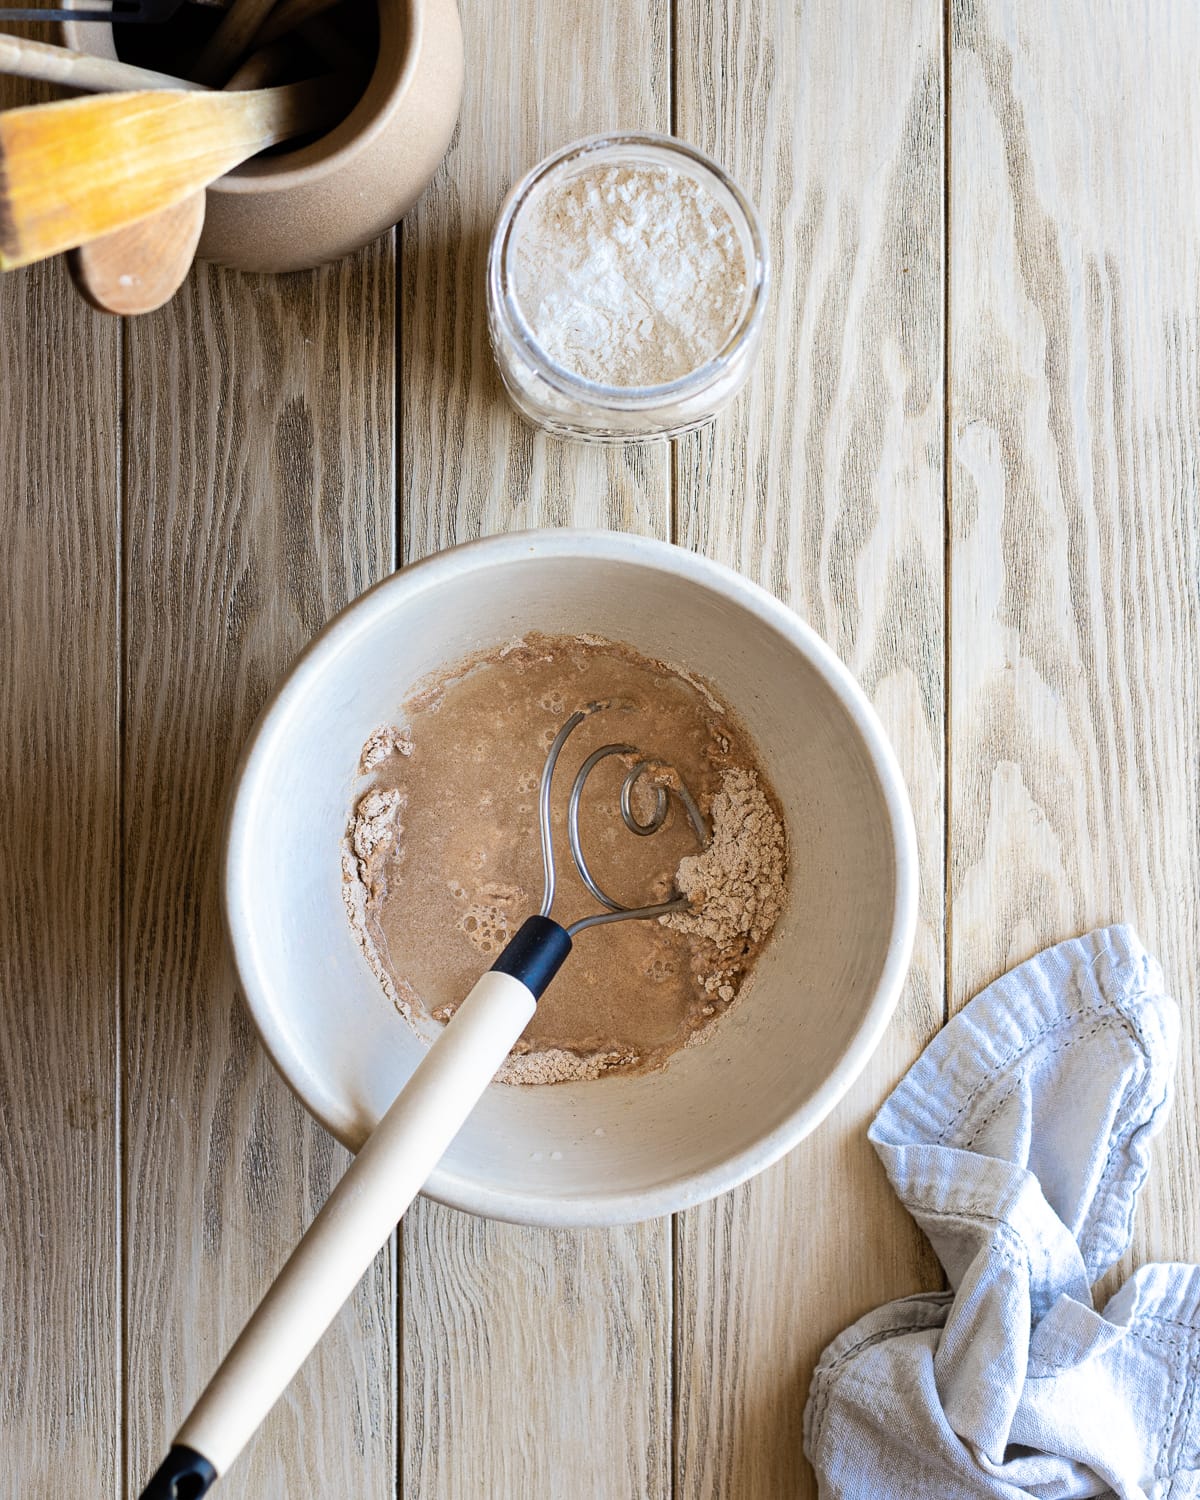
Step 1: First pour the water into a large mixing bowl, and incrementally add in the flour while you stir. This ensures all of the flour is properly hydrated and makes mixing much easier.
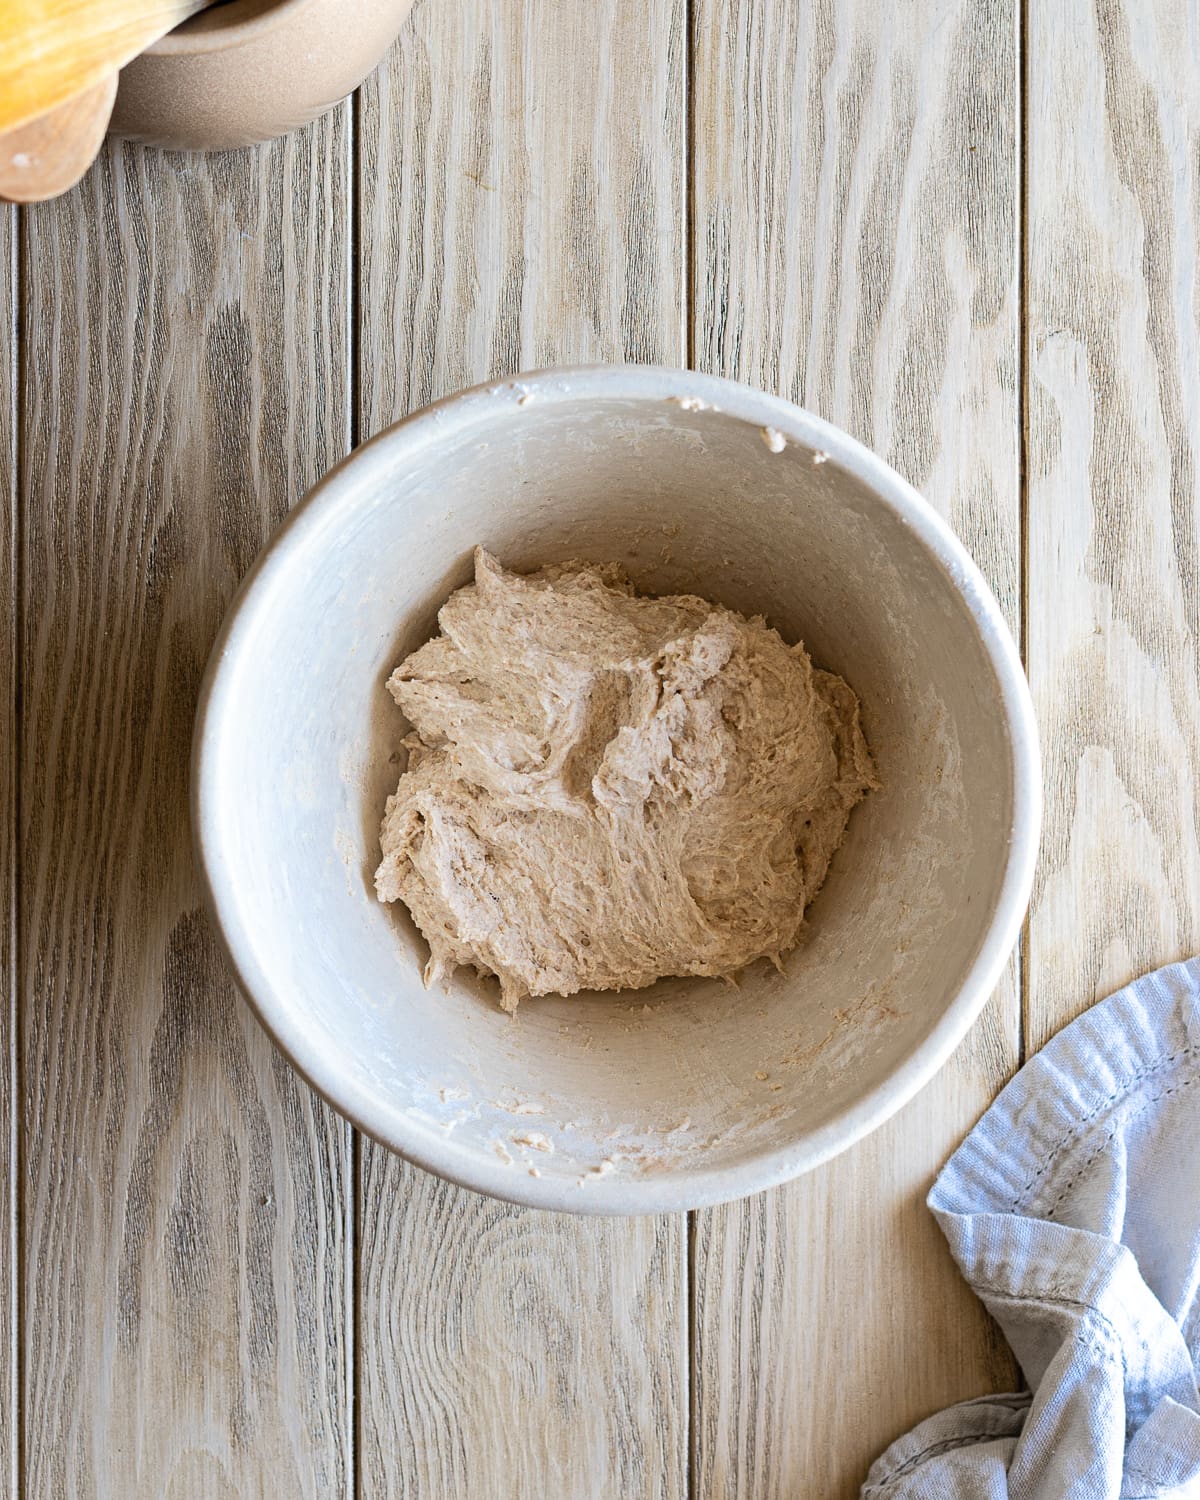
Step 2: Lightly knead the mixture with your hands until no dry spots of flour remain.
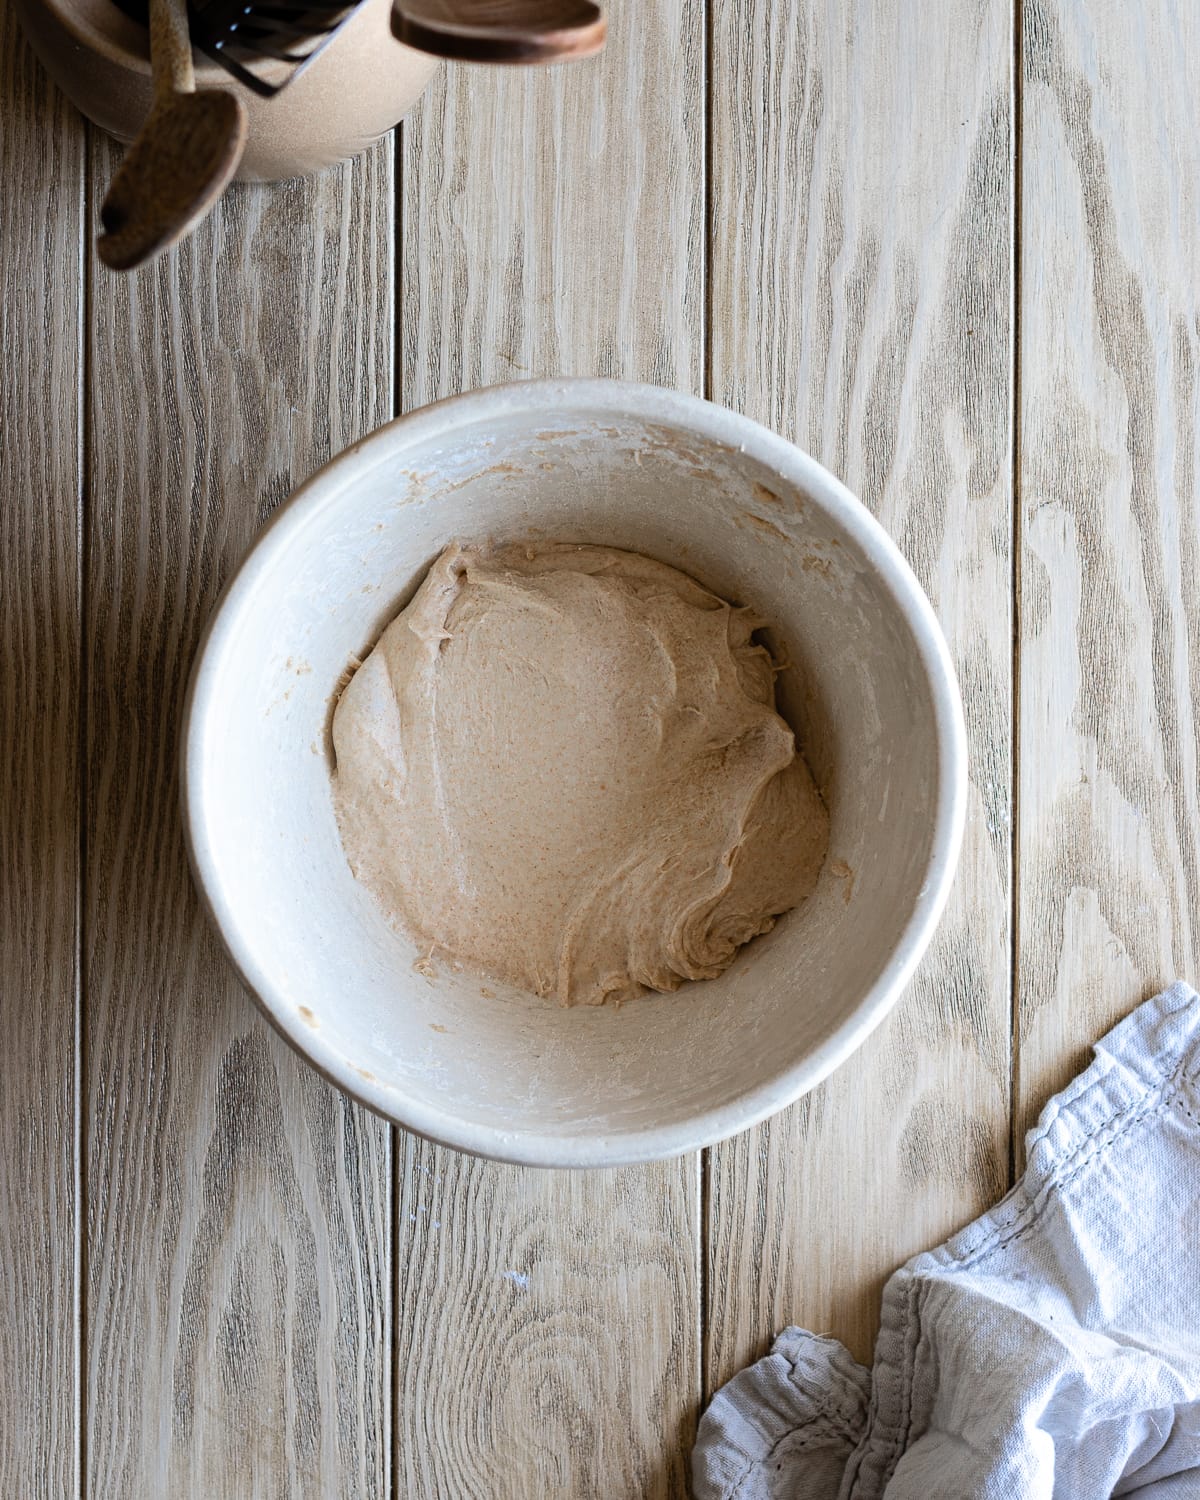
Step 3: Cover the bowl with plastic wrap and let the dough rest untouched for 15 minutes to 1 hour.
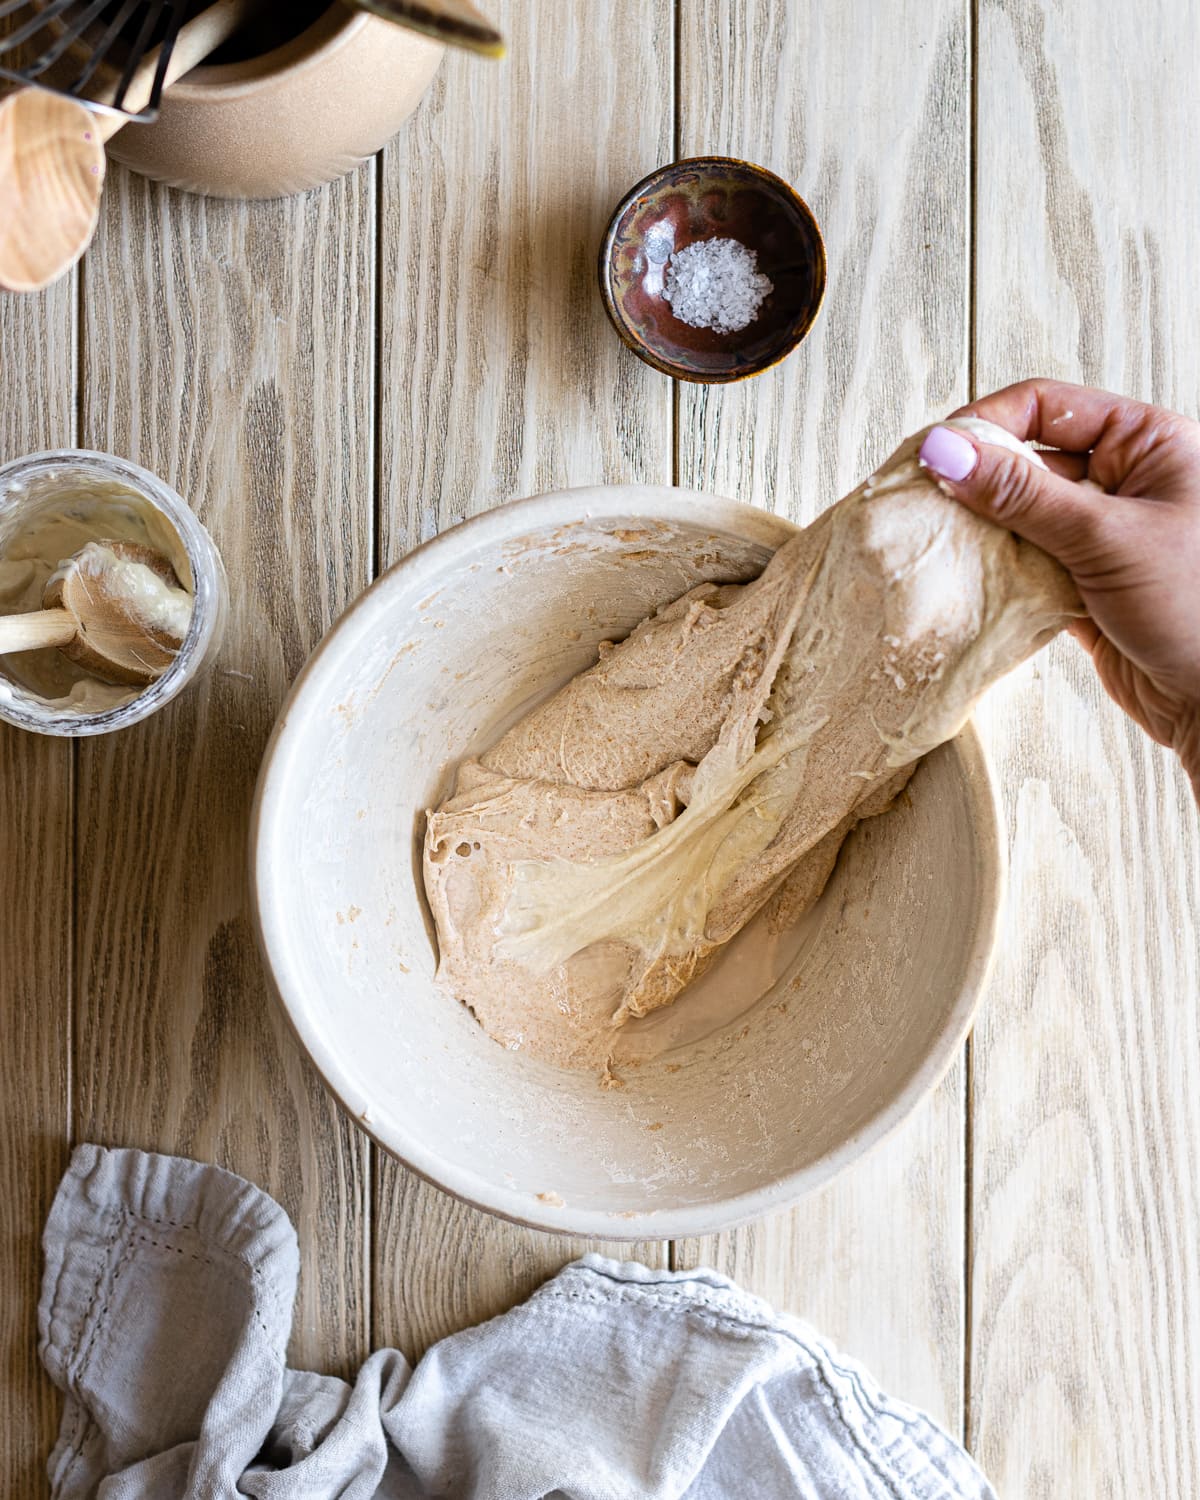
Step 4: Fold the starter and salt into your autolysed dough. Proceed with the recipe as usual.
When not to use autolyse
When you’re using certain types of grain: Grains that are highly extensible such as spelt do not need the extra boost from autolysis. Gluten is made up of gliadin and glutenin, spelt has more gliadin which makes it more prone to spreading. Since autolyse increases extensibility this could result in bread that cannot hold its shape.
Making enriched bread: Most enriched bread, such as Sourdough Brioche and Sourdough Potato Bread are made with stiff dough with a really low hydration level. Incorporating the autolyse method into these recipes could make the dough too stiff and too difficult to combine with remaining ingredients.
When you’re using freshly-milled flours: Incorporating freshly-milled flour in dough stimulates enzymes and a long autolyse puts this activity in overdrive. Incorporating a long autolyse in this instance could result in a stickier, weaker dough that will continue to degrade as the dough ferments.
More bread baking guides
FAQs
The autolyse process imparts various benefits for sourdough bread. However, it’s totally optional. While, you’ll probably end up with a better result incorporating autolysis in your bread making process it’s not require and if you’re short on time you can totally skip it!
Absolutely, check out my post how to incorporate an overnight autolyse in your bread-making process. A long autolyse is especially beneficial for bread with a high proportion of whole wheal flour.
Sourdough starter is typically not included in the autolyse phase.


Tere says
I’ve read your helpful step by step guide as I’m a newbie to sourdough baking. One place you say to watch for the “telltale signs of fermentation”, but I can’t find where you explain what those telltale signs are, so do you mind expounding on that? I follow several sourdough bakers and all have different advice on the length of “bulk fermentation”, so it’s been difficult for me to pinpoint exactly what I should be doing or looking for in my dough during this step to know when my dough is ready for the refrigerator cold-retard step. I believe the bulk fermentation step is my #1 problem cause I don’t know what exactly to watch for to know when my dough is ready for the next step.
Thank you in advance for all suggestions!
Hannah Dela Cruz says
Hi Tere - Bulk fermentation is the trickiest thing about making bread. In fact, managing fermentation is basically the job of a bread baker. It takes some time to get a feel for it, so it's totally normal that you're having trouble. Everyone does at first. It will take you quite a few bakes under your belt before you master this but the good news is, with repetition and practice you will get there. I talk a lot about bulk fermentation and discuss in detail the signs of fermentation in my Basic Crusty Sourdough Bread Recipe, so check that out because that may be helpful for you.
If you've never baked with commercial yeast before, I suggest trying it out just to get a few bakes under your belt. It will help you get the feel for your dough and will since the fermentation period is much faster it's easier to visually see the entire process. Try this recipe out: https://makeitdough.com/sourdough-discard-bread/
Good luck! Remember, the only way you can fail is if you give up!
Gary says
I milk our own whole wheat flour. The flour is usually only a few minutes to a few days old when I’m using it. Should I just skip the autolyse altogether because of the wheat being so freshly ground?
Also does it matter if it’s a soft white wheat vs a hard red wheat berry?
Hannah Dela Cruz says
Autolyse would probably be beneficial since it helps softens the sharp edges of the bran which prevents them from cutting up the gluten strands in your dough. This will help make your whole wheat bread much softer and fluffier.