

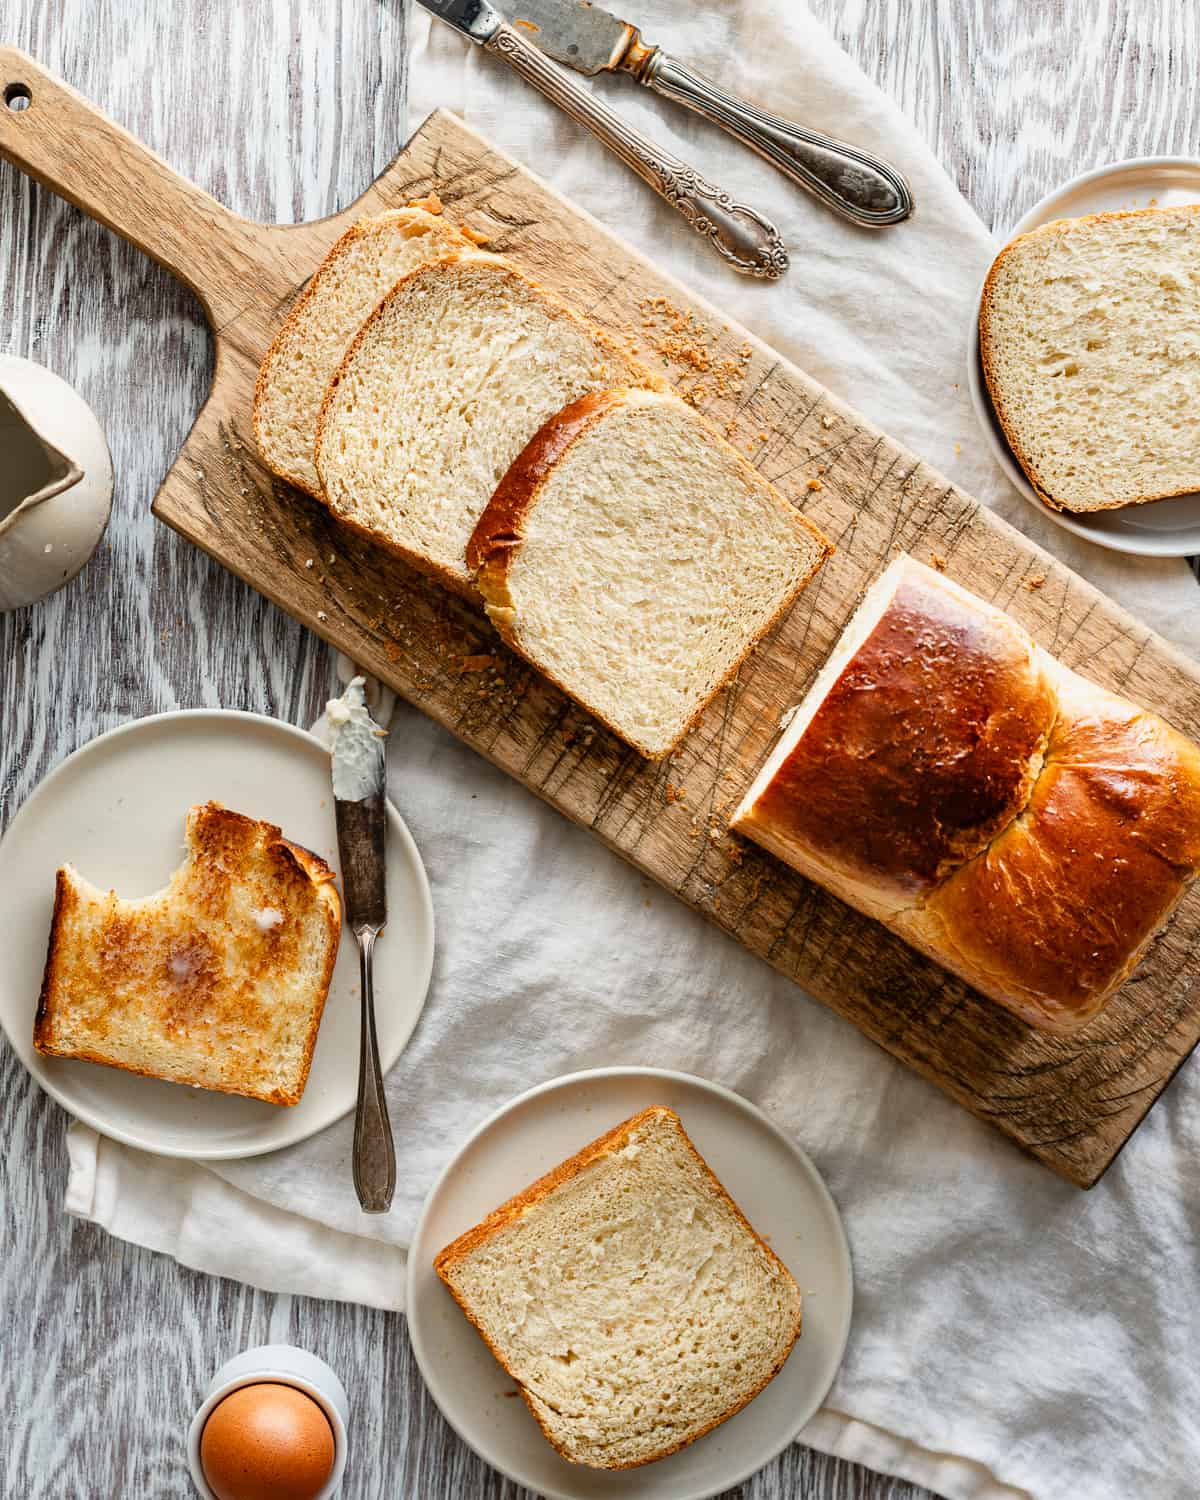
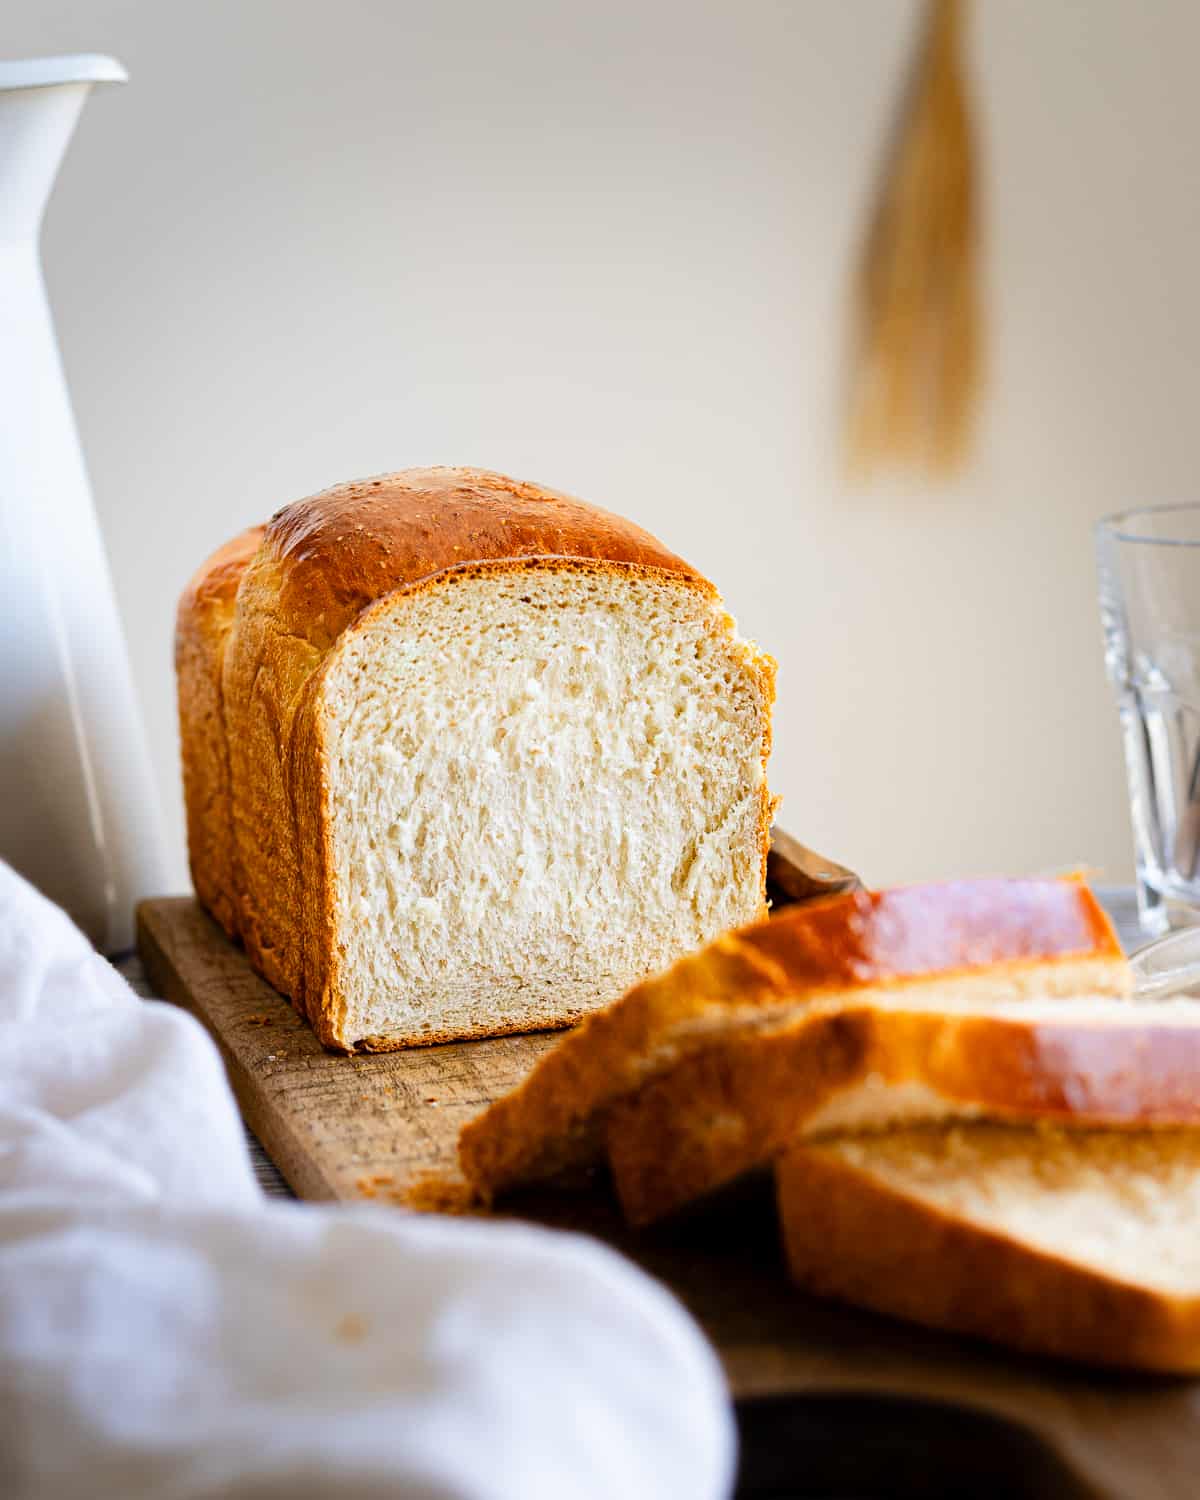
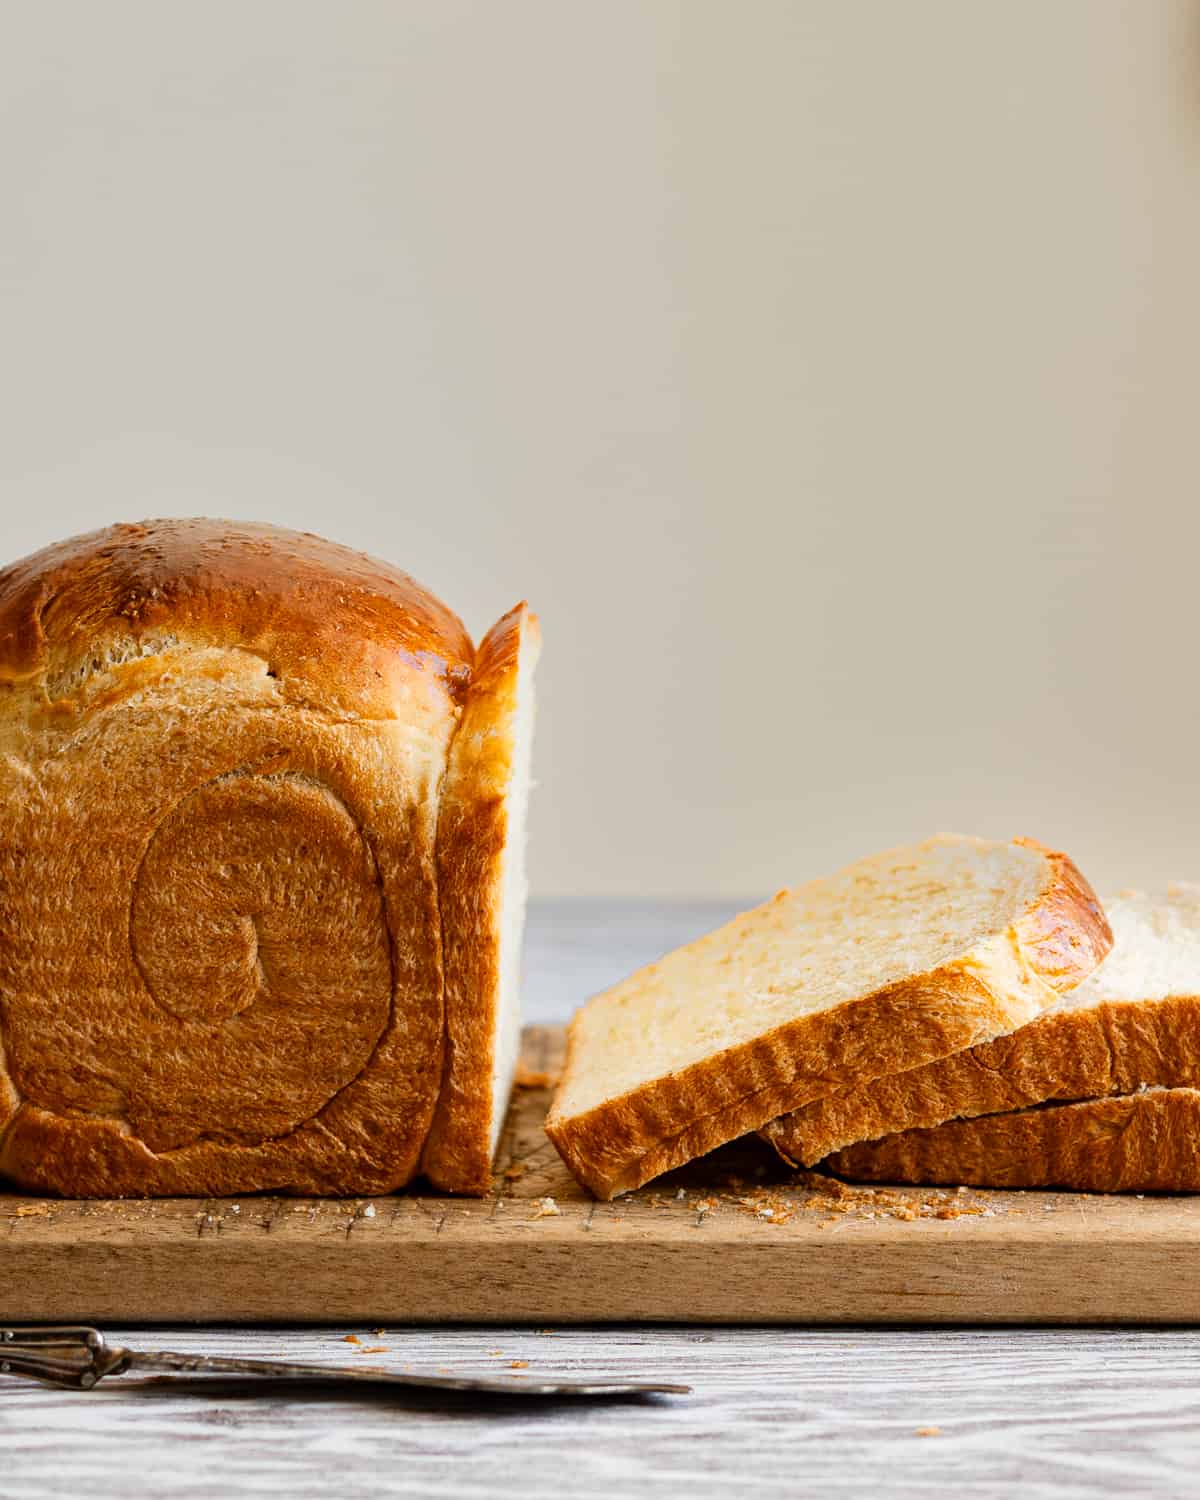
Nothing beats a classic. This soft, fluffy Sourdough Discard Sandwich Bread is perfect for sandwiches and toast. For a quick and but flavorful loaf, this recipe uses a combination of commercial yeast and sourdough discard.
This recipe was originally published in July 2022. I have since updated it with more information, new photos and additional tips for success.
Easy peasy recipe, very fluffy and delicious. Made it already more than 5 times…sooo good! Thank you.
- Nadine
I used to be a purist when it came to my bread recipes. I never wanted to use commercial yeast because I'm such a huge fan of sourdough and while I still believe sourdough bread stands out in texture, flavor, and digestibility, I now have an appreciation for breads made from hybrid dough (dough that uses both sourdough and commercial yeast).
This sourdough discard sandwich loaf sparked my love for sourdough discard bread recipes. Just because there's no time to babysit a naturally leavened sourdough loaf doesn't mean we should go without fresh, homemade bread.
While sourdough starter makes incredible bread, commercial yeast has its place, especially in enriched doughs with butter, milk, and eggs, which can further slow fermentation. It's also useful for breads where a strong tangy flavor isn't the goal. Even though the starter isn't the main leavener here, it still adds depth of flavor. Plus it's a great way to use up starter that would otherwise go to waste.
Want more ideas for using your sourdough discard in bread recipes? Try my Sourdough Discard Focaccia Bread, Sourdough Discard Hot Dog Buns and Sourdough Discard Dinner Rolls.
Why I love this recipe
- Quick and easy bake that's great for beginners and pro bakers.
- Delicious sourdough flavor without the long rise times of naturally-leavened bread.
- Soft and fluffy texture perfect for peanut butter sandwiches but sturdy enough for turkey sandwiches.
- All-mixed by hand - no stand mixer or special equipment required.
- Great way to use up excess sourdough starter.
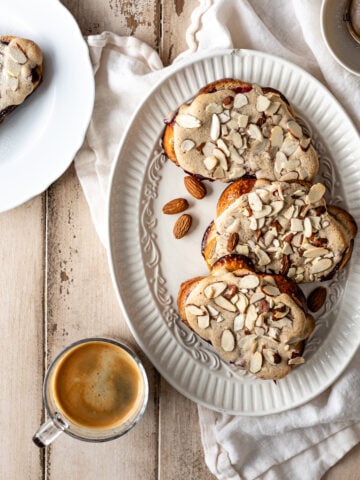
- Leftovers make the best French Toast, Bread Pudding or Bostock Pastry.
Ingredients and Substitutions
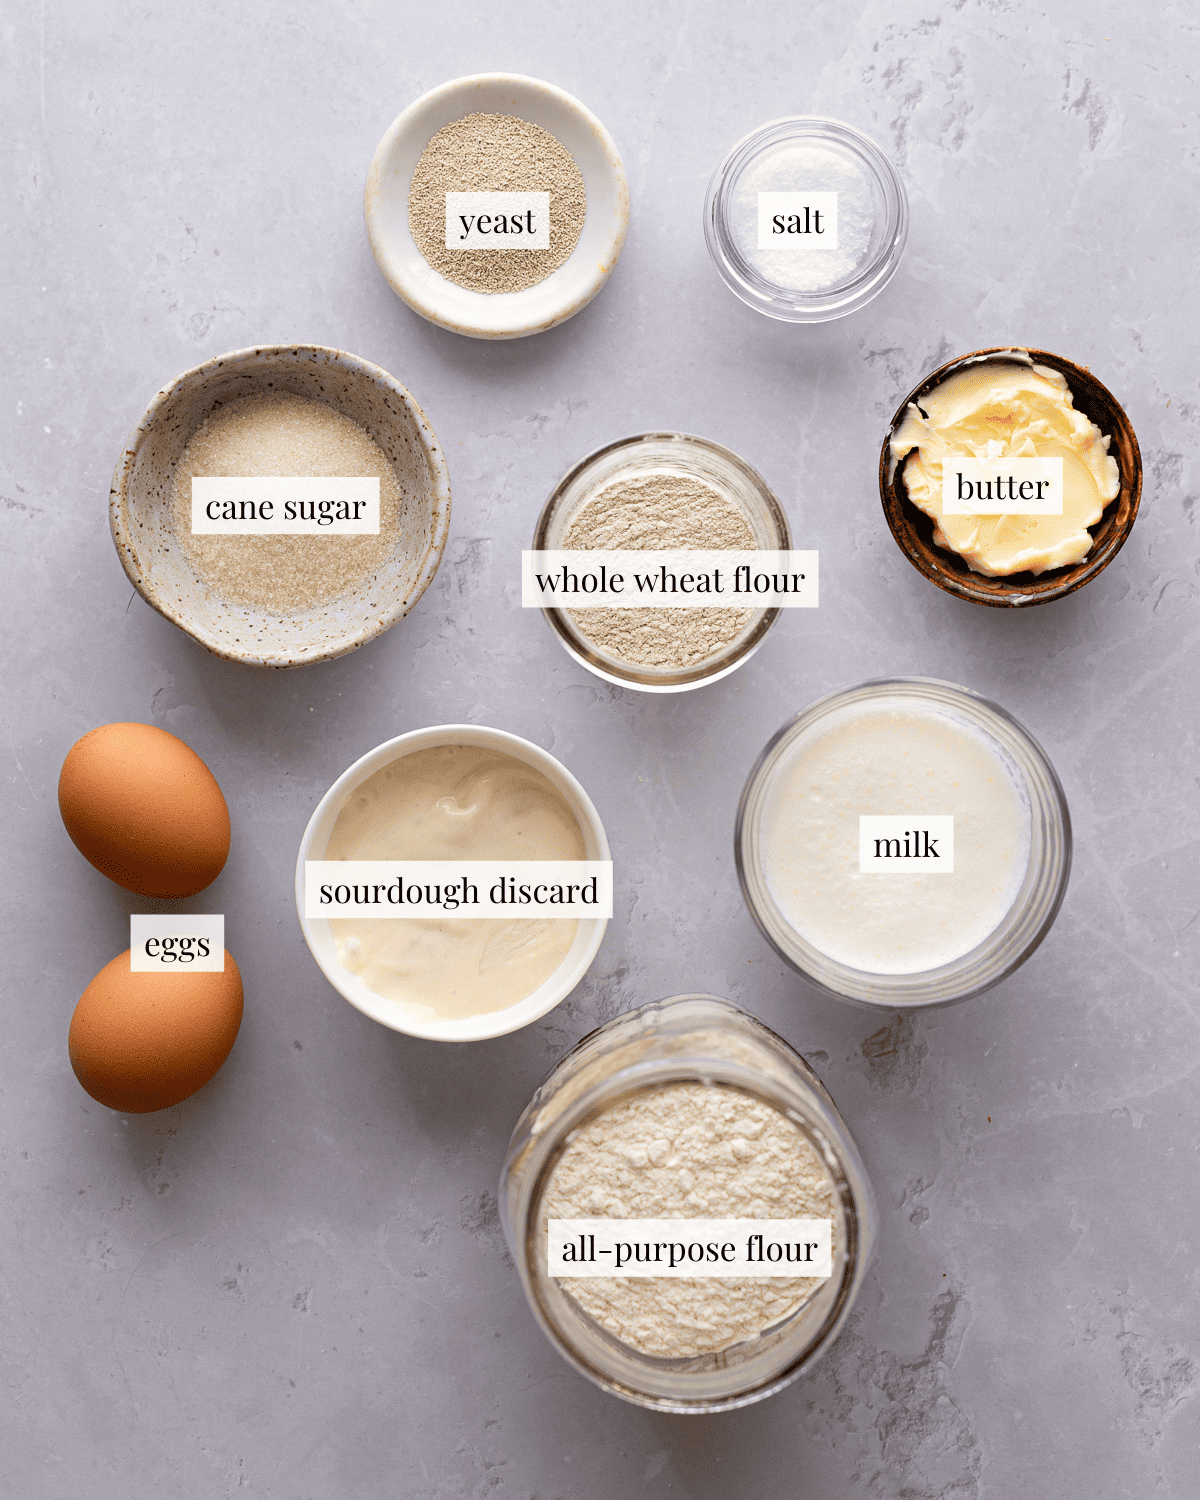
All-purpose: The low protein content of this flour makes this bread light and fluffy. You can substitute bread flour but do not use a flour like whole wheat or rye in place of the all-purpose in this recipe.
Whole wheat flour: Adds a little bit of nuttiness to this recipe without making the loaf too dense or heavy. If you're looking for whole wheat recipes, try my Whole Wheat Sourdough Discard Bread and Sourdough Discard Marble Rye Bread recipe.
Sourdough discard: Both active starter and sourdough discard will work for this recipe. If you don't have a starter, simply add 37 grams of all-purpose flour and 37 grams of water to the dough.
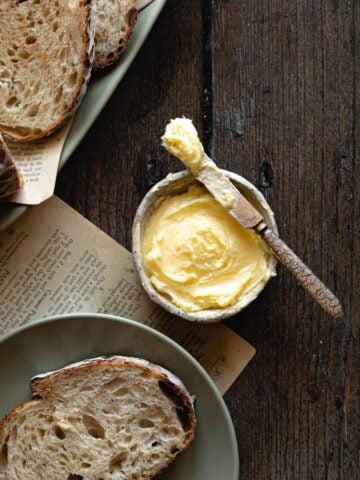
Milk, sugar, eggs and butter: These classic enrichments add richness and tenderness to bread. Looking for a plant-based alternative? Try my recipe for Vegan Sourdough Discard Sandwich Bread.
See the recipe card for detailed ingredient information.
Check the expiration date on your yeast packet before starting this recipe! If your yeast is past its prime, your dough will not rise and your bread will be dense and gummy.
Baking with sourdough discard
Since you are not using it as a leavener, your sourdough starter does not need to be activated or fed for it to work in this recipe. You can use your sourdough discard straight from the refrigerator.
If you're using sourdough that's been in the fridge for weeks it will add more acidity to your loaf, which you won't get when using a freshly fed starter. Both will work for this recipe but you'll get different results.
Step-by-step instructions
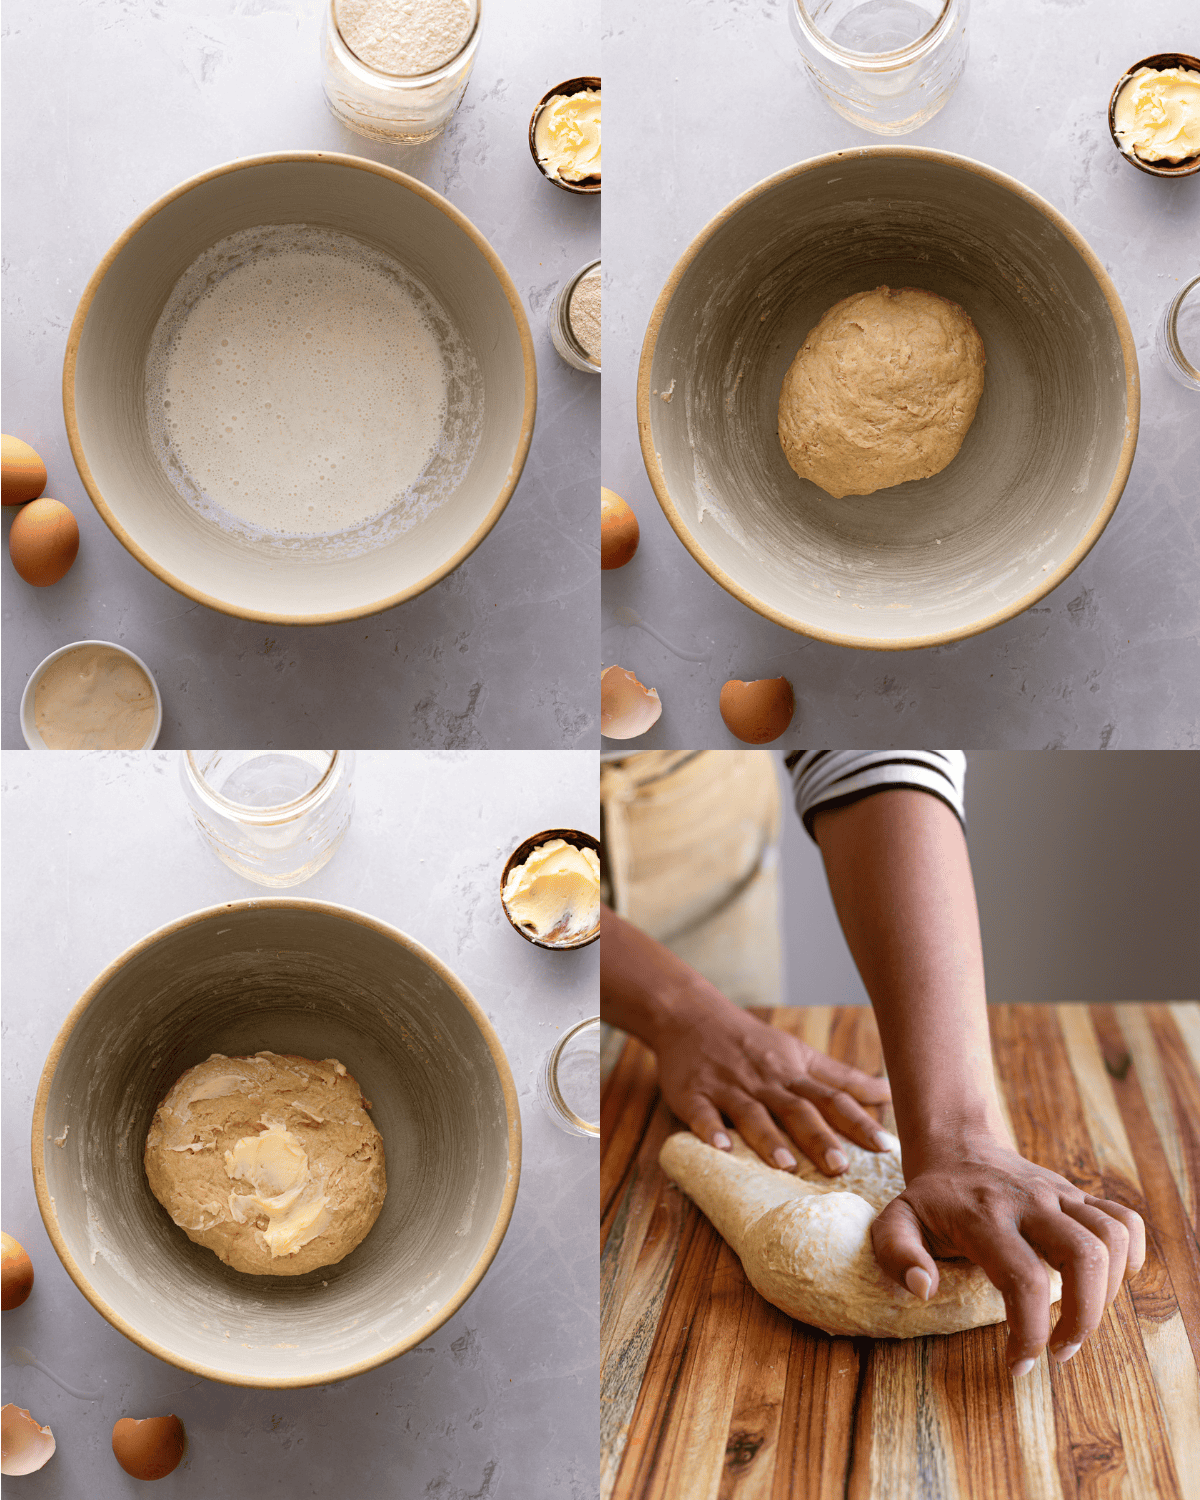
Step 1: Make the dough
Bloom the yeast. Fold the ingredients in until a cohesive dough forms. Knead the butter into the dough. Turn the dough out on a clean surface and knead until smooth.
What to do if your dough feels too sticky
Allow the dough to rest for 15 minutes before kneading. This will give the gluten development a head start, making it less sticky and much easier to handle.
Step 2: Proof the dough
Transfer the dough into a clean, lightly-oiled bowl and cover with plastic wrap. Let the dough rise in a warm spot until doubled in volume.

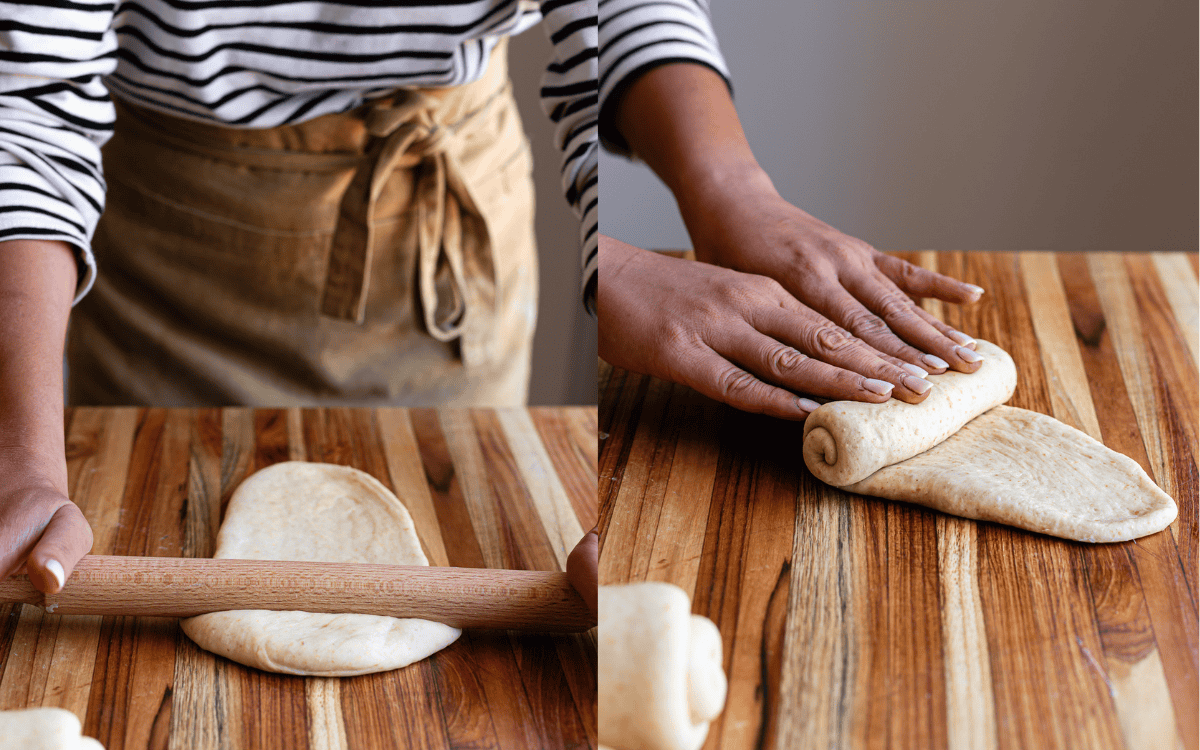
Step 3: Shape the dough
Divide the dough in 3 portions. Flatten one portion into a 9 by 4 inch oval. Starting from one of the shorter sides, roll the dough into a tight cylinder.
Can I shape this dough like a regular sandwich loaf?
You can shape this bread anyway you want! I prefer shaping my dough in this way because it helps it rise evenly in the oven and prevents it from bursting in unwanted spots as it bakes.
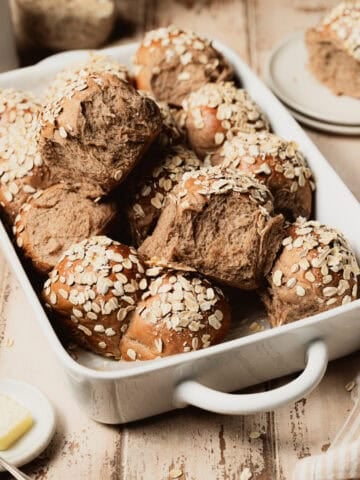
Check out my post Sourdough Oatmeal Sandwich Loaf to see my sandwich loaf shaping method.
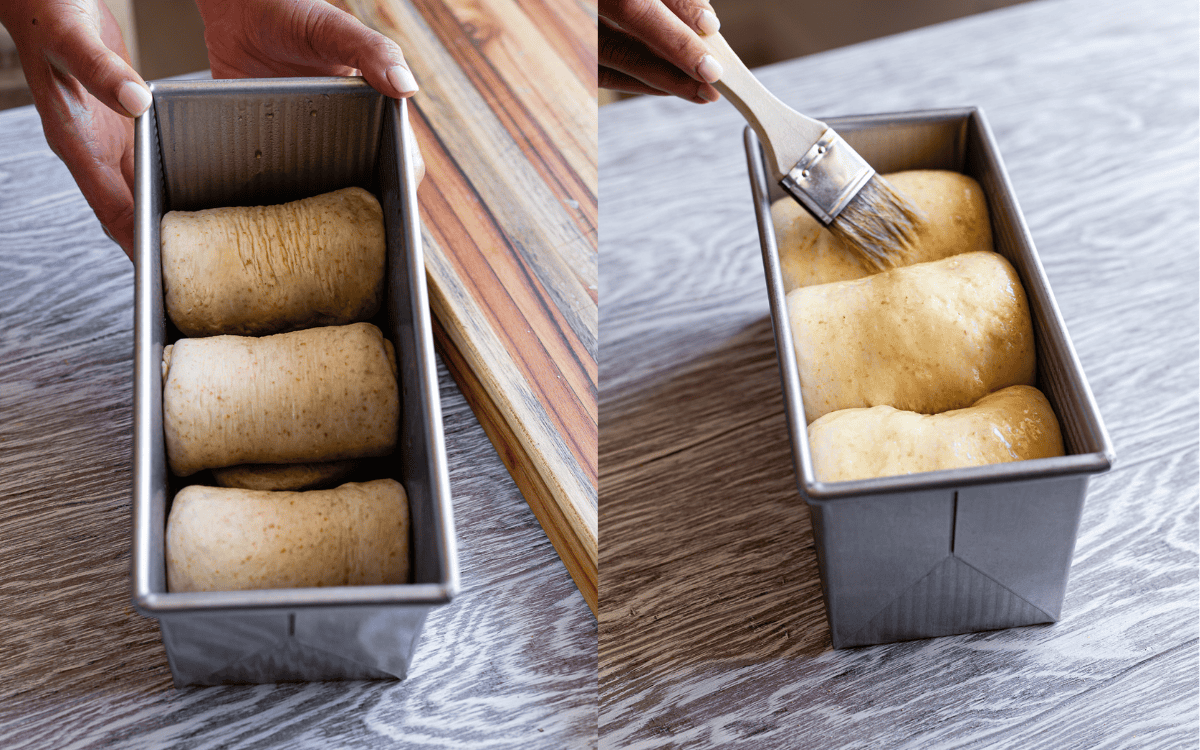
Step 4: Final proof and bake
Arrange the dough in a greased 9 by 4-inch Pullman pan or 8 by 5-inch loaf pan. Cover with plastic wrap and let the dough rise untouched until the dough almost reaches the top of the pan. Brush with egg wash. Bake at 375 F for 30 to 35 minutes.
Baker's Tips
- Weigh your ingredients. Measuring with a scale is more accurate than using cups and tablespoons and will help guarantee your chances of success.
- Both active dry yeast and instant yeast work for this recipe. Blooming is unnecessary if you opt for instant yeast.
- You can use active sourdough starter or discard for this recipe. No sourdough starter? Just add 38 grams all-purpose flour and 38 grams of water to your dough.
- Watch the dough not the clock. I'll provide time cues throughout this recipe. However, since fermentation depends on temperature and your specific environment, rise times may vary.
- Measure temperature for doneness. Time is a great guide for baking, but measuring temperature using an instant-read thermometer is the only way to know your bread is thoroughly baked. Make sure your bread registers at 200 F when probed before pulling it out of the oven.
Recipe FAQs
Absolutely! Simply use the same proportion of freshly fed sourdough starter in the recipe. Your starter won't add a strong tangy flavor to your biscuits, but it will still work.
If you don't have a starter, but still want to try out this recipe, simply add 37 grams of all-purpose flour and 37 grams of water to your dough.
Yes! You can use active-dry yeast in this recipe, just make sure you bloom the yeast to proof it before making your dough.
There are a few reasons:
1. Your yeast is expired.
2. Your kitchen is cold and fermentation may be progressing slowly.
3. You used hot milk and it killed your yeast.
You May Also Like


Did this recipe rise to the occasion?
★★★★★
Leave a star rating and a comment. Your feedback inspires future recipes and helps others feel confident choosing what to bake next. I read and respond to every message.
If you're looking for additional ways to support my work, share this recipe or buy me a Ko-fi. Every little bit helps me keep creating the recipes and guides you enjoy.
Thank you for your support!

Sourdough Discard Sandwich Bread Recipe
Equipment
- Cooling rack
This section may contain affiliate links
Ingredients
Dough
- 7 g Instant Yeast
- 150 g milk
- 25 g granulated sugar
- 300 g all-purpose flour
- 30 g whole wheat flour
- 6 g salt
- 75 g sourdough discard
- 1 egg large
- 28 g unsalted butter softened
Egg Wash
- 1 egg large
- Pinch of salt
Click US Customary to view volume measurements
Instructions
- Make the dough: Whisk the yeast in with the milk and sugar.7 g Instant Yeast, 150 g milk, 25 g granulated sugar
- Stir in the remaining ingredients except for the butter with a spatula or wooden spoon until the mixture forms a shaggy dough and no traces of dry flour remain.300 g all-purpose flour, 30 g whole wheat flour, 6 g salt, 75 g sourdough discard, 1 egg
- Knead the butter into the dough.28 g unsalted butter
- Cover the bowl with plastic wrap and let the dough rest for 15 minutes, this rest period will make the dough much easier to work with.
- Knead the dough: Turn the dough out on a clean work surface (you shouldn't need to flour your surface, but if your dough feels too sticky feel free to use a little bit of bench flour). To knead the dough, hold the bottom of the dough with your fingertips, fold the dough over itself, then push it out using the heel of the palm of your hand. Repeat until the dough looks cohesive and smooth.
- Let the dough rise: Round the dough into a tight ball and place it in a clean, lightly-oiled bowl. Cover with plastic wrap and let the dough rise until doubled in volume, about 1 to 2 hours.
- Shape the dough: Punch the dough down to release the air. Divide the dough into 3 equal portions. Round each portion into a tight ball, cover the dough with plastic wrap. Let the dough relax for 15 minutes.
- Using a rolling pin, flatten the dough out into a 9 by 4 inch oval. Starting from one of the shorter sides, roll the dough into a tight cylinder. Repeat with the remaining dough portions.
- Lightly grease your loaf pan. Place each cylinder of dough into the loaf pan.
- Let the dough proof for the second time: Cover the pan with plastic wrap and let the dough rise until the dough looks puffy and has filled up to at least ½-inch to the top of the pan, about 45 minutes to 1 hour.
- Preheat the oven: When the dough is close to being ready, preheat the oven to 375 F.
- Brush the dough with an egg wash: Whisk together an egg and a pinch of salt. Using a pastry brush, coat the top of the dough with an even layer of egg wash.1 egg, Pinch of salt
- Bake the loaf: Bake the dough for 30 to 35 minutes or until the loaf is golden brown and the bread registers at 190 F when probed with an instant read thermometer.
- Enjoy and store: Transfer the loaf to a wire rack to cool for at least 20 minutes before slicing. Store slices in a ziplock bag for up to 5 days at room temperature.
Tips
These recipes were developed and tested using grams for precise measurements. To increase your chances of success, I recommend investing in a kitchen scale. I've included rough volume estimates (in tablespoons and cups), but they might not be totally accurate.
Remember all ovens are unique, these recipes were tested in my oven which runs cooler than others. You might need to lower the temperature if your bake appears to be browning too quickly. Monitor your bake closely and make adjustments if needed.
Notes
Nutrition
I am not a nutritionist or dietitian, any nutrition information provided is an estimate.


Arliss says
this has become a weekly staple in our household -- I just made 3 loaves tonight! incredible. my 3 littles and husband can't get enough of it. thank you ❤️. would it work to freeze an entire loaf? how would you go about freezing it? thanks!
Hannah Dela Cruz says
Wow! I'm so glad you and your family love the recipe. I've never tried freezing these. But I would slice the loaf and freeze the slices on a baking sheet for an hour. Once they are completely frozen, then transfer them to a freezer bag. Then toast slices individually.
Arliss says
Hannah,
thanks so much for that tip! I will give it a try.
thanks again!
warm regards,
Arliss
Samantha says
Hi Hannah!
I’m out of whole wheat flour - could I use broad flour in its place? Excited to try this!
Hannah Dela Cruz says
Absolutely!
Erin says
Made a loaf of this last night (baked after kids went to bed) and we’ve already eaten half the loaf this morning so I came back to make a second one. It’s beautiful and the bread is delicious.
Hannah Dela Cruz says
I'm so thrilled your kids love it! This is my favorite compliment <3
Nadine says
Really good recipe! Easy, fluffy and tasteful. We liked a lot.
Will make it again!
Kristin says
Can you knead with the dough hook of your stand mixer?
Hannah Dela Cruz says
Absolutely! Make the loaf how you normally would in your mixer.
Jo says
Can I use a Pullman loaf pan for this bread?
Hannah Dela Cruz says
Absolutely. I used a my 9 by 4 inch pan. But not the cover.
Mollie says
My son is allergic to eggs. Can I just leave it out or would I need a substitute?
Hannah Dela Cruz says
You have a few options! You can add 50 grams of milk or 50 grams of apple sauce. Both should work fine.
Chelsea says
Amazing! This bread comes out tasting great each time! Now I just need to get better about shaping it so its no so lopsided.
Hannah Dela Cruz says
So glad you enjoyed the recipe! I totally understand the shaping issues. I always try my best to put the larger roll of dough in the center so that the loaf looks a little more balanced.
Najaii says
My family loved this bread!!! I’m a total beginner. The recipe was easy to follow and turned out so good. 🙂 Will definitely be trying other recipes from the website! Thank you.
Z says
Can I use bread flour instead of APF? thank you
Hannah Dela Cruz says
Yes! But your bread may be a bit chewier.
Hayley says
I thought this recipe was super easy to follow! My loaves however, came out quite flat despite a solid proof. Any thoughts?
Hannah Dela Cruz says
What do you mean by a solid proof? It could be that you overproofed your dough and it deflated in the oven or you may not have developed your gluten enough and the bread collapsed as it baked.
Kathy Hanks says
Really great sandwich bread, my husband loved the soft crust.
Hannah Dela Cruz says
So happy you loved the recipe!
Theya says
This was an easy and delicious recipe! It's a great way to use top sourdough starter although the starter does not really come through in the flavor. My whole family loved it and the look was very impressive. Thanks!
Hettie says
Our family is crazy about this recipe. We love the taste and texture of the bread and the old-time shape, too! Thanks, so much, for a great recipe!
Hannah Dela Cruz says
This warms my heart so much! I'm so glad you're able to make this bread for your family!
Jennifer says
I have made two loaves this week for sandwich bread for my family. It is absolutely delicious and loved by all my littles and husband. Thanks for a great recipe!
Hannah Dela Cruz says
I'm so happy to hear this! Thank you for sharing your experience. Love that the recipe works well for you and is loved by your family.
Cassie says
Holy yum!!! This is so good! New favorite sandwich bread recipe! Thanks for sharing!
Hannah Dela Cruz says
So happy you loved the recipe!