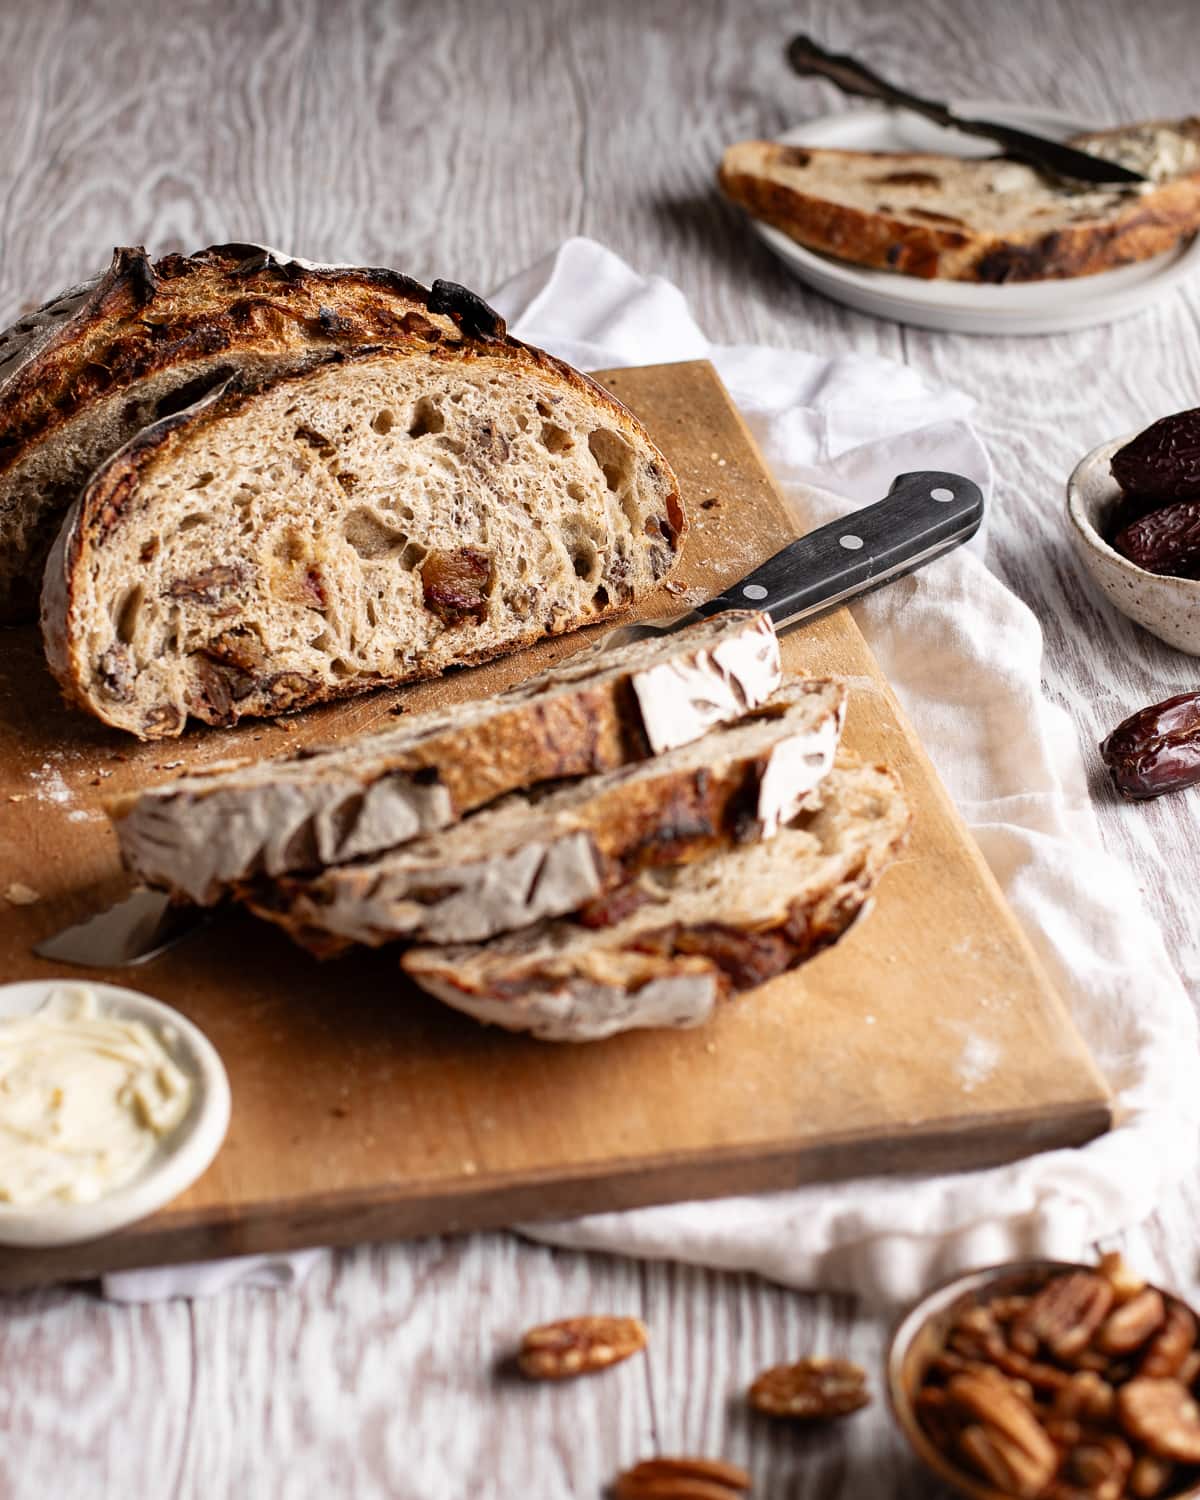
This hearty Sourdough Date Pecan Bread, with its crisp crust, airy crumb, and delightful combination of sweet Medjool dates and aromatic pecans, is a versatile addition to your sourdough routine. Indulge in the irresistible texture of this loaf with delicious pockets of plump, caramel-like Natural Delights Medjool dates in every bite.
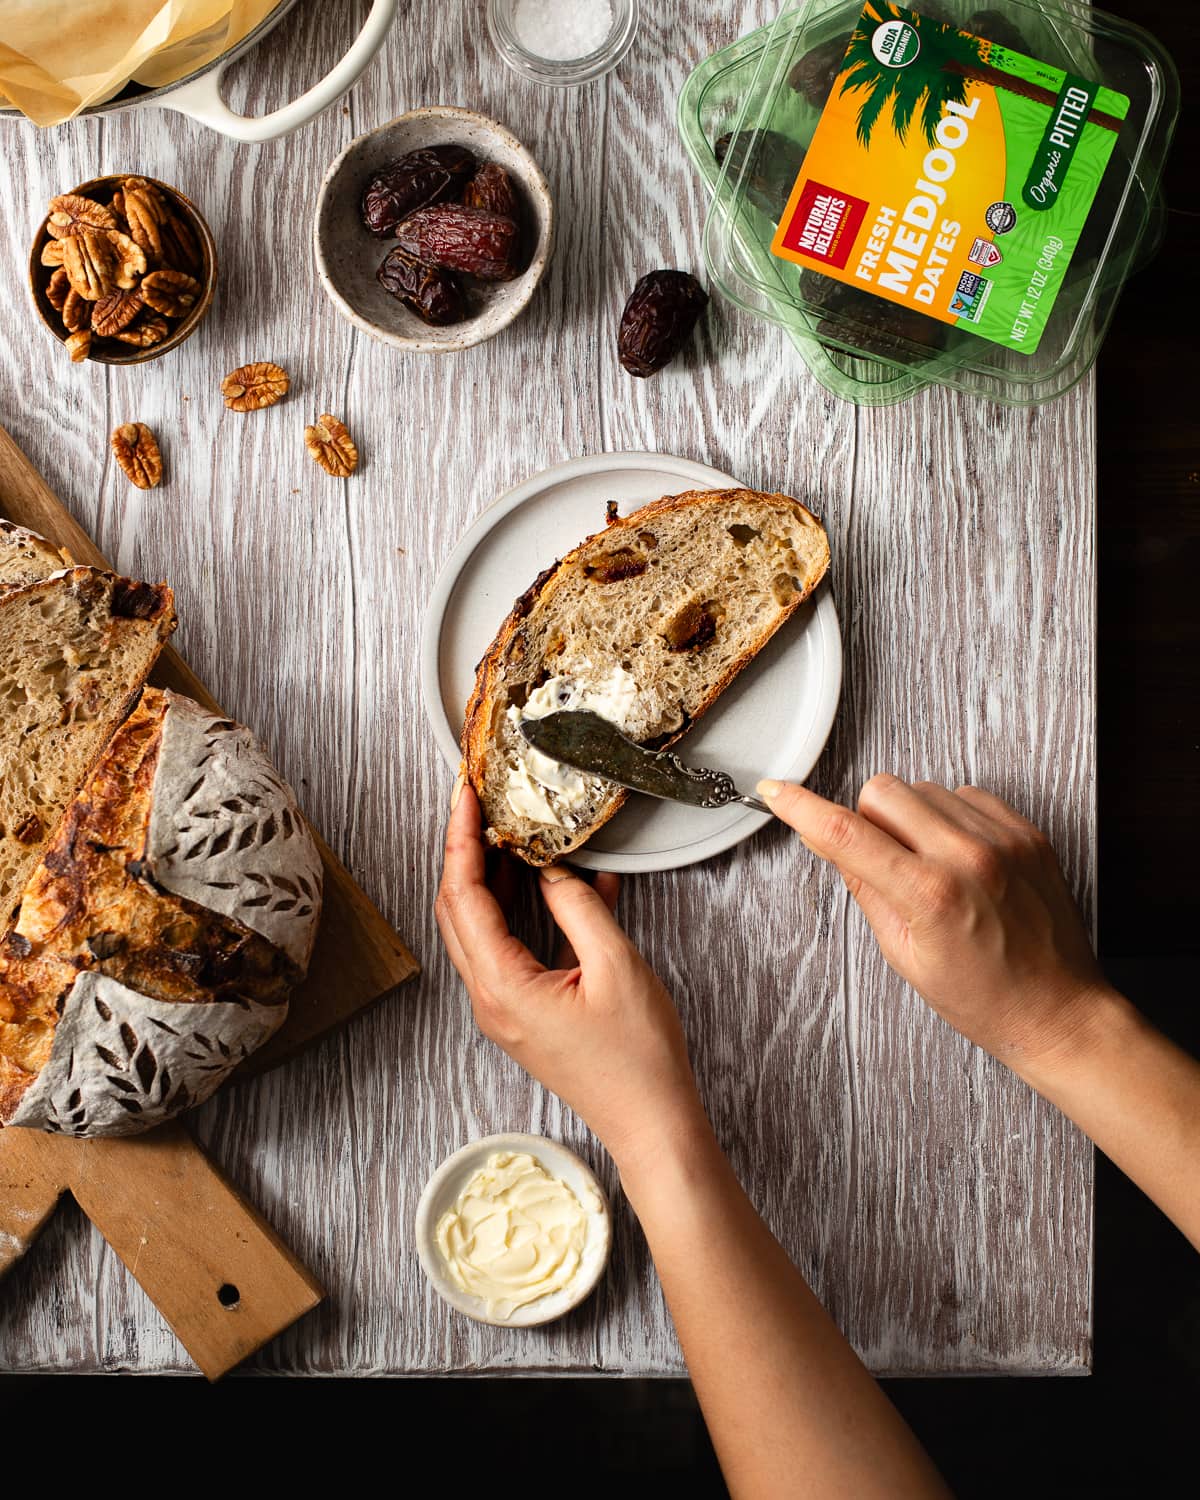
Sponsored by Natural Delights: I'm truly grateful for your support of the brands that help make Make It Dough possible. I want to assure you that all the recommendations and opinions expressed in this post are my own.
Jump to:
Raised on Sunshine
Earlier this year, I had the special privilege of being invited to the Natural Delights Harvest Tour, a unique experience that allowed fellow bloggers and influencers to harvest Medjool dates in Bard Valley, CA. During the tour, we learned about cultivation, harvest, packaging and we even got to safely hand pick dates ourselves.
Learning about the company’s commitment to sustainability, state-of-the-art agricultural practices and field team safety was truly an eye-opening experience. There’s so much love and care that goes into growing and harvesting these precious gems. I especially loved learning about the effort that goes into hand-picking and packing these delicate fruits so only the best of the best are shipped for people all over the world to enjoy.
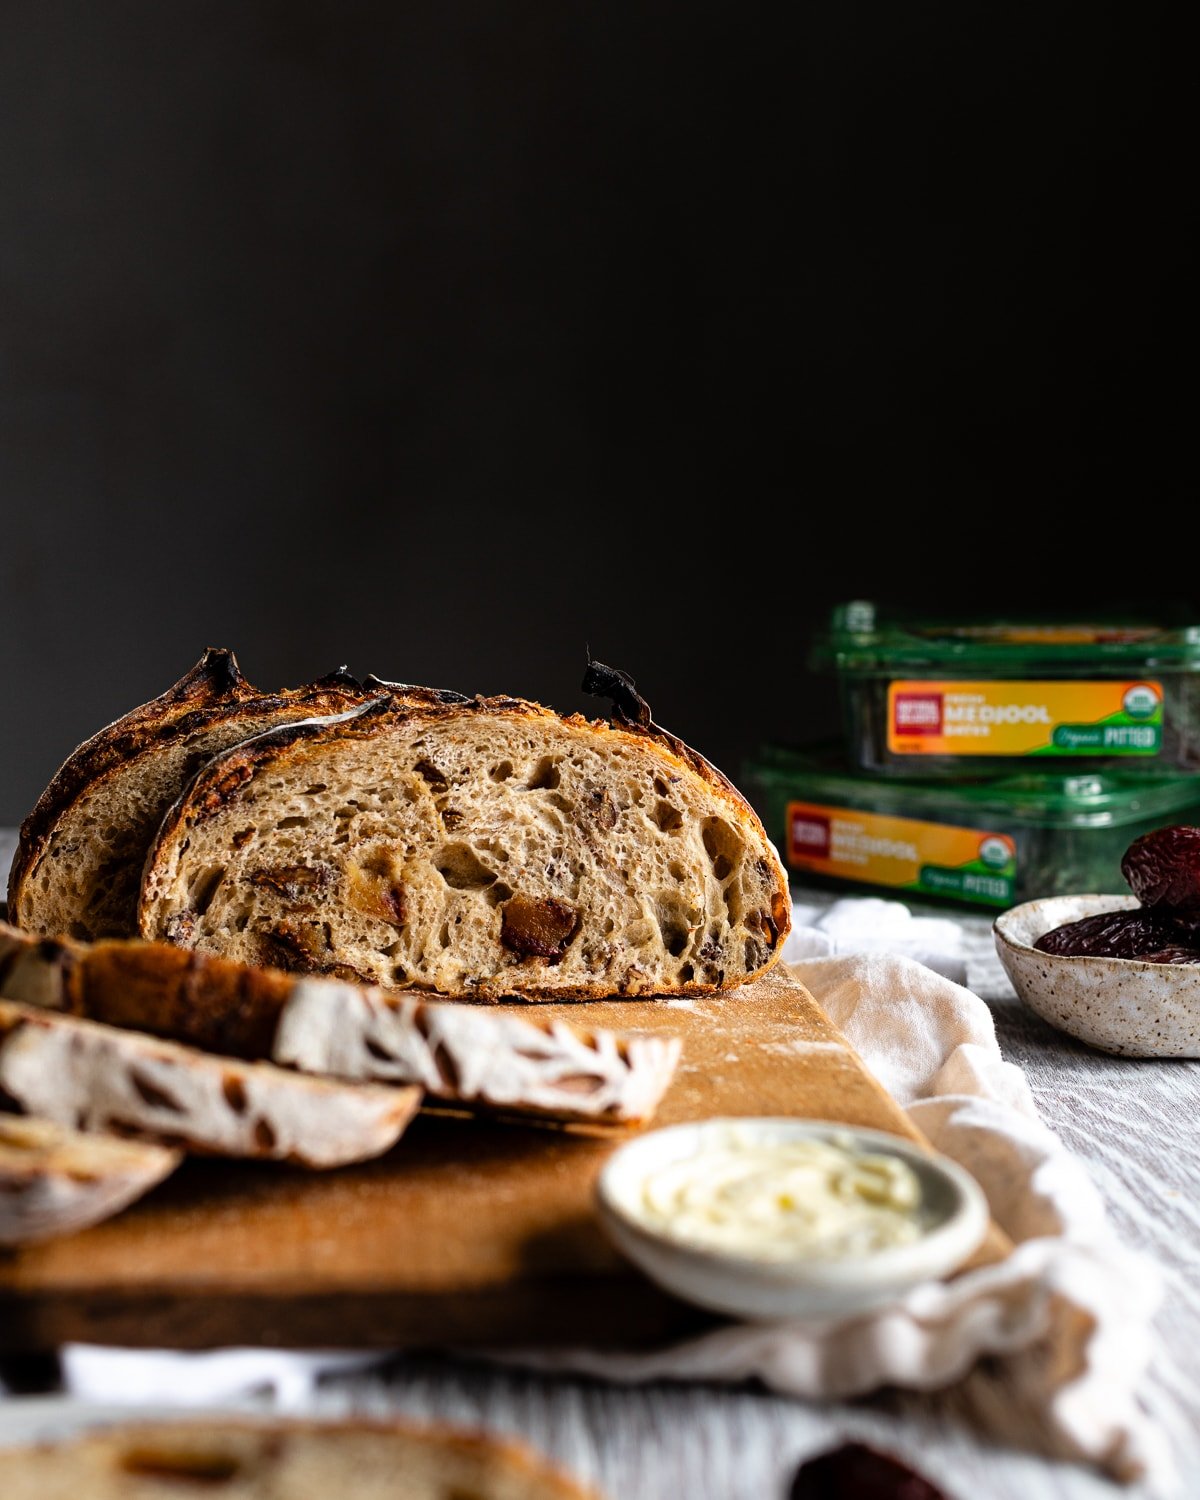
I've always loved dates as a snack or an ingredient and participating in the harvest only deepened my appreciation for them. This recipe brings together my two favorite foods: sourdough bread and dates.
Why I love this recipe
- Great way to infuse new flavors and creativity into your sourdough routine.
- Mixed by hand, no stand mixer required.
- Crispy, golden brown crust with a creamy, soft crumb.
- Packed with tender, sweet Natural Delights Medjool Dates.
- Versatile bread that tastes great in both sweet and savory applications.
What are Medjool Dates?

Medjool dates are large, plump, and sweet fruits, while they are commonly mistaken for dried fruit, they are actually eaten fresh. Adding Medjool dates to sourdough bread introduces a delightful sweetness, textural contrast, and honey flavor that complements the tangy notes of the sourdough.
In addition to being delicious, Medjool dates are a great source of fiber and contain 50 percent more potassium by weight than bananas. They’re an energy powerhouse as well as a source of 16 vitamins and minerals.
Love dates? Try my recipe for Chocolate Date Caramel Tart with Sourdough Crust and Sourdough Carrot Date Muffins,
What do Medjool Dates taste like?
Dates have a rich, natural caramel flavor and a hint of earthiness. They are plump with a soft and chewy texture, with a slightly sticky consistency.
What you need

Pitted Medjool dates: Plump, caramel-flavored dates make this bread truly special. For the best quality dates, use Natural Delights Medjool dates. There’s no substitute for this ingredient.
Flour: The blends of flour in this recipe creates the perfect balance of structure, texture, and flavor. Avoid using 100 percent whole wheat flour as it can result in a dense loaf. While 100 percent bread flour is an option, it may compromise the desired tender and creamy texture leading to excessively chewy bread.
Active sourdough starter: You’ll need a mature, active bubbly starter for this recipe. Feed your starter the night before or at least 4 hours before you make your dough.
Pecans: Toasting your pecans will intensify their nutty flavor. Feel free to substitute walnuts.
See recipe card for detailed ingredient information.
Baking with a sourdough starter
Baking using a sourdough starter can be a lengthy process that requires a lot of time and patience. Fermentation is a natural process where wild yeast consumes the sugar in flour, producing carbon dioxide that leavens the dough and ethanol, which imparts the distinctive flavors and aromas in freshly-baked bread that we know and love.
During the long fermentation process, bread gains a depth of flavor that can't be achieved only with commercial yeast.
In addition, wild yeast effectively pre-digests flour, reducing the impact of phytic acid found in grains. Essentially, yeast acts as a second stomach, unlocking nutrients in wheat—like magnesium, iron, and zinc—that humans typically struggle to absorb. It's a boost for both taste and nutrition.
Adding Inclusions to bread
Adding mix-ins like fruits and nuts, if not done correctly can cause bread to become dense and gummy. To keep the crumb airy, I incorporated autolyse which kickstarts gluten formation and helps prevent the dates and nuts from breaking through the dough. I also fold the fillings in early, followed by subsequent coil folds that evenly and gently distribute them throughout the dough. This method ensures that the bread stays soft, spongy and light.
Step-by-step process
Baking this sourdough date pecan bread is a two-day process, with most of the steps being passive. Make sure you read the instructions from start to finish before beginning the recipe.

STEP 1 Make the dough: Mix only the flours and water, autolyse for 30 minutes (image 1). Fold the sourdough starter and salt into the dough (image 2).
TIP: Autolyse kickstarts gluten development, making dough stronger with minimal effort, so it won’t tear when the mix-ins are added. Check out my post on how to autolyse sourdough to find out more.

STEP 2 Add the mix-ins: Add half of the mix-ins to the top of the dough. Pick up the edge of the dough farthest away from you and fold it over the mix-ins (image 3). Turn the container 90 degrees, add in the remaining mix-ins and fold the dough over once more. Gather the dough into a ball and let the dough rest for another 30 minutes (image 4). Cover and let the dough rest for 30 minutes.
TIP: Don’t worry about dispersing the mix-ins throughout the dough. They will be more evenly distributed as you continue to perform folds.

STEP 3 Strengthen the dough: Perform 3 sets of coil folds in 30 minute intervals. Pick the dough up using your fingertips until the ends release from the container (image 5). Lightly set the dough back down into the bowl and tuck the ends under (image 6). Cover and let the dough rest for 30 mins.
TIP: Coil folds are a gentler way to enhance gluten development and prevent the dough from tearing while evenly distributing the filling throughout the dough. These folds will be performed during bulk fermentation.
Here’s an example of how you might complete your folds:
9:00 a.m. Coil fold 1
30-minute rest
9:30 a.m. Coil fold 2
30-minute rest
10:00 a.m. Coil fold 3
STEP 4 Bench rest: Let the dough rest in a warm place, untouched for 1 ½ to 2 hours until the dough looks puffy and feels bubbly.
TIP: I’ll be giving time cues, fermentation time may differ based on your starter's health and the unique conditions in your kitchen. Wait until your dough is visibly bubbly and well-risen before shaping your dough.
STEP 5 Pre-shape the dough: Preshape your dough by rounding it into a ball and letting it rest on the counter covered with a clean tea towel for 30 minutes.
TIP: Pre-shaping helps create surface tension on the dough, which contributes to a better shape and structure in the final loaf. It helps the dough take on its final shape and keeps the mix-ins inside the loaf.

STEP 6 Shape the dough: Turn it over and lightly flatten it into a rough rectangle. Fold the bottom of the dough up towards the center. Then fold the right and left sides of the dough over each other (image 7). Fold the top of the dough over itself (image 8). Flip the dough over and round it into a circle (image 9). Place the dough inside a prepared banneton with the seam-side up (image 10).
TIP: Dusting your banneton with rice flour prevents the dough from sticking to your proofing basket. I use a cheesecloth liner here, but it’s optional.
STEP 7 Cold proof: Wrap the banneton or proofing basket in a plastic bag. Transfer the shaped dough to proof in the refrigerator overnight (8 to 24 hours).
TIP: Cold proofing slows down fermentation, breaking up the lengthy baking process and fostering flavor development as bacterial activity persists while yeast activity slows down.

STEP 8 Bake: Score the dough (image 11). Bake the dough at 450 F in a Dutch oven covered for 25 to 30 minutes and uncovered for 5 to 10 minutes (image 12).
Baker's Tips
- Make sure your starter is active before starting this recipe. An inactive or immature starter can hinder your dough from rising, resulting in a dense, gummy loaf.
- If your dough feels too sticky, work with lightly damp hands.
- Don’t forget to score your loaf. Inadequate scoring can prevent steam from escaping, causing your bread to burst. To learn more, check out my post on sourdough scoring.
- Steam is vital to bread baking, as it keeps the surface of the dough moist and elastic. Without it, the crust will harden too quickly and prevent your bread from rising fully. Baking in a Dutch oven or a bread baker is the easiest way to create steam.
- If you don’t have a banneton or a Dutch oven, you can bake this sourdough bread in a loaf pan.
- Let the bread cool for at least 2 hours before slicing! Cutting it too soon can cause moisture to escape, hindering the crumb from setting properly and resulting in a gummy loaf that goes stale faster.
Recipe FAQs
Yes! Follow the instructions as they are written, but instead of using your hands and a mixing bowl, use a stand mixer fitted with a dough hook. You can skip the coil fold part of the process, simply mix your dough until it releases from the sides of the bowl and clings to the hook. Then round the dough and let it rise for 4 to 5 hours, or until it is bubbly and well risen. Your bread may have a tighter crumb than bread that’s been mixed by hand.
Your bread might be dense and gummy due to a weak starter, underfermented dough, or overproofing.
No, as long as you plan to consume this loaf in less than a week it will keep well stored in an airtight container at room temperature.
You may also like
Did this recipe rise to the occasion?
★★★★★
Please leave a star rating and a comment. Your feedback helps me create more delicious sourdough recipes. I read and truly appreciate every message.
Don't forget to PIN this recipe on Pinterest to save it for later!
Thank you for your support!

Date Pecan Sourdough Bread Recipe
This section may contain affiliate links
Ingredients
Dough
- 180 grams all-purpose flour
- 120 grams bread flour
- 60 grams whole wheat flour
- 282 grams water
- 113 grams active sourdough starter
- 7 grams salt
Mix-ins
- 60 grams pecans toasted, see note
- 140 grams dates about 6 or 7, pitted and chopped
Click US Customary to view volume measurements
Instructions
Day 1
- Make the dough: Mix the flours and water together in a large mixing bowl using a stiff spatula or wooden spoon until a shaggy dough forms and no traces of dry flour remain. Cover the bowl with plastic wrap and let the dough rest for 30 minutes to 1 hour.180 grams all-purpose flour, 120 grams bread flour, 60 grams whole wheat flour, 282 grams water
- Fold the active sourdough starter and salt into the dough. Knead the ingredients in until you no longer feel any grains of salt. Transfer the dough to a clean, lightly greased container and cover with plastic wrap. Let the dough rest in a warm spot for 30 minutes.113 grams active sourdough starter, 7 grams salt
- Add the mix-ins: Add half of the chopped dates and nuts on top of the dough. Pick up one side of the dough and fold it over the mix-ins. Repeat with the remaining add-ins, cover the dough with plastic wrap, and let the dough rest for 30 minutes.60 grams pecans, 140 grams dates
- Coil Fold: Perform a coil fold by working with the dough inside the bowl, lift the center of the dough up with your fingertips until the ends release from the container. Lightly set the dough back down into the bowl and tuck the ends under.
- Perform 3 sets of coil folds in 30 minute intervals. Cover the bowl with plastic wrap and set in a warm place in between sets.
- Bench rest: After the last coil fold, let the dough rise untouched until the dough looks well risen and bubbly, about 1 ½ to 2 hours.
- Pre shape the dough: Place the proofed dough onto a lightly-floured clean counter. Using a bench scraper, turn the dough over and lightly round it into a tight ball. Cover with a clean tea towel and let the dough rest for 30 minutes.
- Shape the dough: Turn the dough over once more, flatten it out into a rectangle. Fold the side closest to you towards the center and the top of the dough over the bottom flap. Fold the sides over each other. Flip the dough and round it into a boule. Place the dough into a prepared banneton with the seam side up.
- Cold proof: Cover the banneton with plastic wrap. Transfer the dough to the refrigerator to proof overnight (about 8 to 16 hours).
Day 2
- Prep: Preheat the oven to 500 F with a Dutch oven inside.
- Score the dough: Turn the proofed dough out on a piece of parchment paper. Score the top of the loaf with the pattern or design of your choice, and make sure the cut is at least a ¼-inch deep.
- Bake: Transfer the dough into the Dutch oven with the parchment paper.
- Turn the oven temperature down to 450 F, bake for 25-30 minutes covered and 10-15 minutes uncovered.
- The loaf is baked when it registers at least 190 F when probed with an instant-read thermometer and reaches your desired level of browning.
- Enjoy: Transfer the baked loaf to a cooling rack. Let the bread cool for at least 2 hours before slicing.
- Store: Store any leftover bread for up to 3 days in an airtight container at room temperature.
Tips
These recipes were developed and tested using grams for precise measurements. To increase your chances of success, I recommend investing in a kitchen scale. I've included rough volume estimates (in tablespoons and cups), but they might not be totally accurate.
Remember all ovens are unique, these recipes were tested in my oven which runs cooler than others. You might need to lower the temperature if your bake appears to be browning too quickly. Monitor your bake closely and make adjustments if needed.
Notes
- If you can't find pitted dates, simply make sure you remove the pits (seeds) before adding them to your bread.
- Toast pecans on a baking sheet at 350 F for 5 to 8 minutes, or until the nuts are fragrant.
- Use a mixing bowl lined with a tea towel dusted with flour if you don’t have a banneton. Or bake your bread in a loaf pan.
- If you have trouble with burning the bottom of your bread, transfer it to a baking sheet for the second part of baking.
Nutrition
I am not a nutritionist or dietitian, any nutrition information provided is an estimate.

Nancy says
Two questions; how many, or how long on the coil folds at 30 minute intervals (it does not state) .. And what does "cut the strings off" after baking?
Hannah Dela Cruz says
Hi Nancy - Coil folds are not usually performed based on time. I would perform 1 coil fold and then let the dough rest for 30 minutes before performing another fold.
The strings were copied over from another recipe accidentally! Sorry for the confusion.
Kat says
absolutely delicious and will certainly make again. the dough was very sticky but gained strength over the coil folds. I made it in a metal loaf pan. thanks for the perfect recipe!