

I made my first sourdough starter in 2018, and since then I've nurtured and baked with it almost daily. Over the years I've learned exactly what it takes to keep a starter strong and healthy, and anyone can do the same with a little time and patience.
In this post, I'll show you exactly how to make your own starter from scratch, how to tell when it's ready to bake with, and how to keep it thriving for years to come. For extra support, grab my sourdough starter checklist-a daily guide I'll send straight to your inbox.
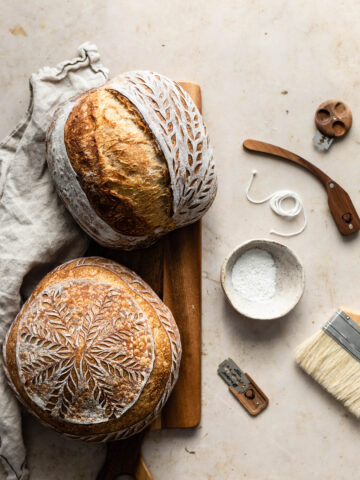
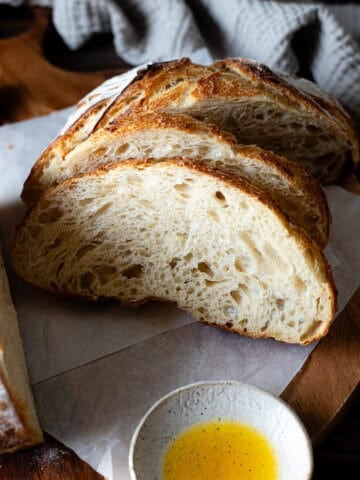
Once your starter is active, you can bake everything from your first loaf of sourdough bread to sourdough brioche and even homemade sourdough pretzels.
Jump to:
- What Is a Sourdough Starter?
- What You Need to Know
- Recommended for This Recipe
- Step-by-step Instructions
- How Do I Know When My Starter is Ready?
- Help! Why isn't my sourdough starter rising?
- How to get your starter ready for baking
- Is My Sourdough Starter Safe?
- What's the Black Liquid on My Starter?
- What If I Forget to Feed My Starter?
- Did I Kill My Sourdough Starter?
- How to Maintain Your Starter
- Sourdough Starter Recipe
When I made my first sourdough starter, I found most of the recipes used too much flour, or felt overly complicated. My step-by-step method for making a sourdough starter was first published in my cookbook, Sourdough Every Day. One of the biggest surprises readers share with me? They had no idea you could make a starter using so little flour.
I'm here to support you every step of the way. I even created a free sourdough basics course! Sign up and I'll send you a daily email with exactly what to do, so you'll never feel lost.
What Is a Sourdough Starter?
A sourdough starter is a living culture of wild yeast and bacteria. When you mix flour and water, it kickstarts fermentation and creates the perfect environment for these natural microbes to grow. This ecosystem not only makes your bread dough rise it also gives sourdough its signature tangy flavor and chewy texture.
With the simple act of stirring together a few grams of water and flour you can create delicious sourdough bread, bagels, dinner rolls, any other naturally-leavened bread you want to make without the need for commercial yeast and with an even better flavor.
What You Need to Know
Here's a few useful things you need to know before starting.
How Long Will it Take?
This process takes at least 7 days from mixing the flour and water to making your first loaf of bread.
What You Need
All-purpose flour
This method uses just one type of flour-and it's probably already in your pantry. After plenty of research and testing, I've found that all-purpose flour works perfectly for building a sourdough starter. Brands like King Arthur Flour and Bob's Red Mill offer great quality options that are easy to find. I always recommend starting with all-purpose because it's accessible, affordable, and there's no need to invest in specialty flours before you know if sourdough baking is something you'll stick with.
In fact, one of my favorite recipes is sourdough bread made with all-purpose flour!
Filtered water
Tap water often contains chlorine and other additives that can interfere with fermentation. We installed an under-the-sink reverse osmosis filter that's easy to set up and gives us the best-tasting, clean, purified water straight from the tap. It's a simple way to reduce waste by avoiding buying plastic bottles.
Temperature Matters
Fermentation depends a lot on temperature. Yeast and bacteria thrive in warm temperatures, ideally between 75 and 80°F (23 to 26°C).
Find the warmest spot in your kitchen and keep your starter there while it's developing. On top of your fridge, in the microwave, or inside the oven with just the light on are all great options.
Keep in mind: making a sourdough starter in the winter might take a little longer than it would in the summer, sometimes 2 weeks.
Recommended for This Recipe
I won't go into my must have sourdough tools here, but here are a few that I recommend if you're just starting out.
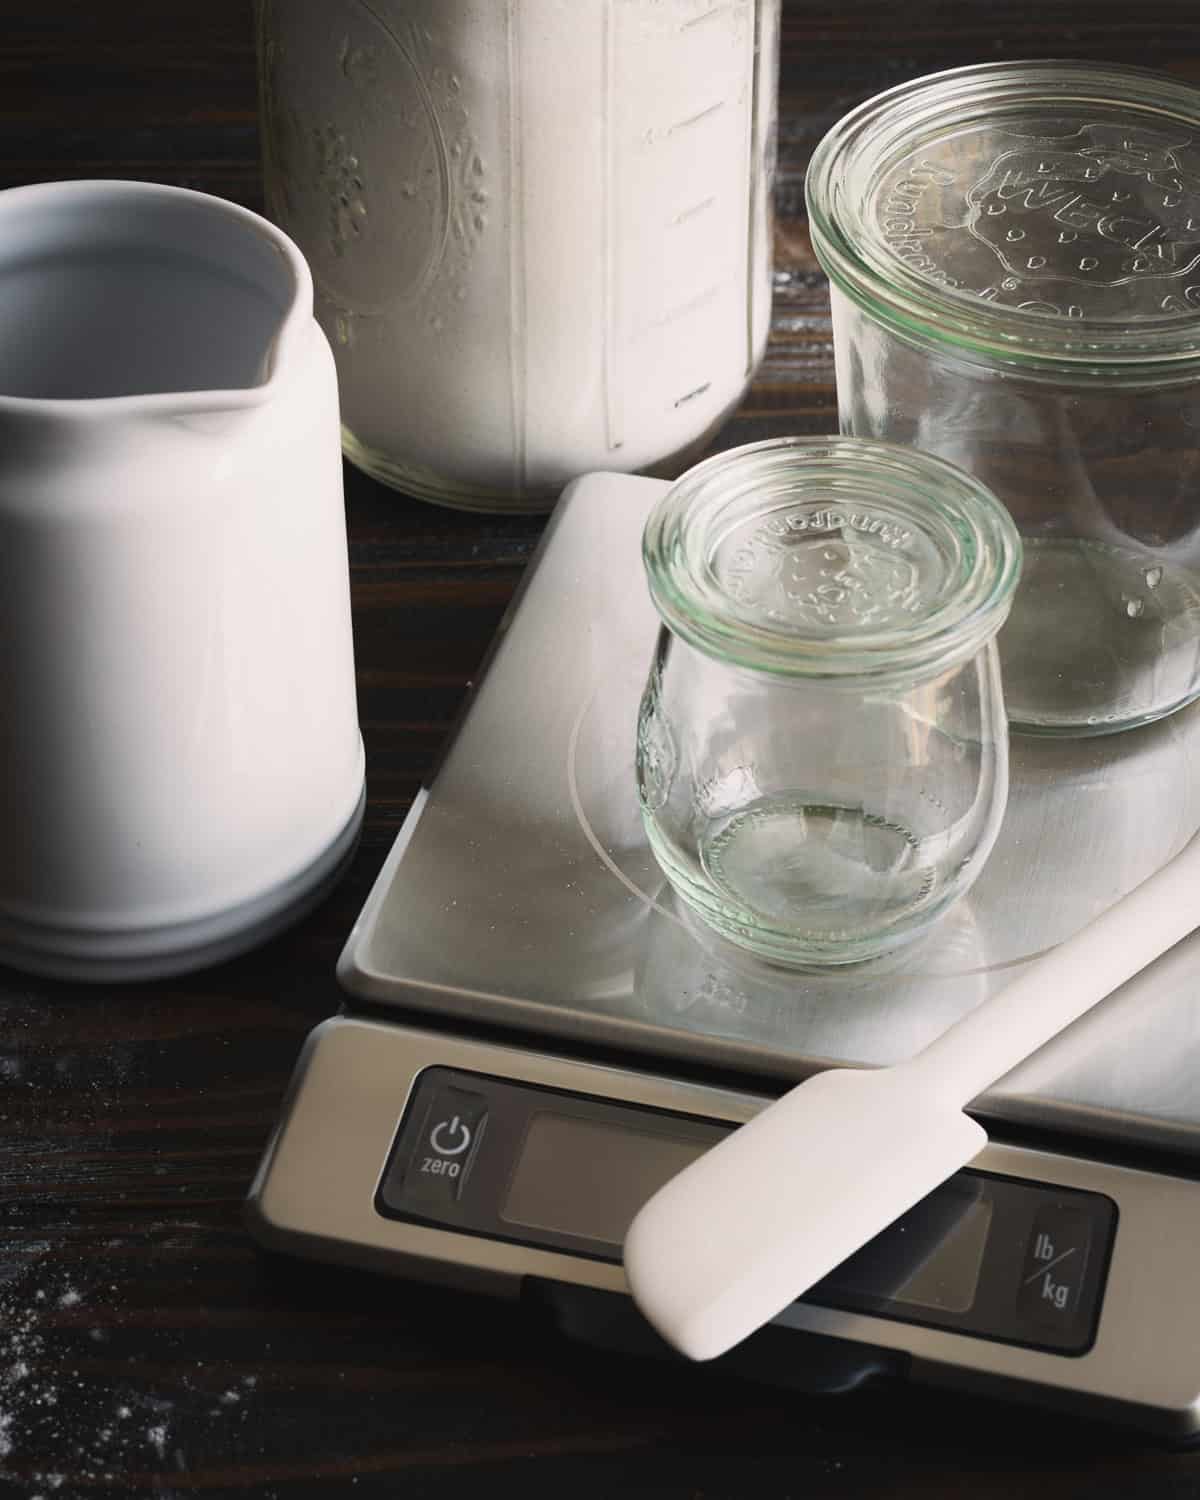
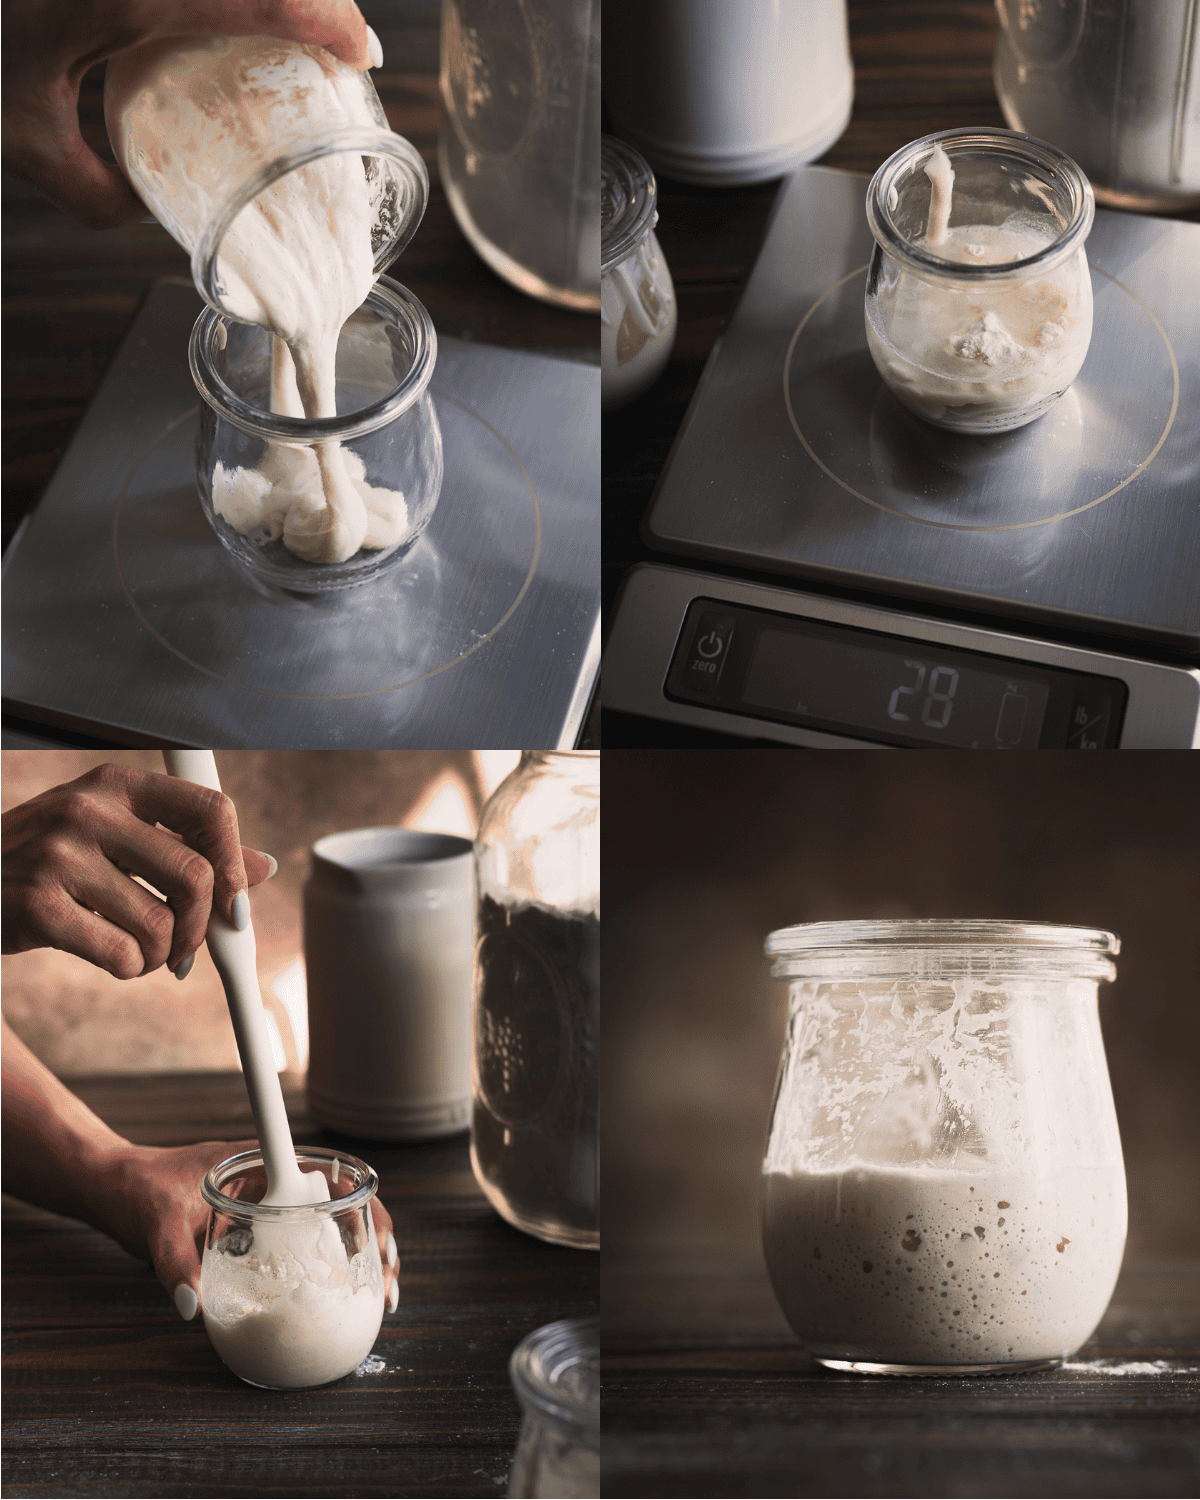
- Kitchen Scale: Invest in a scale. This recipe creates a 100% hydration starter, which means equal parts flour and water by weight. The best way to measure that is with a kitchen scale, cups and tablespoons just aren't as precise. I've included volume measurements as a rough guide, but they're only estimates. And trust me, it's way easier to measure sticky starter with a scale than trying to scoop it with a tablespoon.
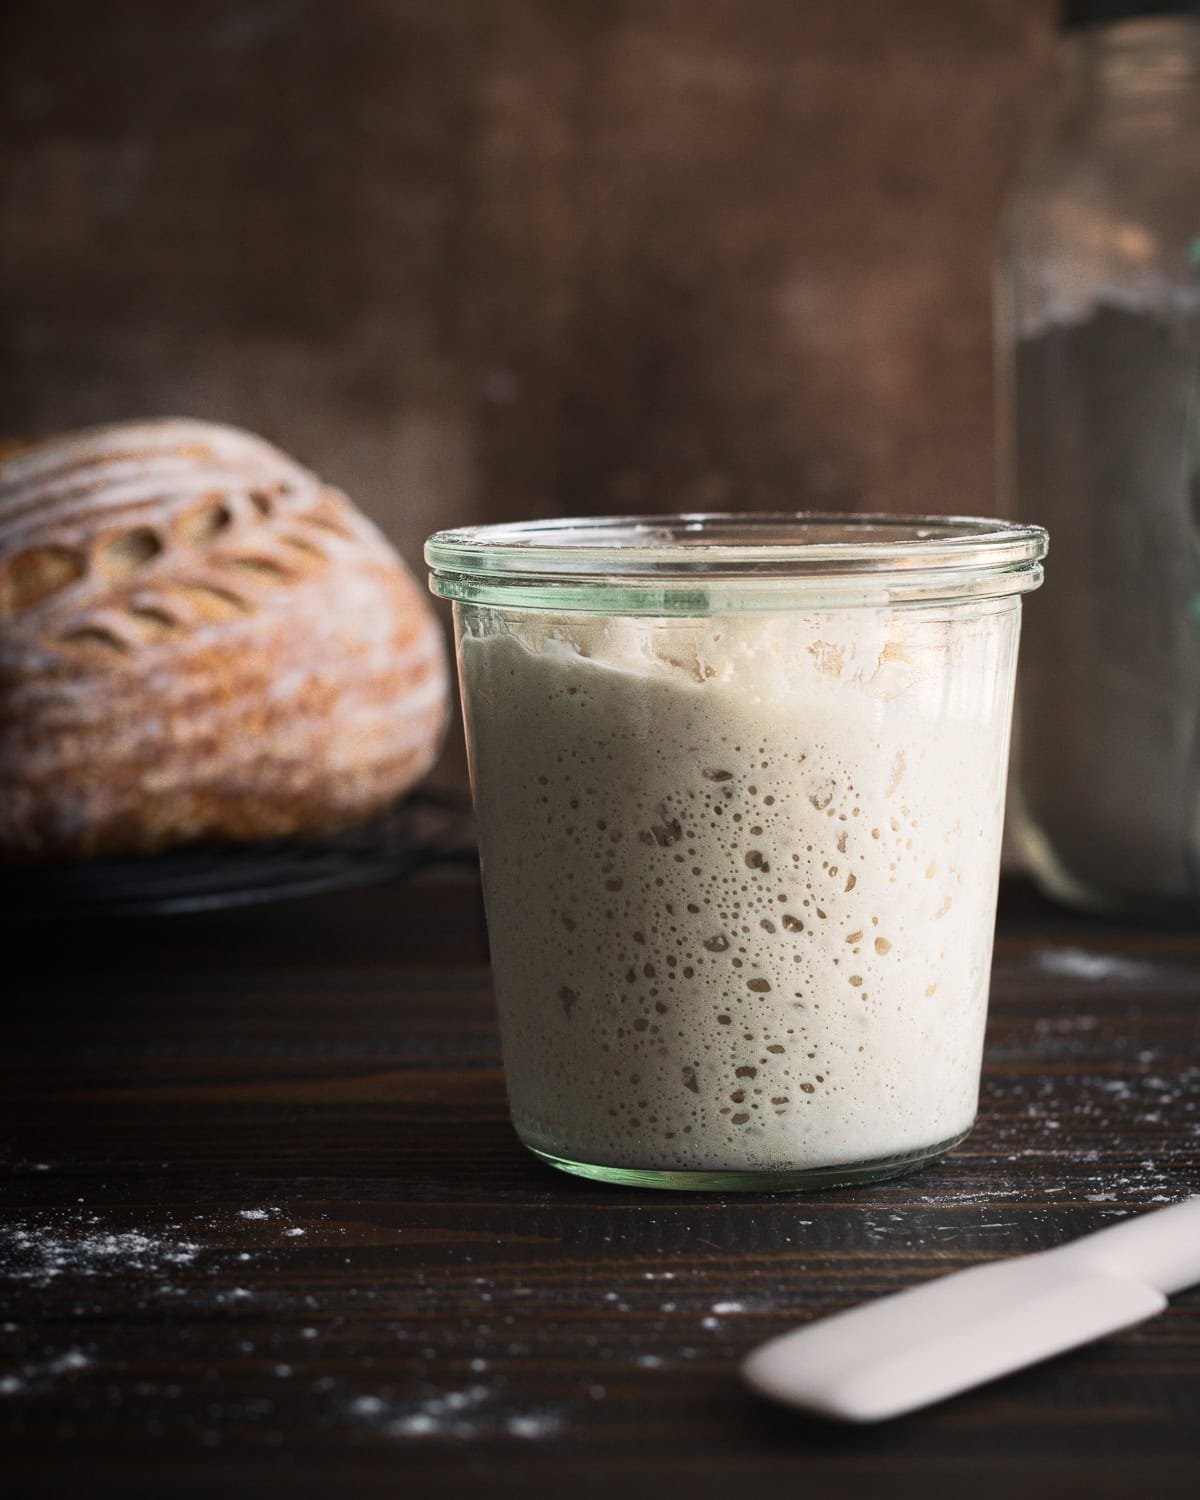
- Glass jars: I love these Weck jars because they don't have ridges where sourdough starter can get caked up or dry out. As long as you don't put on the airtight seal, the jar lids also sit lightly on top which allows any gasses produced during fermentation to be released which will prevent your jar from possibly breaking from gas buildup. I like to start with a small jar so I can easily see the bubbles and activity as my starter grows. Once it's established, I switch to a larger jar so I can make a larger quantity for my sourdough bread recipes.
- Long-handled spatula: I never thought I'd have a favorite spatula but you will too after you've maintained a sourdough starter for a while. This spatula has a small head that fits easily into any jar, and the long handle makes it easy to stir without getting sticky starter all over your fingers.
Step-by-step Instructions
Make your sourdough starter
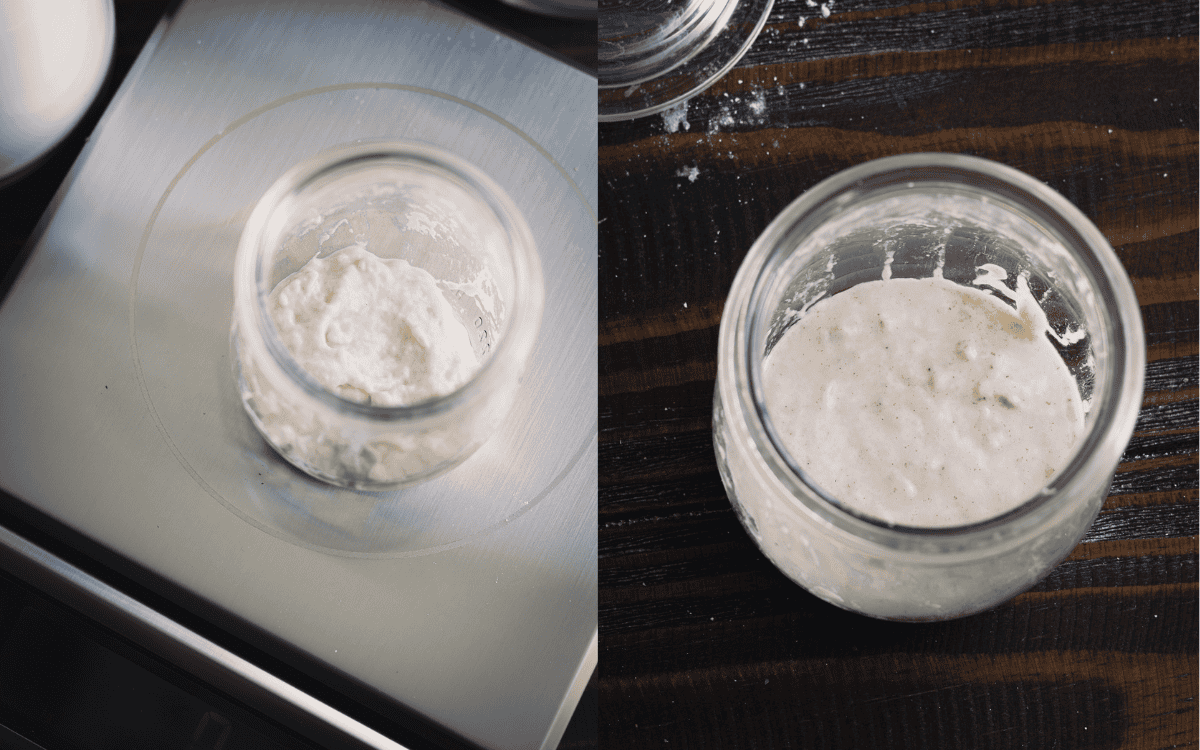
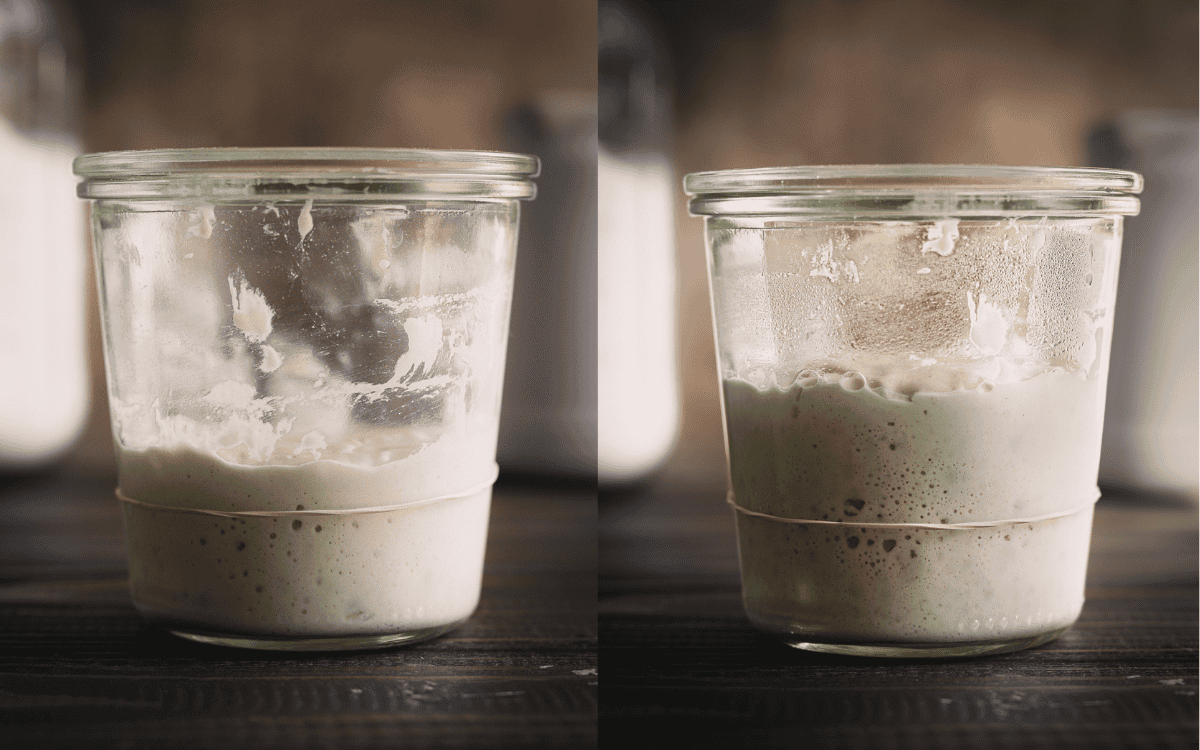
Day 1: In a clean jar, mix 15 grams of all-purpose flour and 15 grams of water. Stir well, cover loosely, and let it sit in a warm spot for 24 hours.
Day 2: No need to do anything today! Your starter is still settling in and working through the flour. If you really want to check in, you can give it a stir-but it's totally optional.
Refresh with more flour and water
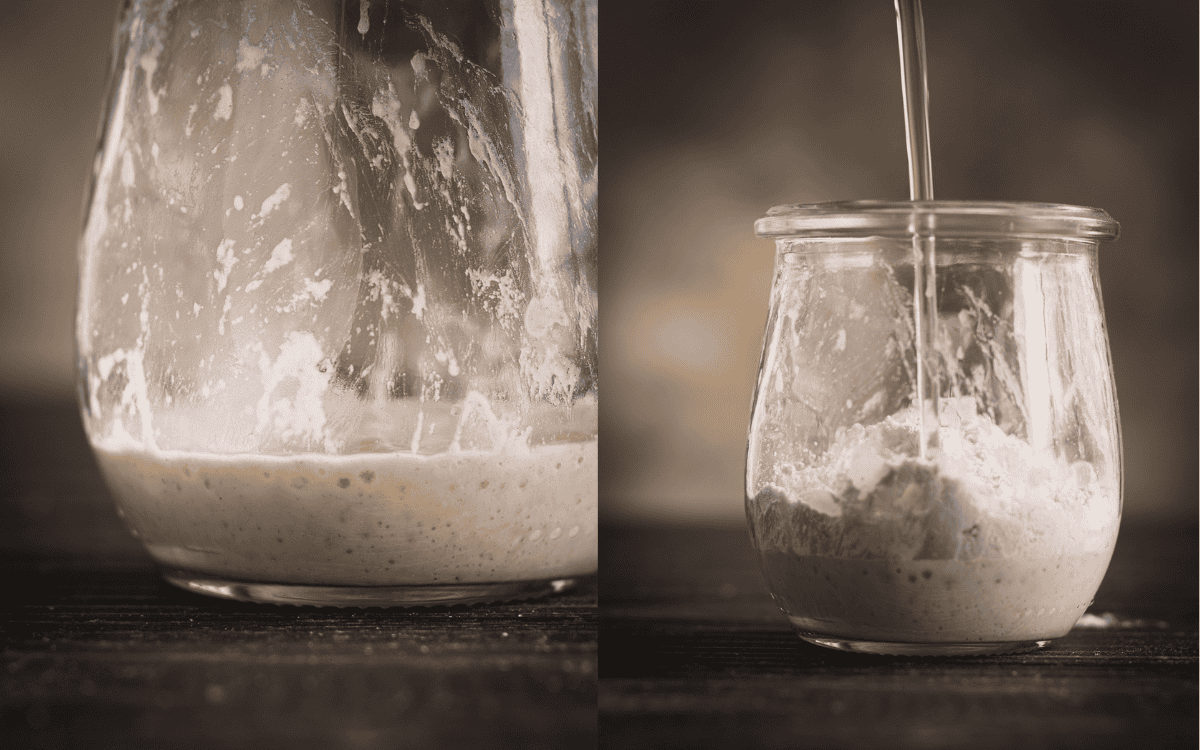
Day 3: Time to add more flour and water to your starter. This provides fresh nutrients for your growing population of yeast to feed on.
- Add 28 grams of flour and 28 grams of water into the jar with your starter.
- Stir until no dry bits of flour remain.
- Cover loosely and set in a warm place.
Feed your starter
Days 4 to 6: You'll start feeding your starter once a day, ideally around the same time each day. Whether it rises yet or not, keep feeding it. Consistency is key!
- Transfer 14 grams of starter to a clean jar and throw out the rest.
- Add 28 grams of flour and 28 grams of water to the jar with your starter.
- Stir until all of the flour is hydrated.
- Cover loosely with a lid and place it in a warm place.
Discarding can be confusing, I know it was for me! If you have questions, sign up for my free email course. I cover everything you need to know, including why you need to do it and my favorite ways to use it, like sourdough pancakes, chocolate cake, and chocolate chip cookies delivered straight to your inbox.
Test your starter
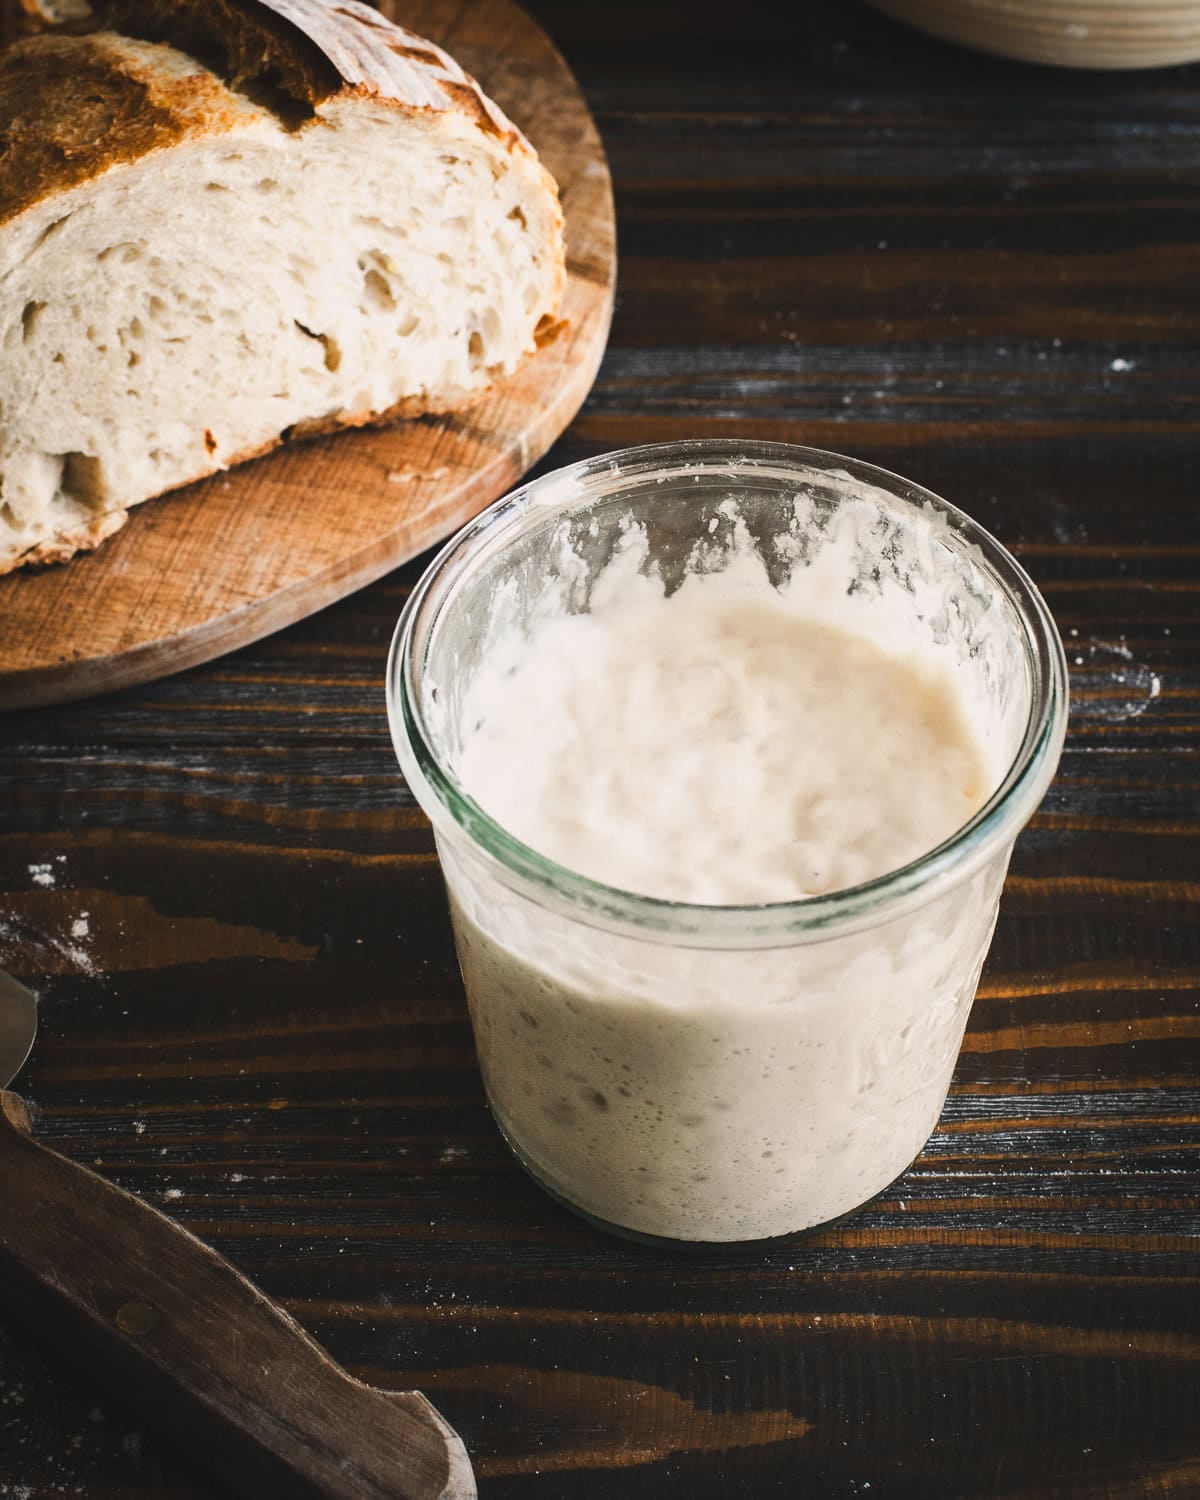
Day 7: You should see a noticeable rise in your starter. This is a great sign that it's ready to use!
To test whether your starter is ready:
- Transfer 14 grams of starter to a clean jar and throw out the rest.
- Add 28 grams of flour and 28 grams of water to the jar with your starter.
- Stir until all of the flour is hydrated.
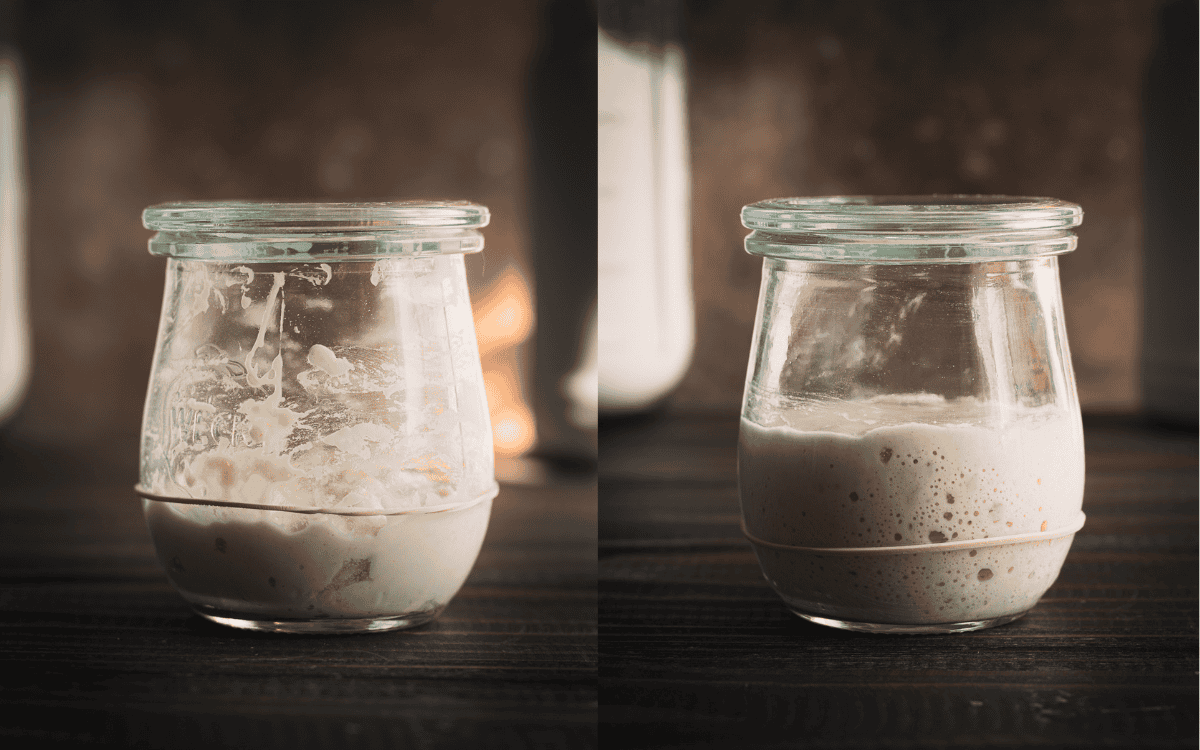
- Place a rubber band around the jar to mark the starter's level.
- Cover loosely with a lid and place it in a warm place.
- Set a timer and check after 4 to 6 hours.
If it doubles in volume within that window, your starter is ready to use! You can repeat this test for a couple of days to make sure it's consistently rising after every feeding.
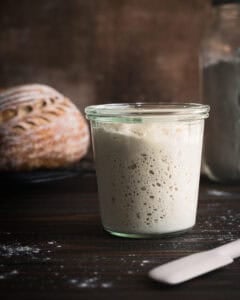
How Do I Know When My Starter is Ready?
The goal of this process is to build a strong, reliable starter, one that helps your dough rise every time you bake. Here's what to look for:
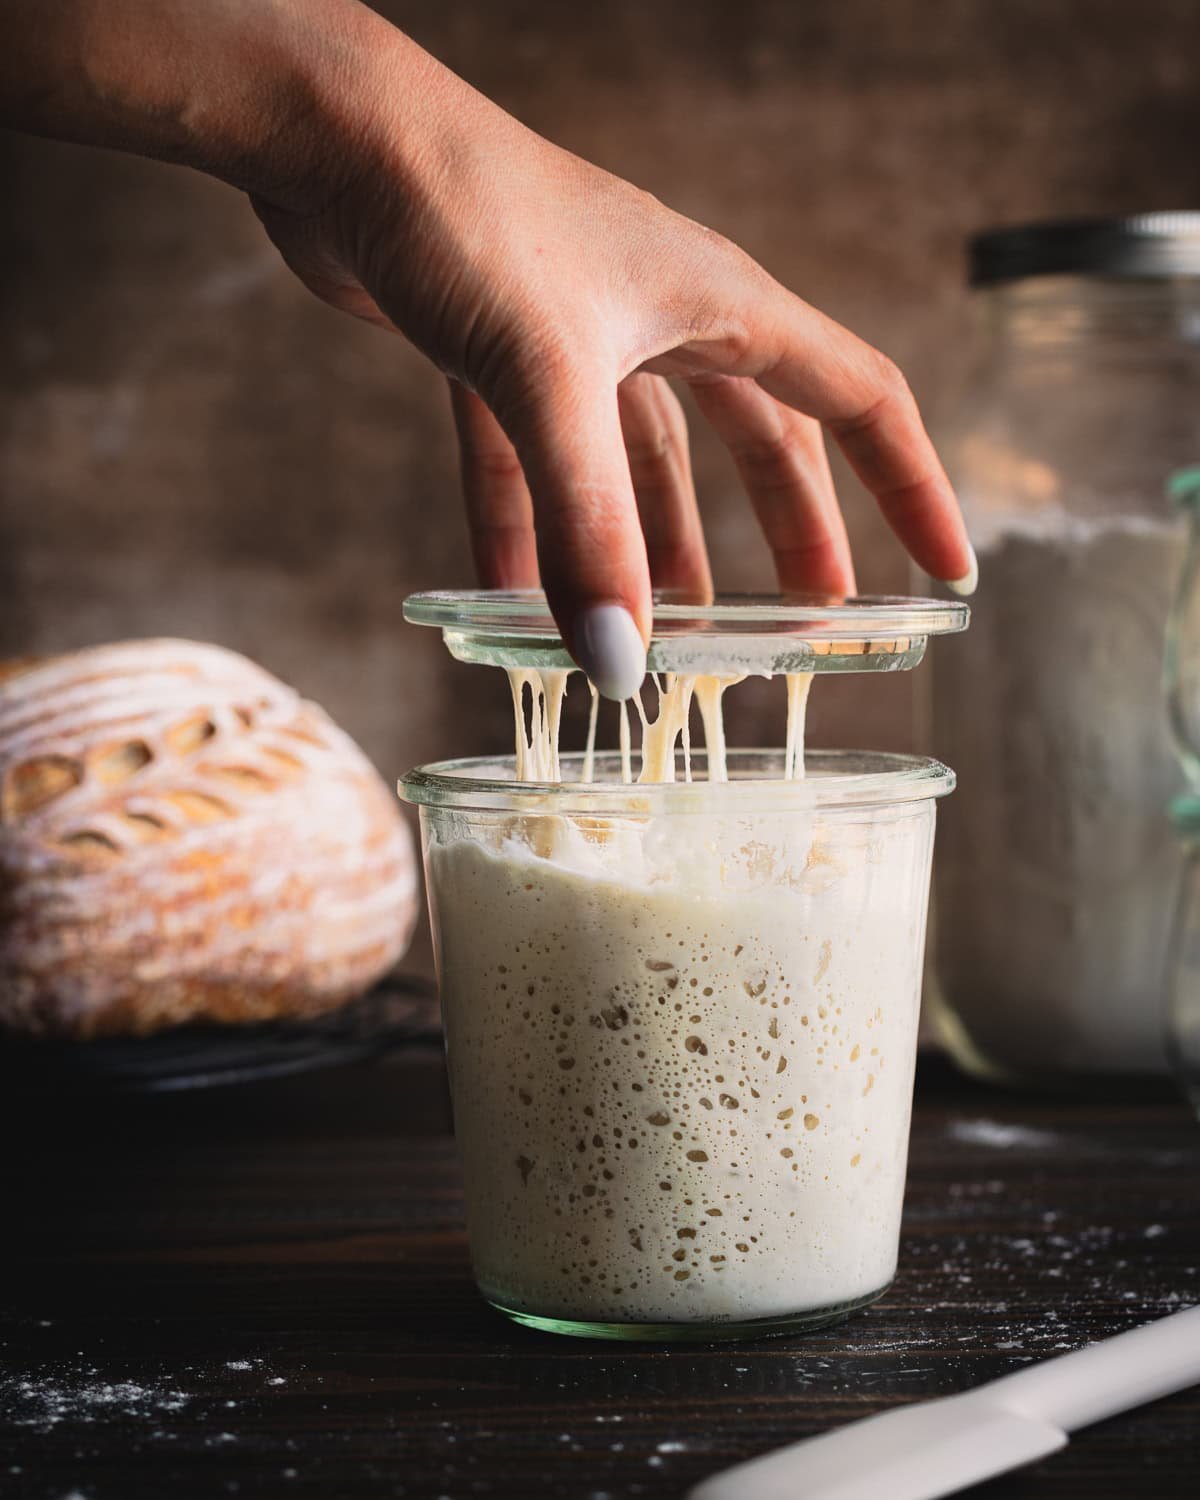
It doubles in size within 4 to 6 hours after feeding.
This is the most important sign that your starter is strong enough to leaven dough. Remember we want a starter that's reliable-one that rises predictably every time you feed it.
You see an even distribution of bubbles throughout.
It should look airy and sponge-like, not just bubbly on top.
It passes the float test.
Drop a small spoonful into water, if it floats, it's ready to use. Just remember, this test isn't foolproof, so use it alongside the other signs.
Help! Why isn't my sourdough starter rising?
If your starter isn't rising yet, don't worry! Fermentation is a natural process, and it doesn't always follow a perfect timeline, sometimes 7 days just isn't enough, this process could take up to 2 weeks.
Continue feeding it daily, and try moving it to a warmer spot to help encourage yeast activity.
Why I don't like to use rye when my starter is sluggish
A lot of bakers recommend switching to rye flour if your starter isn't rising, but I prefer not to. The type of flour you use affects the microbes that grow in your starter. Rye can boost activity because it encourages more biodiversity, but it also shifts the microbial balance.
If you switch back to all-purpose flour later, the activity may slow down or become erratic as the microbial population in your starter adjusts. That back-and-forth can actually set you back and make it harder to tell when your starter is truly ready to bake.
How to get your starter ready for baking
Once your sourdough starter is established, here's how to get it ready for baking. The proportions below can be scaled depending on how much your recipe calls for.
- Transfer 28 grams of your starter to a clean jar.
- Add 60 grams of flour and 60 grams of water.
- Stir until no dry bits remain.
- Let it rise at room temperature until doubled in volume (about 4 to 6 hours).
- Use it in your favorite recipe.
I like to do this the night before I plan to mix my dough. Your starter will stay active and ready to use up to 8 hours after feeding.
Is My Sourdough Starter Safe?
I was a little squeamish about keeping a jar of goo on my counter when I first started too. But, as long as your sourdough starter doesn't grow mold or show signs of spoilage, it's totally safe to use. In fact, a healthy starter naturally creates an acidic environment where harmful pathogens can't survive.
Think of it like this: have you ever been in a room with such good energy that toxic people just couldn't stand? That's the kind of environment we're building in your jar, a place where only the good microbes thrive. And the best part? It's easy to keep them going. Just feed your starter regularly to keep it strong and active.
What's the Black Liquid on My Starter?
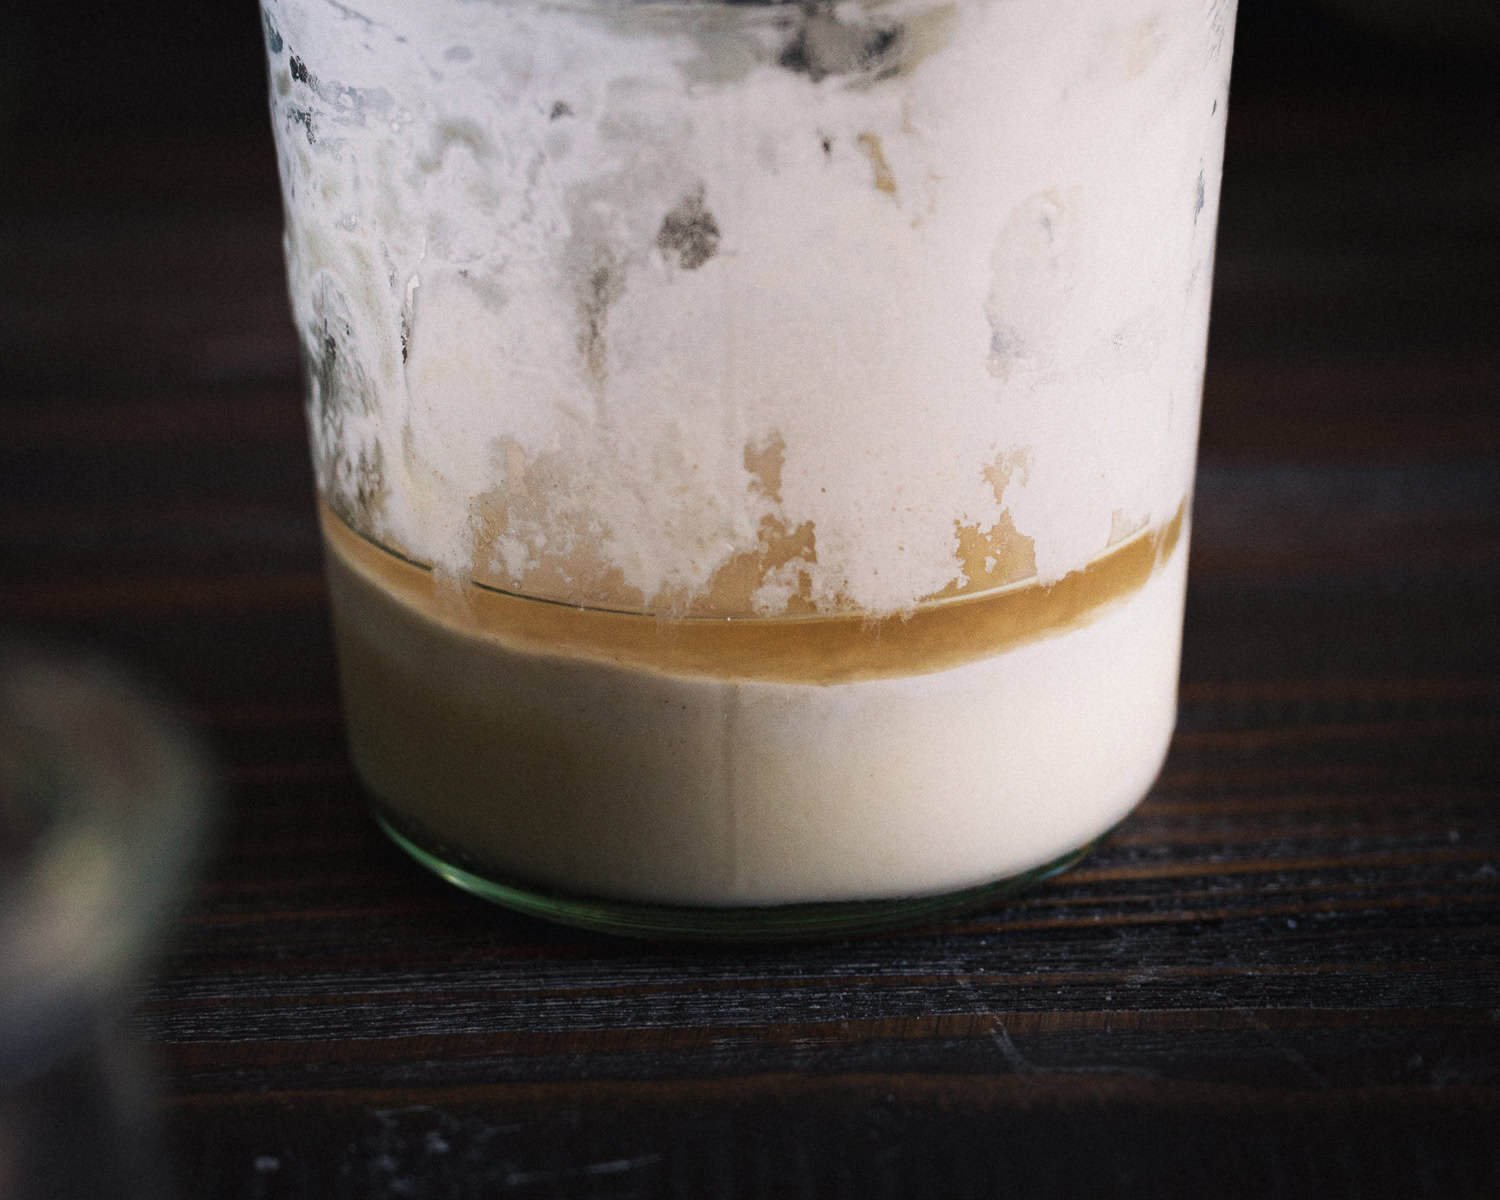
You may notice a dark, sometimes gray or black liquid forming on top of your sourdough starter, that's called hooch. This is just alcohol, which is a natural byproduct of fermentation. Hooch is a sign your starter is hungry, not spoiled. It's totally safe, just pour it out or stir it back in before your next feeding.
When to worry: Your starter has pink or orange streaks, or there's visible mold and fuzzy growth on the surface, it's time to toss it and start over.
What If I Forget to Feed My Starter?
If you forget to feed your starter, it's not the end of the world. Just feed it the next time you remember and keep going. Your starter is more resilient than you think.
Did I Kill My Sourdough Starter?
This is the question I get most often from people just starting out with sourdough. The good news? Starters are surprisingly resilient. If yours has been in the fridge for a few weeks or even months it's probably still fine. Unless you see mold or streaks of orange or pink, it's safe to revive.
To bring it back to life:
- Feed again until your starter consistently doubles in volume after 4 to 6 hours every time you feed it.
- Discard most of it, leaving about a tablespoon.
- Feed it with equal parts flour and water by weight. Let it ferment for 24 hours in a warm place.
How to Maintain Your Starter
On the Counter
If you bake often, keeping your starter at room temperature and feeding it daily is the best way to keep it active and ready to use.
- Feed regularly: Use 14 grams of starter, 28 grams of water, and 28 grams of flour.
- Build it up: Increase the amounts when you need more starter for a recipe.
- Keep it going: After baking, save a small portion and continue feeding daily to maintain a healthy culture.
In the Fridge
If you bake less frequently, you can store your starter in the fridge to slow down its activity. I like to do this if I'm going on vacation or just don't feel like baking.
- Feed your starter as usual: Use 14 grams of starter, 28 grams of water, and 28 grams of flour.
- Refrigerate right away: Place it in the fridge immediately after feeding. This is when your starter is the least acidic, which helps preserve a mild, balanced flavor.
- Take it out ahead of time: Remove it from the fridge at least two days before you plan to bake. This helps make sure it's lively and active before you use it in a recipe.
- Refresh and rebuild: Discard all but 14 grams, feed it, and let it rise at room temperature for 24 hours. Repeat if needed until it rises reliably.
You might be wondering if you can use your sourdough starter directly from the fridge. I personally like to make sure mine is bubbly and active before baking. That way, I don't risk wasting ingredients on a starter that isn't strong enough to make dough rise.
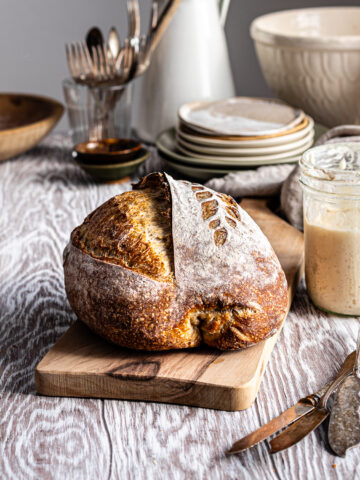
Congratulations! Now that you've got an active, bubbly sourdough starter, it's time to get baking. There are so many possibilities, from sourdough spelt bread to sourdough milk bread. You can even make sourdough pretzels and bagels.
Did this recipe rise to the occasion?
★★★★★
Leave a star rating and a comment. Your feedback inspires future recipes and helps others feel confident choosing what to bake next. I read and respond to every message.
If you're looking for additional ways to support my work, share this recipe or buy me a Ko-fi. Every little bit helps me keep creating the recipes and guides you enjoy.
Thank you for your support!
Sourdough Starter Recipe
Equipment
- 7.5-oz glass jar optional
- rubber band optional
This section may contain affiliate links
Ingredients
Day 1
- 14 grams all-purpose flour
- 14 grams water
Day 3
- 28 grams all-purpose flour
- 28 grams water
Days 4 to 7
- 14 grams sourdough starter
- 28 grams all-purpose flour
- 28 grams water
Levain
- 28 grams sourdough starter
- 56 grams all-purpose flour
- 56 grams water
Click US Customary to view volume measurements
Instructions
Day 1
- In a clean jar, mix flour and water14 grams all-purpose flour, 14 grams water
- Stir until the flour is hydrated.
- Cover loosely and let it sit at room temperature (ideally 75-80°F) for 24 hours.Find the warmest spot in your kitchen and keep your starter there while it's developing. On top of your fridge, in the microwave, or inside the oven with just the light on are all great options.
Day 2
- Continue letting your starter ferment. The microbes in your culture are still settling in and balancing themselves out. You may stir it if you like, but it's not necessary.
Day 3
- You should see some bubbles and a slight rise. It's ok if you don't see any activity. Time to refresh your starter. Add flour and water to the jar.28 grams all-purpose flour, 28 grams water
- Stir until the flour is hydrated.
- Cover loosely and let it sit at room temperature.
Days 4 to 6
- Transfer 14 grams of starter to a clean jar and throw out the rest.14 grams sourdough starter
- Add water and flour to the jar.28 grams all-purpose flour, 28 grams water
- Stir until no dry bits of flour remain.
- Cover loosely with a lid and place it in a warm place.
- Optional: Wrap a rubber band around your jar right after feeding to mark the level where your starter is at. It's an easy way to track if your starter has risen.
- Repeat once a day every day.
- If your sourdough starter doesn't rise after day 6, don't worry. Continue feeding it until it doubles in volume after feeding.
Day 7
- You should see a noticeable rise in your starter. This is a great sign it's ready to use! To test whether your starter is ready:Transfer starter to a clean jar. Discard the rest or store it in a separate container.14 grams all-purpose flour
- Add flour and water to the jar.28 grams all-purpose flour, 28 grams water
- Stir until no dry bits of flour remain.
- Cover loosely with a lid and place it in a warm place.
- Set a timer for 4 hours and check on whether your starter has doubled.
- If it rises consistently after feedings, it's mature, healthy and ready to bake with!
How to get your starter ready for baking
- Transfer your starter to a larger jar and discard the rest.28 grams sourdough starter
- Add flour and water to the jar. Stir until no dry bits of flour remain.56 grams all-purpose flour, 56 grams water
- Let the starter ferment until doubled in volume, this could take about 4 to 8 hours.
- Once your starter doubles, it should be ready to use for up to 12 hours after feeding.
Tips
These recipes were developed and tested using grams for precise measurements. To increase your chances of success, I recommend investing in a kitchen scale. I've included rough volume estimates (in tablespoons and cups), but they might not be totally accurate.
Remember all ovens are unique, these recipes were tested in my oven which runs cooler than others. You might need to lower the temperature if your bake appears to be browning too quickly. Monitor your bake closely and make adjustments if needed.
Notes
- If your kitchen is cold, fermentation will take longer. Try keeping your jar on top of the fridge or in the oven with the light on (but the oven off!).
- Funky smells in the beginning are normal. As your starter matures, the aroma will settle into something pleasantly tangy and yeasty.
- Once your starter is well established, you can store it in the fridge and feed it weekly or keep it on the counter and feed it daily.
- Don't bake with your starter straight from the refrigerator. Give your sourdough starter a few feedings before using it in a recipe.
- If you forget to feed your starter for one day, don't worry! Just feed it when you remember and continue with the process.
- You may see a dark liquid forming on top of your starter during this period. This is called hooch! It's completely harmless and a sign that your starter needs to be fed. You can either stir it in or pour it out before feeding.
I am not a nutritionist or dietitian, any nutrition information provided is an estimate.

Denise says
Hannah, What happened to the starter you say to make on day one and two if on day 3 you say to start with a clean jar and add 15 water and 15 flour?? Then you say to add 30 water and 30 flour. No mention of what to do with the 15 + 15 in the first jar from day 1 that you say to just watch on day 2. Please explain.
Hannah Dela Cruz says
Hi Denise - Thanks for your comment! I must have had a typo in that section. So sorry for the confusion. I've corrected it now. You should add the flour and water to the starter you made on day 1.