These Mini Sourdough Discard Fruit Galettes are the perfect bake for a dinner party or get-together. Flaky sourdough crust filled with your fruit of choice, these delicious free-form pies are individually portioned and can be personalized any way you want.

It’s easy to fall in love with galettes. There’s something very elegant and eye-catching about their rustic appearance. I love making these mini galettes because they are easier to put together than pies or hand pies. They may be simple, but they are just as satisfying. Serve these at your next get-together and you’ll be everyone’s favorite host!
Jump to:
What is a galette?
A galette is a type of pastry that originated in France. It’s a free-form pie comprised of a filling, which can be sweet or savory, and a buttery crust. The crust is usually made of a pâte brisée or flaky pie dough.

Want to make a large galette instead? Check out my Sourdough Discard Peach Galette Recipe.
Baking with sourdough discard
When incorporated into buttery pastry, sourdough discard adds a slightly tangy and cheesy flavor. Since you’re not using it as a leavener, you can use your discard straight from the refrigerator. There’s no need to feed it or activate it before mixing it into your dough.
Older discard will have a tangier, more acidic flavor than a freshly-fed sourdough starter. Both will work for this recipe, you’ll just get a slightly different flavor profile but your bake will still be delicious!
Need more ideas for using your excess sourdough starter? Check out my favorite Sourdough Discard Recipes!
Baking with seasonal fruits
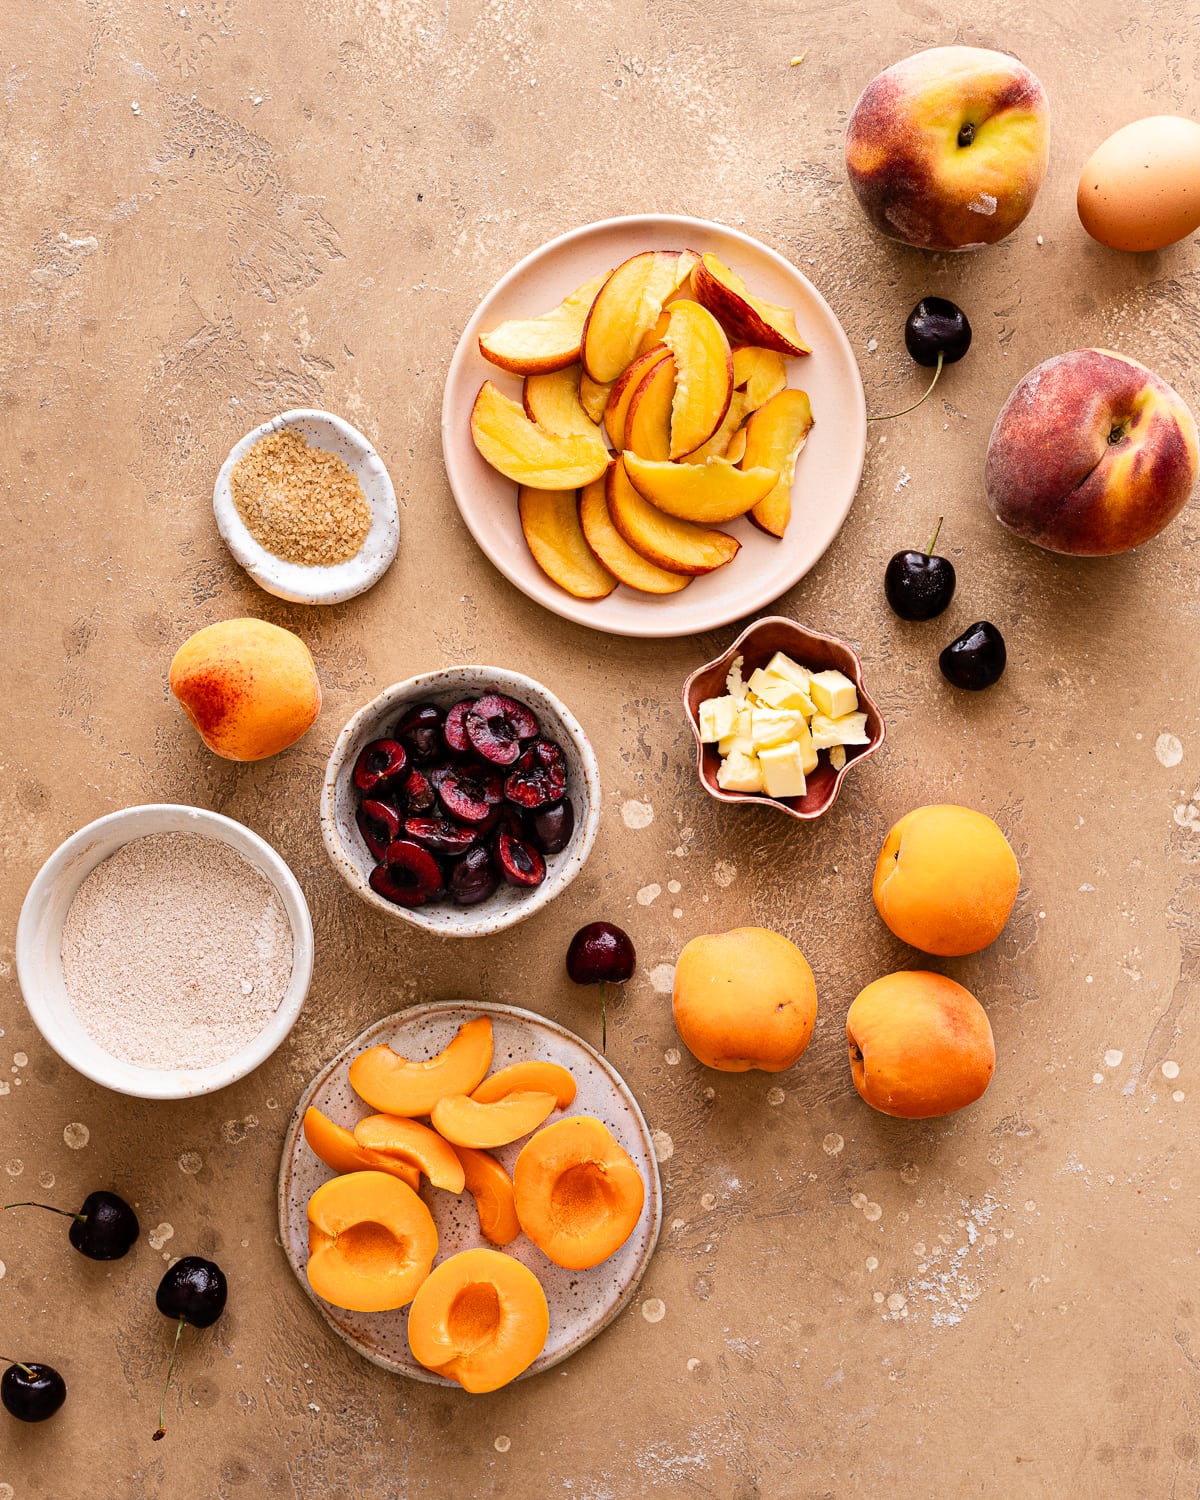
Galettes are endlessly adaptable. Here in the United States, we can buy any type of fruit at the grocery store year-round, however just because they are available doesn’t mean they are good.
I recommend using seasonal fruits because they are usually sweeter and more flavorful. This results in more delicious galettes! Since fruits come in different shapes and sizes, you may need to adjust the amount of the filling for the recipe.
Let seasonality guide your bake, here are some fruits you can use at different times of the year:
Spring: mangoes, rhubarb, apricots, strawberries
Summer: peaches, plums, cherries, blueberries, blackberries, raspberries
Fall: figs, apples, beets, grapes, pears, cranberries
Winter: pears, apples, persimmons
What you need
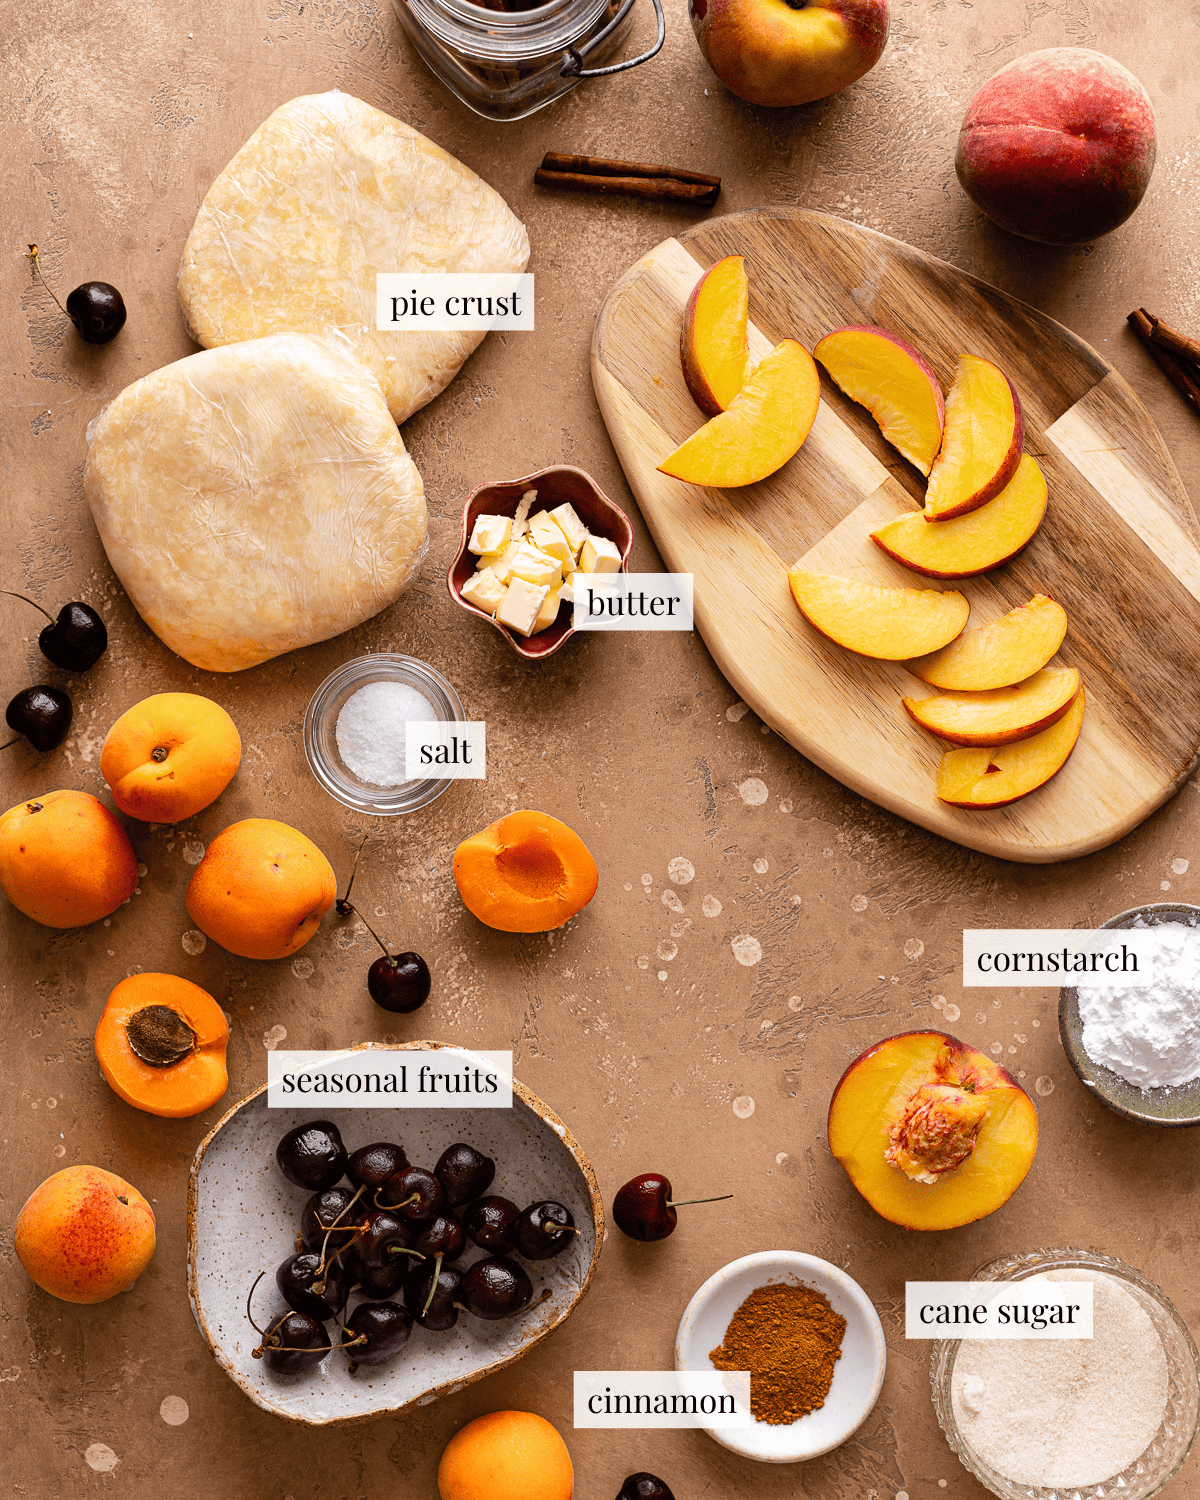
Sourdough discard: If you don’t have any discard, add 14 grams of water and 14 grams of flour to the recipe.
All-purpose flour: Low protein flour imparts a tender texture to this crust. Don’t substitute whole wheat flour.
Fruits: Use fresh, in-season fruits for the best results! Fill each galette with different types of fruits or use them in combination.
Cane sugar: I prefer organic cane sugar because it’s produced using sustainable practices. Substitute brown or white sugar if you don’t have any on hand.
Coarse sugar: Also known as raw sugar or turbinado sugar, this adds a delicious textural contrast to the crust. You can totally skip this ingredient if you don’t have any on hand.
TIP: Start with cold butter and ingredients. If your dough is too warm, the butter will melt resulting in a dry, rubbery crust. Starting off with cold pieces of butter and ice cold water will help your chances of success.
Step-by-step instructions
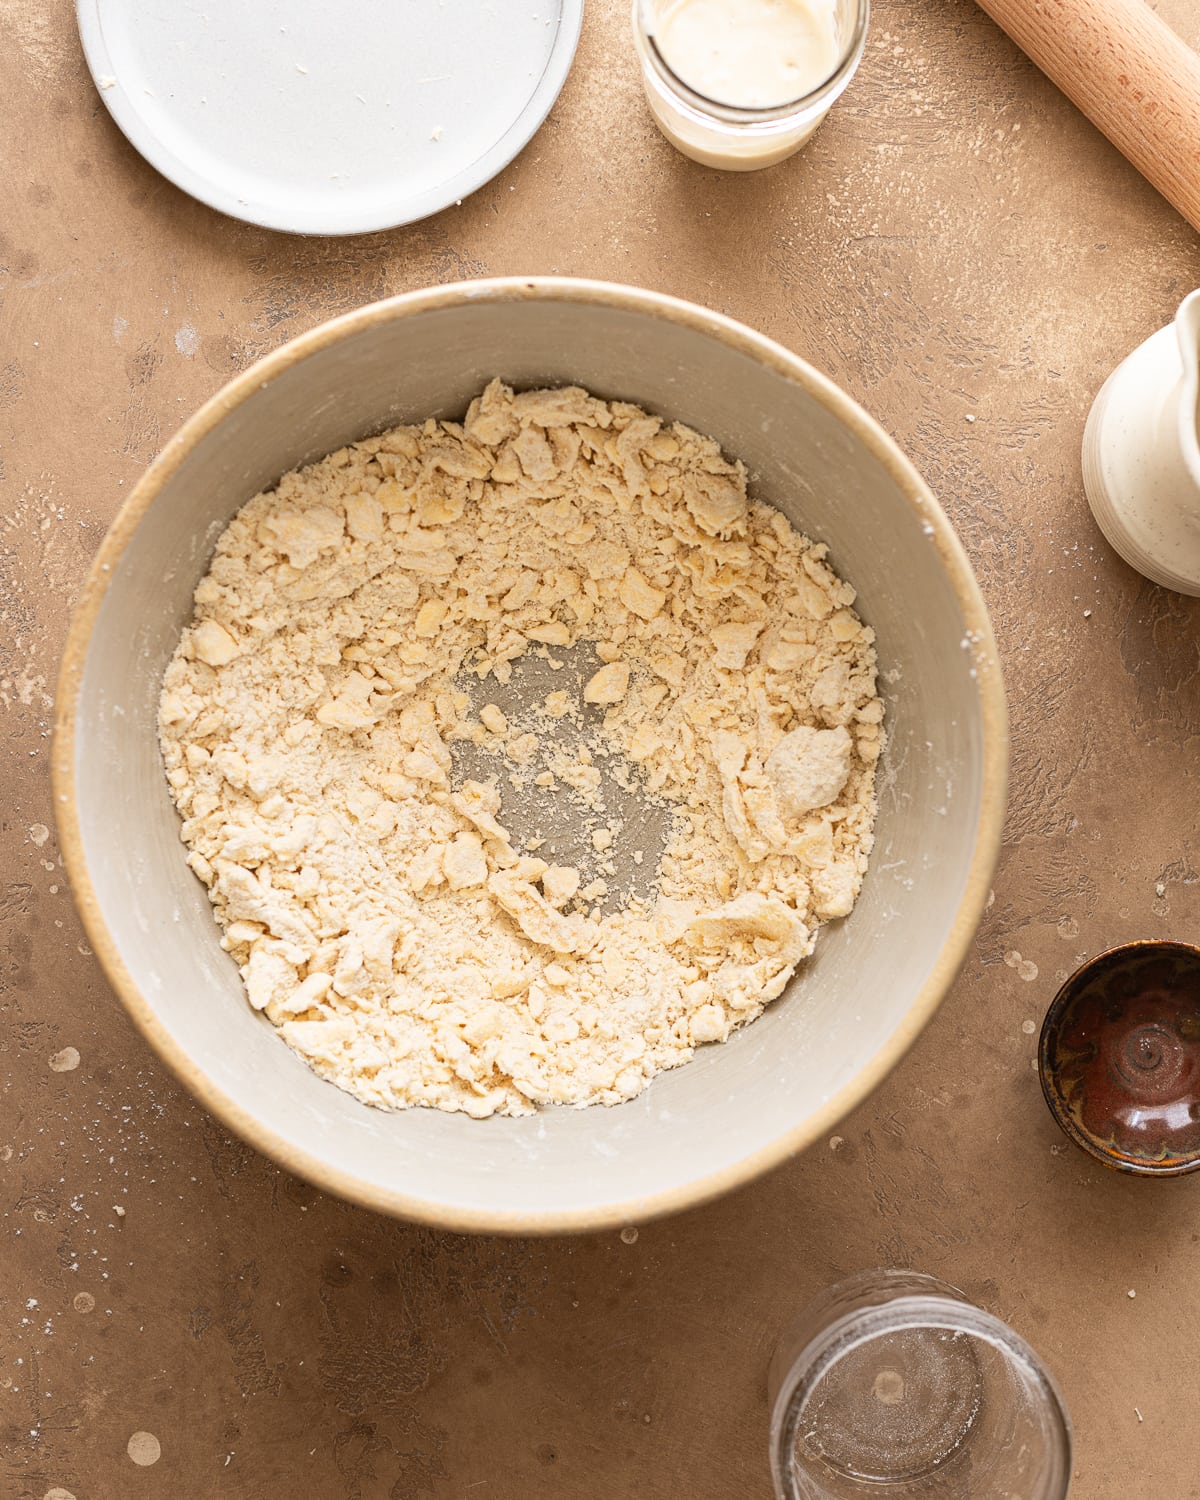
STEP 1. Make the crust and chill dough

STEP 2. Divide the dough into 4 portions
TIP: Want detailed step-by-step information on how to create pie crust? Check out my recipe for Sourdough Pie Crust.

STEP 3. Round each portion into a circle and roll out using a rolling pin
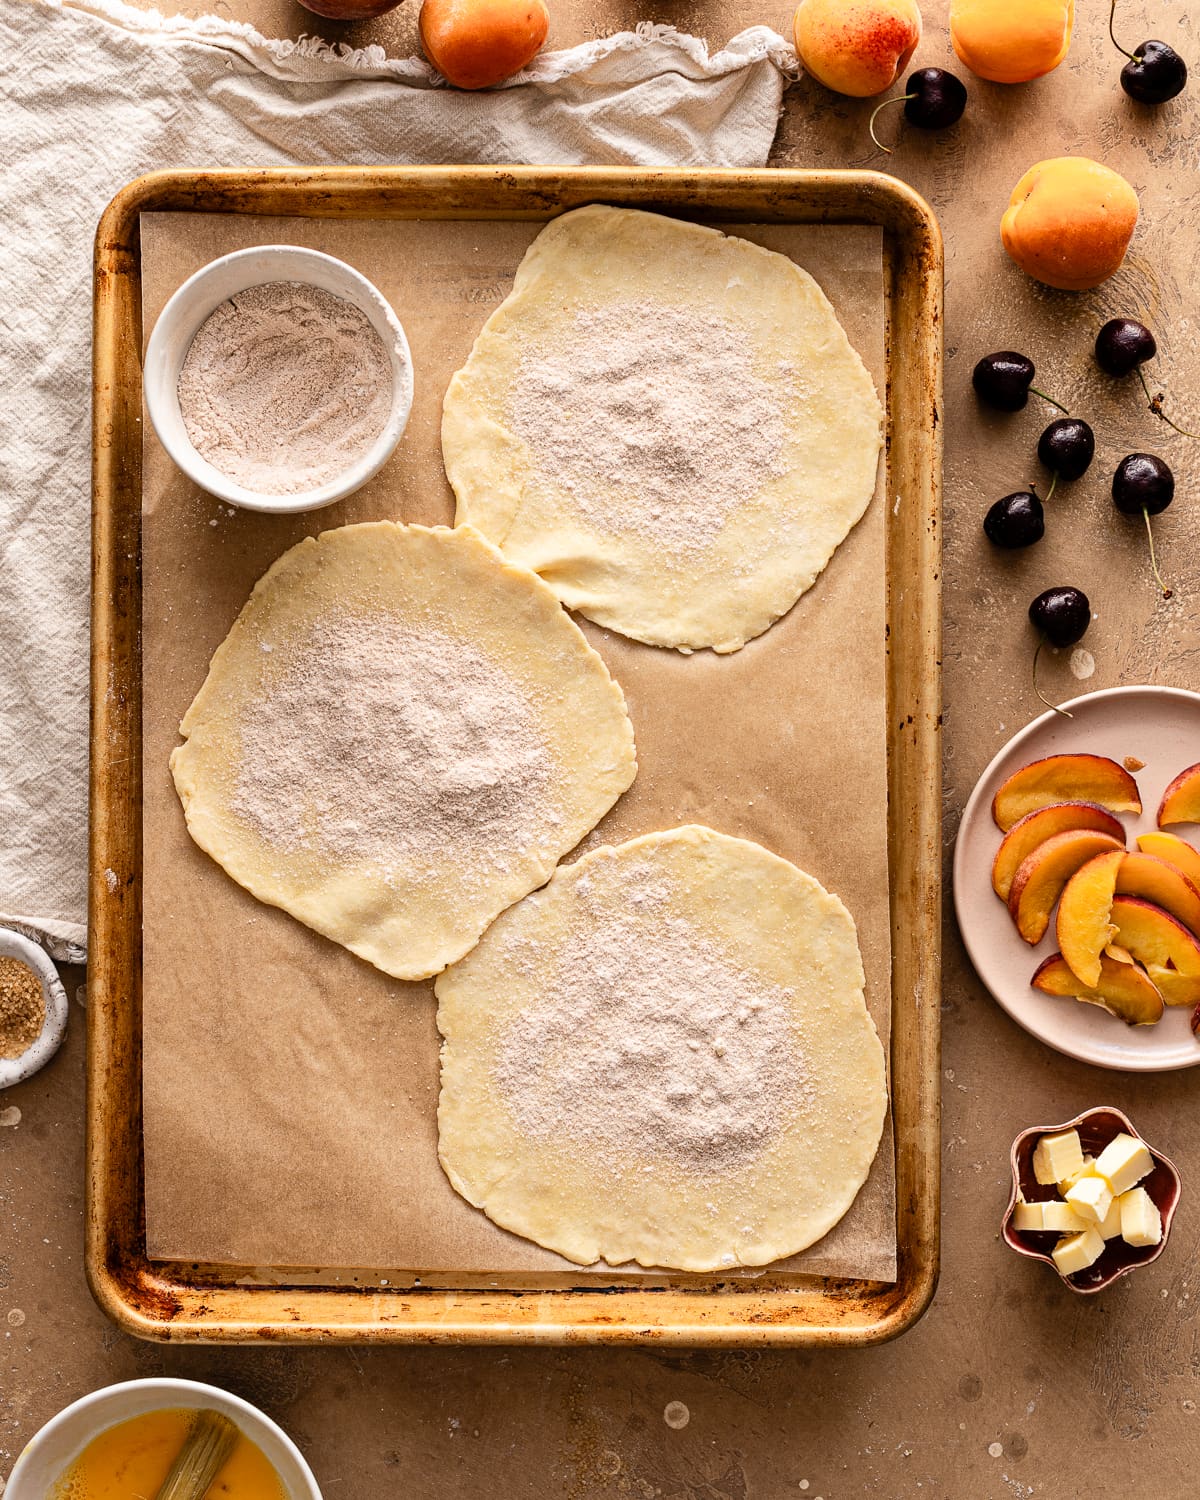
STEP 4. Add cinnamon sugar in the center of the dough

STEP 5. Assemble and finish the galettes

STEP 6. Bake at 400 F for 35 to 40 mins
Love mini pies? You'll love my recipes for Sourdough Blueberry Turnovers, Sourdough Fruit Tarts, Sourdough Apple Hand Pies and Sourdough Empanadas.
Recipe FAQs
Yes! If you don’t have any excess sourdough starter, add 14 grams of water and 14 grams of flour to the recipe.
Your pie dough may be too dry. Add a few drops of water to the dough, not too much or your dough may become rubbery, and knead the dough a few times until it comes together.
You can also skip the water and laminate your dough, this make your dough much stronger and will result in an extra flaky pie crust. For more on lamination check out my post on how to make Extra Flaky Sourdough Pie Crust.
If your dough starts to feel greasy, your butter may be too warm. Stop working, wrap your dough up, and refrigerate it for 30 minutes before continuing.
Yes! Galette dough is made with the same ingredients in the exact same way as pie dough.
Soggy galettes are usually a result of pie crust issues, as the dough doesn’t bake properly and can’t absorb the excess moisture in your filling.
You may also like
Did this recipe rise to the occasion?
★★★★★
Please leave a star rating and a comment. Your feedback helps me create more delicious sourdough recipes. I read and truly appreciate every message.
Don't forget to PIN this recipe on Pinterest to save it for later!
Thank you for your support!

Sourdough Discard Mini Fruit Galettes Recipe
Equipment
This section may contain affiliate links
Ingredients
Pie Dough
- 28 grams ice water
- 28 grams sourdough discard
- 120 grams all-purpose flour
- 2 grams salt
- 113 grams unsalted butter cold and cut into ½-inch cubes
Filling
- 50 grams organic cane sugar
- 15 grams cornstarch
- ½ teaspoon ground cinnamon optional
- 4 grams salt
- 225 grams fruits sliced
- 28 grams unsalted butter cut into ½-inch cubes
Topping
- 1 egg
- 30 grams turbinado sugar
Click US Customary to view volume measurements
Instructions
- Make the crust: Dissolve the sourdough discard in the water. Set aside.28 grams ice water, 28 grams sourdough discard
- Whisk the all-purpose flour and salt together. Toss the butter pieces into the flour mixture and work the butter in using your fingertips or a pastry blender until all of the flour is coated in fat.120 grams all-purpose flour, 2 grams salt, 113 grams unsalted butter
- Make a well in the center and pour the starter mixture in. Mix with a spatula or wooden spoon until the dough comes together. Lightly knead the dough until a shaggy dough forms, don’t overwork the dough, it’s ok if there are a few dry bits remain.
- Turn the dough on a large piece of plastic wrap. Gather the dough together using the edges of the plastic wrap, this prevents your dough from heating up and the butter from melting.
- Flatten the dough into a disc and wrap it tightly in plastic. Refrigerate the dough for 2 hours, or up to 1 week.
- Roll out the dough: Take the dough out of the fridge and rest at room temperature for 10 minutes. Letting the dough warm up will make it much easier to roll out and less likely to break.
- Divide the dough into 4 portions. Work with one portion of dough at a time and wrap the rest to prevent them from drying out.
- Round the dough into a small circle. Using a rolling pin, roll the dough out into a thin disc, about 6 inches in diameter. Place the rolled-out dough on a baking sheet lined with parchment paper.
- Repeat with the remaining portions of dough.
- Refrigerate the baking sheet with the rolled-out dough while the oven preheats.
- Prep: Preheat the oven to 400 F.
- Whisk together the sugar, cornstarch, cinnamon, and salt. Set aside.50 grams organic cane sugar, 15 grams cornstarch, ½ teaspoon ground cinnamon, 4 grams salt
- Beat the egg for the egg wash and set aside.1 egg
- Assemble the galettes: Place 1 tablespoon (about 12 grams) of cinnamon sugar mixture in the center of each crust.
- Add the prepared fruit in the center with a 1-inch margin. Fold the dough over the fruit. Add butter on top of the filling.225 grams fruits, 28 grams unsalted butter
- Brush the edges of the dough with egg wash, sprinkle coarse sugar on the crust.30 grams turbinado sugar
- Bake: Bake the galette for 20 to 25 minutes or until the crust is golden brown. Allow the galettes to cool for at least 10 minutes before serving.
- Enjoy: Serve each galette with a dollop of fresh whipped cream or a scoop of vanilla ice cream.
- Store: These galettes are best enjoyed the day they are baked, but will keep well in an airtight container in the refrigerator for up to 3 days,
Tips
These recipes were developed and tested using grams for precise measurements. To increase your chances of success, I recommend investing in a kitchen scale. I've included rough volume estimates (in tablespoons and cups), but they might not be totally accurate.
Remember all ovens are unique, these recipes were tested in my oven which runs cooler than others. You might need to lower the temperature if your bake appears to be browning too quickly. Monitor your bake closely and make adjustments if needed.
Nutrition
I am not a nutritionist or dietitian, any nutrition information provided is an estimate.



Did you make this recipe? Do you have questions? Let me know below!