

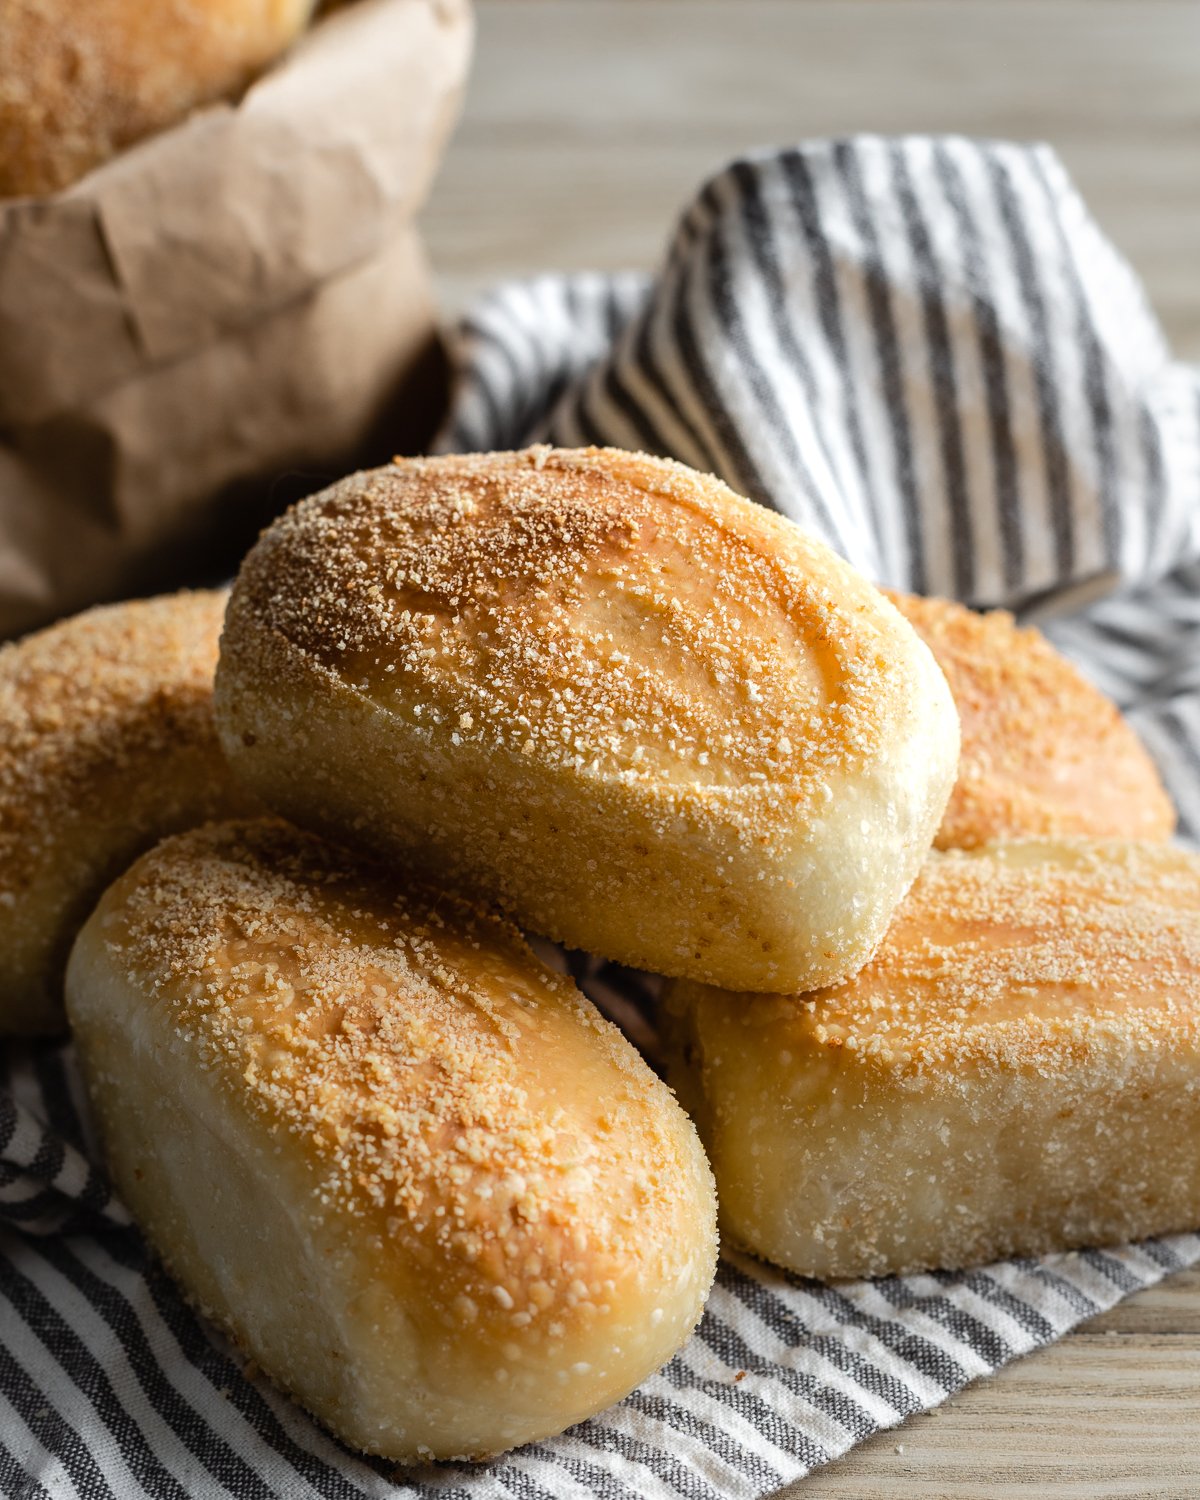
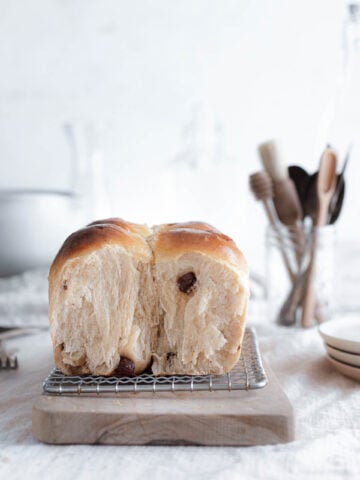
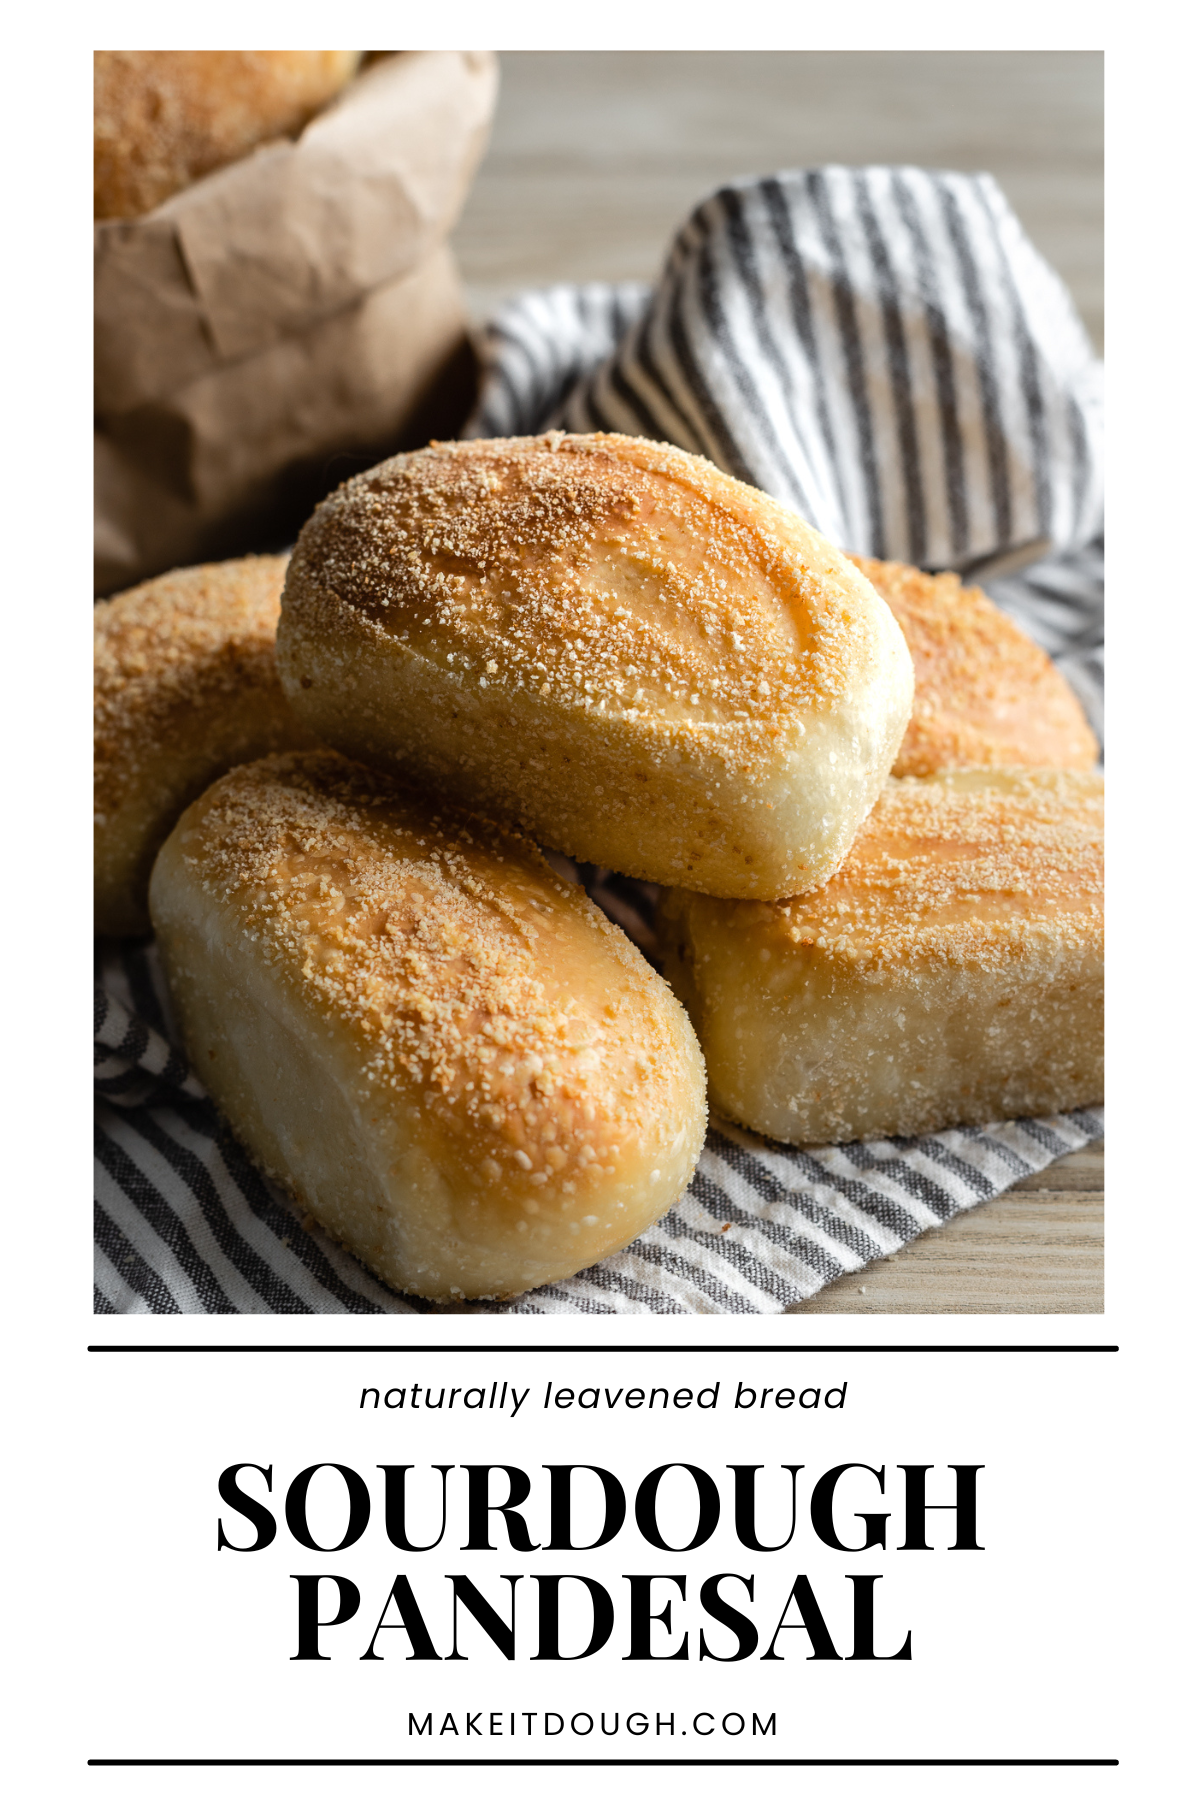
Sourdough Pandesal is a naturally-leavened take on a classic Filipino bread. It's plush and pillowy on the inside and crusty and coated in breadcrumbs on the outside. Pandesal is slightly sweet and is usually served at breakfast with both sweet and savory fillings.
Jump to:
What is Pandesal?
Pandesal is the most famous bread from the Philippines. It's a soft yeasted bread roll, coated in breadcrumbs.
When I lived in the Philippines, I distinctly remember the smell of freshly baked bread wafting through the air and a brown paper bag filled with soft, airy pandesal on our table for breakfast every morning. What makes pandesal unique from any other bread roll is its breadcrumb coating. In addition to preventing the rolls from getting stuck on the baking surface, it also imparts a delicious textural contrast, between the plush pillowy crumb and crunchy crust. Plus it ensures that even old bread doesn't go to waste. Filipino bakeries are masters at upcycling stale bread!
Love Filipino breads? Try my recipes for Sourdough Pan de Coco and Sourdough Ensaymada.
History of bread in the Philippines
Bread was introduced to the Philippines during the colonial period. For hundreds of years since, we've adapted them to suit our personal tastes and it has become an integral part of Filipino food culture. Most Filipino breads are made from enriched dough, which makes them slightly sweet, soft and pillowy.
I remember eating bread every day at least twice a day, once in the morning, when we usually ate Pandesal and again in the afternoon during merienda, or snack time. The smell of bread from local bakeries was intoxicating and one of the memories I truly treasure from my childhood.
There are a lot of bakeries in the Philippines, so most Filipinos don't bake bread at home. However, we were still spoiled with fresh bread because these bakeries would bake a batch twice a day. This is one of the things I missed most about the Philippines when we moved to the United States. My favorite thing about learning how to make bread is being able to bake my favorites in my own kitchen.
Putting a sourdough twist on Filipino bread
Although Filipino breads are traditionally made with commercial yeast. I wanted to put a sourdough twist on my favorites, so each month I'll be sharing a new Filipino bread recipe here on the blog. Sourdough will impart a slightly tangy flavor, but if your starter is healthy and not overly acidic then the bread shouldn't taste overly sour or have a fermented flavor.
What to eat with Sourdough Pandesal
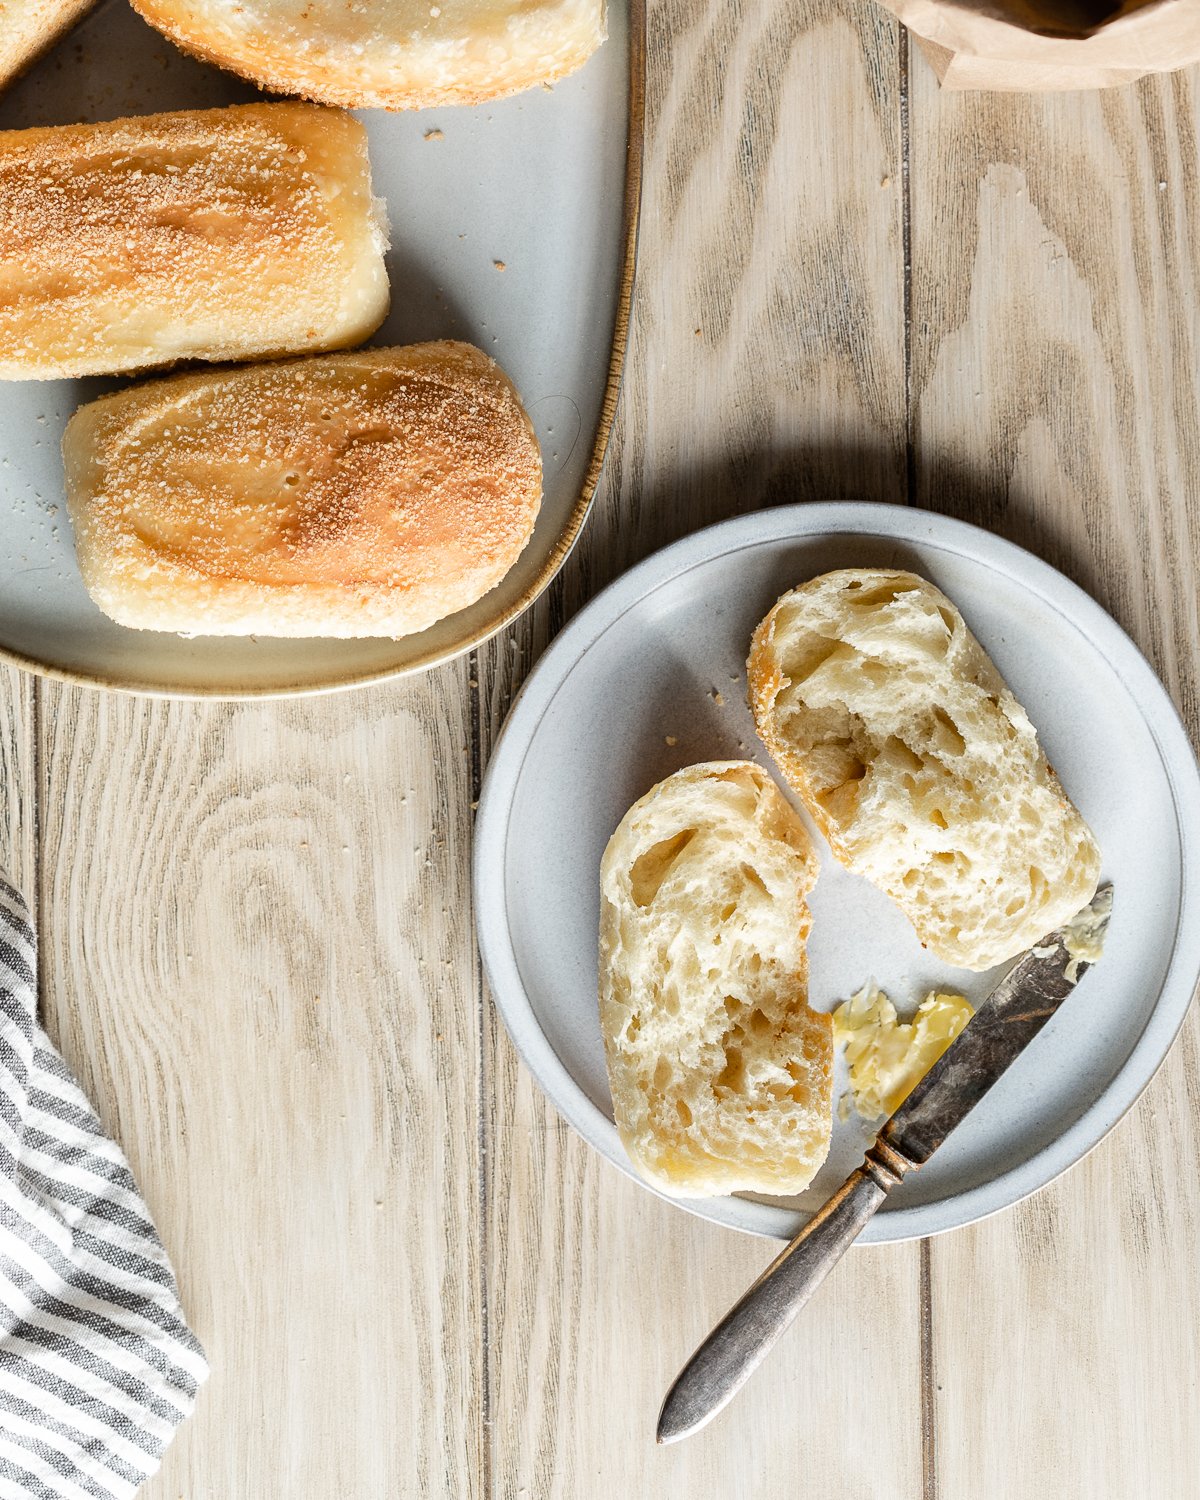
Pandesal is usually served for breakfast in the Philippines and it goes well with both savory and sweet fillings. Breakfast always consisted of a large spread of meats, eggs, salted butter, and a variety of spreads, like coconut jam, peanut butter or strawberry jelly. My favorite way to eat it is still with spam and over-easy eggs. It can be served as the centerpiece of a large breakfast spread or by itself dipped in coffee or hot chocolate.
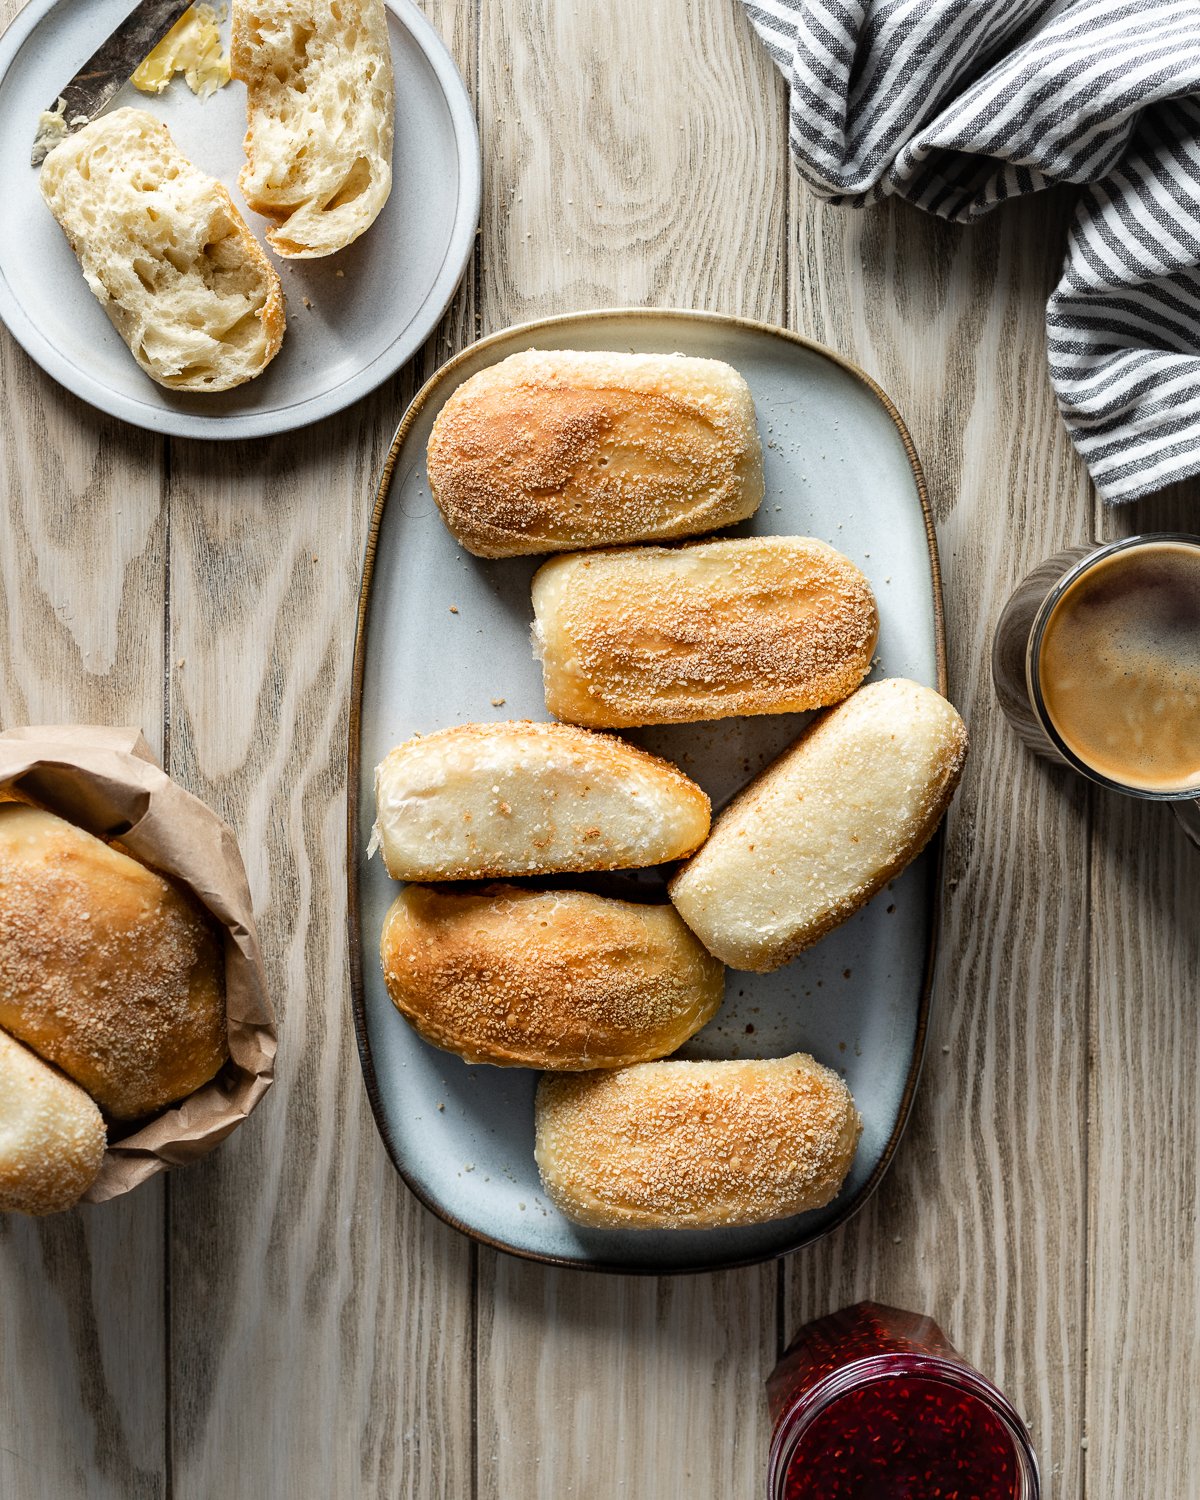
Sourdough Pandesal is delicious with Homemade Blueberry Preserves and Homemade Salted Cultured Butter.
What you need
All-purpose flour - I prefer soft, instead of chewy, pandesal, so I like to use a higher percentage of all-purpose flour in my dough, do not substitute another type of flour or you won't get the desired texture
Bread flour - a little bit imparts a chewy texture to the pandesal, substitute all-purpose if you don't have any in your pantry
Water - some recipes use milk, however I think it makes pandesal taste too much like brioche, so I prefer water
Sourdough starter - make sure your starter is mature and active before making this recipe or your bread will not rise and your pandesal will be dense and hard
Vegetable oil - use any neutral-flavored oil, I prefer using oil instead of butter in my pandesal because it results in a lighter structure
Egg - I used 1 large egg for this loaf, if you'd like to make this loaf vegan, substitute mashed potatoes or simply add another 50 grams (about ¼ cup) of water
Bread crumbs - this is what sets pandesal apart from a regular roll, use very fine bread crumbs or process toasted panko bread crumbs until fine
Step-by-step instructions
1. Make the sponge and ferment overnight
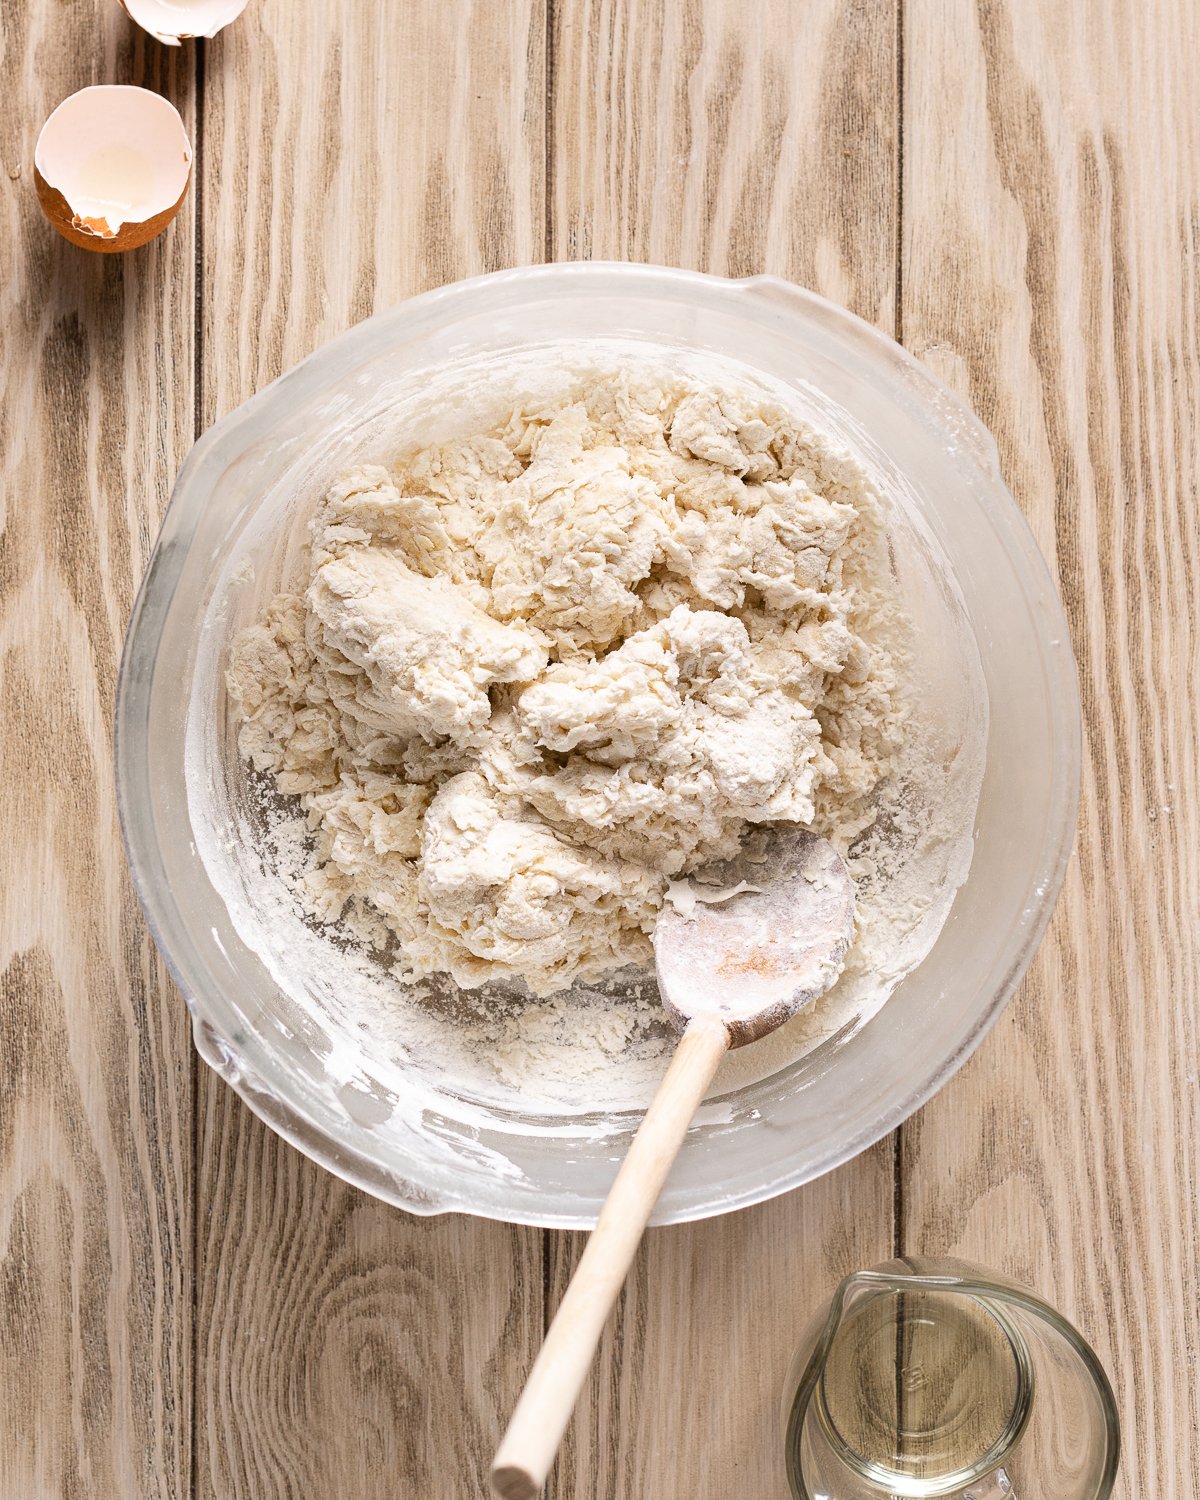
2. Add the remaining dough ingredients except the oil
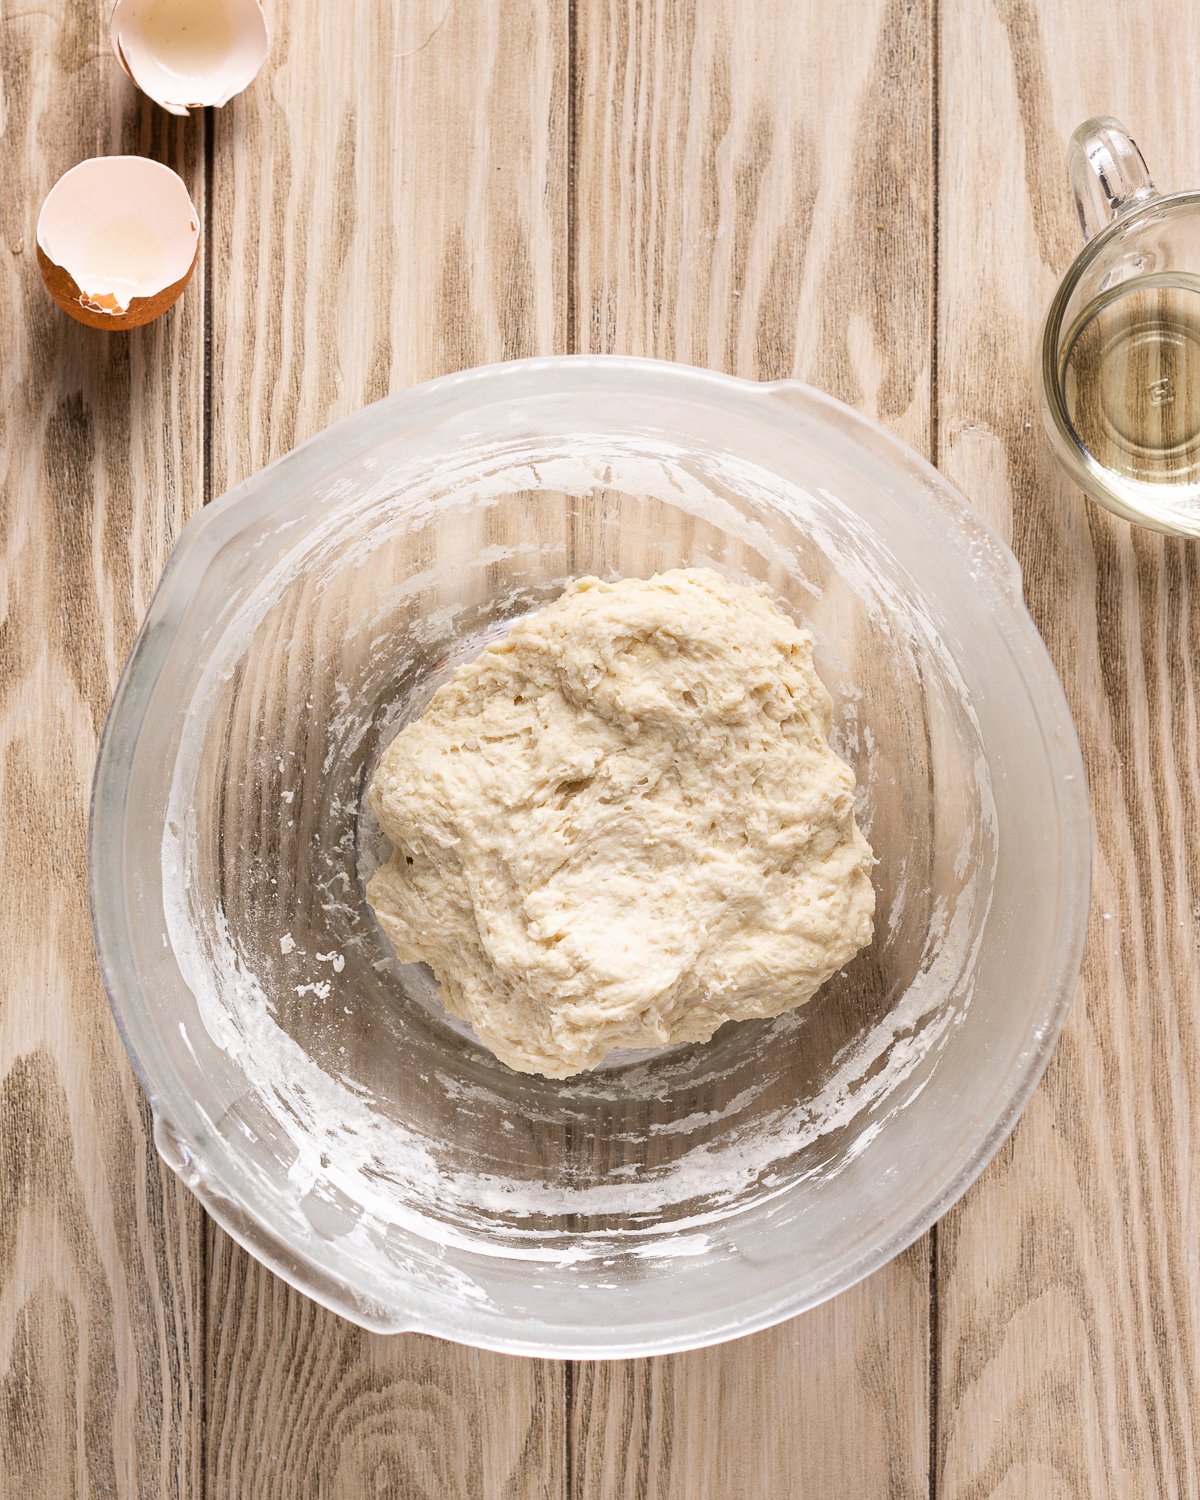
3. Once your mixture forms a shaggy dough, knead the oil in one tablespoon at a time
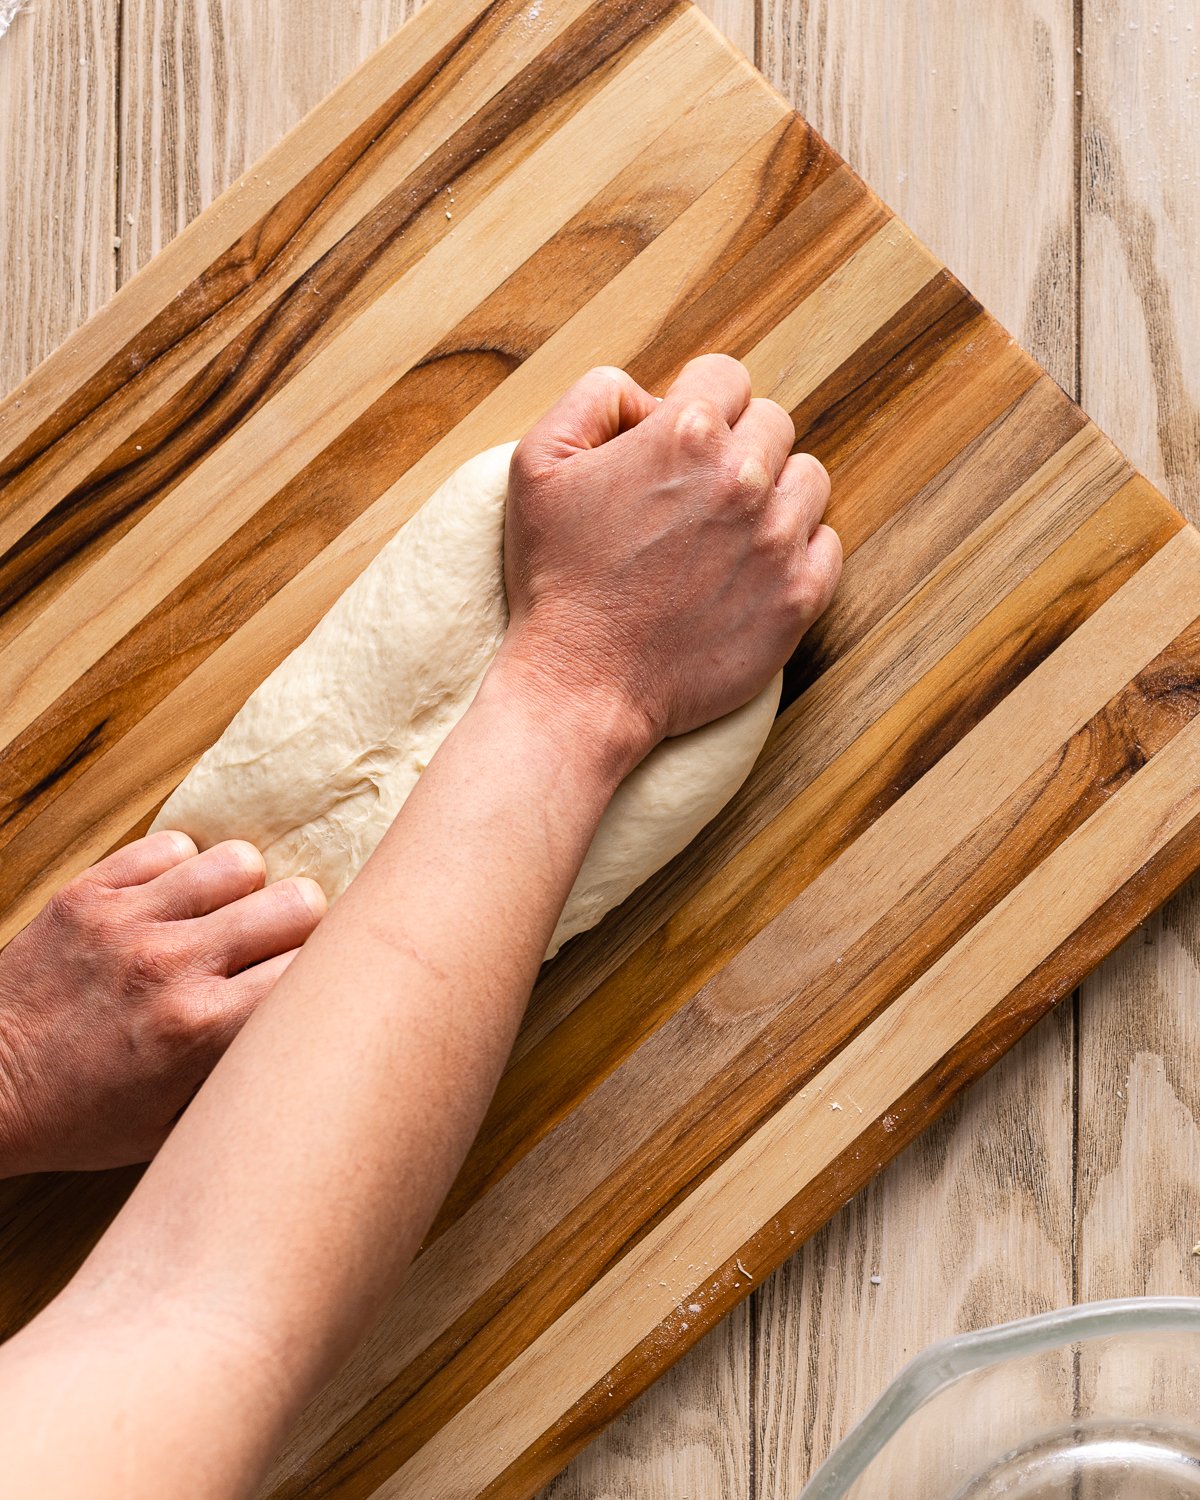
4. Knead the dough until completely smooth

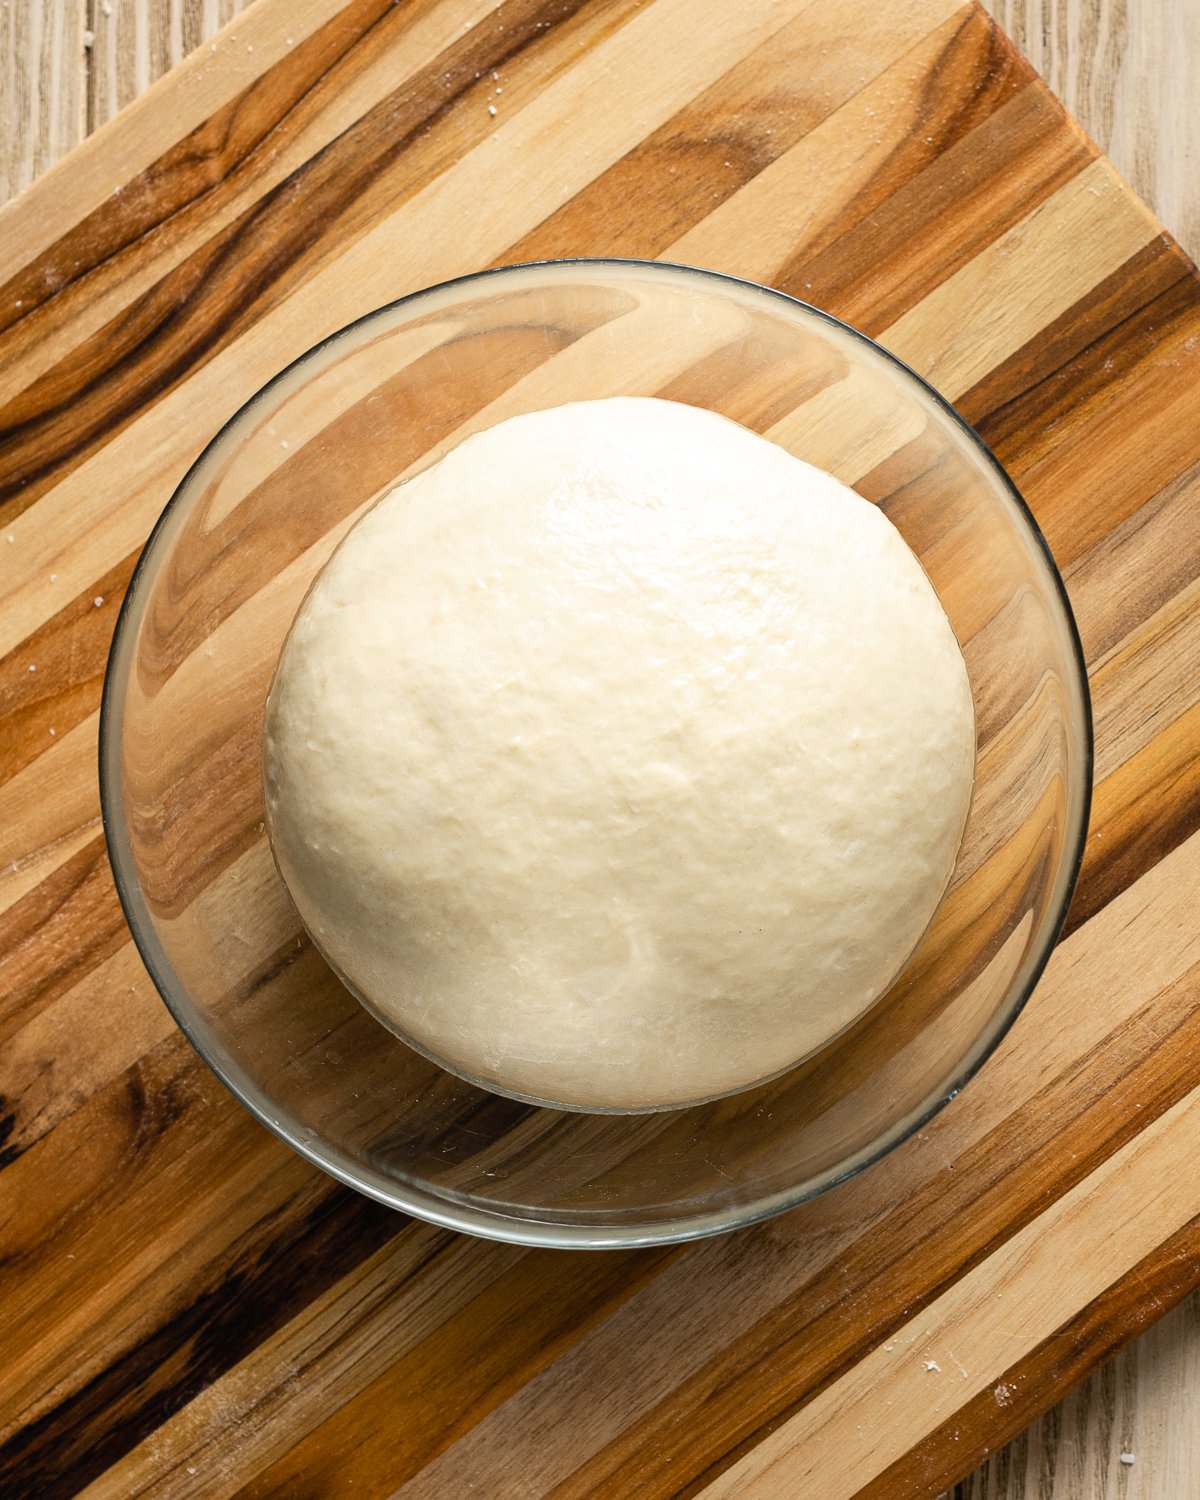
5. Ferment the dough until doubled in volume, about 2 to 4 hours
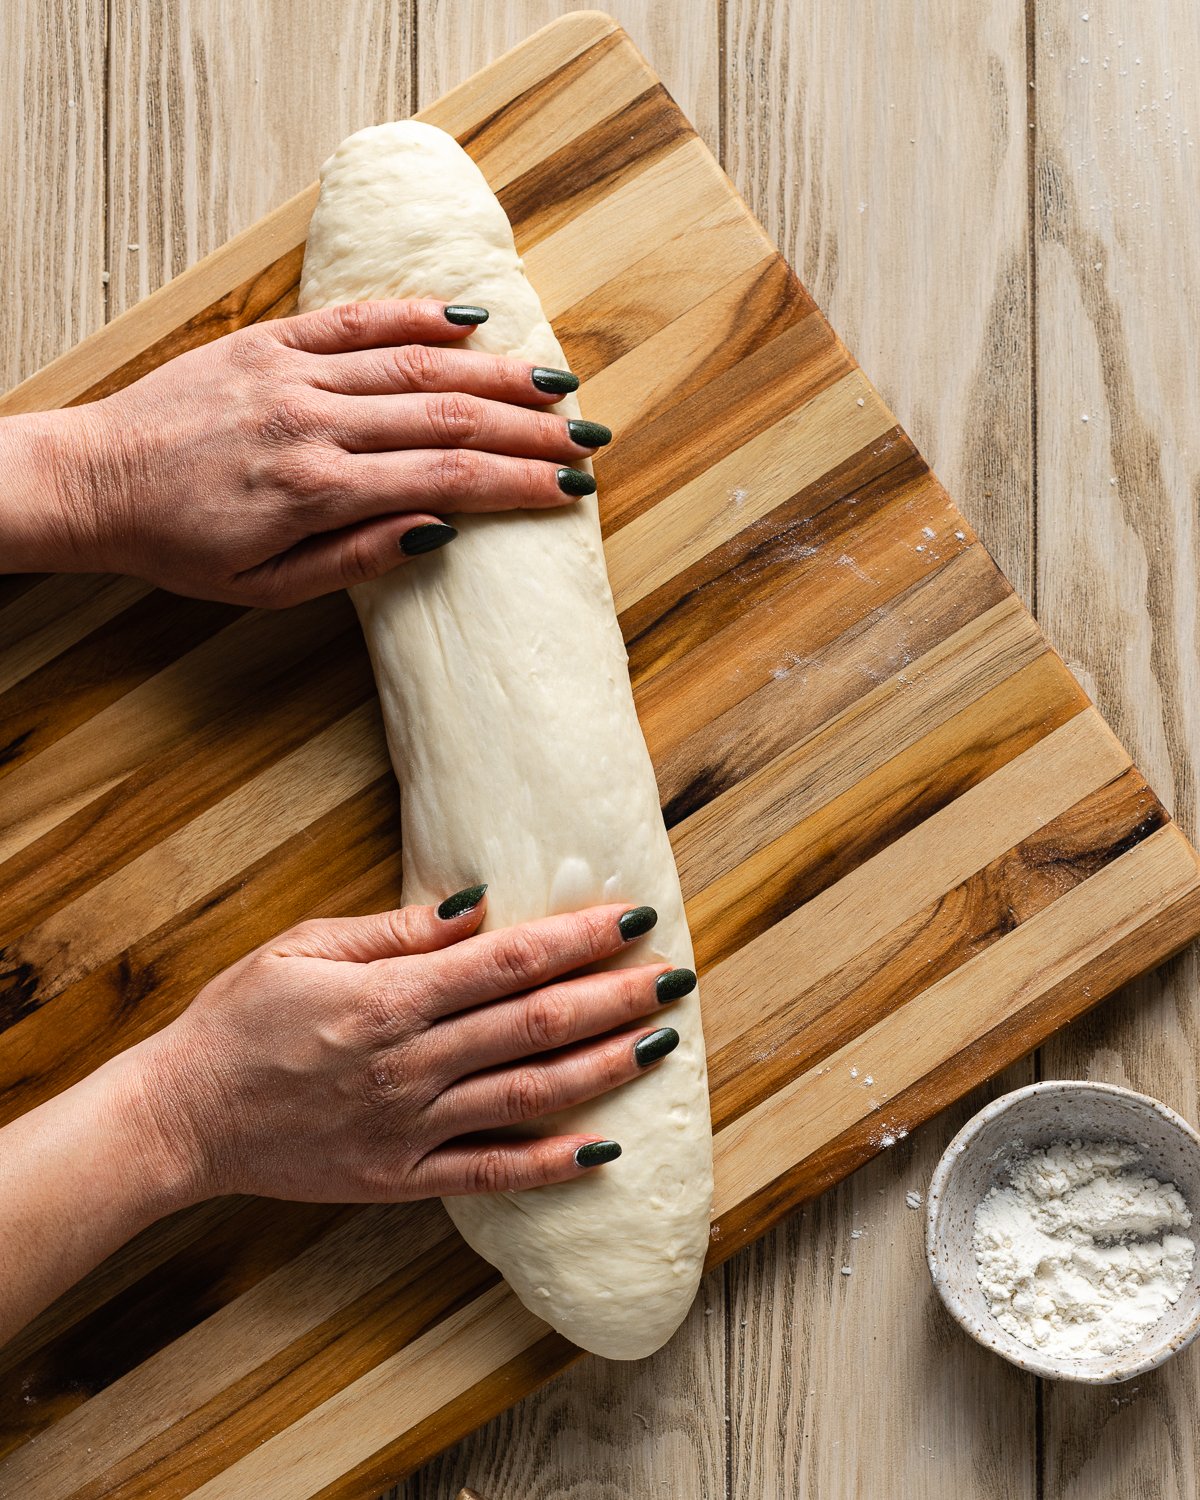
6. Shape the dough into a long baton
7. Divide the dough into 12 portions

8. Roll each portion of dough into the bread crumbs
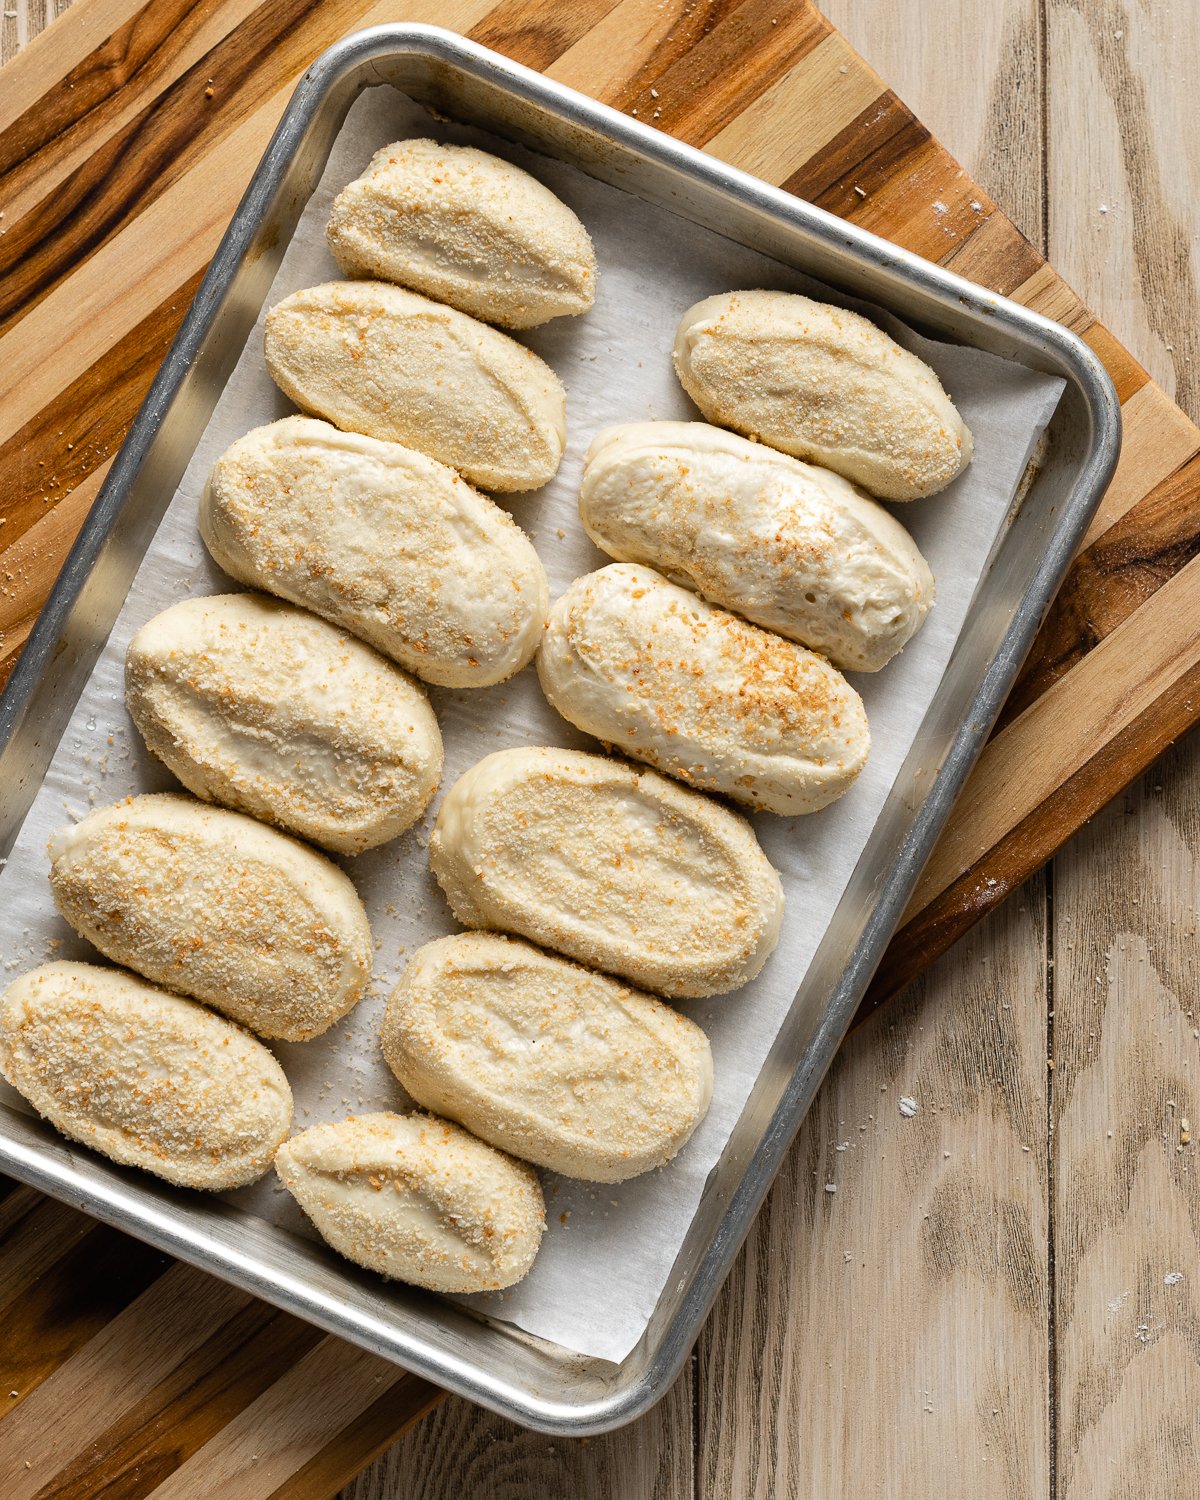
9. Arrange dough on a baking sheet and let rise at room temperature for an hour (refrigerate overnight or bake the same day)
10. Bake at 350 for 25 to 30 minutes or until golden brown
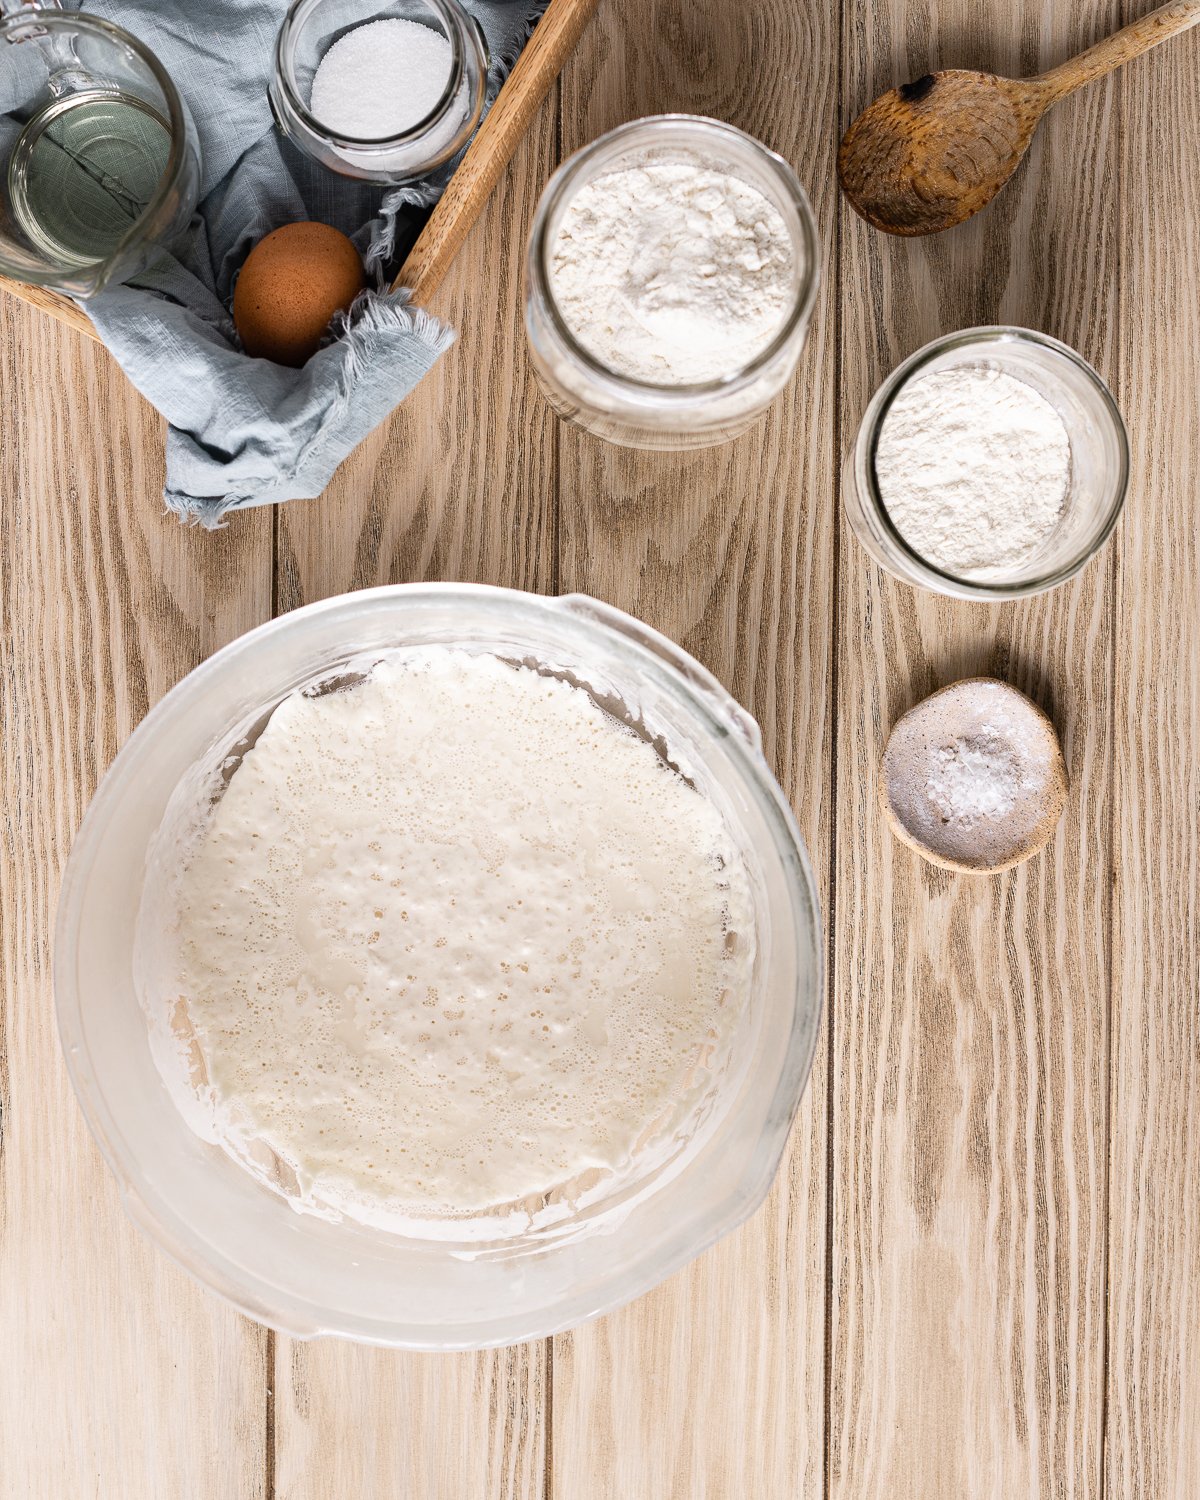
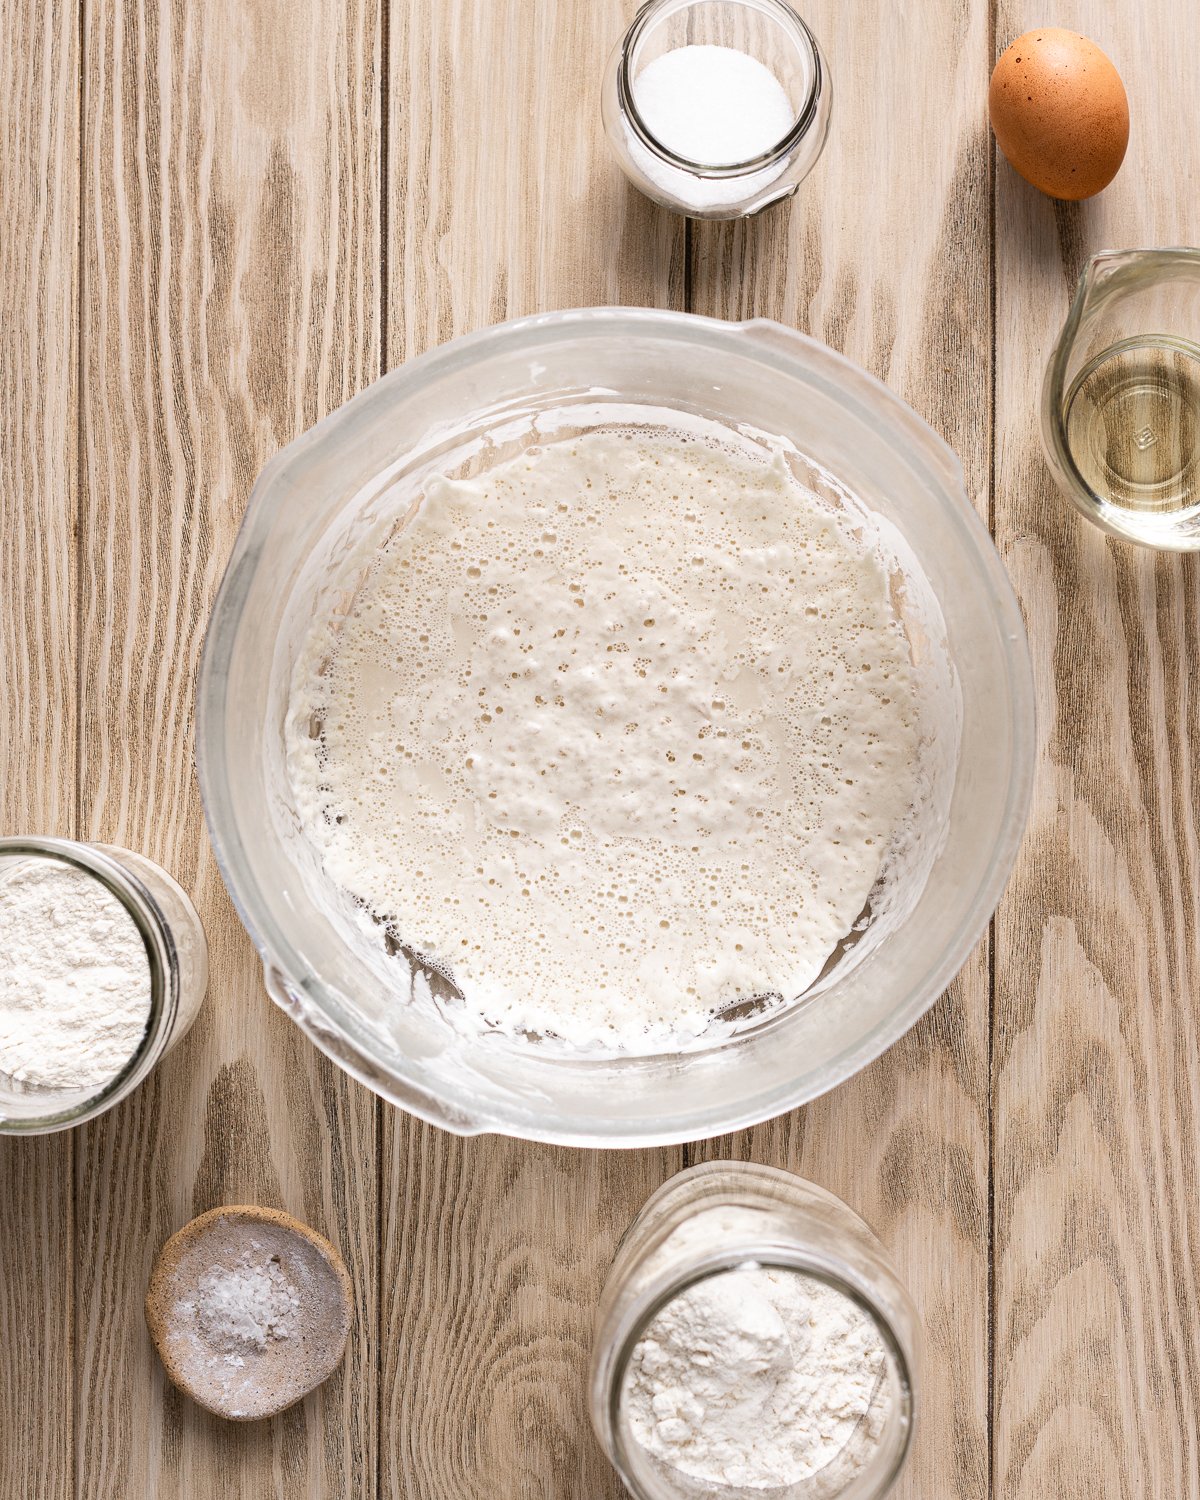
Sponge
This bread starts with a sponge, a >200% hydration starter. I've been experimenting with this method of leavening my bread and I've been really liking it! A larger percentage of the dough is pre fermented, so the dough proofs faster even with the enrichments like eggs and oil. The sponge is created the night before, it should look bubbly and active the next day and can be used up to 16 hours after being made.
Proofing
Proofing is the most important part of bread making, it's when the yeast in your sourdough starter digests the sugar in flour and converts it into carbon dioxide and alcohol, causing the dough to rise, tenderizing the crumb and imparting flavor. Using a sourdough starter slows down this process drastically, it's important to make sure you have enough time to let your bread rise before attempting to make this recipe. If you don't have enough time, it's best not to attempt this recipe as not letting your dough proof for long enough will cause your bread to be tough and dense. Rising could take as much as 4 hours for the first rise and 1 to 2 hours for the second rise. Patience is paramount, if you don't let your dough rise, you'll only end up frustrated with lots of wasted ingredients.
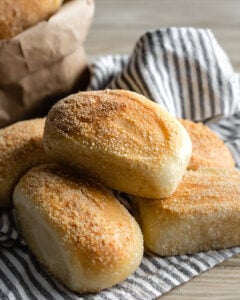
Shaping
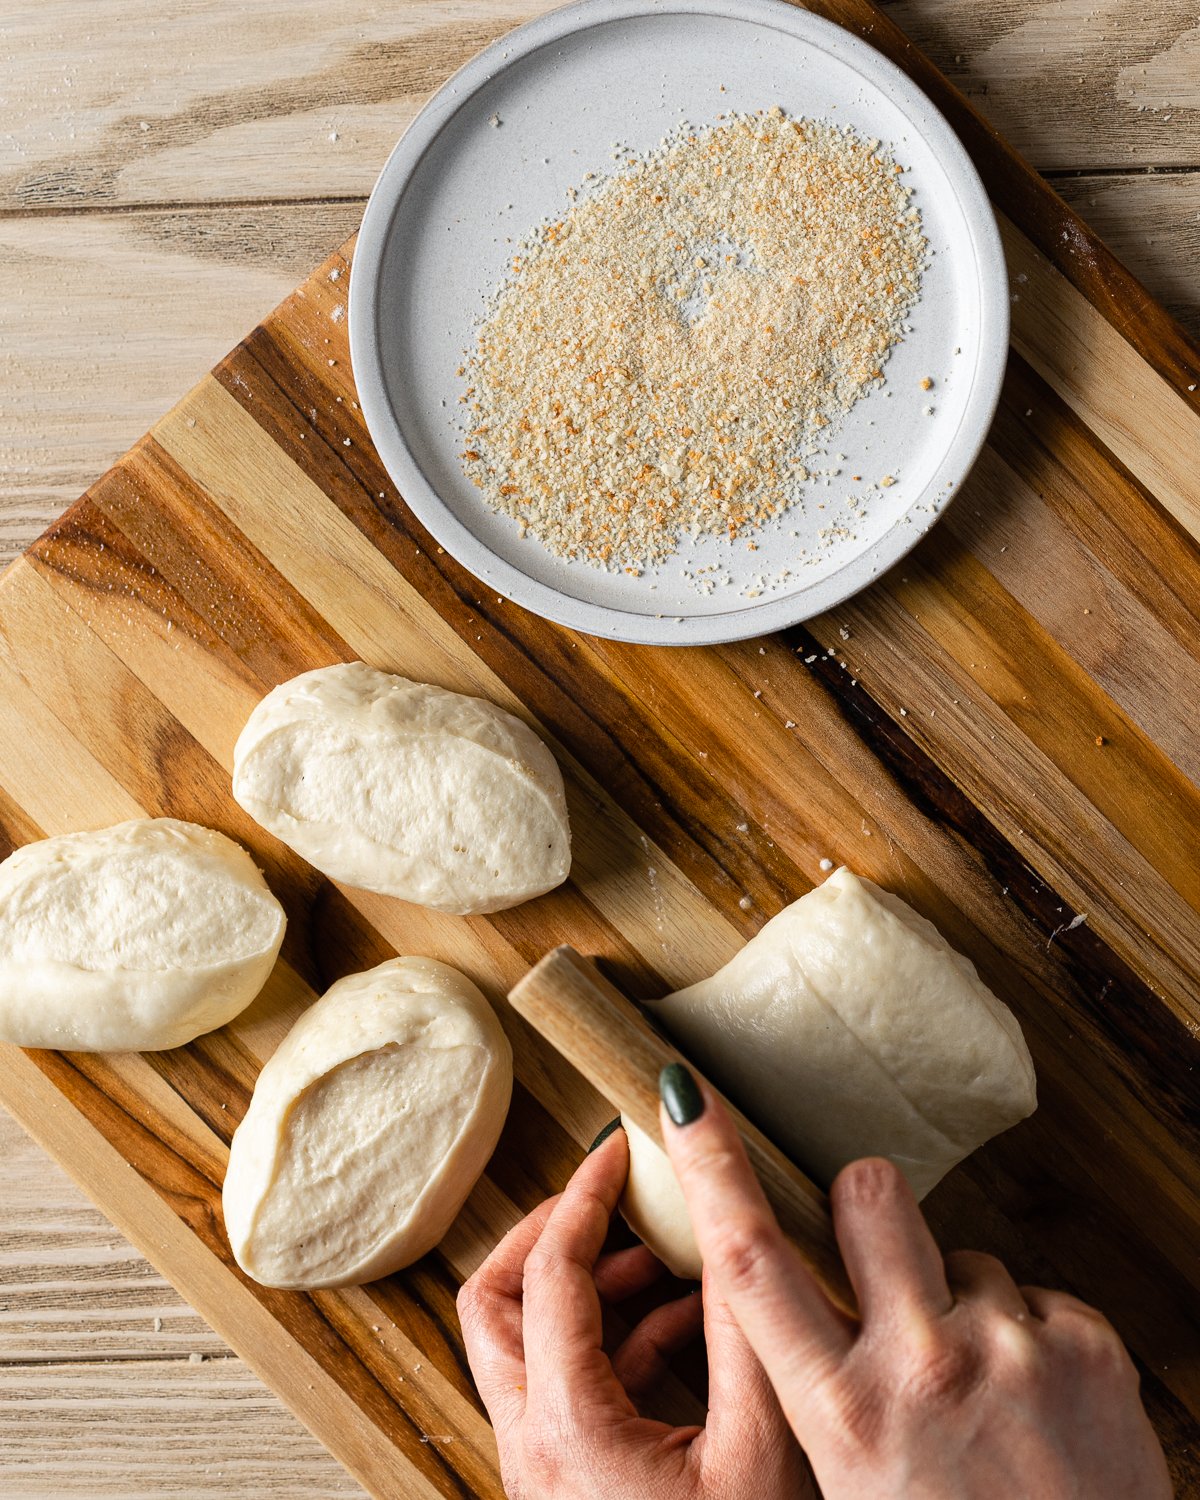
Pandesal sold in bakeries all over the Philippines have characteristic shape. They look like mini hotdog buns with a signature split, called an "eye," on top of each bun. Bakeries make hundreds of these rolls every day, so shaping the dough into a large log and cutting them into pieces is a really fast way to turn these out. Aside from speed, shaping this way also results in fluffier rolls since the interior of the dough isn't tightly compacted.
Some recipes online simply shape these into regular round rolls, which works perfectly fine, but I wanted to shape mine the traditional way.
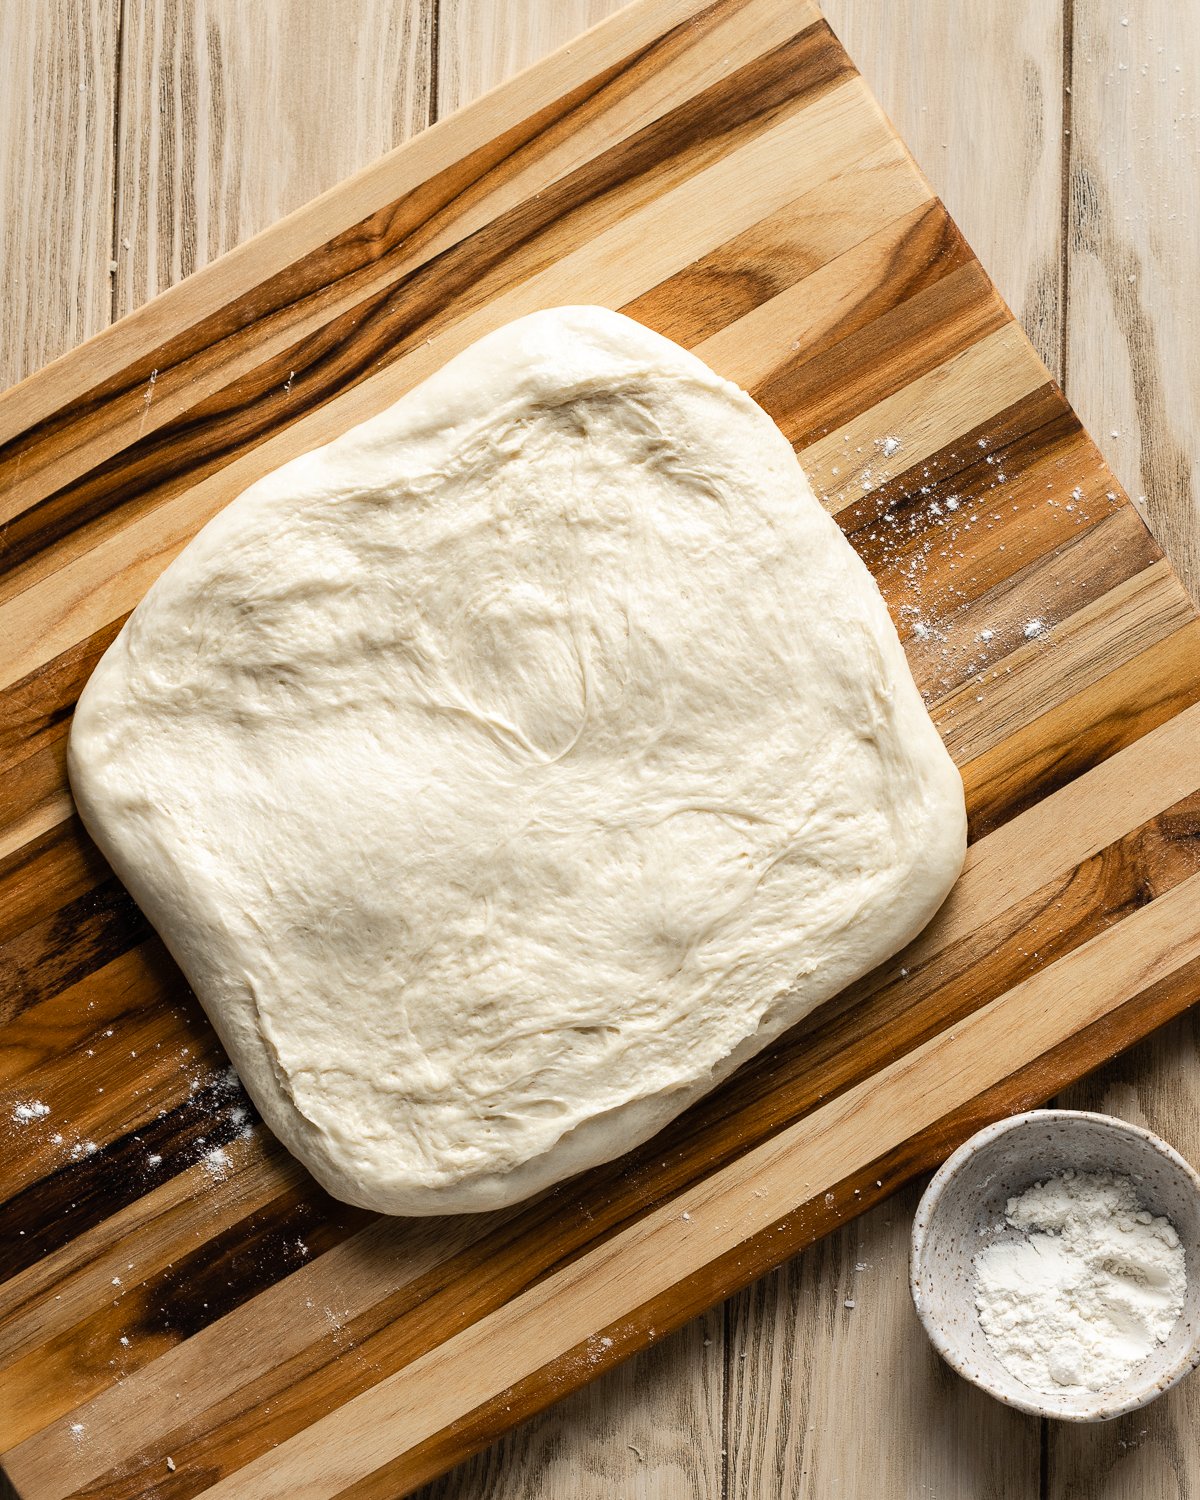
1. Flatten the dough out into a large rectangle
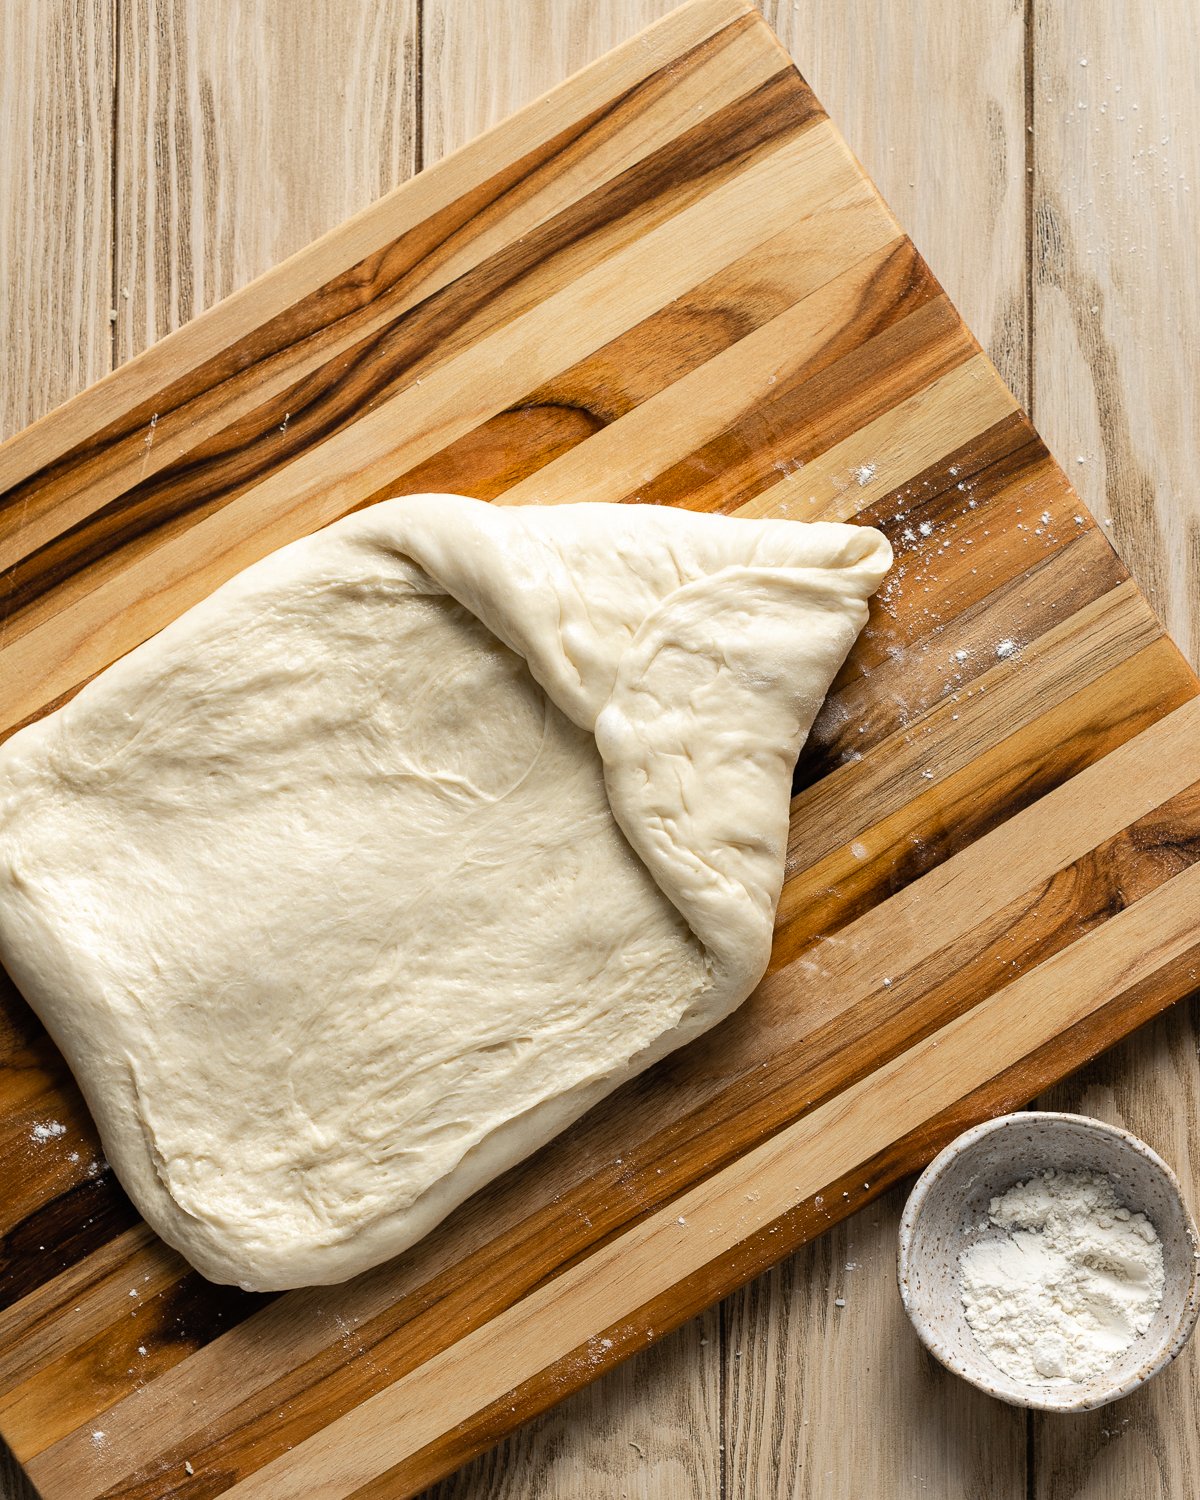
2. Fold the top 2 corners toward the center
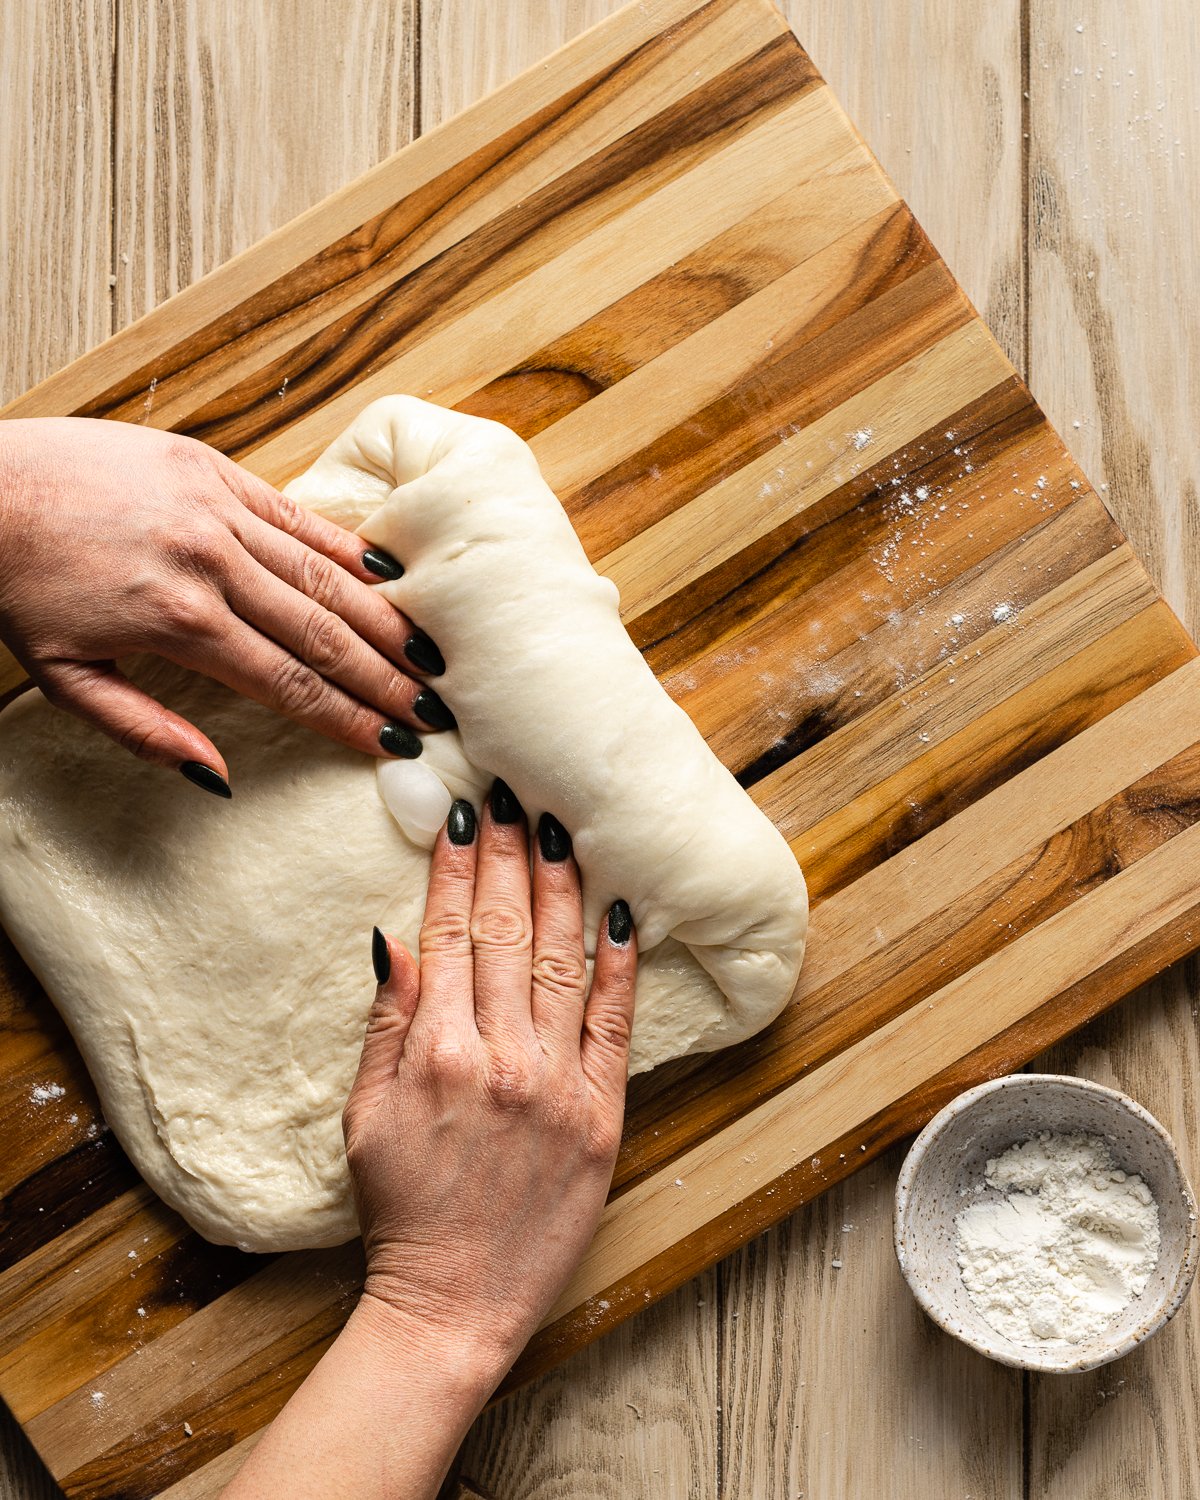
3. Roll the top of the dough down
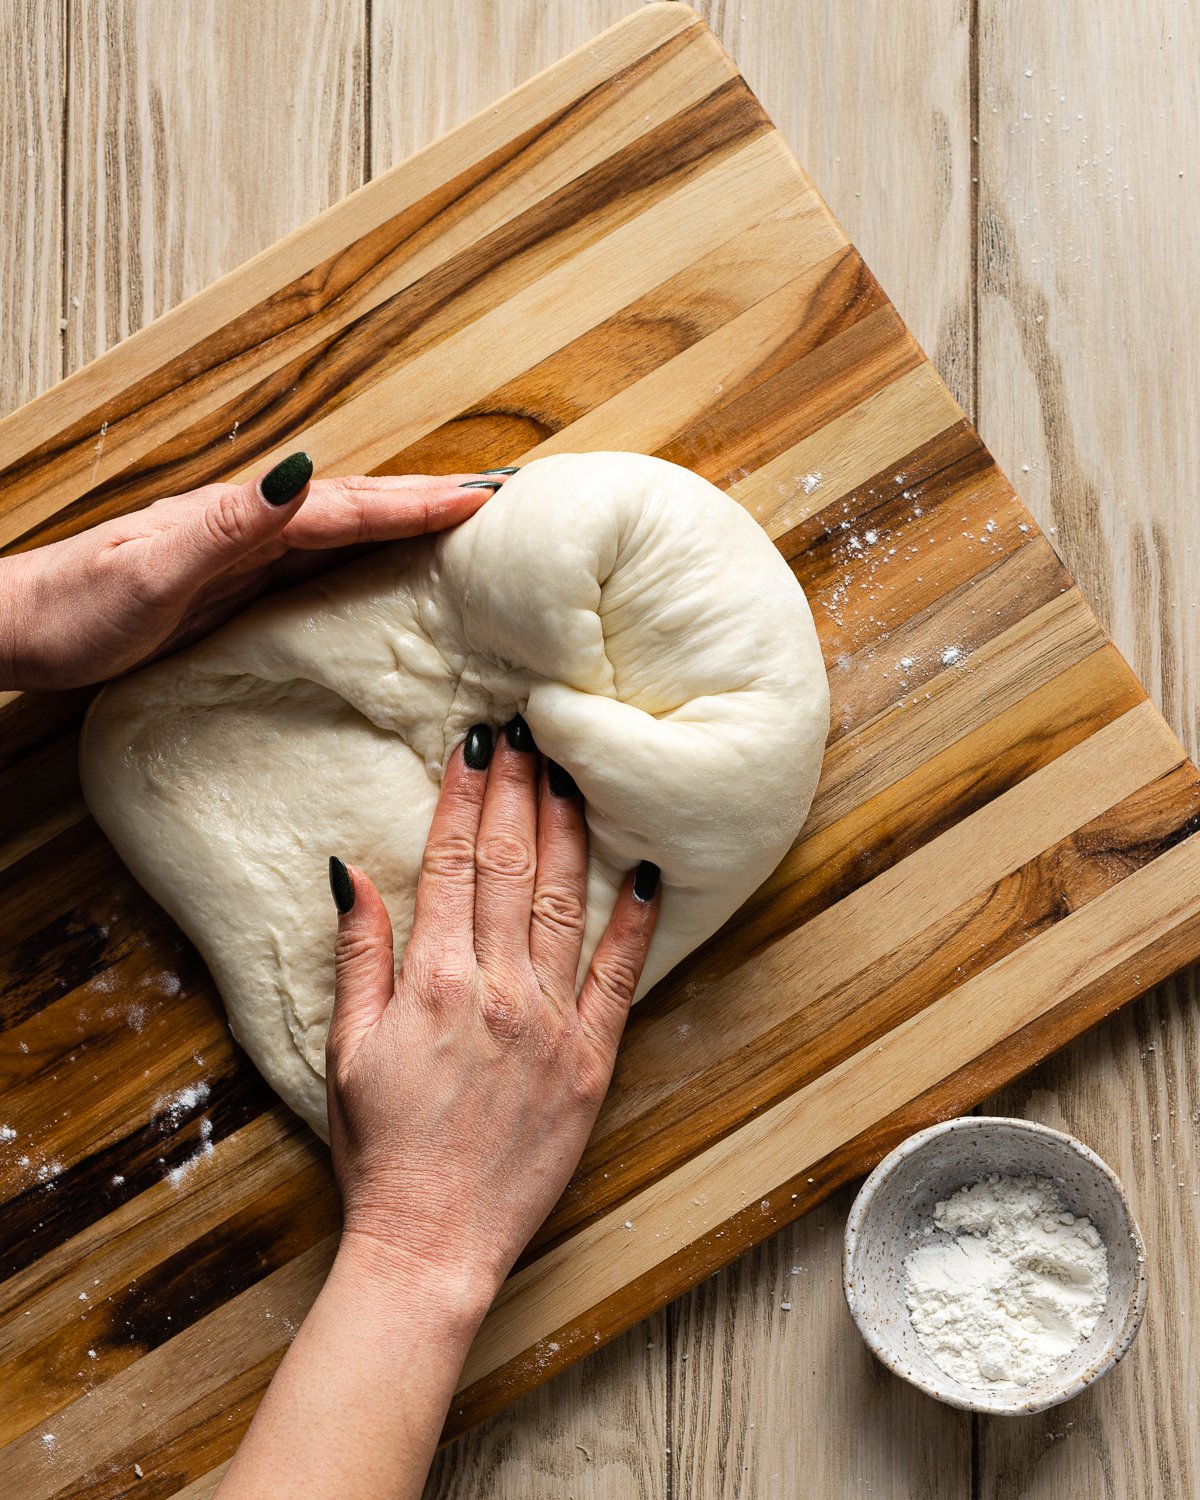
4. Fold the top 2 corners toward the center once more
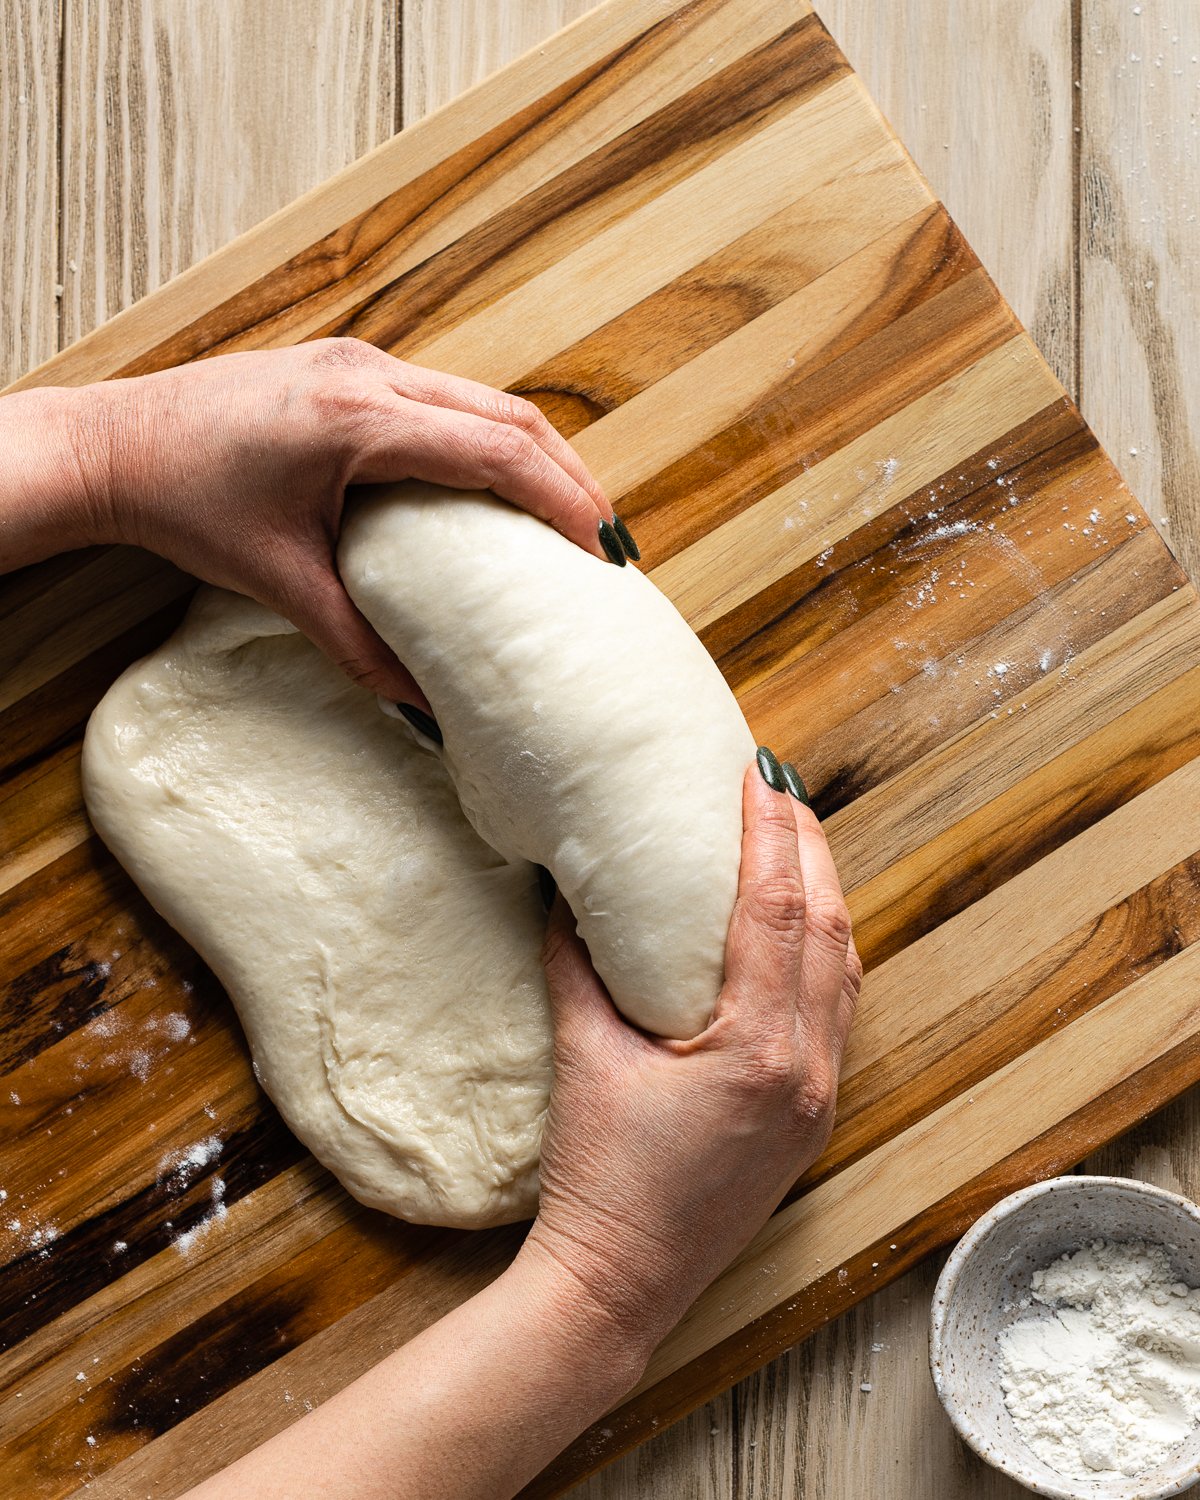
5. Roll the top of the dough down tightly and continue rolling the dough into a cylinder

6. Pinch the seam shut and lightly roll the dough into a baton about 18 inches long
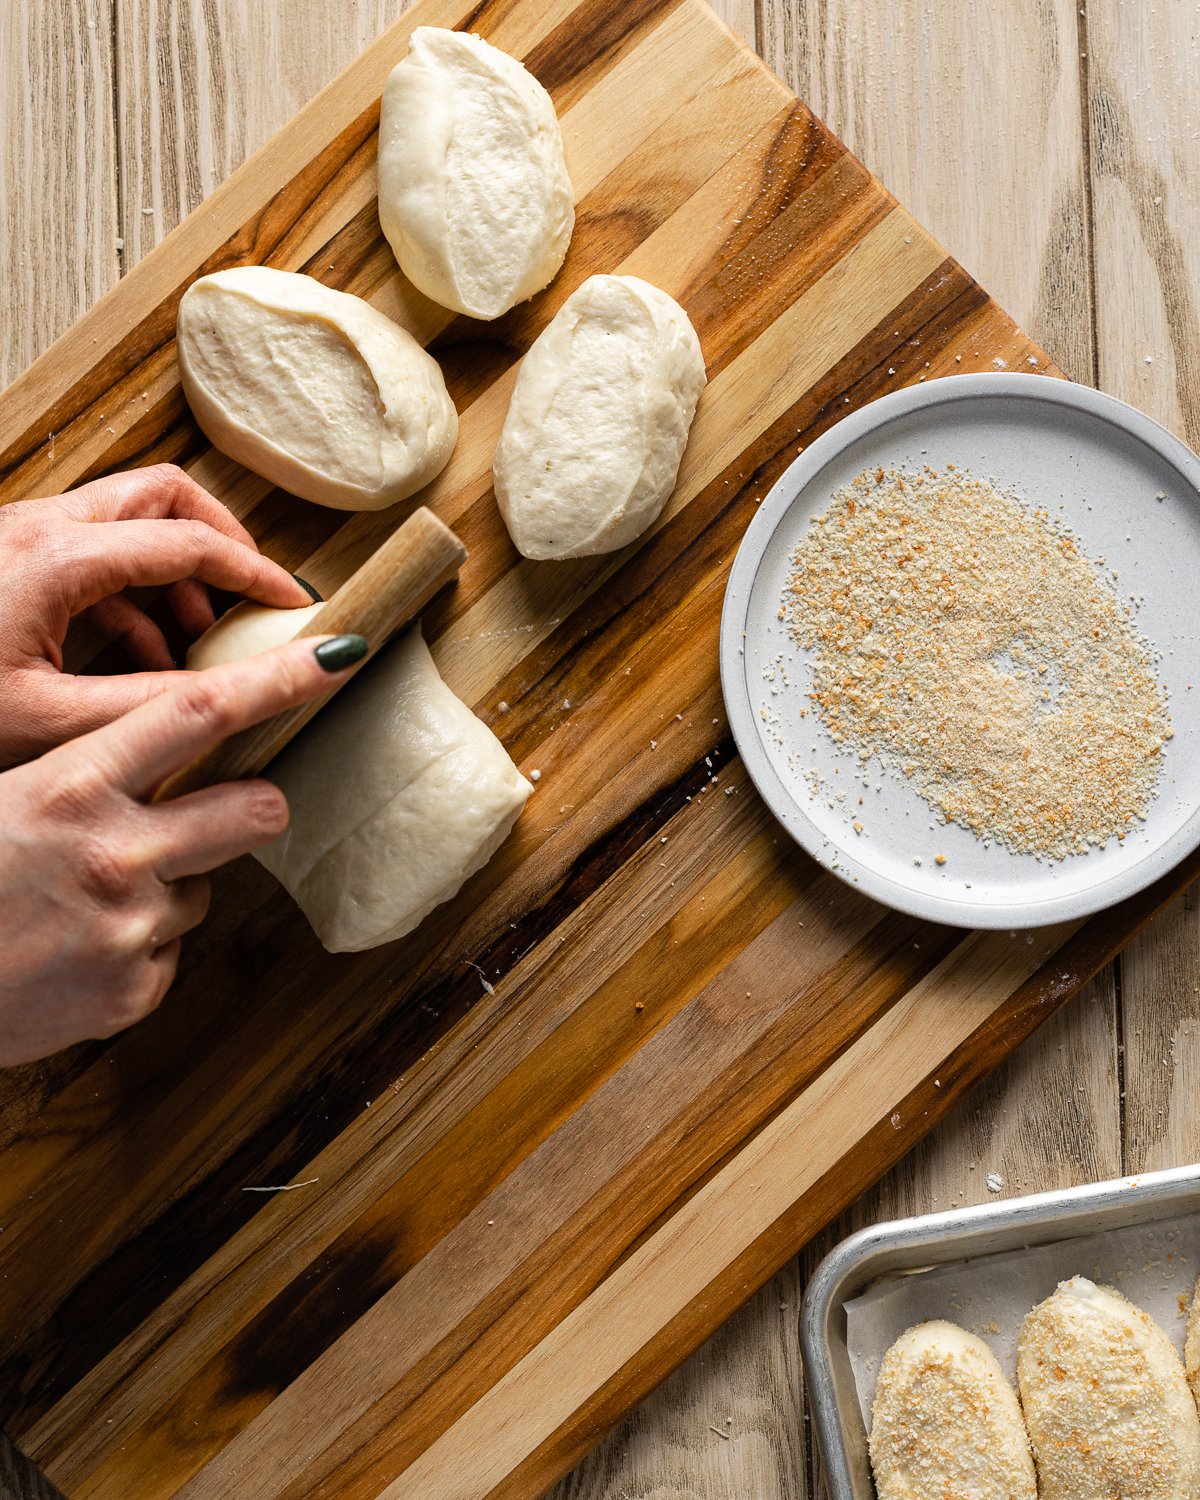
7. Divide the dough into 12 equal portions using a bench scraper
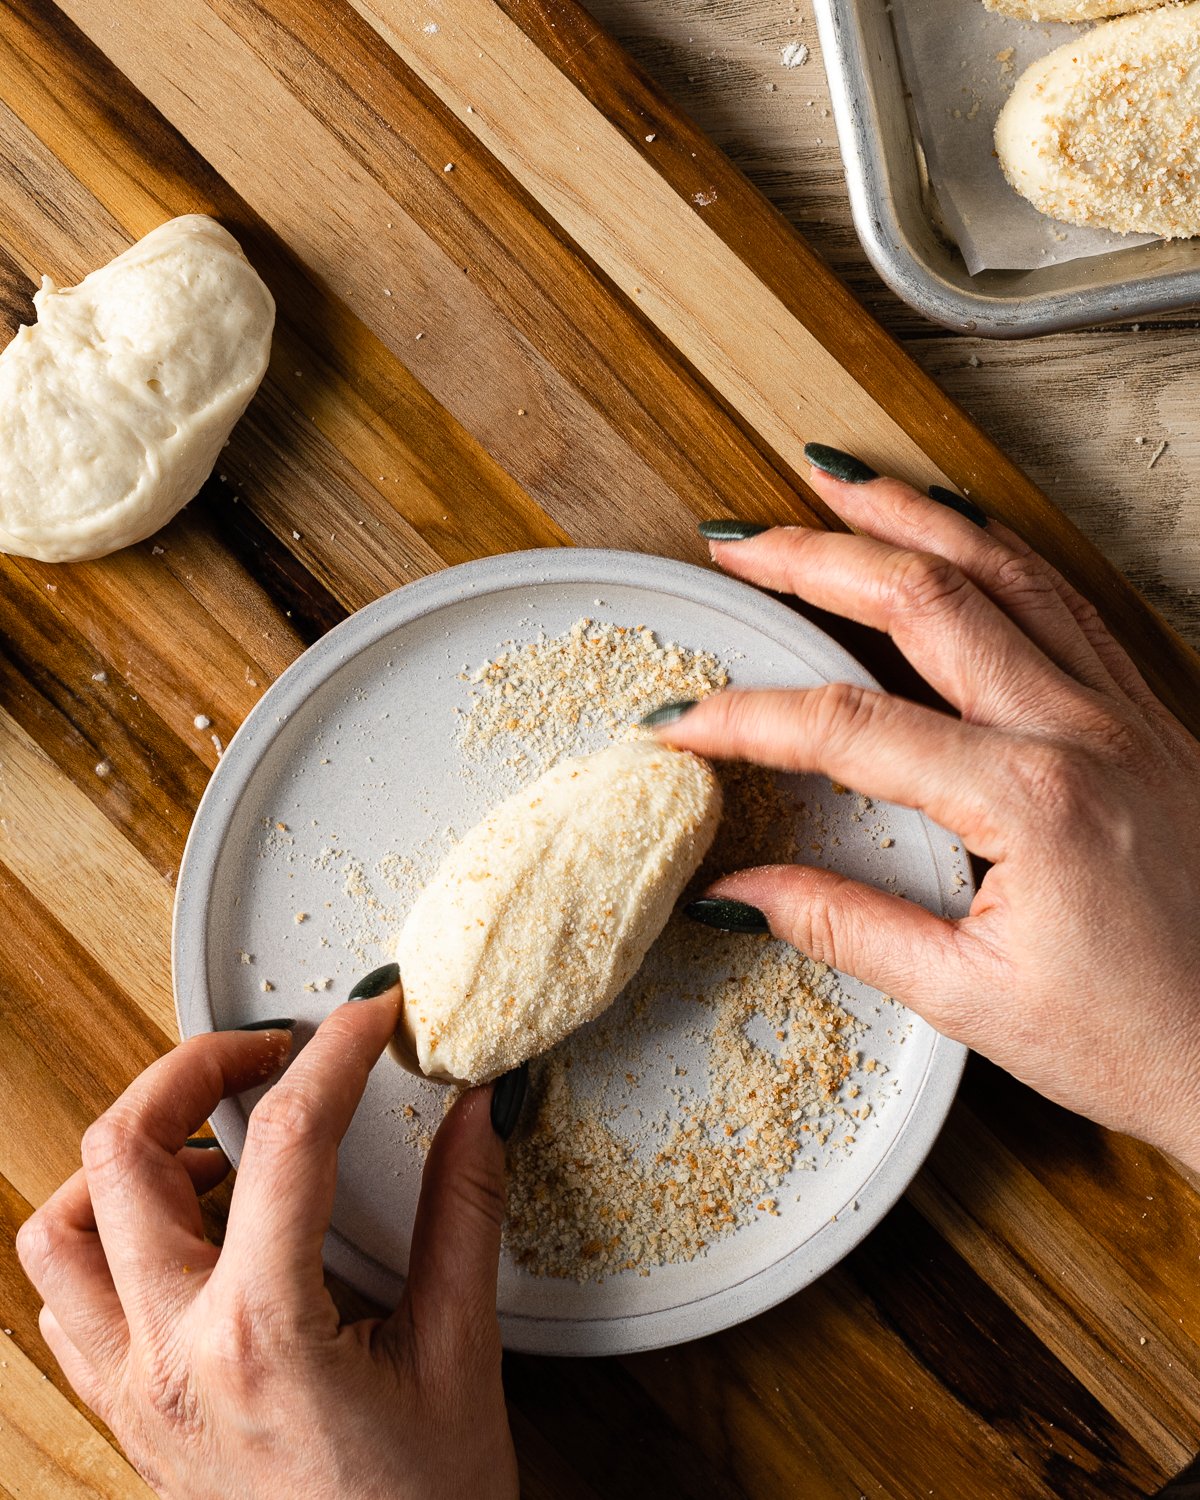
8. Roll the dough in fine breadcrumbs
How to bake Pandesal
You can bake this bread on the same day or the morning after you make your dough. I personally prefer baking the next day because it provides some flexibility in the process. It also allows me to bake my sourdough pandesal first thing in the morning and have it on the table for breakfast.
If you want to bake your pandesal on the second day, after shaping, let your dough rest at room temperature for an hour before letting it proof in the refrigerator for up to 24 hours. Do not let your dough proof for longer or the gluten in your dough may break down too much and your pandesal will end up gummy.
Recipe FAQs
Pandesal usually ends up hard and dense because it's underproofed. Make sure you give your dough time to rise, I'll be giving time cues in this recipe, but fermentation can vary greatly depending on the activity of your starter and the temperature in your kitchen. Make sure you watch your dough and make sure it doubles or increases noticeably in volume before shaping your dough. Your dough should also be very puffy before baking.
Your bread should be fluffy on the inside and slightly crusty on the outside, but the crust should not be rock hard. If your crust is too hard, it could be the result of under kneading your bread. Make sure your dough is completely smooth after kneading. If you still think your bread is too crusty, drape a damp cloth over your baked rolls while they cool.
The tagalog word for bread is "tinapay."
Most people incorrectly claim that pandesal means "salt bread" and that it should instead be referred to as "pan de sal." However, Filipinos love slang and have a penchant for shortening words and pandesal is actually an abbreviation of "pan de almusal" which translates to breakfast bread.
Other Filipino recipes you'll love

Did this recipe rise to the occasion?
★★★★★
Leave a star rating and a comment. Your feedback inspires future recipes and helps others feel confident choosing what to bake next. I read and respond to every message.
If you're looking for additional ways to support my work, share this recipe or buy me a Ko-fi. Every little bit helps me keep creating the recipes and guides you enjoy.
Thank you for your support!
Sourdough Pandesal
Equipment
- quarter sheet pan
This section may contain affiliate links
Ingredients
Sponge
- 80 grams all-purpose flour
- 226 grams water
- 14 grams starter
Dough
- 240 grams all-purpose flour
- 120 grams bread flour
- 1 egg large
- 9 grams Kosher salt Morton's
- 25 grams sugar
- 28 grams vegetable oil
Topping
- 100 grams breadcrumbs finely ground
Click US Customary to view volume measurements
Instructions
- Make the sponge: Mix the sponge ingredients in a large bowl. Cover the bowl in plastic wrap and set in a warm place overnight.80 grams all-purpose flour, 14 grams starter, 226 grams water
- Make the dough: Add the all-purpose flour, bread flour, egg, salt and sugar into the sponge until all of the flour is hydrated and no traces of egg remain. Once your mixture forms a cohesive dough, knead the vegetable oil into the dough one tablespoon (14 grams) at a time. Your dough will appear oily and gradually absorb the oil and become soft and supple as you continue to knead it. Cover the bowl with plastic wrap and let it rest for 1 hour.240 grams all-purpose flour, 120 grams bread flour, 1 egg, 9 grams Kosher salt, 25 grams sugar, 28 grams vegetable oil
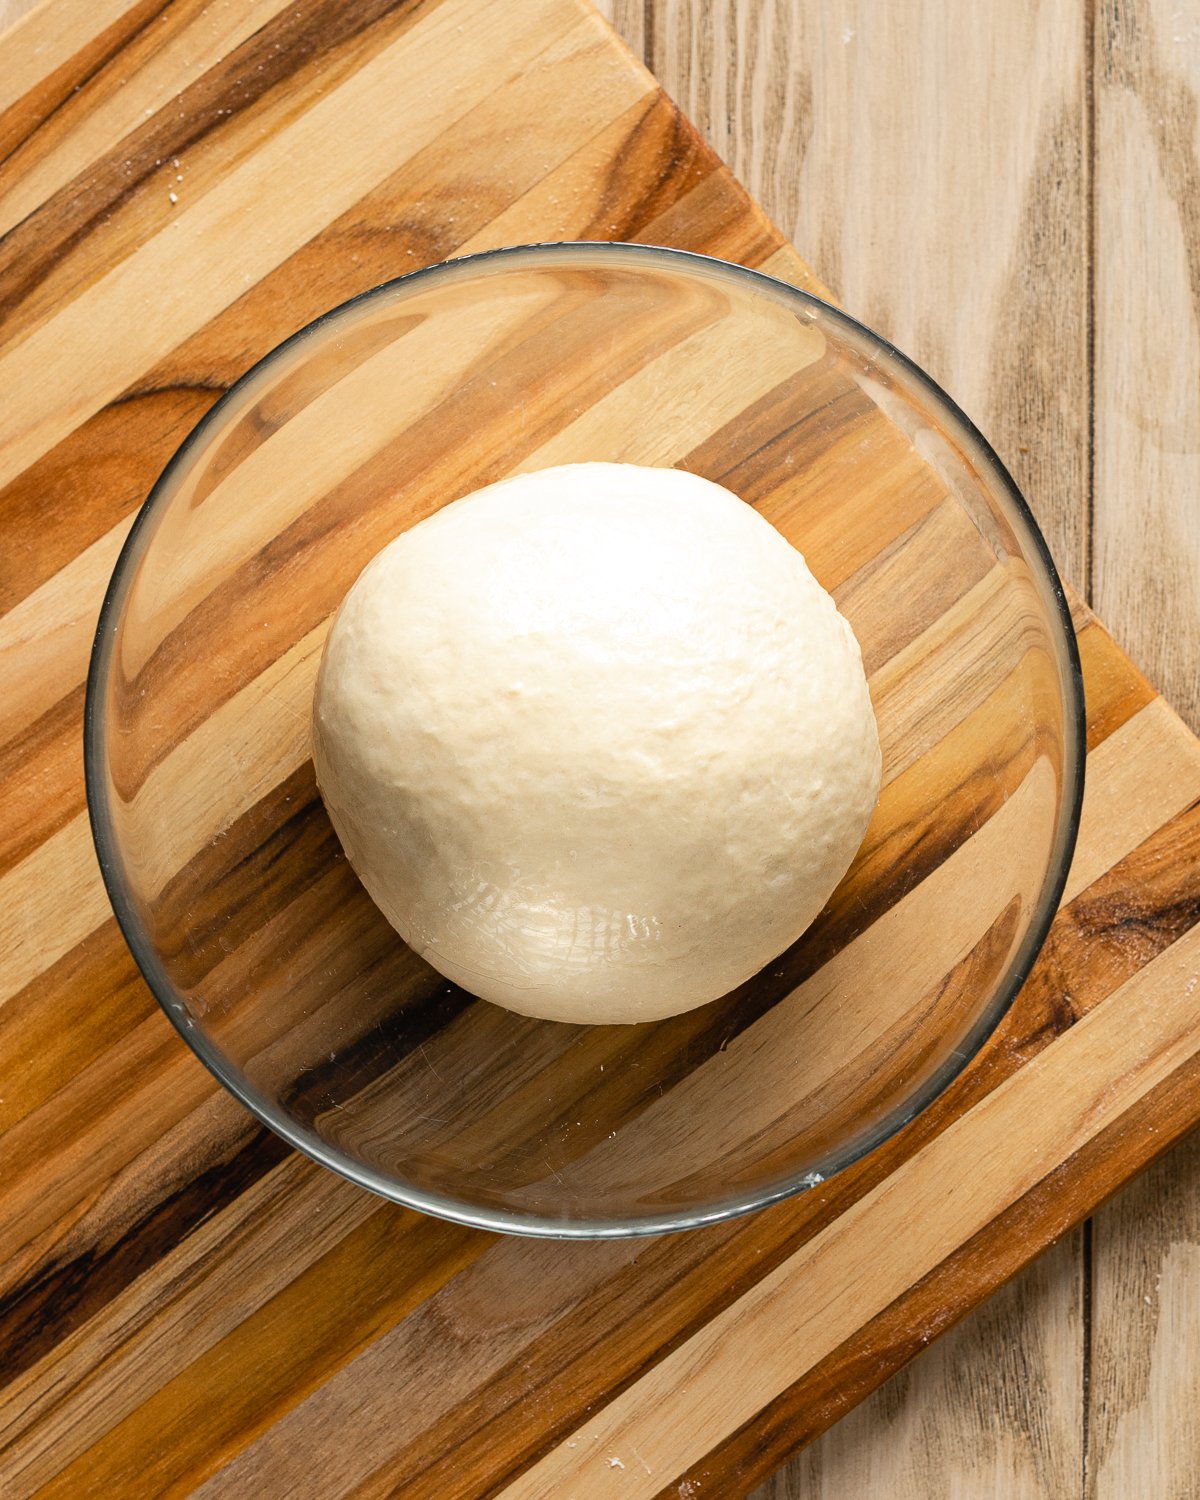
- Strengthen the dough: Coat a work surface with a thin layer of oil, knead the dough for 5 to 10 minutes or until the dough looks completely smooth. Round the dough into a tight ball and place it in a clean, lightly oiled bowl. Wrap the bowl in plastic wrap and set it in a warm place.
- Proof the dough: Let the dough proof until it looks airy and has doubled in volume.
- Shape: Place the bread crumbs on a plate. Flatten the dough into a large rectangle, about 9 by 13 inches (you don't have to be exact). Shape the dough into a baton by folding the top corners of the dough towards the center, roll the top of the dough down. Fold the top corners towards the center once more and roll the top of the dough down tightly. Continue rolling the dough until it forms a cylinder or a baton that's about 18 inches long.
- Divide the dough: Cut the dough into 12 equal portions using a bench scraper. Roll each portion of dough in the bread crumbs. Arrange the dough on a small baking sheet (9 by 13 inches) spaced about 1 inch apart, with the cut side up.100 grams breadcrumbs
- Second proof: Cover the baking sheet with a plastic wrap and set it in a warm place. Let the dough rise for 1 hour.
How to bake the same day
- Preheat the oven to 350 F, continue proofing the dough for another 30 minutes to 1 hour. Remove plastic wrap and bake the dough for 20 to 30 minutes or until golden brown.
How to bake the second day
- Place the dough into the refrigerator and proof overnight. The next day, take the rolls out of the refrigerator and place the baking sheet in a warm spot (I like to put mine on my stove as my oven preheats). Preheat the oven to 350 F. Bake the rolls for 20 to 30 minutes or until golden brown.
- Enjoy: These rolls are best enjoyed fresh from the oven the same day they are baked.
- Store and reheat: Store bread in a zip lock bag at room temperature for up to 3 days. To reheat, heat the rolls on a baking sheet tightly covered in foil for 10 to 15 minutes or until completely warmed and soft.
Tips
These recipes were developed and tested using grams for precise measurements. To increase your chances of success, I recommend investing in a kitchen scale. I've included rough volume estimates (in tablespoons and cups), but they might not be totally accurate.
Remember all ovens are unique, these recipes were tested in my oven which runs cooler than others. You might need to lower the temperature if your bake appears to be browning too quickly. Monitor your bake closely and make adjustments if needed.
Notes
Nutrition
I am not a nutritionist or dietitian, any nutrition information provided is an estimate.
Bonsai says
Hi Bonsai,
I made your pandesal recipe on King Arthur website then found this recipe and just now realized you are the author of both! Wondering which one is your preferred pandesal recipe? I am fairly new to sourdough and looking to branch out to diversity the bread I serve at home. Thank you!
Hannah Dela Cruz says
Hi Bonsai! It's difficult to choose between the two. The recipe on my blog uses a poolish, so it may be tricky if you're not used to that type of starter. Both are excellent so if you've been successful with one I would stick with it! Unless you want to try a new method.
Arbie says
hi,
can I mix the liquid on top of the sponge.or discard it? after 8 hrs/ i left it overnight, i didn't see any bubbles in my sponge, can I still use the sponge or no?
thank you.
Hannah Dela Cruz says
It may be overproofed at this point. You may need to start over.
Catherine Emmons says
is it normal for the sponge that the water and flour to separate ?
Hannah Dela Cruz says
Hi Catherine - yes this could happen! Simply stir it and it should work just fine.