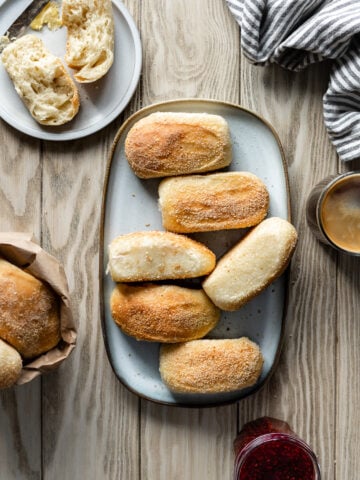
A soft, plush bread roll stuffed with a sweet homemade coconut filling, Sourdough Pan de Coco is a delicious snack and is my absolute favorite Filipino bread! This recipe puts a sourdough twist on this Filipino bakery classic, a healthy and vigorous starter ensures your bread tastes sweet and buttery with just a hint of tang.
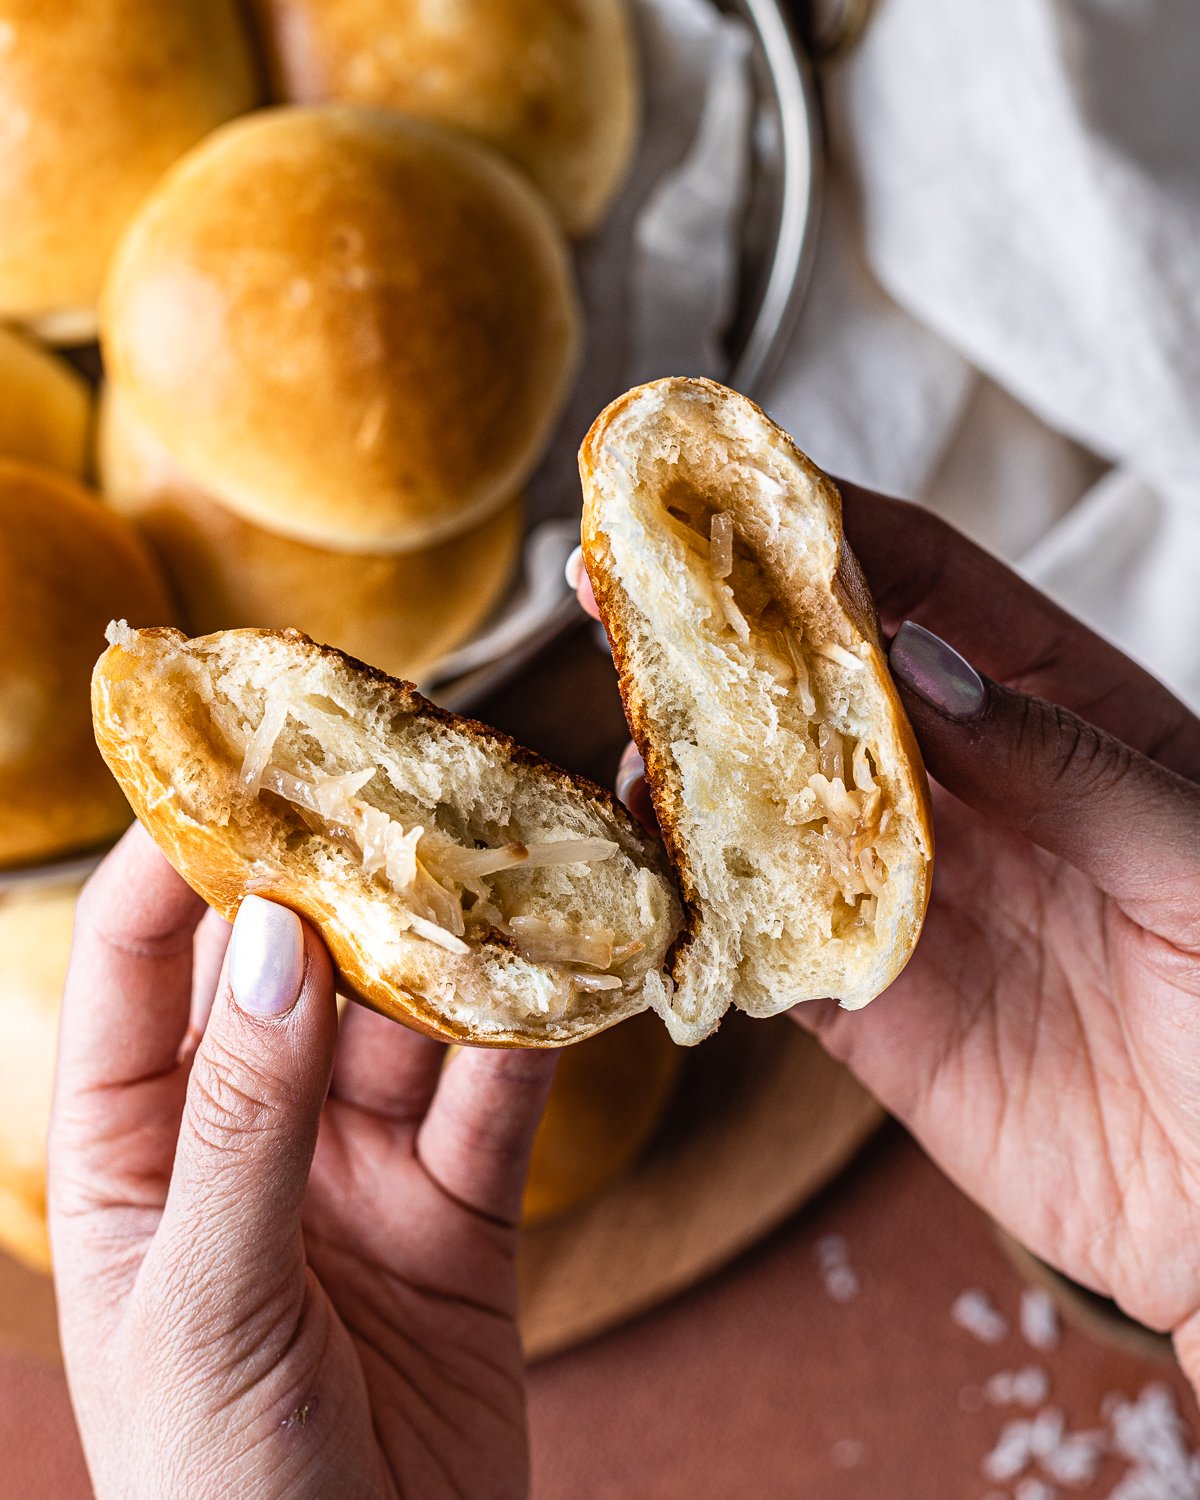
Pandesal may be the most popular bread from the Philippines, but pan de coco is my favorite. One of my fondest memories of growing up in the Philippines was coming home from school to a brown paper bag full of fresh-baked pan de coco from our neighborhood bakery. To this day, I still remember the smell of buttery bread with coconuts and the texture of the pillowy soft rolls.
When I started baking my own bread I had to learn how to make pan de coco, and when I started making sourdough, of course, I wanted to make my own version using a sourdough starter.
Jump to:
What is Pan de Coco?
Pan de Coco is a soft bread roll filled with a sweet coconut filling made with milk (or coconut milk), sugar and coconut flakes. It’s a Filipino bakery classic that’s usually served during Merienda, a midday meal enjoyed between lunch and dinner in the Philippines. Yes, in the Philippines, snack time is an actual meal. Pan de coco is sweet and since it already comes with a sweet filling, it’s usually eaten on its own with a cup of coffee, tea or hot chocolate.
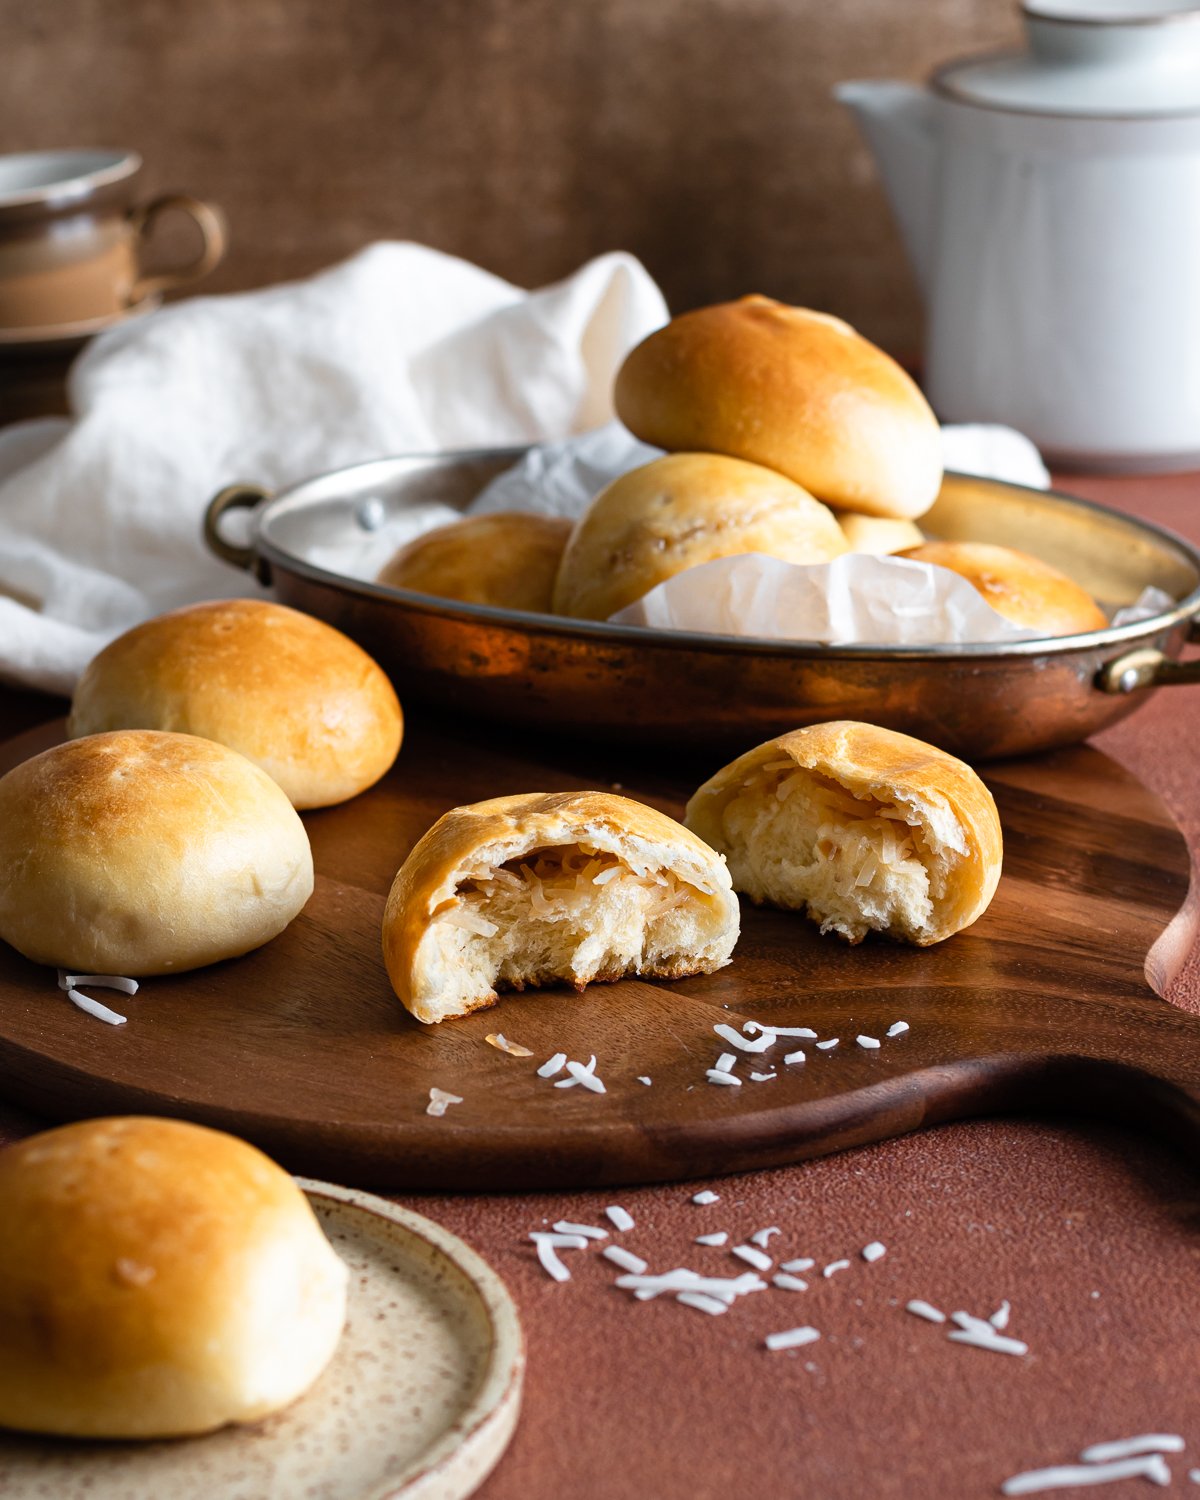
Pan de coco originated in Honduras and was introduced to the Philippines by the Spanish during the colonial era. Like Honduras, coconuts are plentiful in the Philippines, so this bread was easily embraced in our country. The Honduran ancestor incorporates coconut flakes in the dough and can either be served savory or sweet, while the Filipino version is decidedly sweet and only uses coconuts in the filling. Similar to most food introduced during the colonial period, the Filipino version has its own delicious, but distinct identity.
Want more Filipino bread recipes? Try my recipes for Sourdough Pandesal and Sourdough Ensaymada.
What makes this Pan de Coco Recipe Unique?
Pan de coco is usually made using commercial yeast, but this recipe uses a sourdough starter to leaven the dough. Since the dough includes a lot of enrichments, such as eggs, butter, and milk, fermentation will progress much slower. It’s essential to have a healthy, active starter. Although your starter will impart a little bit of tanginess to the dough, if yours is healthy, your pan de coco will taste pleasantly sweet with a deep and nuanced flavor.
This recipe also utilizes tangzhong, an Asian technique that precooks a portion of flour and milk which results in a thick roux. The secret to softer bread is more moisture, but adding more liquid to dough can make it difficult to handle. By precooking the flour, this dough has a hydration level of 75%, resulting in softer bread made with more manageable dough.
What You Need
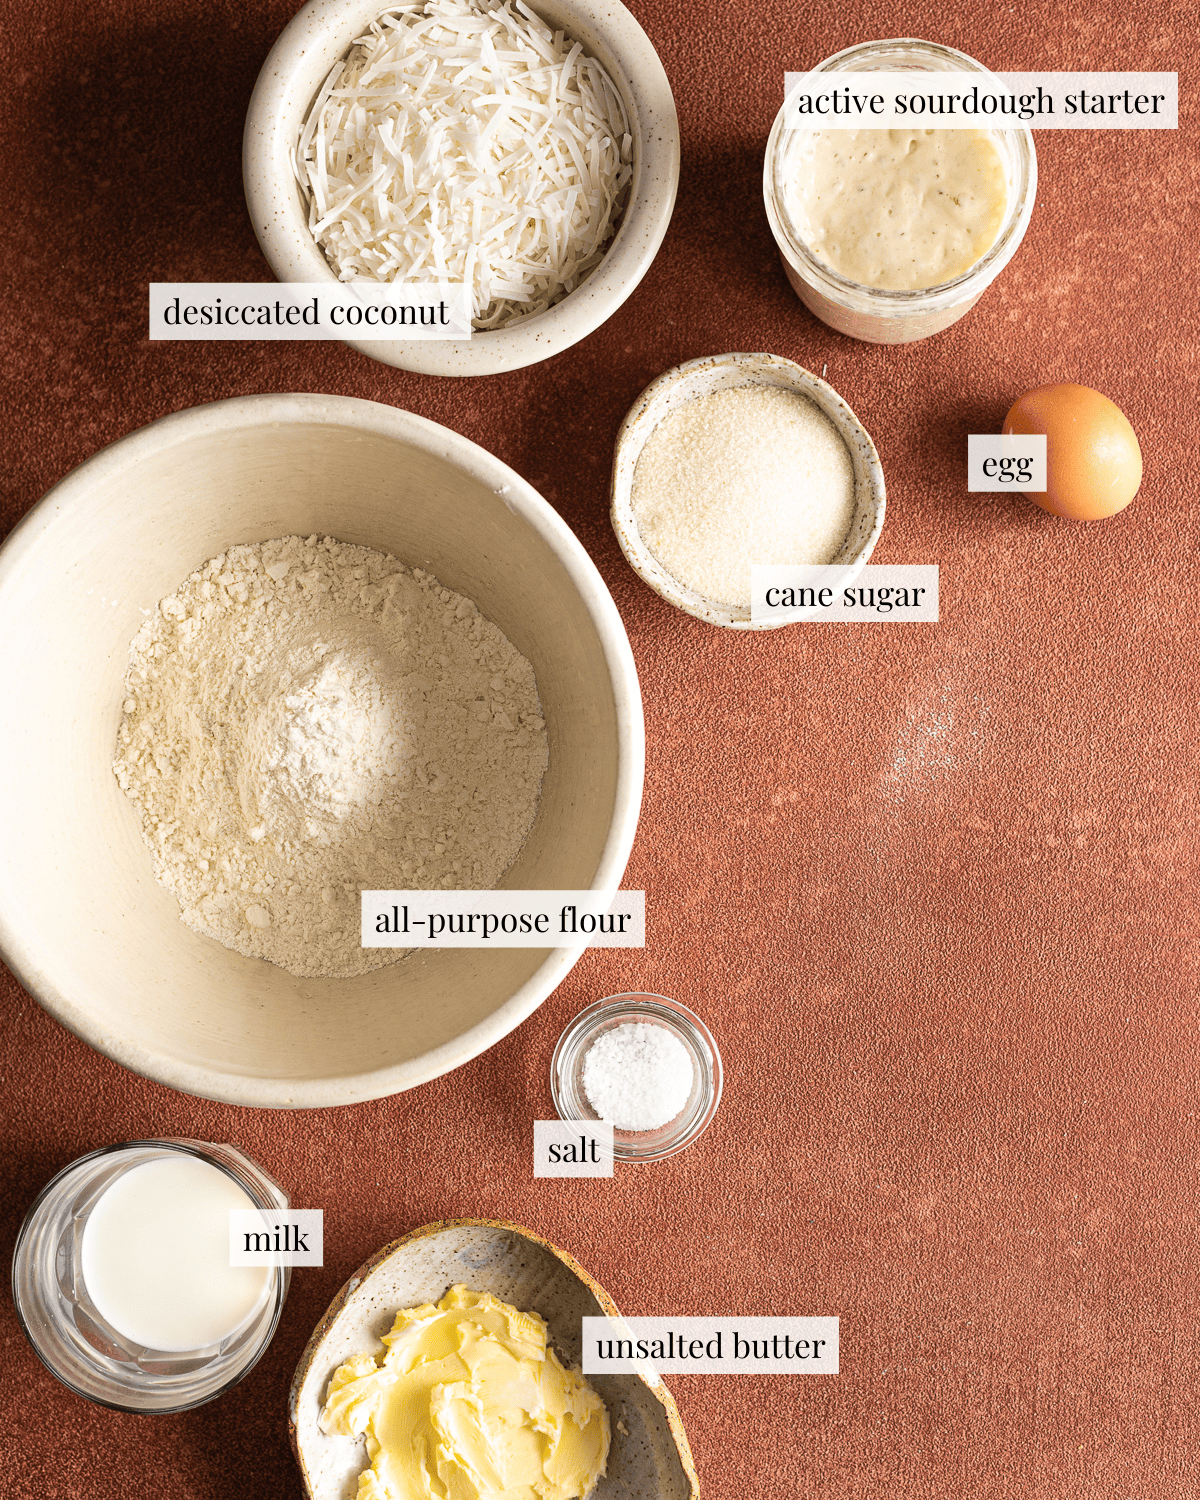
All-purpose flour: Low protein content of all-purpose imparts a soft, pillowy texture do not substitute another type of flour or you won’t get the desired texture
Milk: Milk adds flavor and tenderizes the dough, substitute coconut milk or your favorite plant-based substitute
Sourdough starter: Make sure your starter is mature and active before making this recipe or your bread will not rise and will turn out dense and hard
Unsalted butter: Adds richness and softens dough, substitute coconut oil
Egg: I used 1 large egg for this loaf, if you’d like to make this loaf vegan, substitute mashed potatoes or simply add another 50 grams (about ¼ cup) of water
Cane sugar: I’ve taken to using organic cane sugar for my bakes since it is processed more sustainably than granulated sugar and works just as well in recipes, substitute granulated sugar or brown sugar if that’s what you have on hand
Salt: Use Kosher salt or sea salt
Desiccated coconut: Pan de coco is usually made with freshly grated coconut, which is easily accessible in the Philippines but quite difficult to come by here in the U.S.A. I used flake coconut, but desiccated coconut is finer, widely available and works much better, use frozen grated coconut if you can find it
Cornstarch: Thickens the filling, substitute all-purpose flour if you don’t have any on hand
Step-by-step Instructions
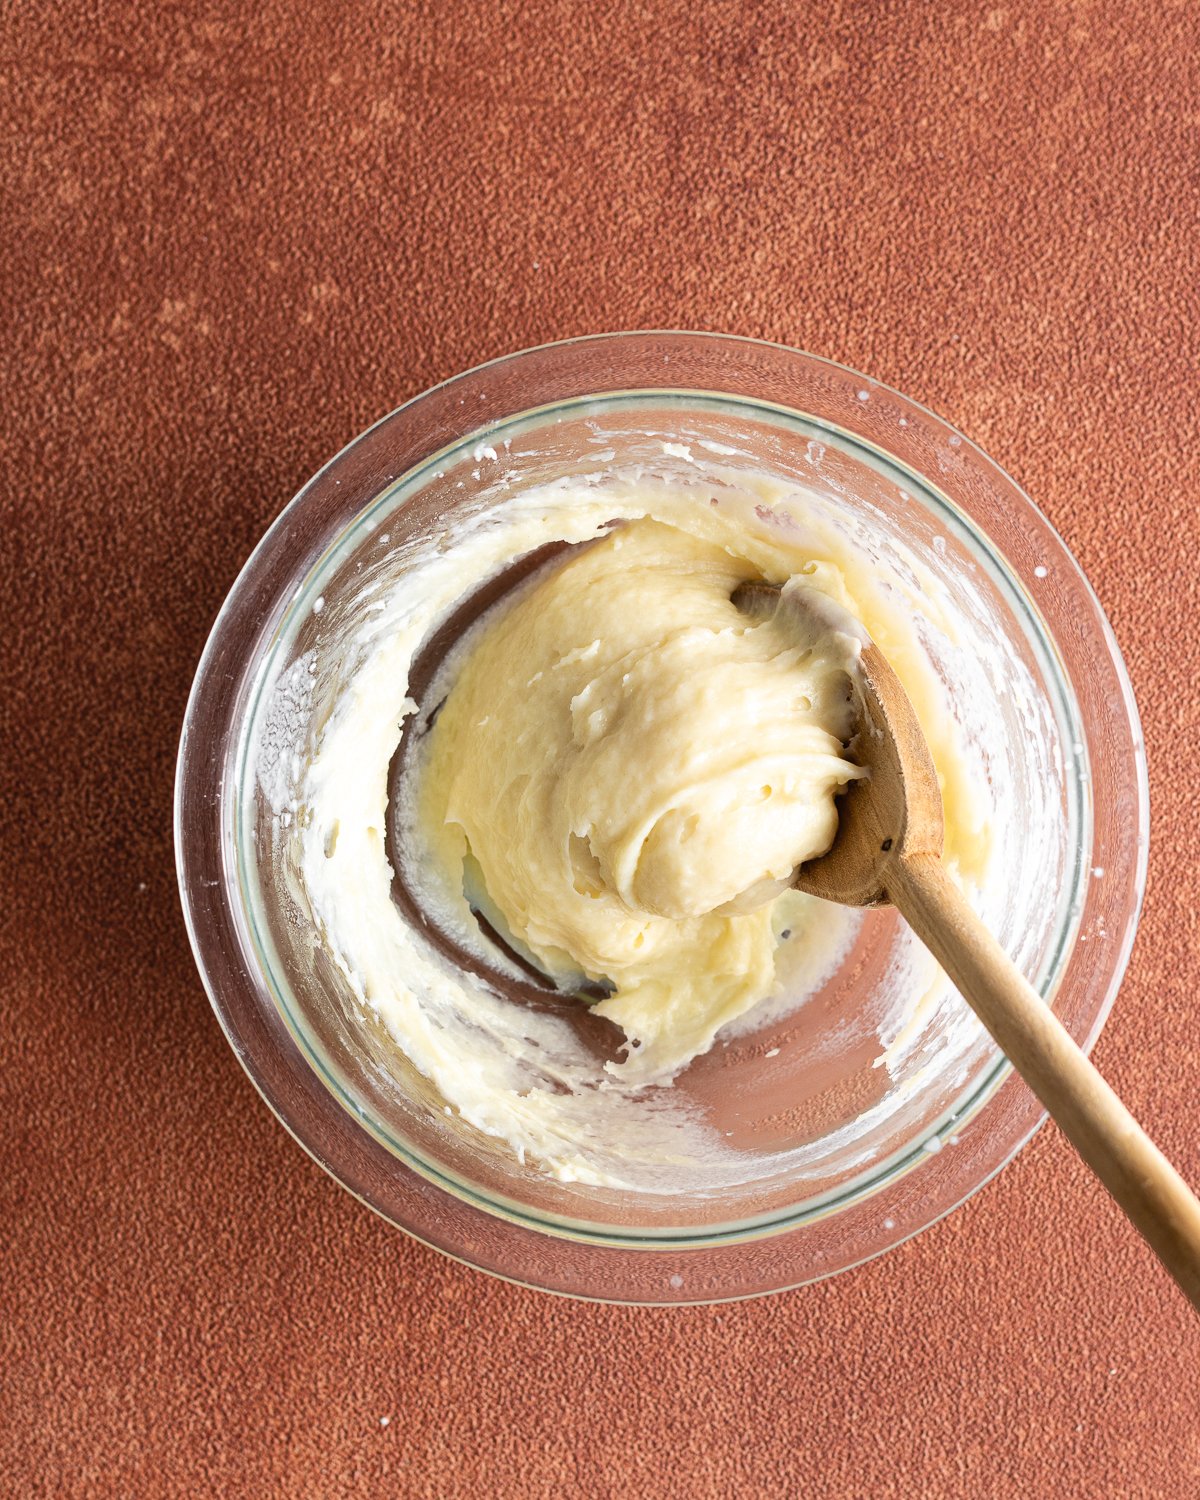
1. Whisk together flour and milk and microwave it 30-second increments 3 or 4 times until thickened
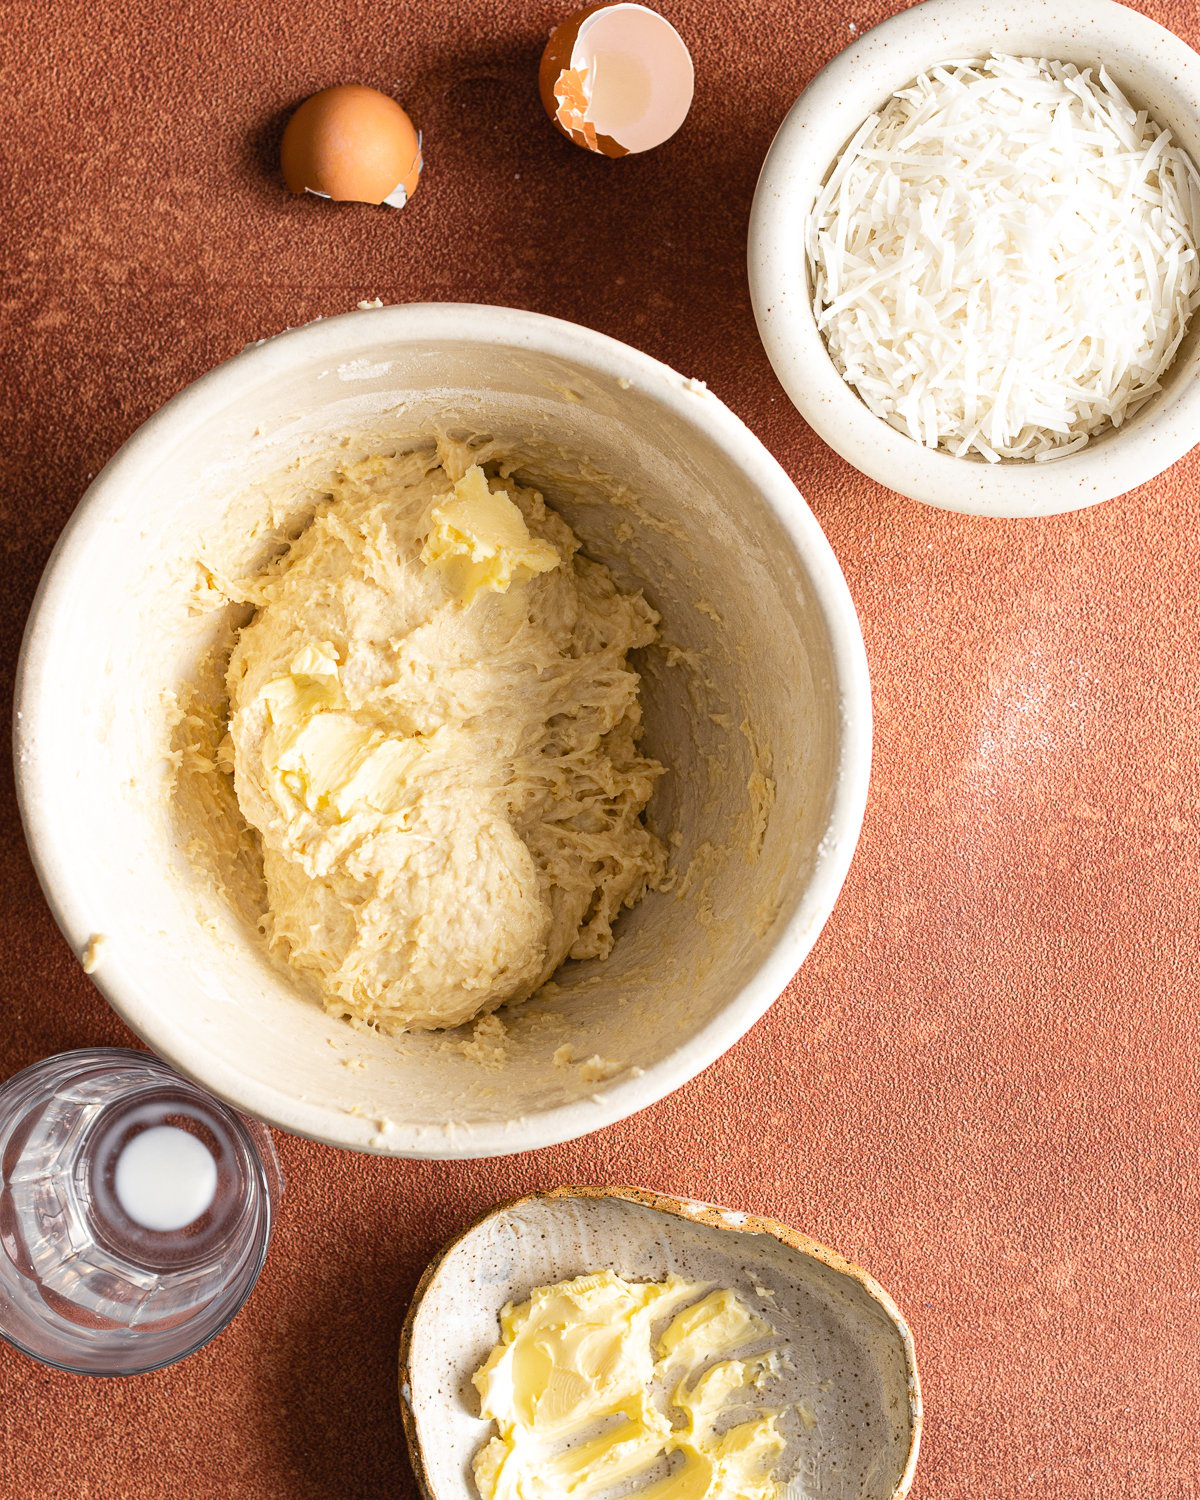
2. Combine ingredients into a shaggy dough and knead the butter in one tablespoon at a time
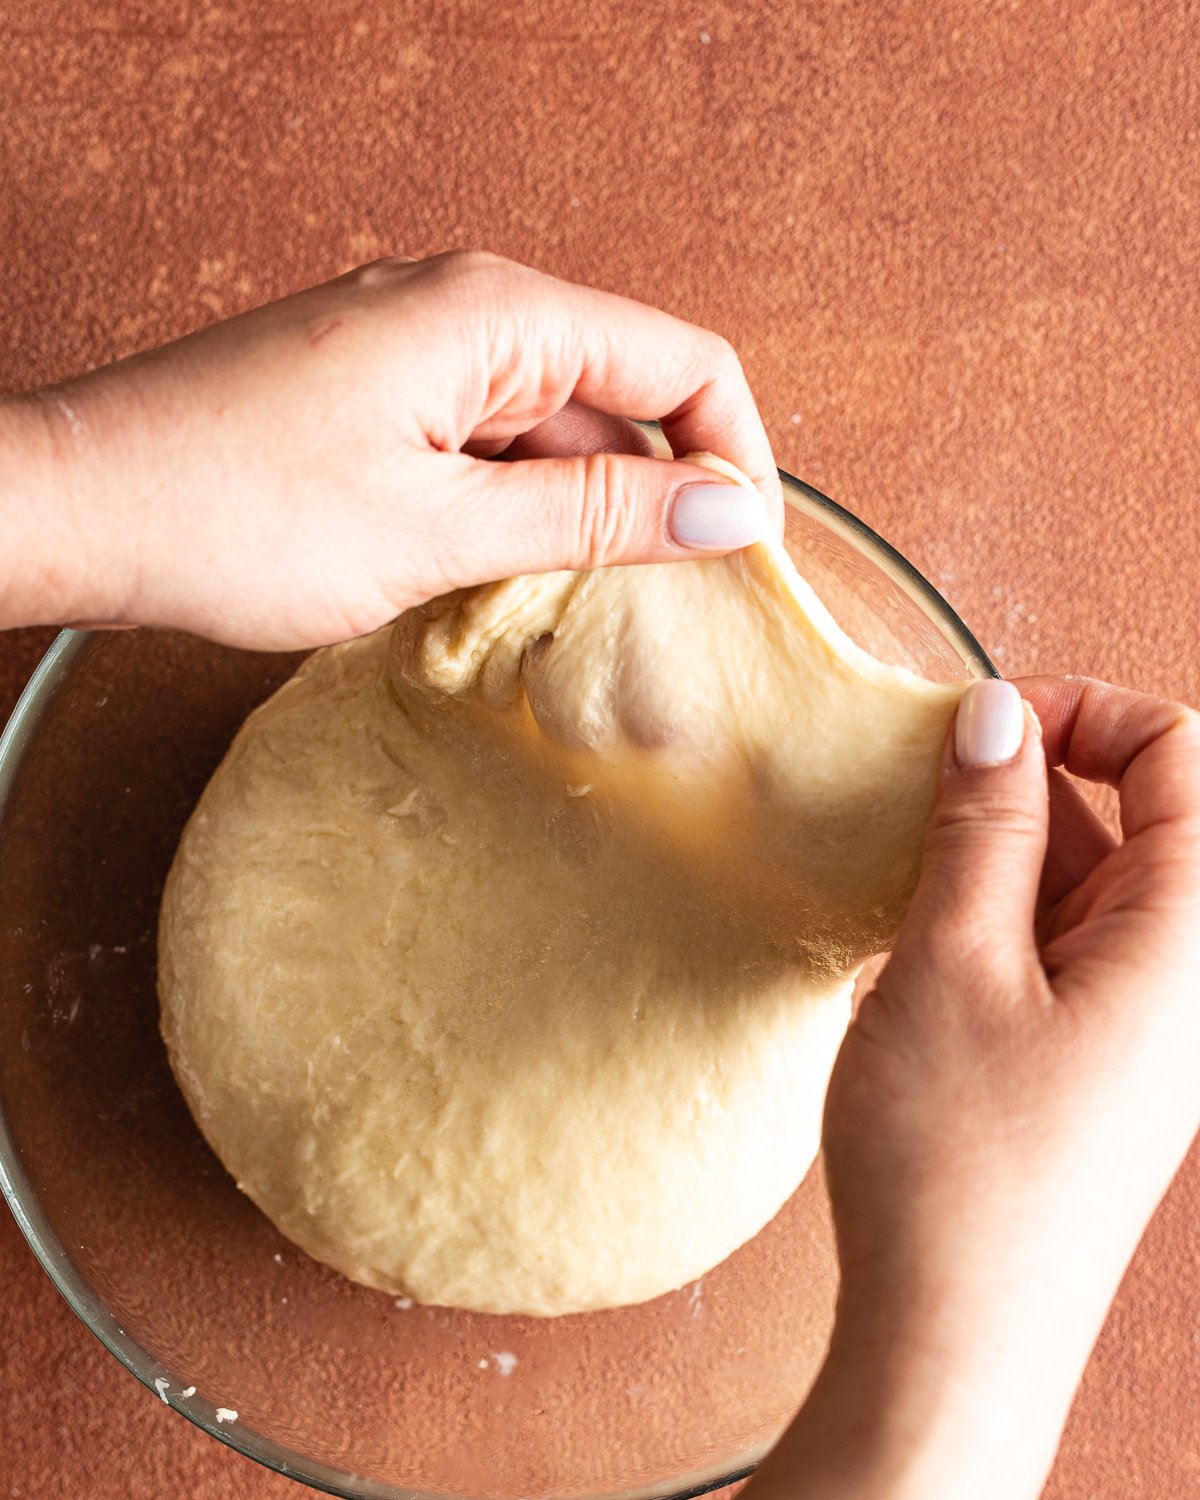
3. Knead the dough until the dough passes the windowpane test, ferment the dough until doubled in volume, about 2 to 4 hours, and ferment overnight in the refrigerator
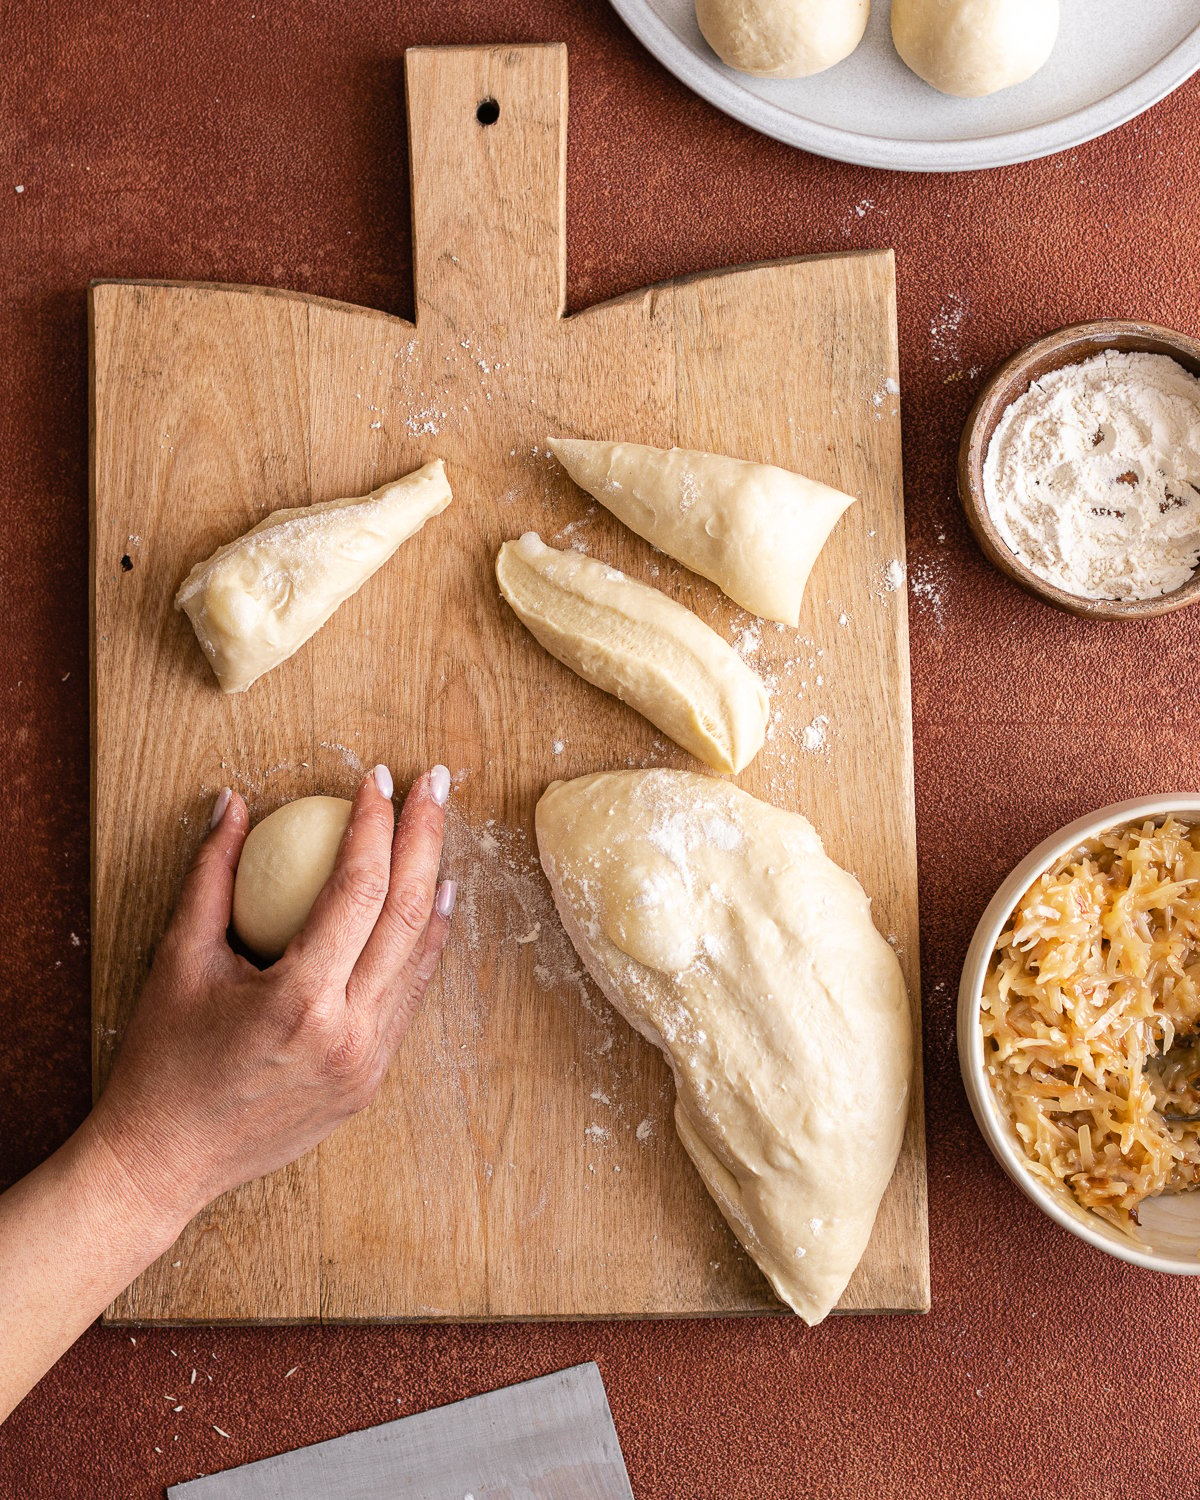
4. Divide the dough into 12 portions and round each into a tight ball
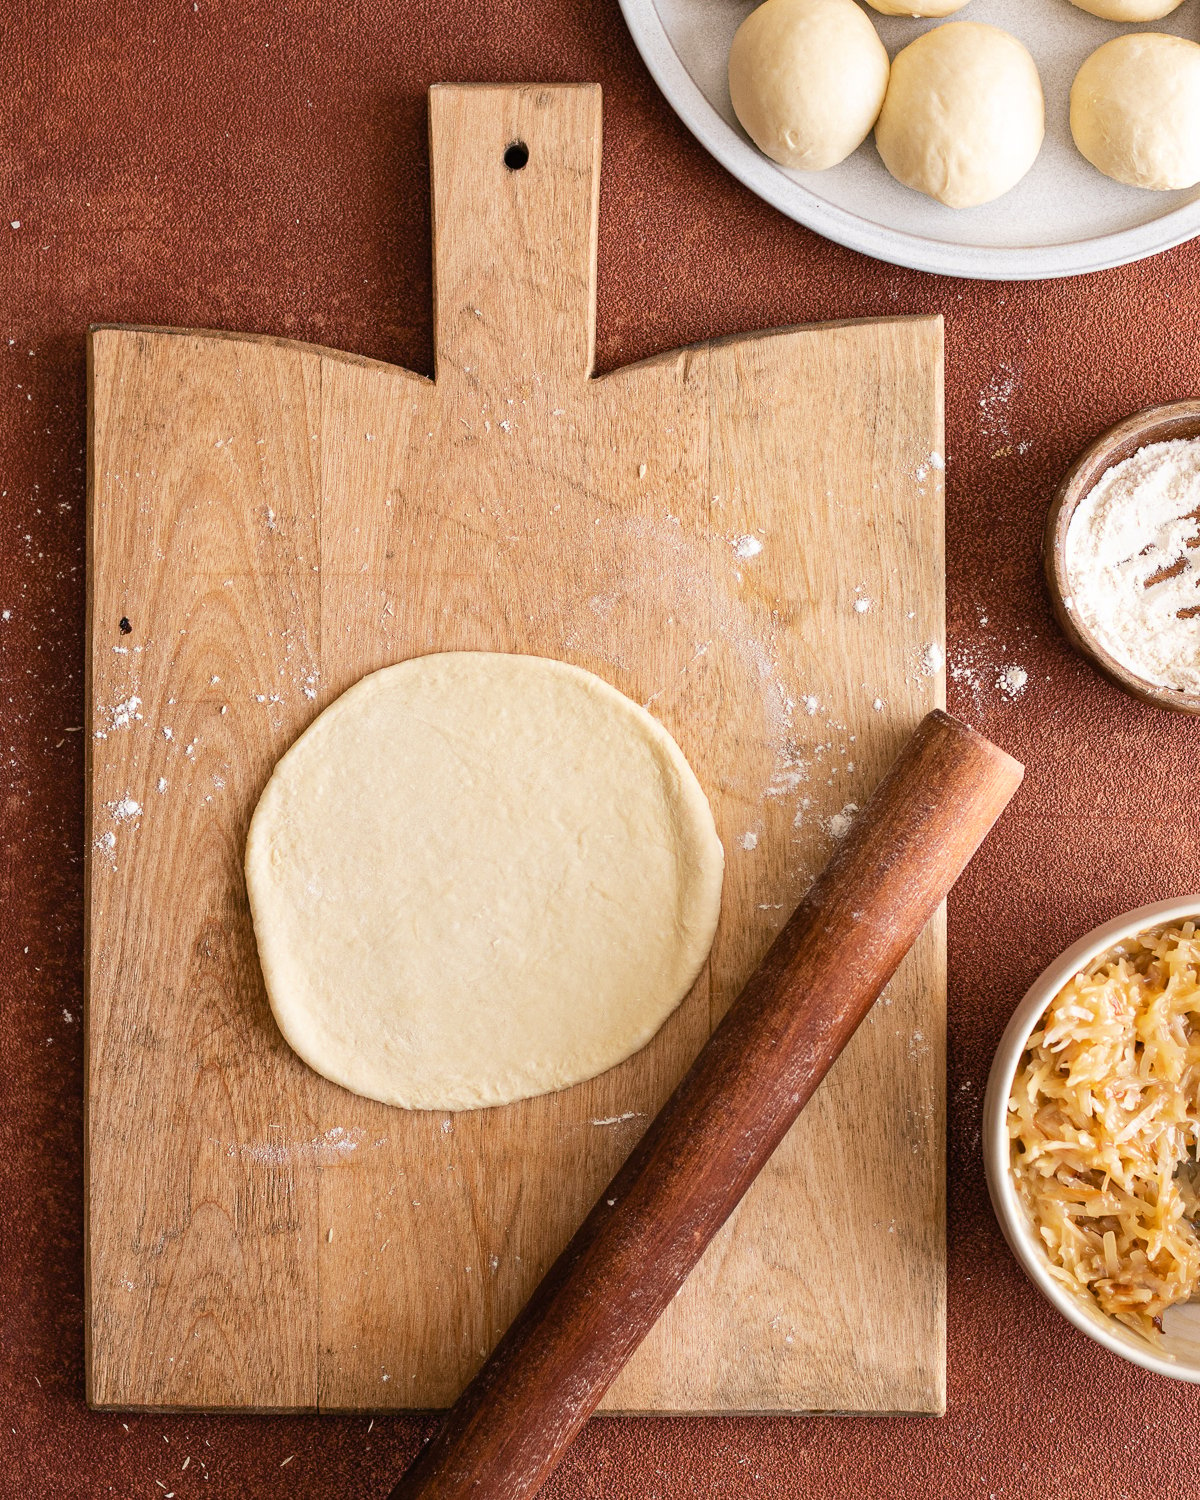
5. Use a rolling pin to flatten each portion into a disc
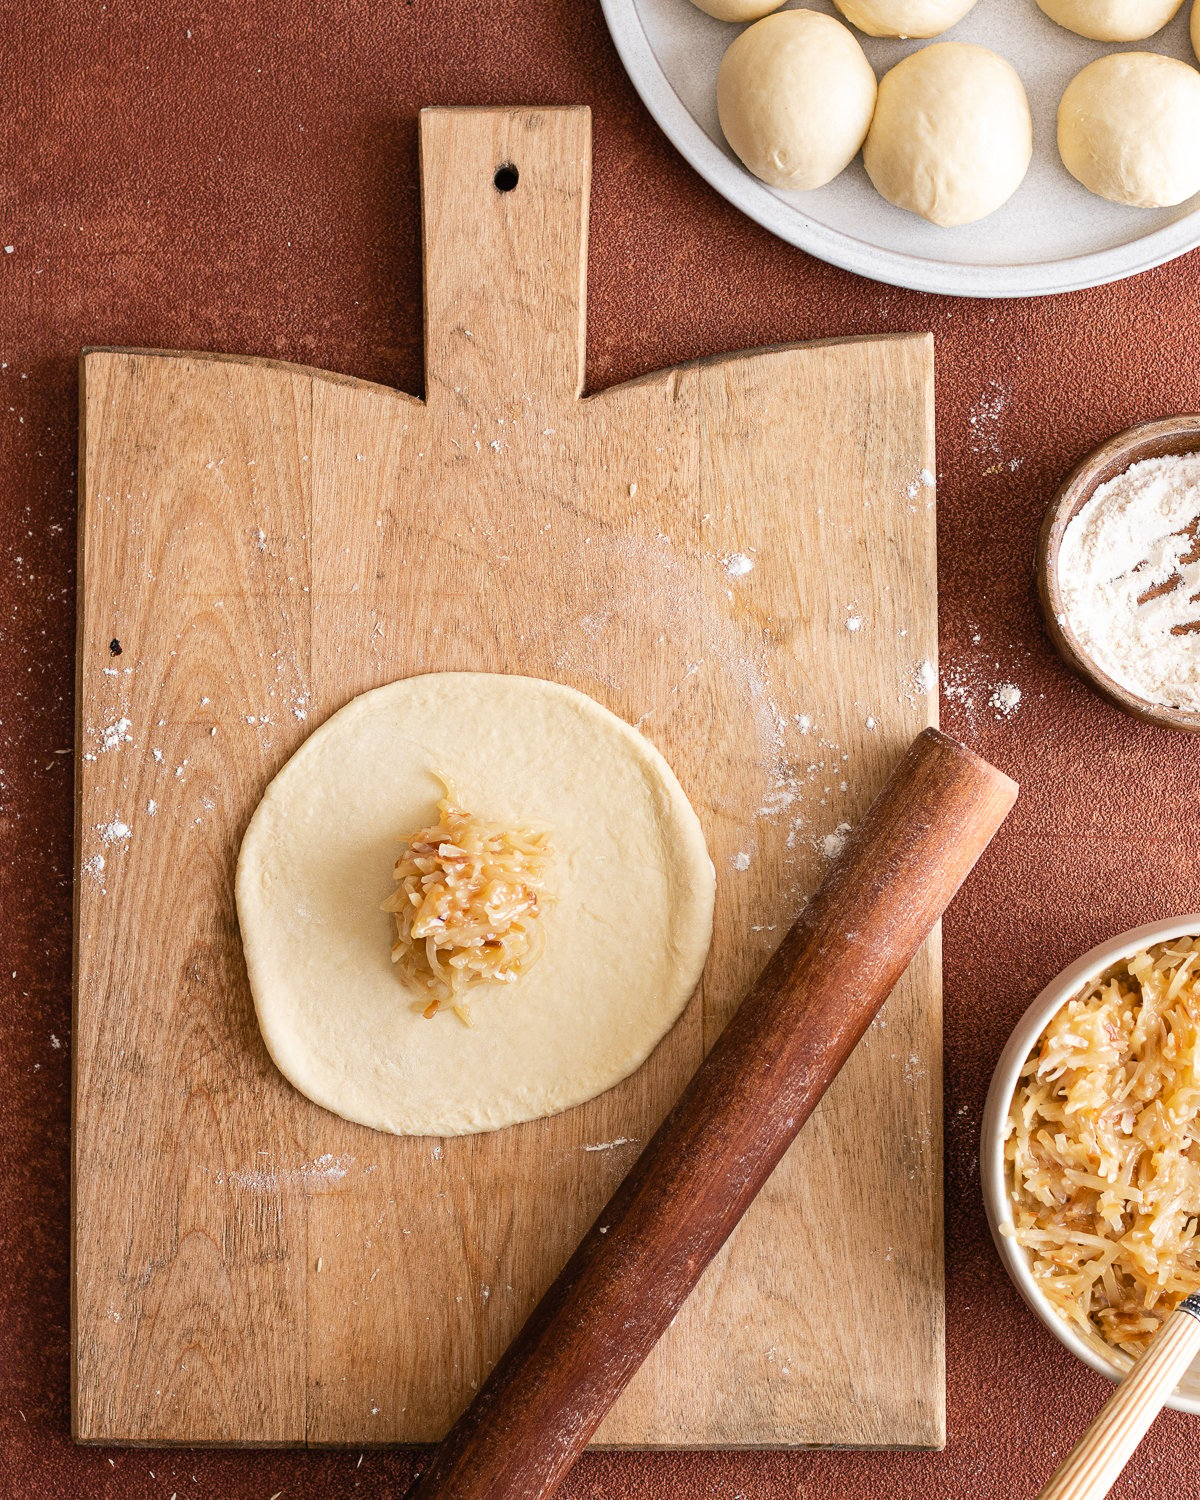
6. Fill each portion of dough with 1 tablespoon of filling
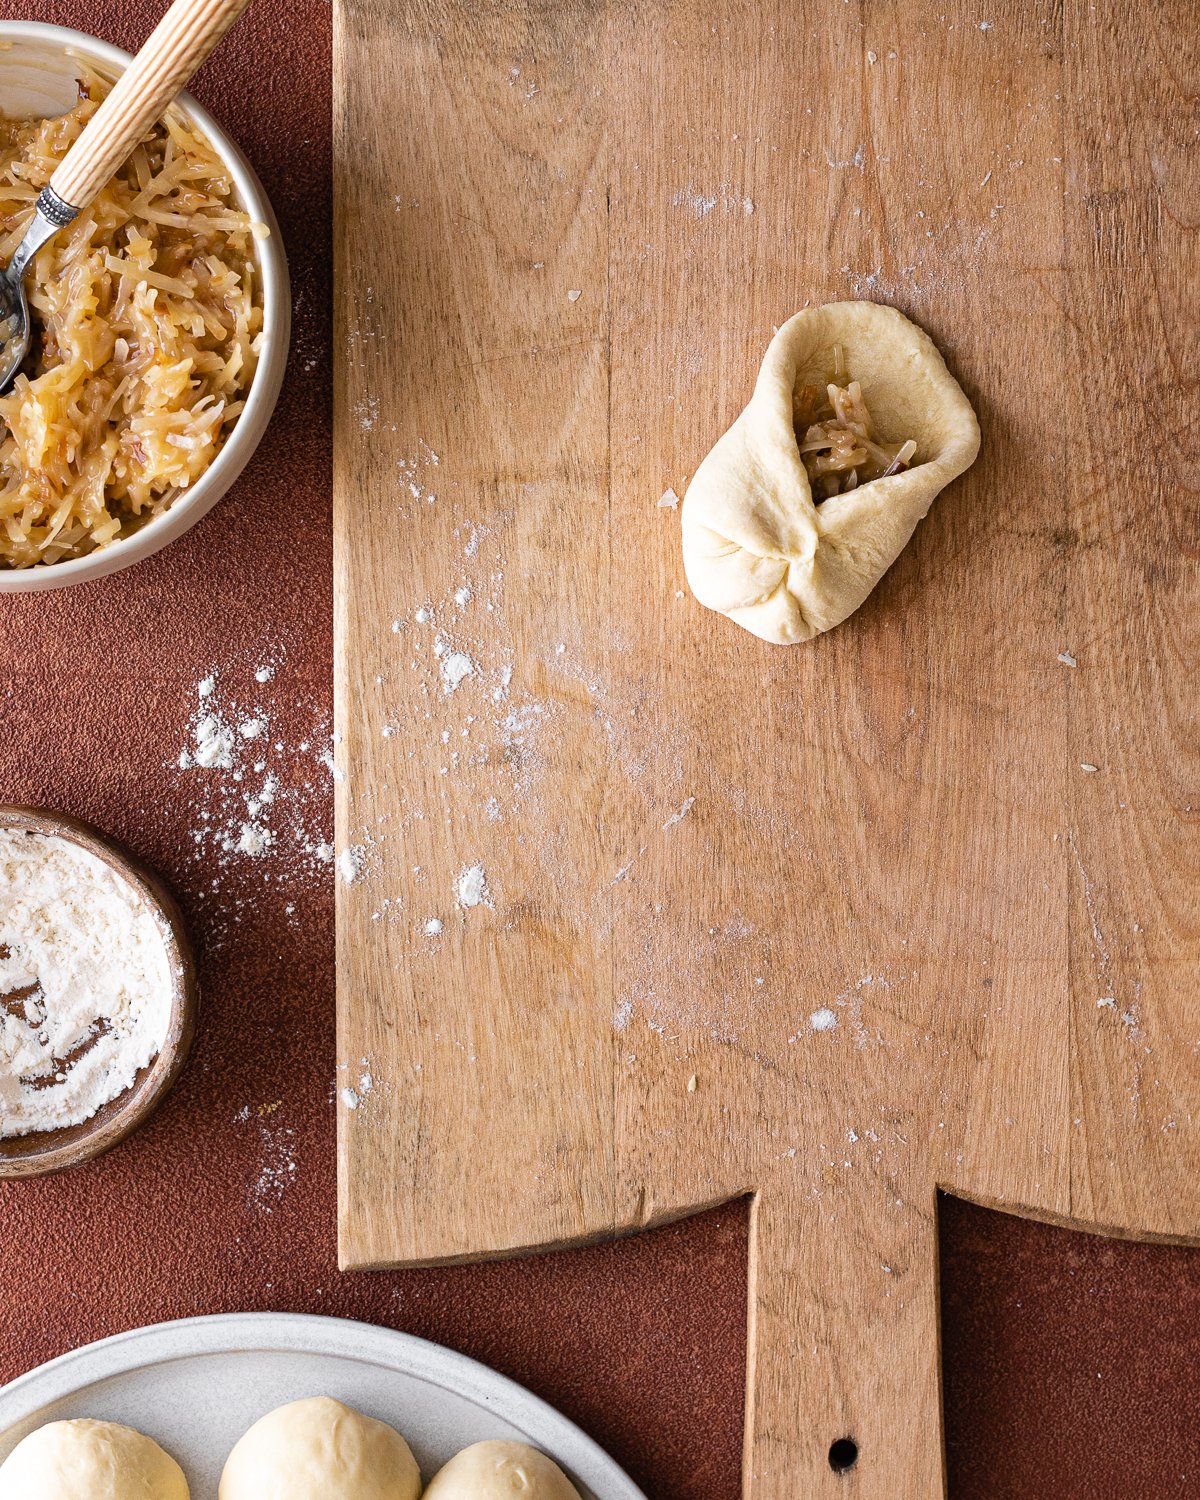
7. Fold the edges of the dough towards the center to enclose the filling
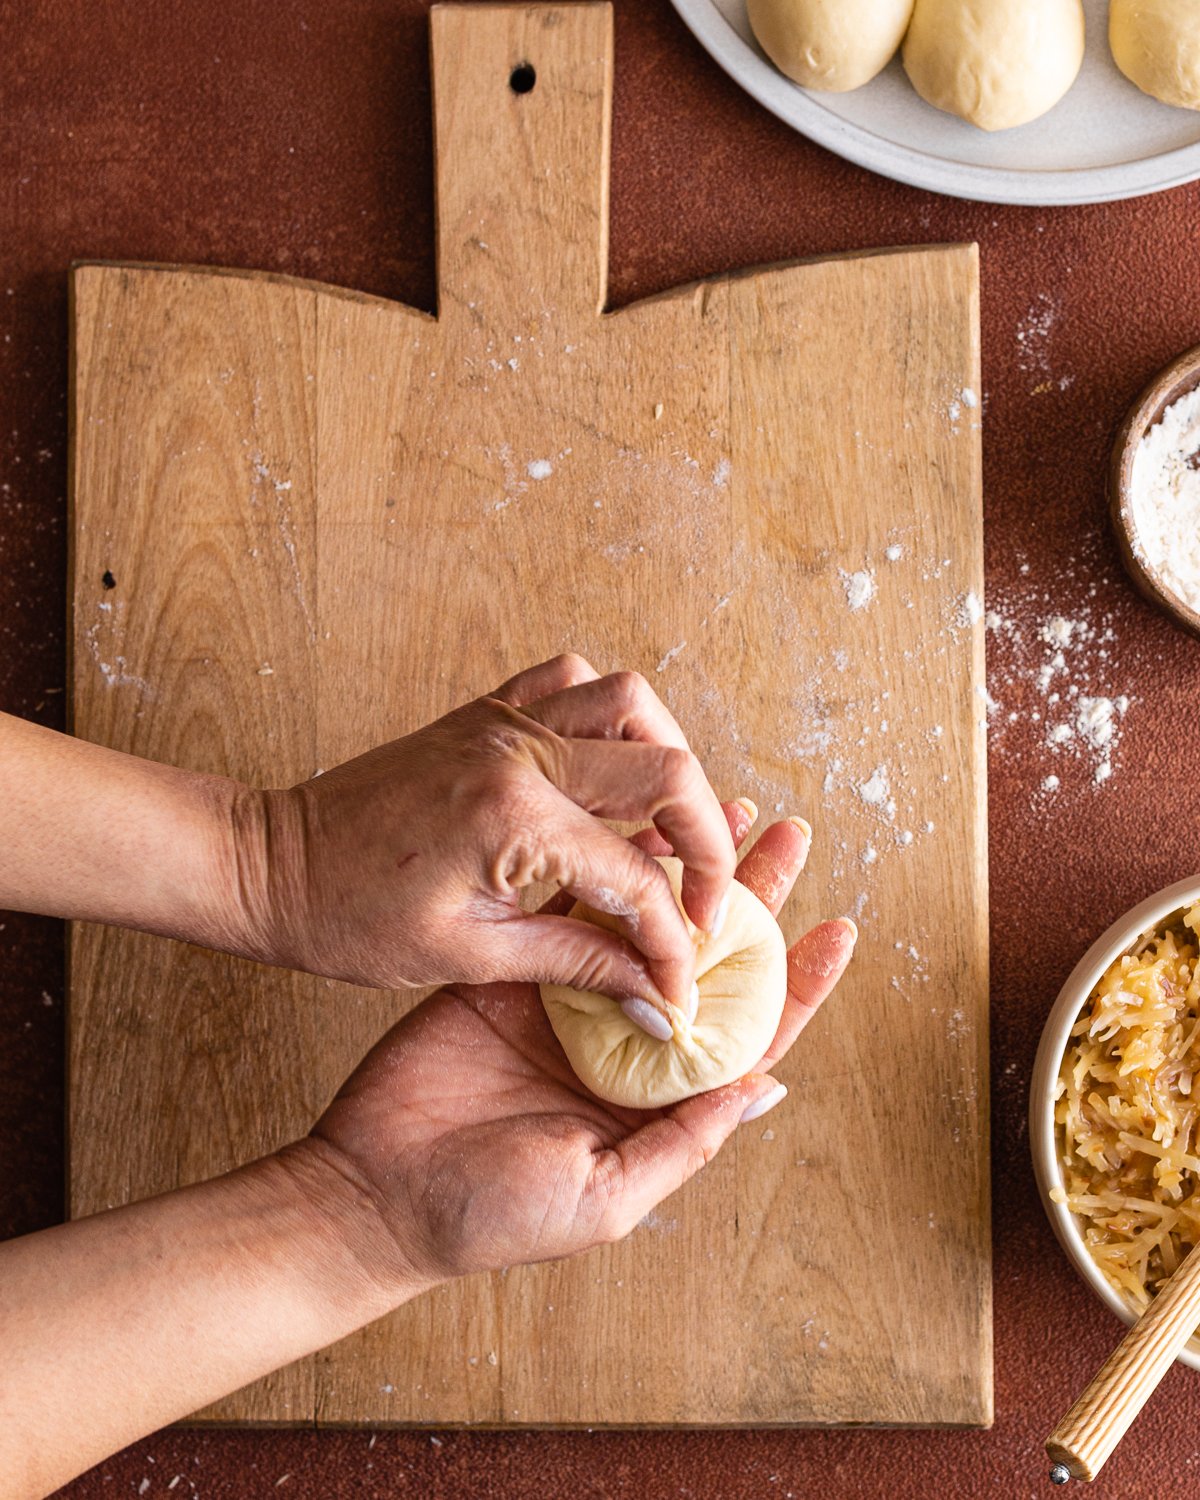
8. Pinch the seam shut
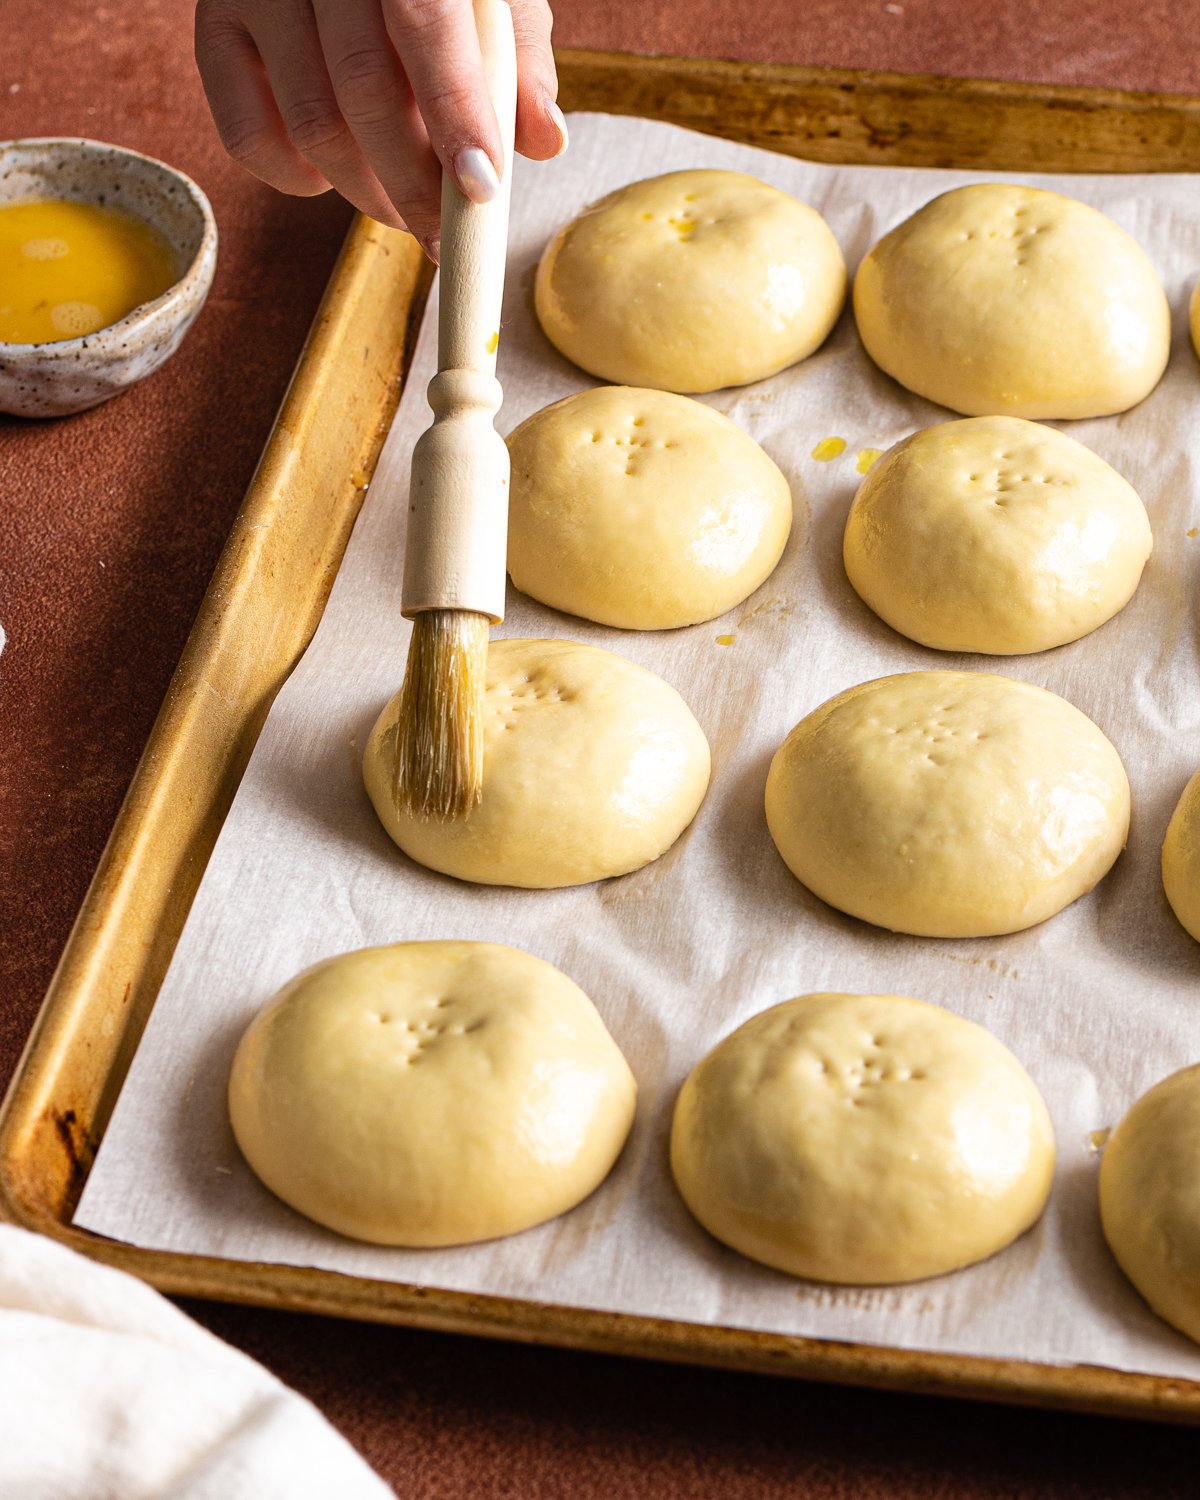
9. Let the dough rise for 1 to 2 hours or until the dough looks puffy and well risen, brush the dough with egg wash before baking
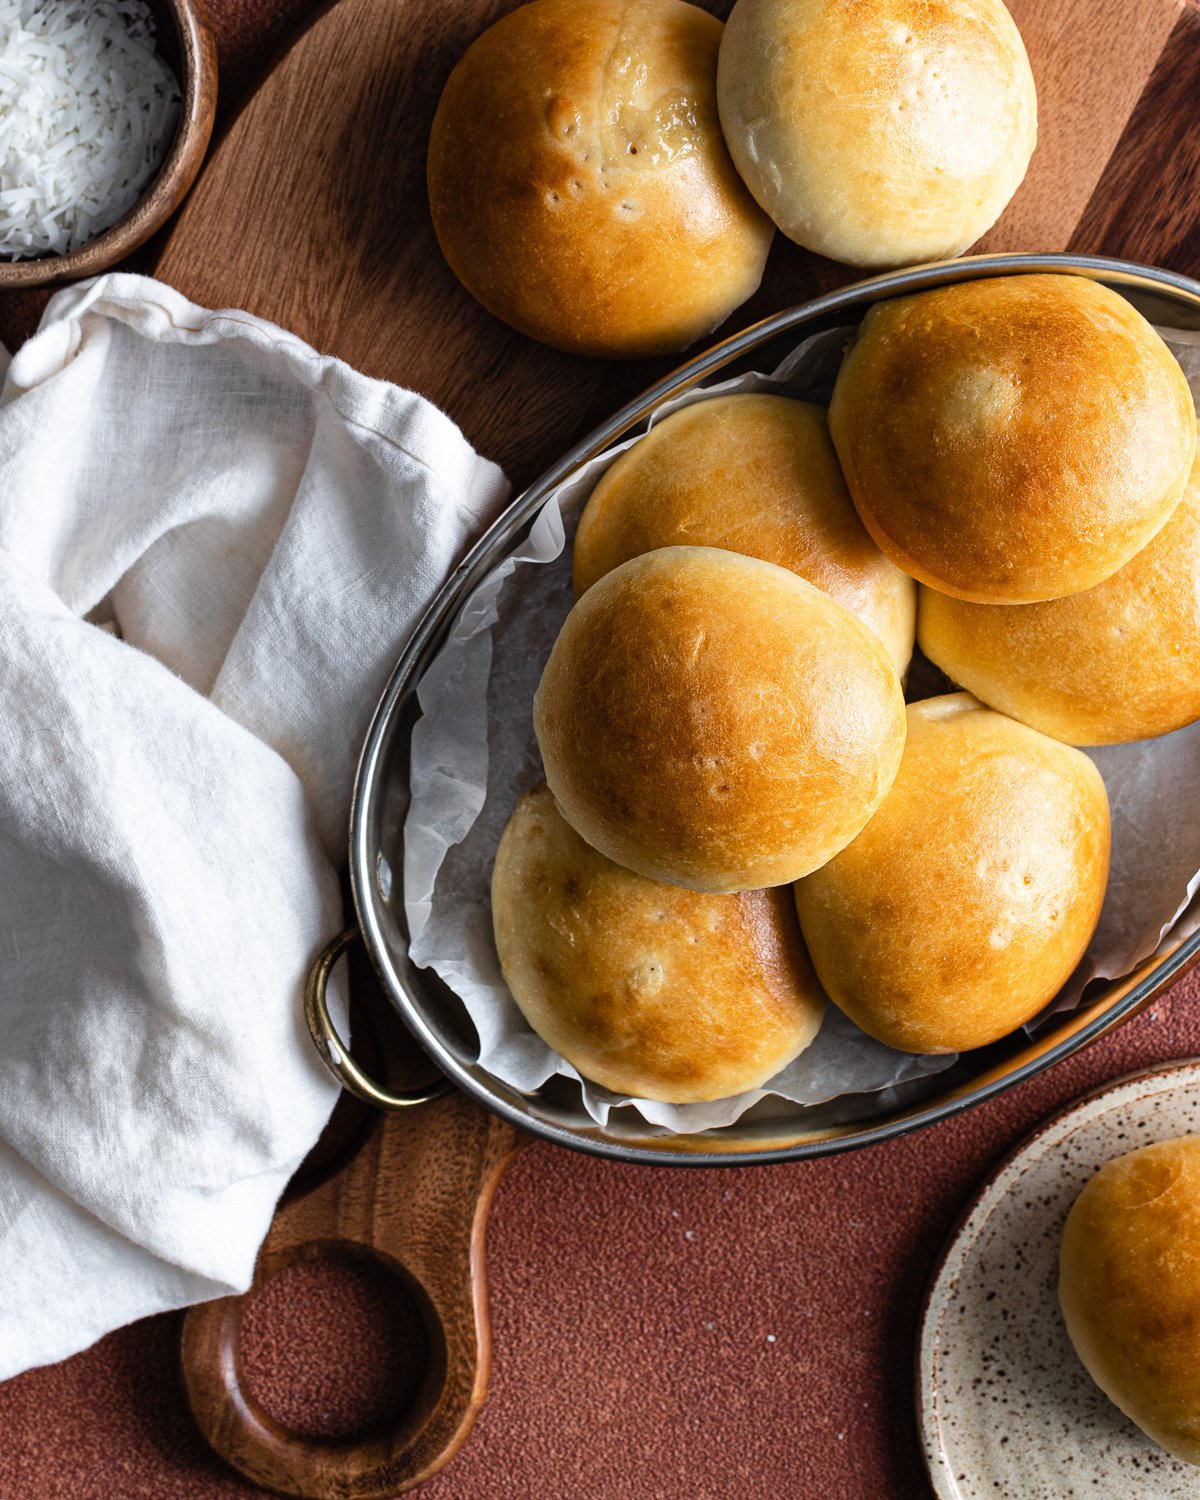
10. Bake at 350 for 20 to 25 minutes or until golden brown
Recipe FAQs
Pan de coco usually ends up hard and dense because it’s underproofed. Make sure you give your dough time to rise, I’ll be giving time cues in this recipe, but fermentation can vary greatly depending on the activity of your starter and the temperature in your kitchen. Make sure you watch your dough and make sure it doubles or increases noticeably in volume before shaping your dough. Your dough should also be very puffy before baking.
Pan de coco originated in Honduras and was introduced to the Philippines by the Spanish during the colonial era. While it's Honduran ancestor incorporates coconut flakes within the dough and can either be savory or sweet, the Filipino version is an enriched bread roll with a sweet, gooey coconut filling in the middle, giving the Filipino version its own distinct identity.
The tagalog word for bread is “tinapay.”
The flavor of pan de coco will depend on your flavor of sourdough starter. If your starter is more acidic, your bread will have a more distinctly sour flavor. However, if your starter is milder then your bread should have a slightly sweet flavor.
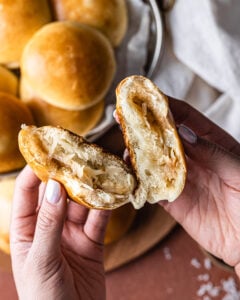
Sourdough Pan De Coco
Equipment
- saucepan
This section may contain affiliate links
Ingredients
Tangzhong
- 150 grams milk
- 40 grams all-purpose flour
Dough
- 300 grams all-purpose flour
- 113 grams milk
- 1 egg large
- 60 grams cane sugar
- 6 grams salt
- 113 grams sourdough starter mature and active
- 70 grams unsalted butter softened
Filling
- 42 grams unsalted butter
- 100 grams desiccated coconut
- 100 grams cane sugar
- 15 grams cornstarch
- 169 grams milk
Egg Wash
- 1 egg
Click US Customary to view volume measurements
Instructions
- Make the tangzhong: Whisk together the flour and milk in a microwave safe bowl. Microwave for 30-second increments, about 3 to 4 times stirring in between bursts. Let the mixture cool completely before incorporating it with your other ingredients or the heat may kill the yeast in your starter.150 grams milk, 40 grams all-purpose flour
- Make the dough: Combine the cooled tangzhong with the all-purpose flour, milk, egg, sugar, salt and sourdough starter. Mix until the dough comes together.300 grams all-purpose flour, 113 grams milk, 1 egg, 60 grams cane sugar, 6 grams salt, 113 grams sourdough starter
- Add the butter: Knead the butter into the dough one tablespoon at a time. Wait until each portion of butter is absorbed into the dough before continuing to add more. Cover the dough in plastic wrap and let the dough rest for 30 minutes.70 grams unsalted butter
- Strengthen the dough: Turn the dough out on a lightly floured work surface. Knead the dough until completely smooth, about 5 minutes.
- Bulk fermentation: Let the dough proof until it looks airy and has doubled in volume.
- Cold proof: Deflate the dough and round it into a tight ball. Place the dough in the refrigerator and proof overnight.
- Make the filling: Melt the butter in a small saucepan over medium-high heat. Add the desiccated coconut to the pan and toss until fully coated. Whisk the sugar and cornstarch together in a small bowl and add it into the saucepan with the milk. Cook mixture until the milk is completely absorbed, about 30 minutes. Transfer the mixture to a bowl and allow it to cool completely.42 grams unsalted butter, 100 grams desiccated coconut, 100 grams cane sugar, 15 grams cornstarch, 169 grams milk
- Shape: Line a baking sheet with parchment paper. Turn the dough out on a lightly floured surface. Using a bench scraper, divide the dough into 12 portions, round each portion into a tight ball. Cover the dough balls with plastic wrap, let the dough rest for 15 minutes, this makes the dough easier to work with.
- Working with one portion of dough at a time. Flatten the dough out into a disc using a rolling pin. Place one tablespoon of filling in the middle of the dough. Fold the edges of the dough towards the center. Pinch the seam shut and place the shaped dough on the prepared baking sheet.
- Repeat with the remaining dough portions. Position the shaped dough on the baking sheet with room to spread, about 2 inches apart. Using a fork, make an "X" in the center of each roll.
- Second proof: Cover the baking sheet with plastic wrap and set it in a warm place. Let the dough rise for 1 to 2 hours or until the dough looks puffy and well-risen.
- Prep: When the dough is almost ready, preheat the oven to 350 F. Beat the egg for the egg wash. Remove plastic wrap and brush the dough with egg wash.1 egg
- Bake: Bake for 20 to 30 minutes or until golden brown. Transfer the rolls to a wire rack until cooled.
- Enjoy: These rolls are best enjoyed fresh from the oven the same day they are baked.
- Store and reheat: Store bread in a zip lock bag at room temperature for up to 3 days. To reheat, heat the rolls on a baking sheet tightly covered in foil for 10 to 15 minutes or until completely warmed and soft.
Tips
These recipes were developed and tested using grams for precise measurements. To increase your chances of success, I recommend investing in a kitchen scale. I've included rough volume estimates (in tablespoons and cups), but they might not be totally accurate.
Remember all ovens are unique, these recipes were tested in my oven which runs cooler than others. You might need to lower the temperature if your bake appears to be browning too quickly. Monitor your bake closely and make adjustments if needed.
Notes
Nutrition
I am not a nutritionist or dietitian, any nutrition information provided is an estimate.

Jasmib says
The dough was too sticky! I made 2 batches and both came out too sticky despite adding extra flour. I gave up after trying to knead and it ended up a goopy mess on my counter and slapped it back to my bowl. I will see if it will even rise at all tomorrow. I was so looking forward to baking this too. I might have to try and do the regular yeast (ugh) version 😩
Hannah Dela Cruz says
Sorry you had this experience! This is probably not a case of sourdough vs commercial yeast. If you were to try another attempt at the recipe. I would let the dough rest intermittently if it feels too sticky. The tendency to add more flour actually makes dough stickier because it keeps adding unhydrated flour into the mix and the dough can't properly form a strong gluten network.
Kyla says
Love your blog. I've already tried a few recipes. Can you please post a recipe for sourdough pandesal?
Ester Rogers says
Do you take orders? I missed this so much!
Make It Dough says
I don't! But I promise these are easy to make!
Ester Rogers says
Gosh, I'm terrible in baking. LOL!