

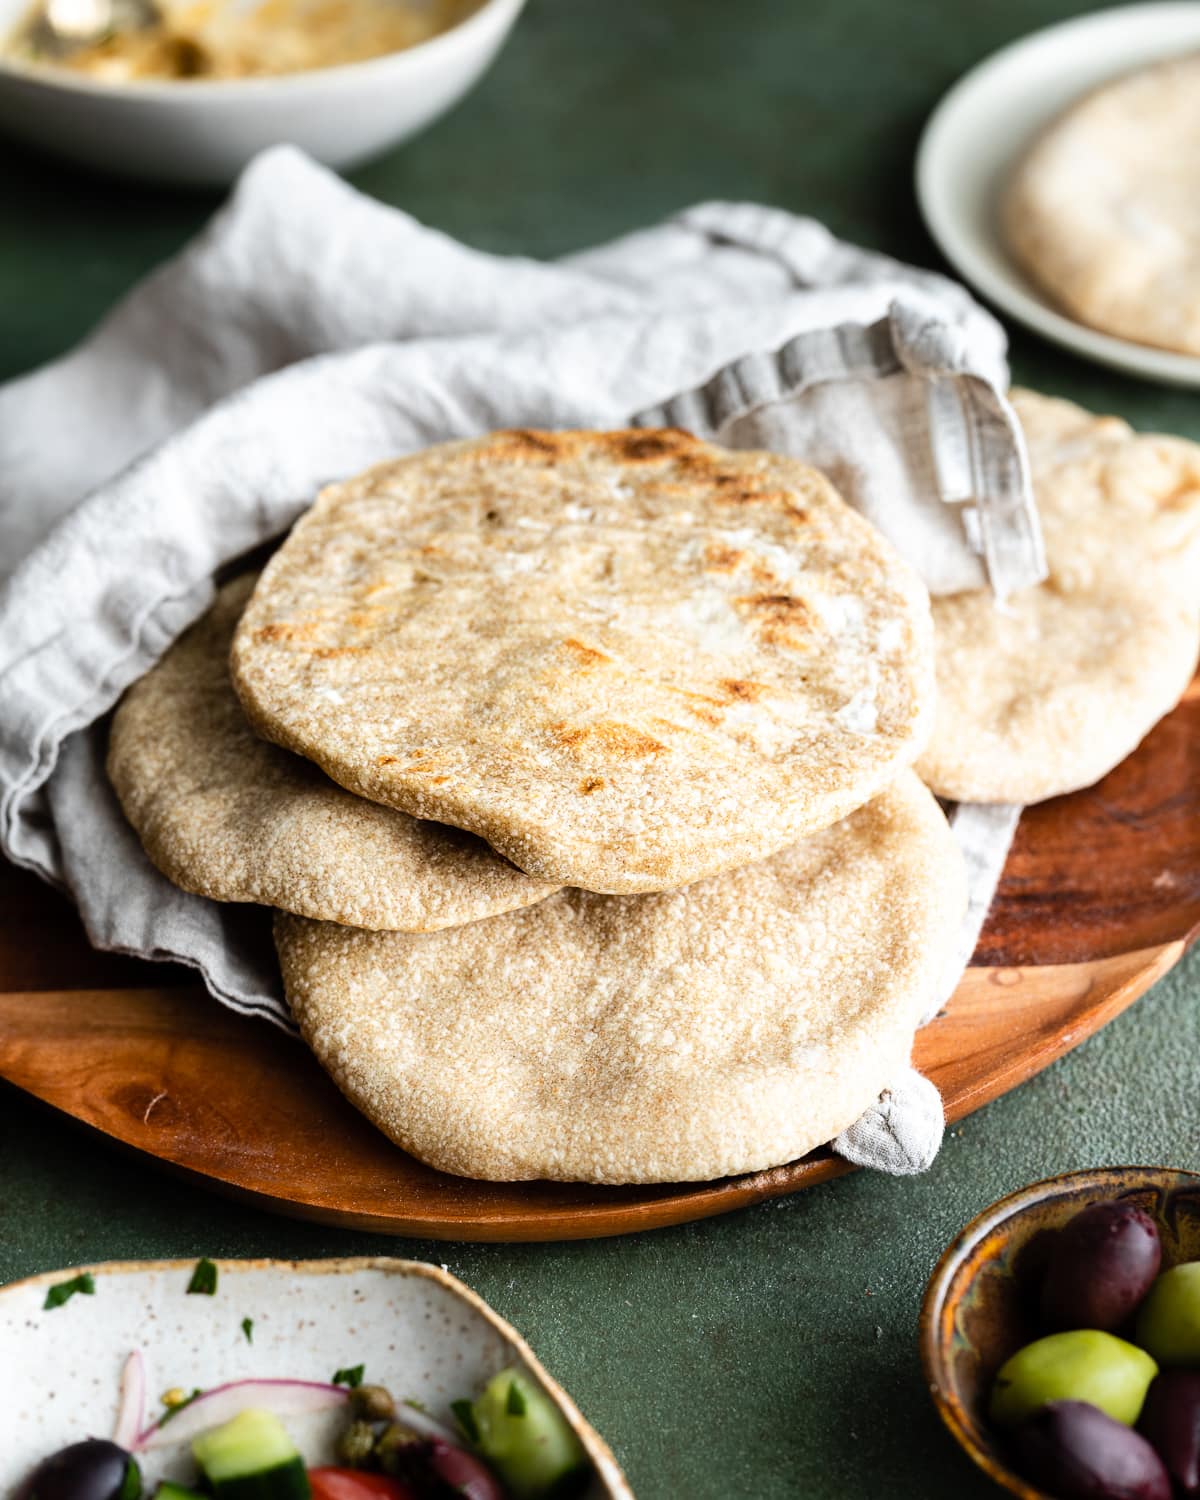
You don't need a mixer or commercial yeast to make these Sourdough Pita Breads-just six pantry staples, including a touch of whole wheat flour and a little olive oil for flavor. Naturally leavened with sourdough starter, the long rise gives them a soft, chewy texture and rich depth of flavor you won't find in store-bought pita. Enjoy them fresh from the oven for dipping and wraps or freeze a batch so you always have homemade pita ready for quick meals.
Short on time? Try my recipe for Sourdough Discard Flatbread.
5 Star Review ★
Made these today and they are fantastic! Great recipe!
Angela
What makes these pitas so good is the slow fermentation that naturally develops flavor and texture. As the dough rests, the wild yeast in your sourdough starter breaks down the flour, making nutrients more available and the bread easier to digest. The long rise also creates that soft, chewy texture and deep flavor that make these pitas so special and worth the wait.
What You Need
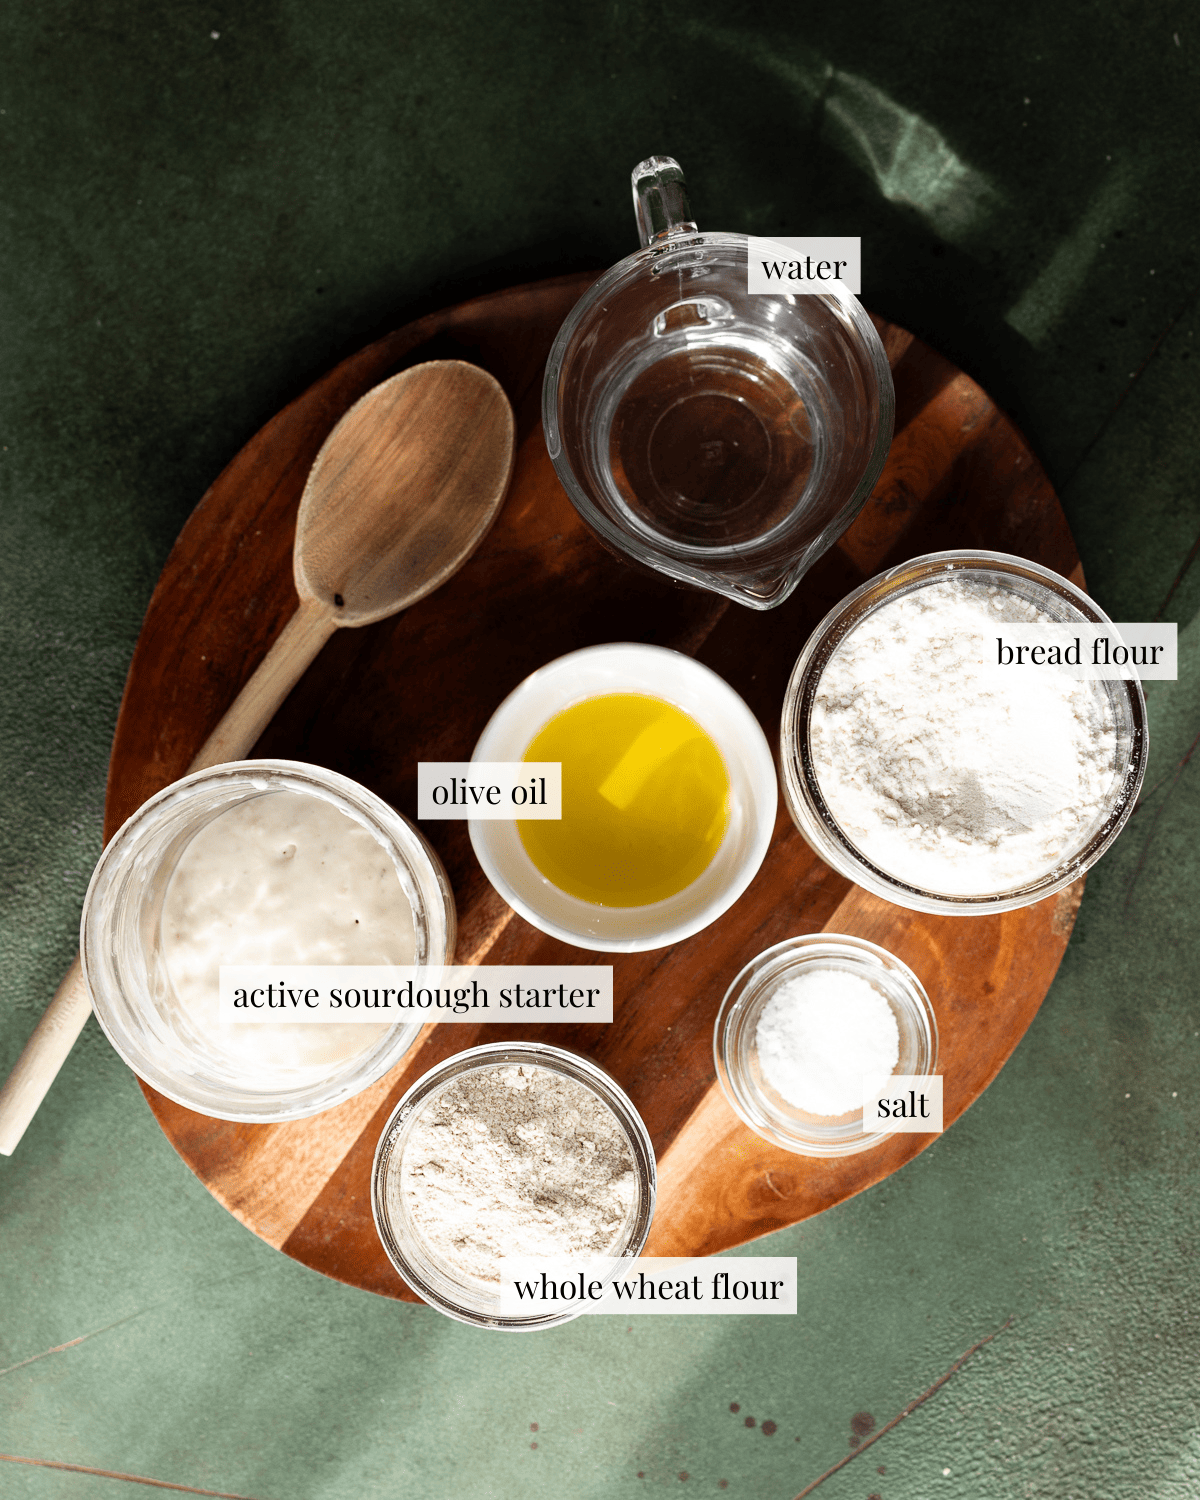
Bread flour: Makes for a strong dough that can expand and puff up into a pita pocket. Substitute all-purpose flour if that's all you have.
Whole wheat flour: Whole wheat flour imparts a nutty flavor to pita bread. Substitute rye, einkorn, spelt or more bread flour if you don't have any whole wheat in your pantry. If you're looking for more ways to use whole wheat flour, try my recipe for Sourdough Discard Whole Wheat Bread.
Active sourdough starter: For the best results, use a healthy active starter.
Water: Use warm water (80 to 96 F) to encourage the fermentation process.
Salt: Use sea salt or kosher salt for the best results.
Olive oil: Softens gluten which results in fluffy, pillowy pita. Substitute coconut oil, vegetable oil or grapeseed oil.
How to Make Sourdough Pita Bread
STEP 1: Make the dough
Dissolve the sourdough starter, whole wheat flour in warm water (about 80 F). Fold the bread flour and salt in and mix until the mixture forms a shaggy dough. Knead the olive oil into the dough. Continue kneading until the dough appears smooth and pliable.
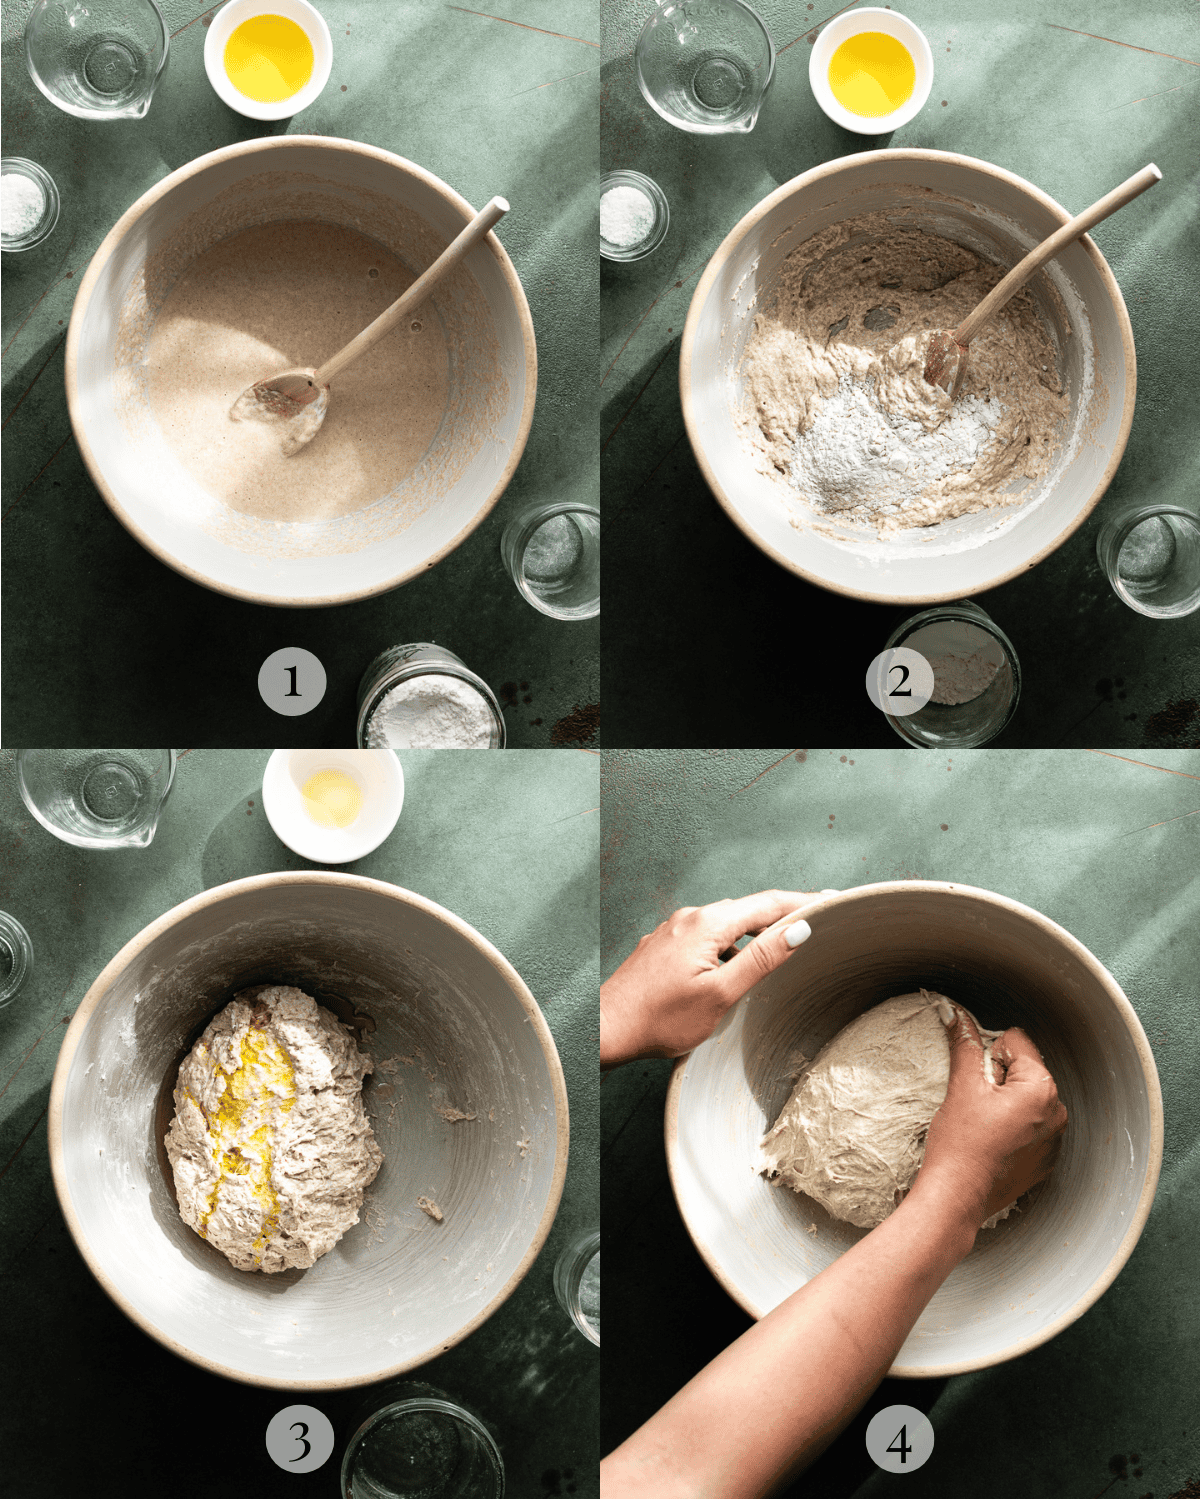
Tip
If your dough feels too sticky, cover the bowl and let it rest untouched for 30 minutes. This will allow the flour to hydrate fully, making the dough less sticky and much easier to handle.
STEP 2: Proofing
Transfer the dough to a clean bowl and allow it to rise, untouched for 4 to 6 hours or until bubbly and doubled in size. Divide the dough ball into 10 portions, round each into a tight ball. Transfer to a heavily floured plate, cover and allow the dough to proof in the refrigerator over night (at least 8 hours).

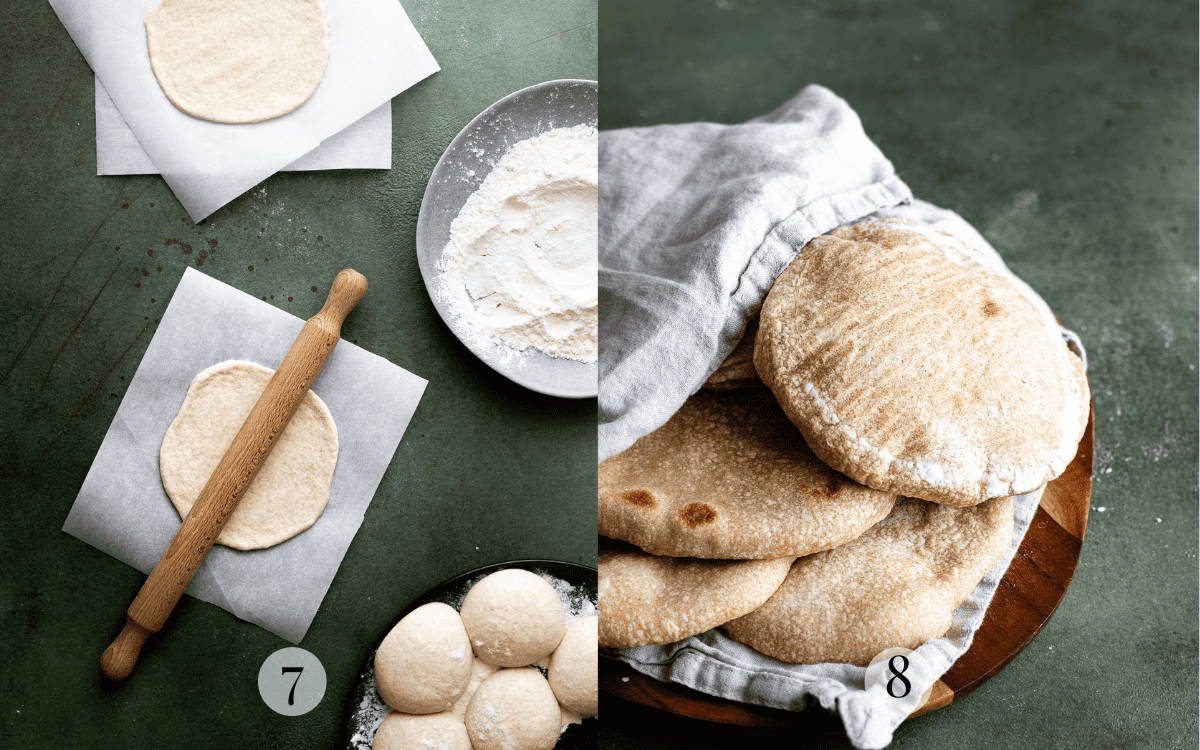
STEP 3: Bake
Using a rolling pin flatten one portion of dough on a piece of parchment paper into a 5-inch disc. Turning the dough as you roll prevents thicker patches and helps you achieve a consistent result. Bake the pitas in a preheated oven set to 500 F with a baking stone inside for 2 to 3 minutes.
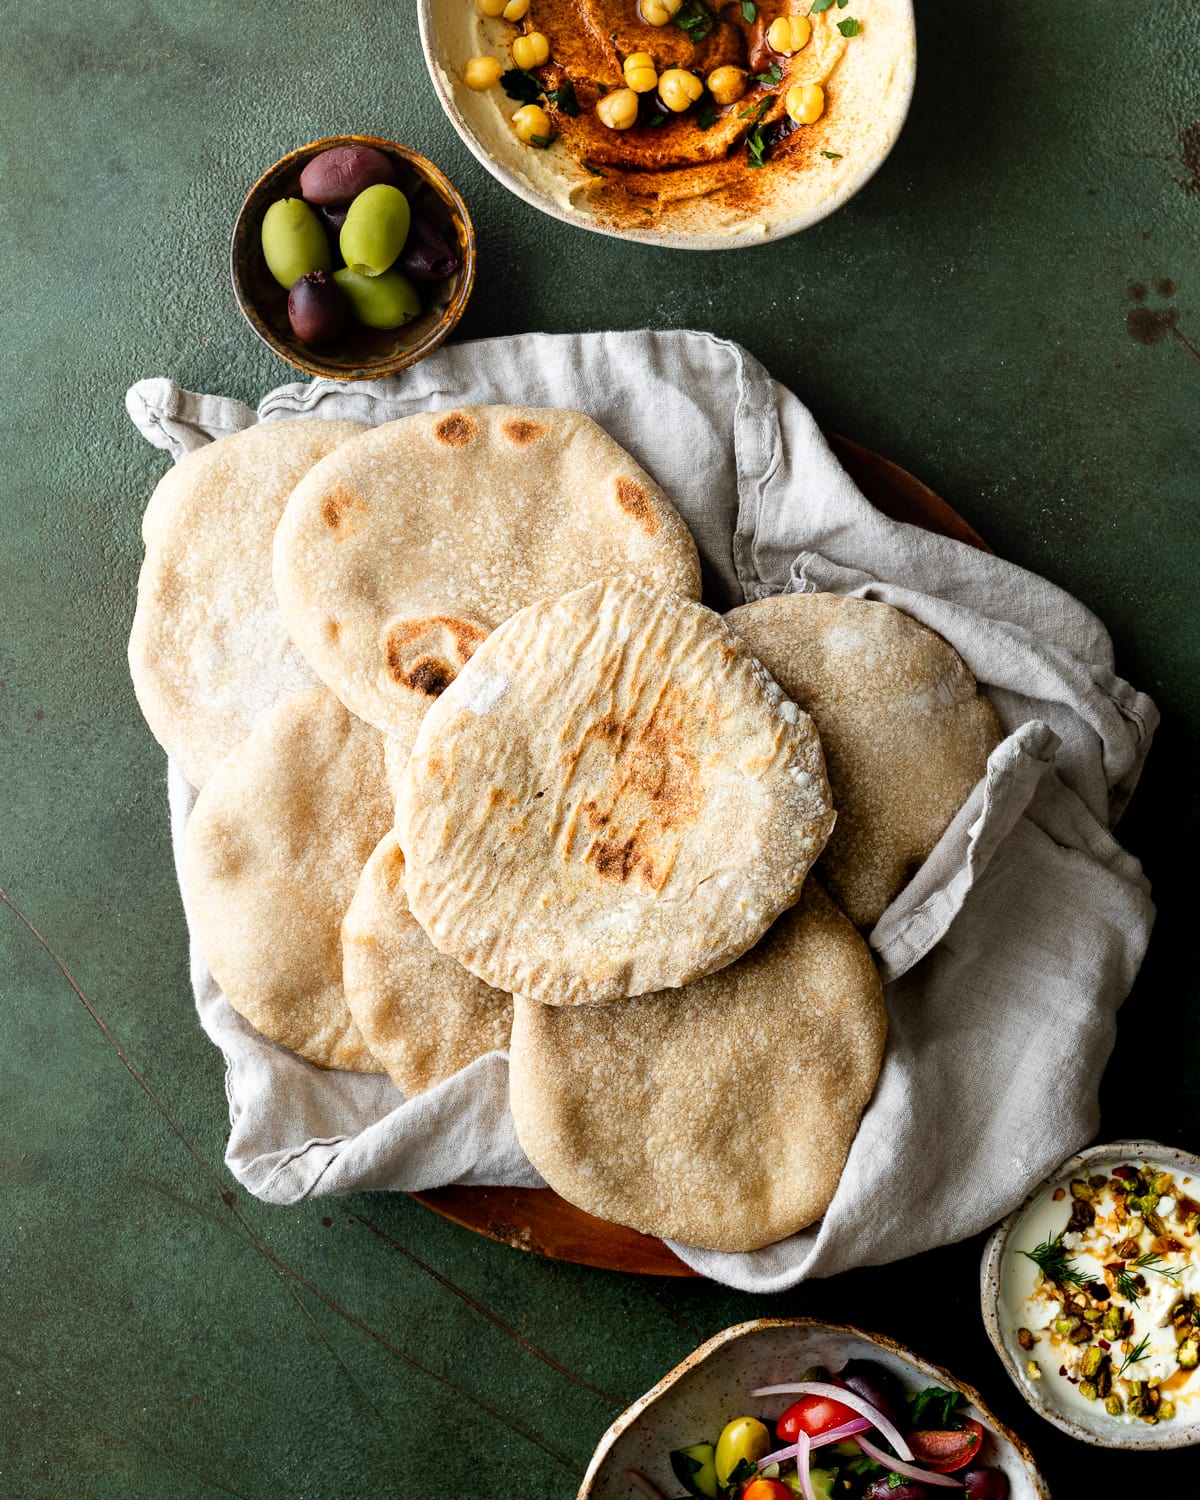
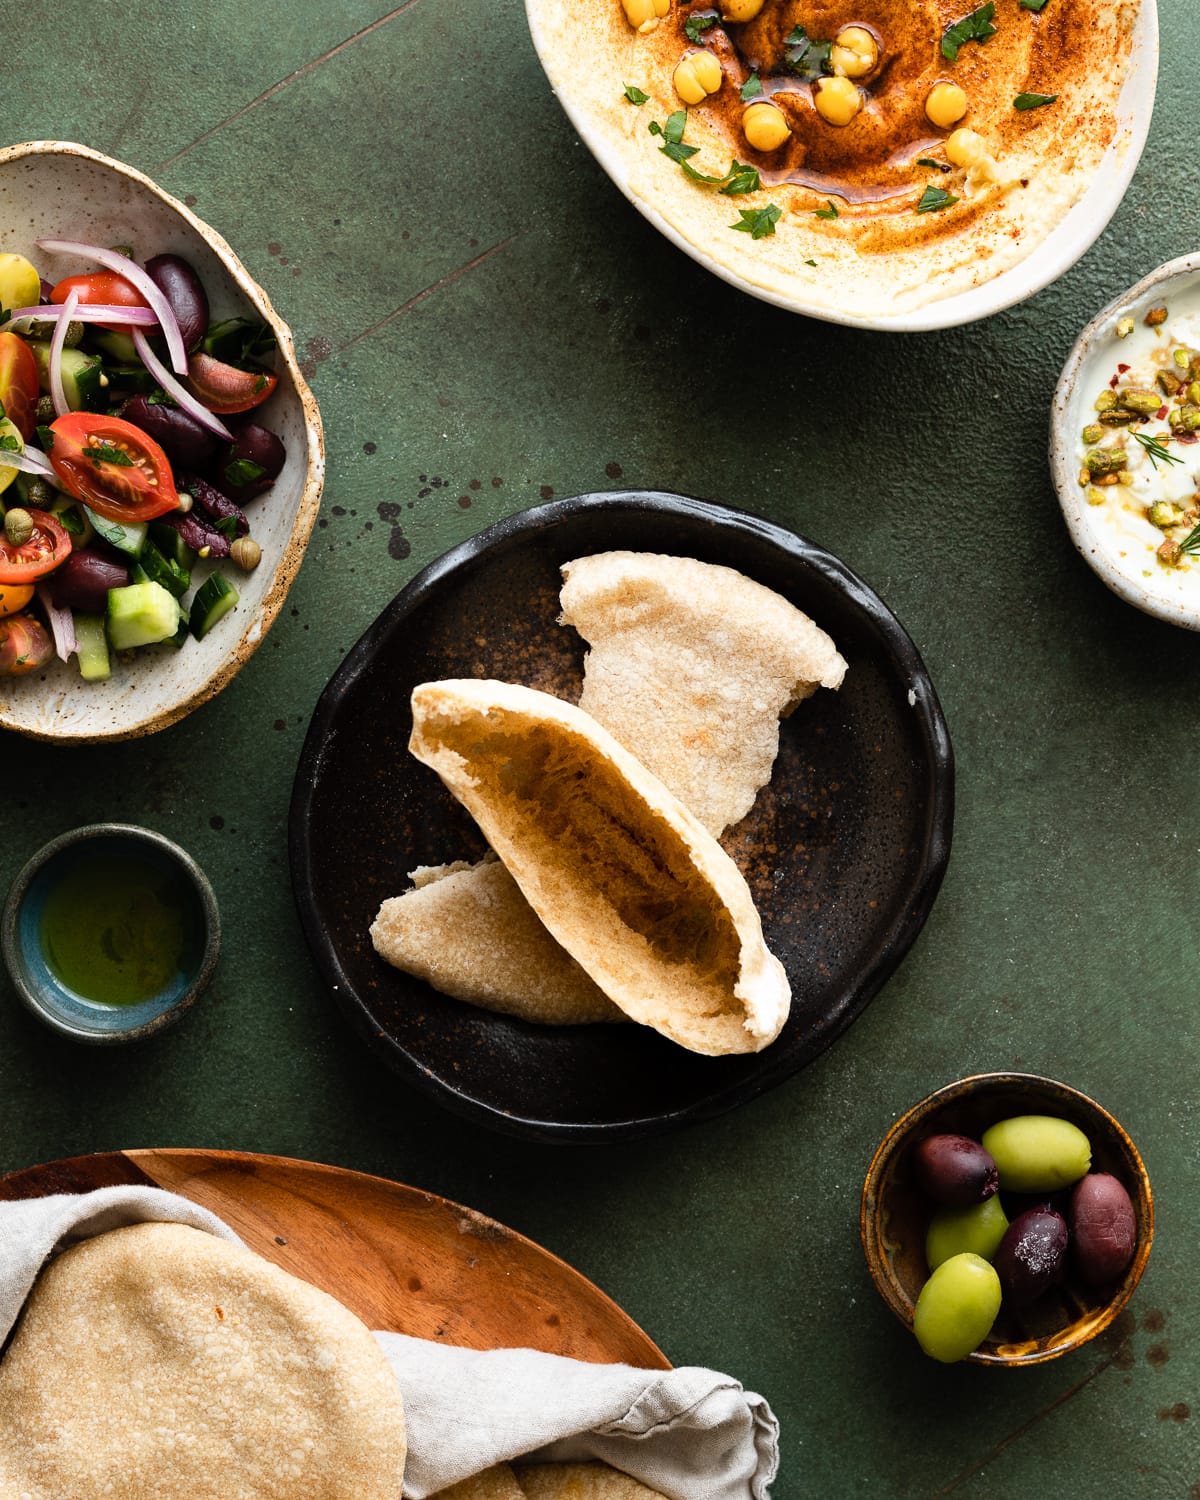
How to Get a Pita Pocket
The most sought-after feature of a pita is the pocket, perfect for stuffing meats, falafel, veggies, or cold cuts into. Here are my top tips for success:
- Use an active sourdough starter: Since this is a naturally-leavened dough, the success of this bake depends highly on the health and activity of your starter. As pita dough bakes in the oven, yeast die off in the extreme heat and rapidly produce carbon dioxide. This causes the dough to puff up and a pocket to form.
- Create strength in the dough: To form a good pocket, your dough should be able to expand without tearing. Knead the dough thoroughly to form strong gluten bonds. This also helps ensure you'll bake fluffy bread.
- Roll the dough out thinly: Flatten the dough out into a ¼-inch thick disc. Thin dough allows heat to penetrate into the center quickly, creating a blast of steam that makes the dough to puff up like a balloon. Thick dough will dry out and firm up too much as it bakes in the extreme heat of the oven preventing it from expanding into a pocket.
- Bake in a very hot oven: The extreme heat of the oven causes a quick burst of steam inside the dough, forming a large pita pocket. If your oven temperature is too low, water won't evaporate quickly enough, a pocket won't form and the dough will dry out as it bakes.
- Use a baking stone (optional but highly recommended): Baking stones retain and conduct heat better than a regular baking sheet. So dough gets a blast of heat as soon as it's set on a hot baking surface. This makes the water evaporate rapidly, causing the dough to puff up and separate into a pocket. If you don't have a stone, use an upside-down cast iron skillet set on the bottom rack of your oven.
Did this recipe rise to the occasion?
★★★★★
Leave a star rating and a comment. Your feedback inspires future recipes and helps others feel confident choosing what to bake next. I read and respond to every message.
If you're looking for additional ways to support my work, share this recipe or buy me a Ko-fi. Every little bit helps me keep creating the recipes and guides you enjoy.
Thank you for your support!
Sourdough Pita Bread
Equipment
- Parchment paper
- baking stone
This section may contain affiliate links
Ingredients
- 75 grams sourdough starter mature and active
- 226 grams water
- 80 grams whole wheat flour
- 240 grams all-purpose flour
- 6 grams salt
- 14 grams olive oil
Click US Customary to view volume measurements
Instructions
- Make the dough: Combine the water, sourdough starter and whole wheat flour in a large mixing bowl. Stir until the starter is completely dissolved.75 grams sourdough starter, 226 grams water, 80 grams whole wheat flour
- Fold the all-purpose flour into the sourdough starter a third at a time. This will ensure all of your flour is properly hydrated and incorporated into your mixture. Add salt and stir until no dry bits of flour remain and a shaggy dough forms.240 grams all-purpose flour, 6 grams salt
- Knead the olive oil into the dough until it's completely absorbed. Cover the bowl with plastic wrap and let the dough rest in a warm place for 30 minutes.14 grams olive oil
- Knead the dough: Knead the dough in the bowl until completely smooth, about 3 to 5 minutes.
- Bulk ferment: Round the dough into a tight ball, cover the bowl with plastic wrap and set it in a warm place until doubled in volume, about 4 to 6 hours.
- Pre-shape: Once the dough has risen, turn the dough out on to a lightly floured surface. Divide the dough into 10 portions. Round each ball of dough into a tight ball, set the dough on a heavily floured plate, spaced apart with room to spread.
- Cold proof: Cover the plate with plastic wrap and place it in the refrigerator overnight (up to 16 hours).
- Prep: If using, place a baking stone on a rack positioned at the very bottom of your oven. Preheat the oven to 500 F for at least 1 hour (or as long as your baking stone normally needs to heat up).
- Cut out ten 6-inch squares of parchment paper (this will make rolling your dough out and transferring them to the oven much easier).
- Shape: Working with one portion at a time, brush off all the excess flour from the dough. Place the dough in the center of a piece of cut parchment.
- Using a rolling pin, flatten the dough out into a 5-inch disc, about ¼-inch thickness.
- Set the shaped dough aside, and repeat with the remaining portions. You can stack the dough on top of each other.
- Bake: With the parchment paper, transfer the dough to the baking stone. Bake only 3 at a time.
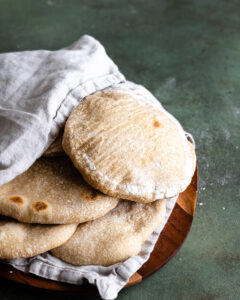
- Bake for 2 to 3 minutes or until the pita puffs up, and looks dry and lightly browned. Transfer the baked pita to a serving platter and cover with a dry, clean tea towel.
- Enjoy: These pitas are best enjoyed freshly baked.
- Store: Store any leftover pitas in a zip-top bag at room temperature for up to 3 days. Reheat the pitas on a dry, preheated skillet for 2 to 3 minutes.
Tips
These recipes were developed and tested using grams for precise measurements. To increase your chances of success, I recommend investing in a kitchen scale. I've included rough volume estimates (in tablespoons and cups), but they might not be totally accurate.
Remember all ovens are unique, these recipes were tested in my oven which runs cooler than others. You might need to lower the temperature if your bake appears to be browning too quickly. Monitor your bake closely and make adjustments if needed.
Notes
Nutrition
I am not a nutritionist or dietitian, any nutrition information provided is an estimate.
Angela Persicke says
Made these today and they are fantastic! Great recipe!
Hannah Dela Cruz says
So glad you loved these Angela! Your pitas looked incredible.
Make It Dough says
Oh no! I'm sorry these didn't work for you, Erin. So sad to hear when this happens.
Dorothy's New Vintage Kitchen says
These look perfect!
Viktoria says
What can I do if the dough is just too sticky? I already added less water than in the recipe and did slap and folds to build dough strength, but it just won't hold together... I'm letting them bulk ferment right now but I'm nervous about the end result.
Hannah Dela Cruz says
Hi Viktoria! I would say be more gentle than you think you need to be. I know there's a tendency to want to knead aggressively to build gluten, but this can have the opposite effect of disrupting the gluten network that you are working so hard to build. Next time, try stretching and folding or even coil folding instead. After a few folds you should notice your dough get progressively less sticky.