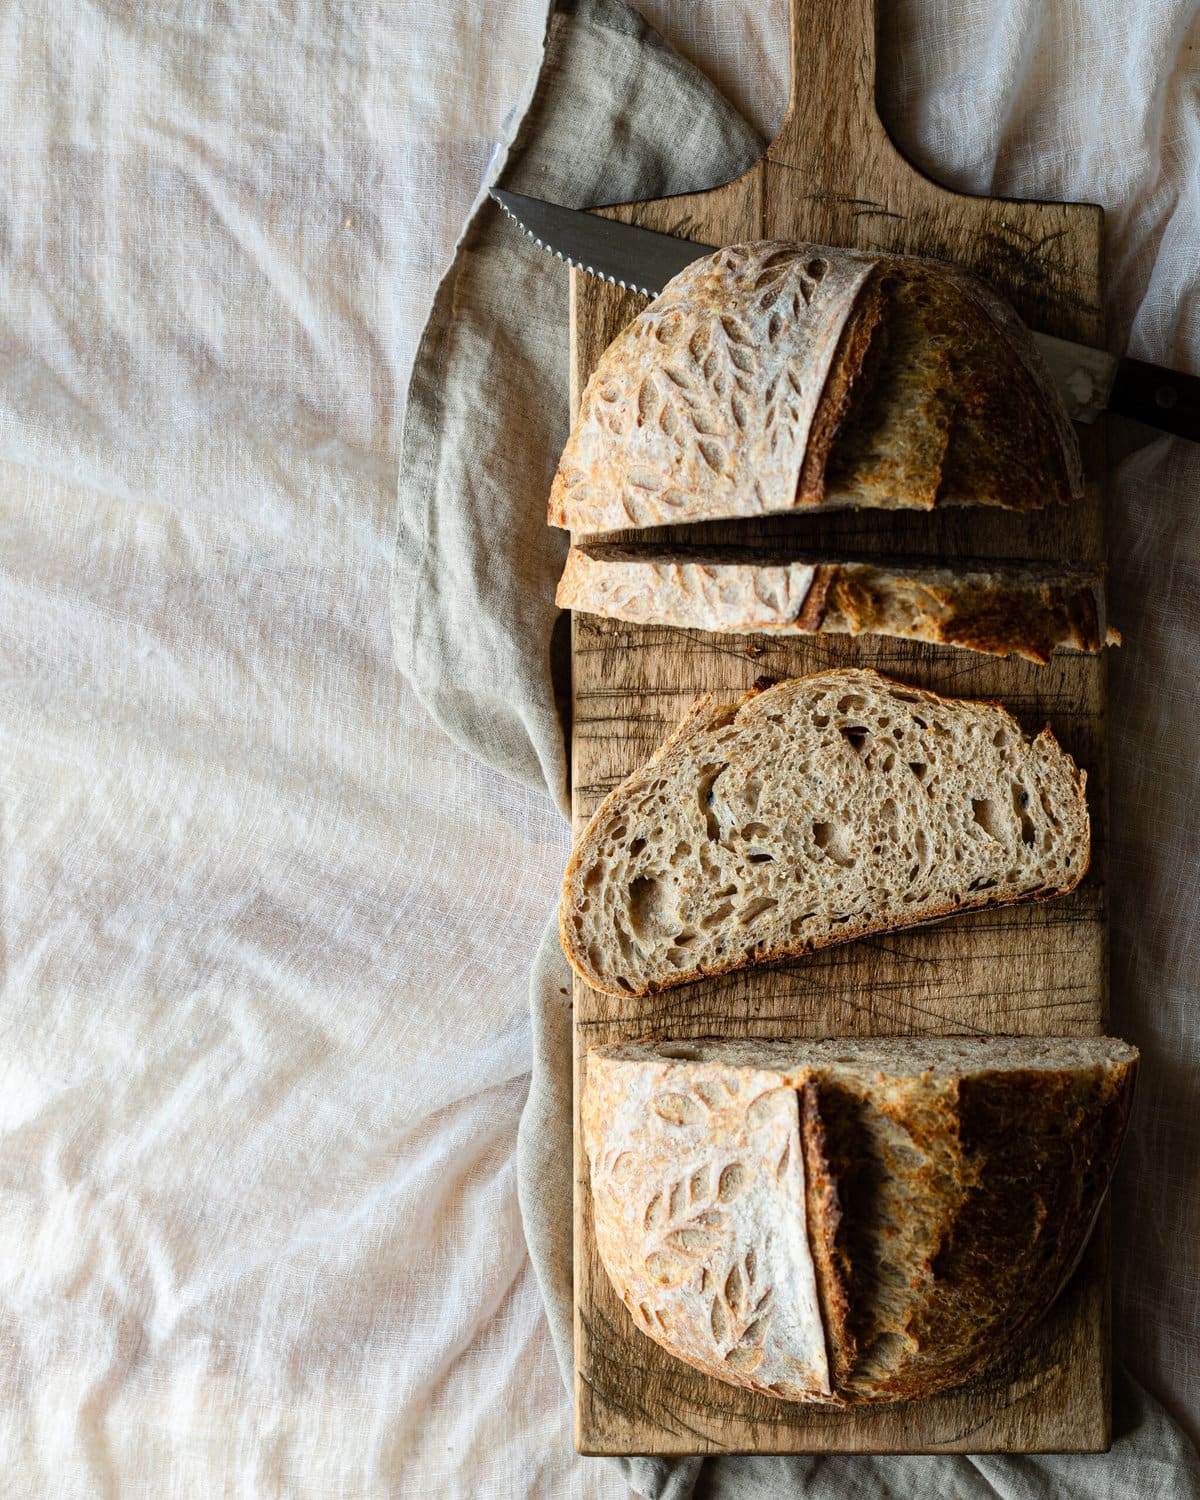
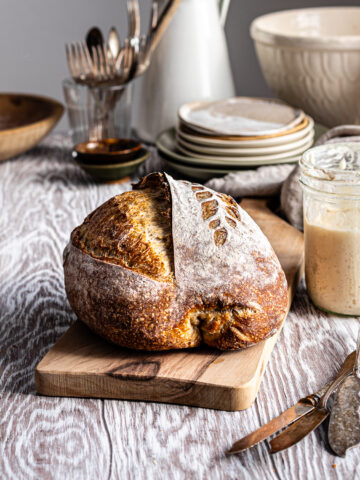
Long, elegant and perfect for sandwiches, there's plenty of reasons why the batard shape is so well-loved among bakers. This step-by-step guide explains the importance of shaping and demonstrates two ways of shaping sourdough bread into an oval or batard.
This post was originally published on Sept. 2023. I have since updated it with more photos and tips for success.
Jump to:
What is a batard?
A batard is a type of bread that’s shaped like an oval.
Although iconic today, batards were a later addition to French bakeries. These loaves didn't resemble the most common French breads, such as boules and baguettes; because they were something in between customers began referring to them as "batards."
Why I love batards
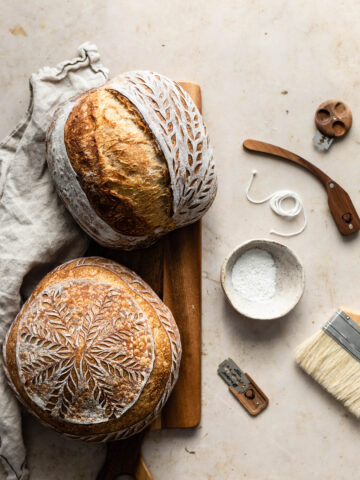
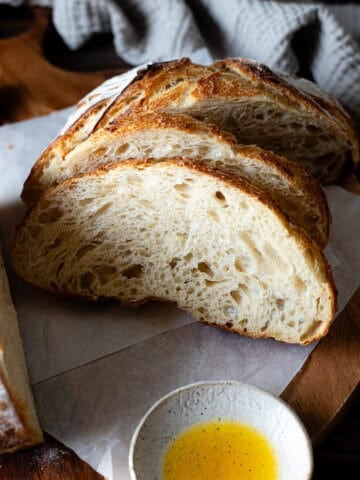
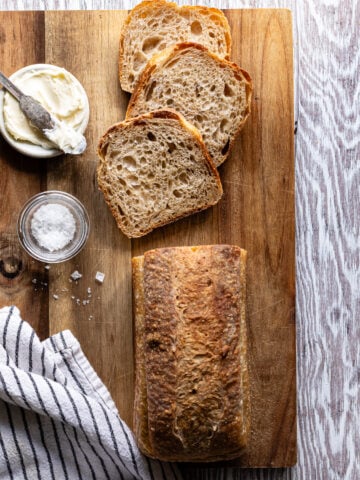
What I particularly appreciate about batards is their elegant appearance. When scored correctly, they facilitate the formation of an "ear". Moreover, their elongated, slender shape lends itself to producing uniformly sized bread slices that are ideal for sandwiches.
If you don’t own a Dutch oven or a Challenger Bread pan, you can even bake a batard-shaped dough into a loaf pan, see my post on How to Bake Sourdough Bread in a Loaf Pan to learn how.
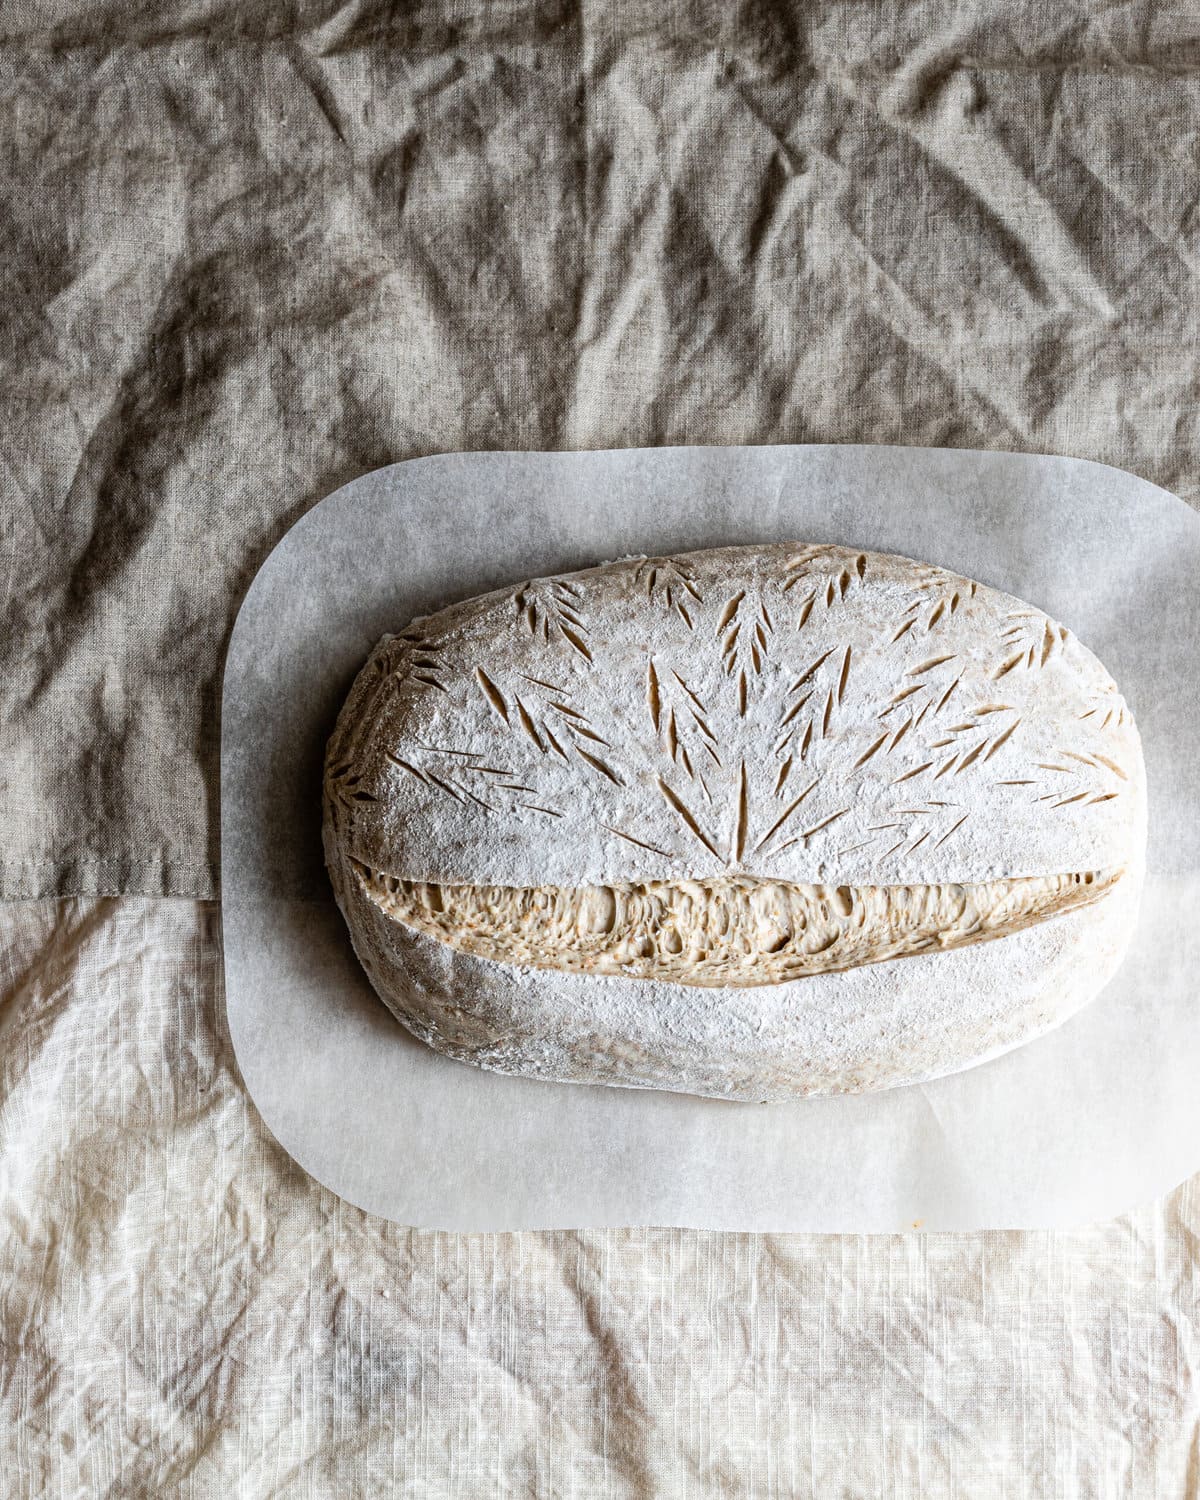
What is Surface Tension?
Surface tension is the elastic “skin” that forms on the outer layer of liquids. It naturally occurs in dough and shaping helps create a tighter skin which allows the dough to keep its shape during the proofing process and as it expands in the oven.
The purpose of shaping
Shaping coaxes your dough into its final form. It creates tension and structure, which helps the dough rise up instead of spreading out.
Shaping produces a skin on the surface of the dough which helps create an even exterior that results in a thin, crispy crust after baking. It also directs oven spring so bread expands evenly as it bakes in the oven. If your dough is weak with no tension, you won’t have good oven spring and your bread will spread and flatten out as it bakes. Needless to say, shaping is pretty important!
What you need
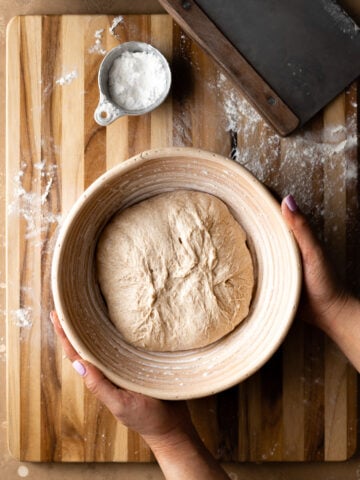
The first thing you need is dough that’s gone through the first rise. Use your favorite homemade sourdough bread recipe.
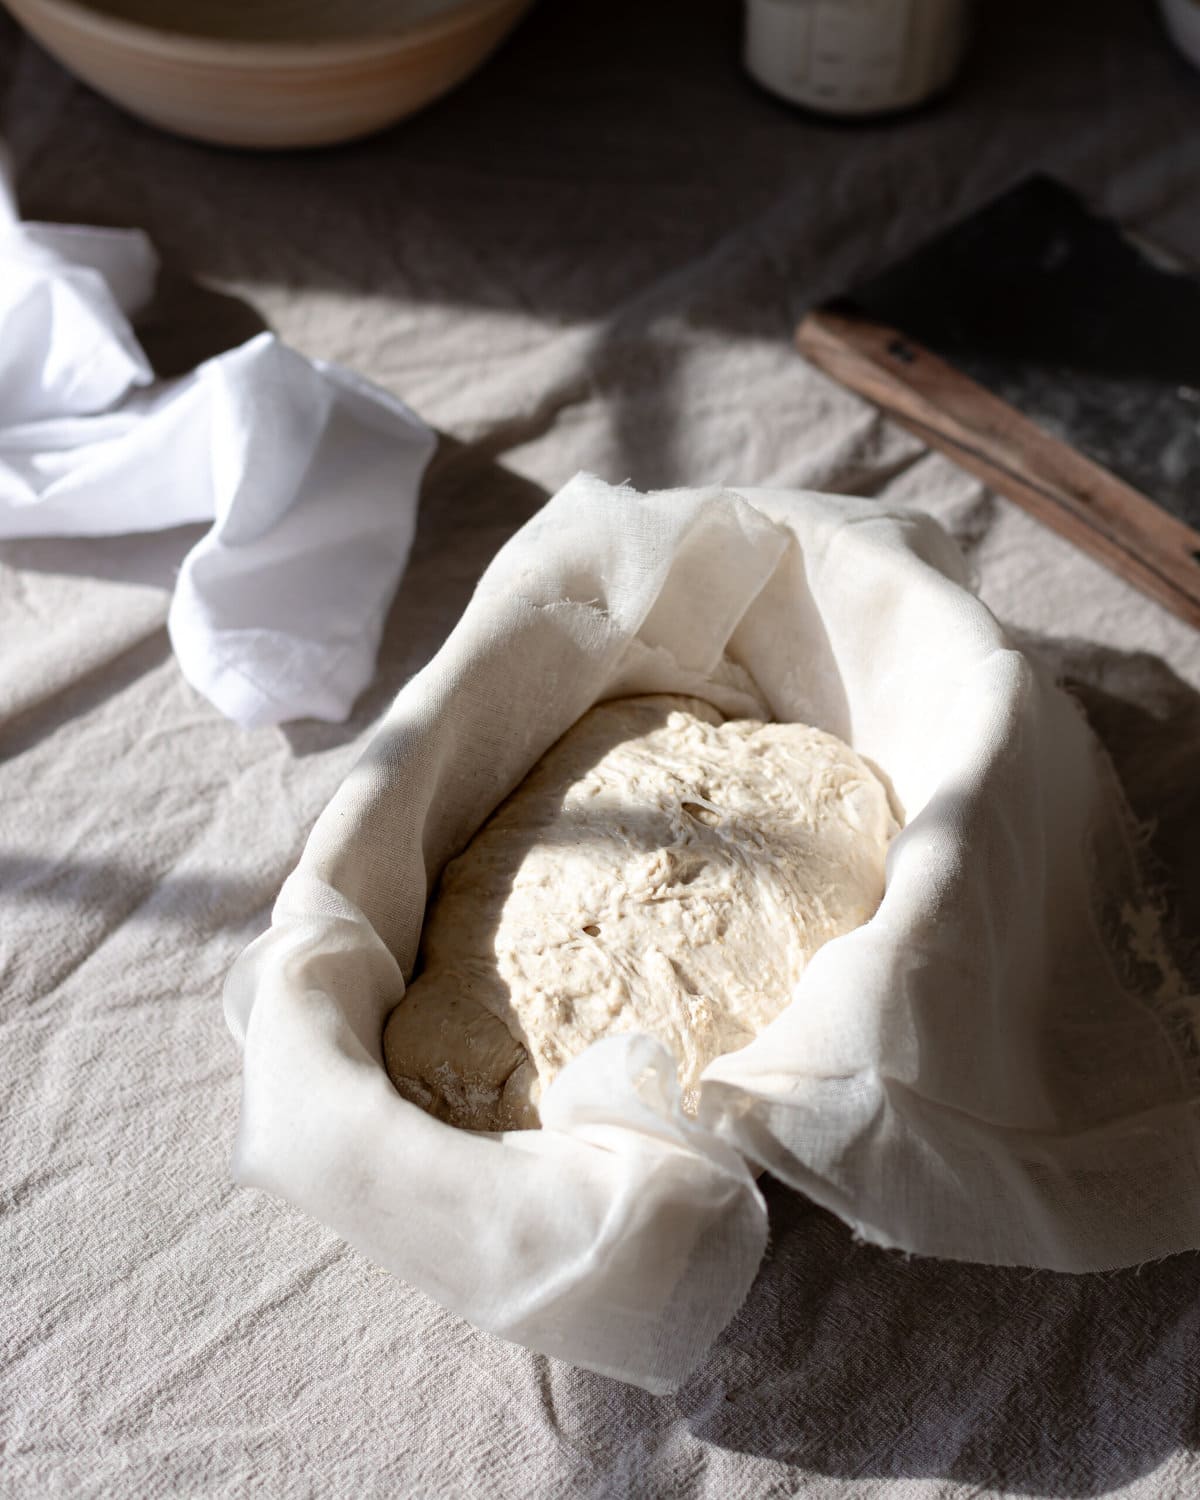
Oval banneton: Think of this as a bread rising basket, usually made of rattan, wood or cotton, the organic materials naturally wick excess moisture away from the dough during final proof. It’s the container you’ll place your dough in after the final shape and before final proof, it helps your dough rise up instead of spreading out and helps your dough retain it’s final oblong shape. Thanks to the popularity of sourdough you can easily purchase one online or even in some specialty kitchen store.
Bench knife: A useful tool for any bread baker, especially when handling wet and sticky doughs, this will allow you to easily divide, flip, round or drag your dough to create a taut skin.
Rice flour (optional): Rice flour doesn’t have any gluten so it creates a nonstick surface against your proofing basket or kitchen towel and dough. Feel free to use whole wheat flour, bread flour or all-purpose if you don’t like the flavor of rice flour.
Kitchen towel (optional): You can line a banneton with a kitchen towel dusted with rice flour to make sure your dough doesn't stick and if you don’t want flour to build up in your proofing basket.
Brush (optional): Will help brush away any excess bench flour so not too much gets incorporated into your dough.
How to shape sourdough bread
Method 1: Simple Shaping
This simple shaping method is easy and straightforward. It’s a gentle way to shape oval loaves which helps retain the bubbles created during fermentation. I especially like it for shaping strong and low hydration doughs like my Basic Sourdough Recipe.
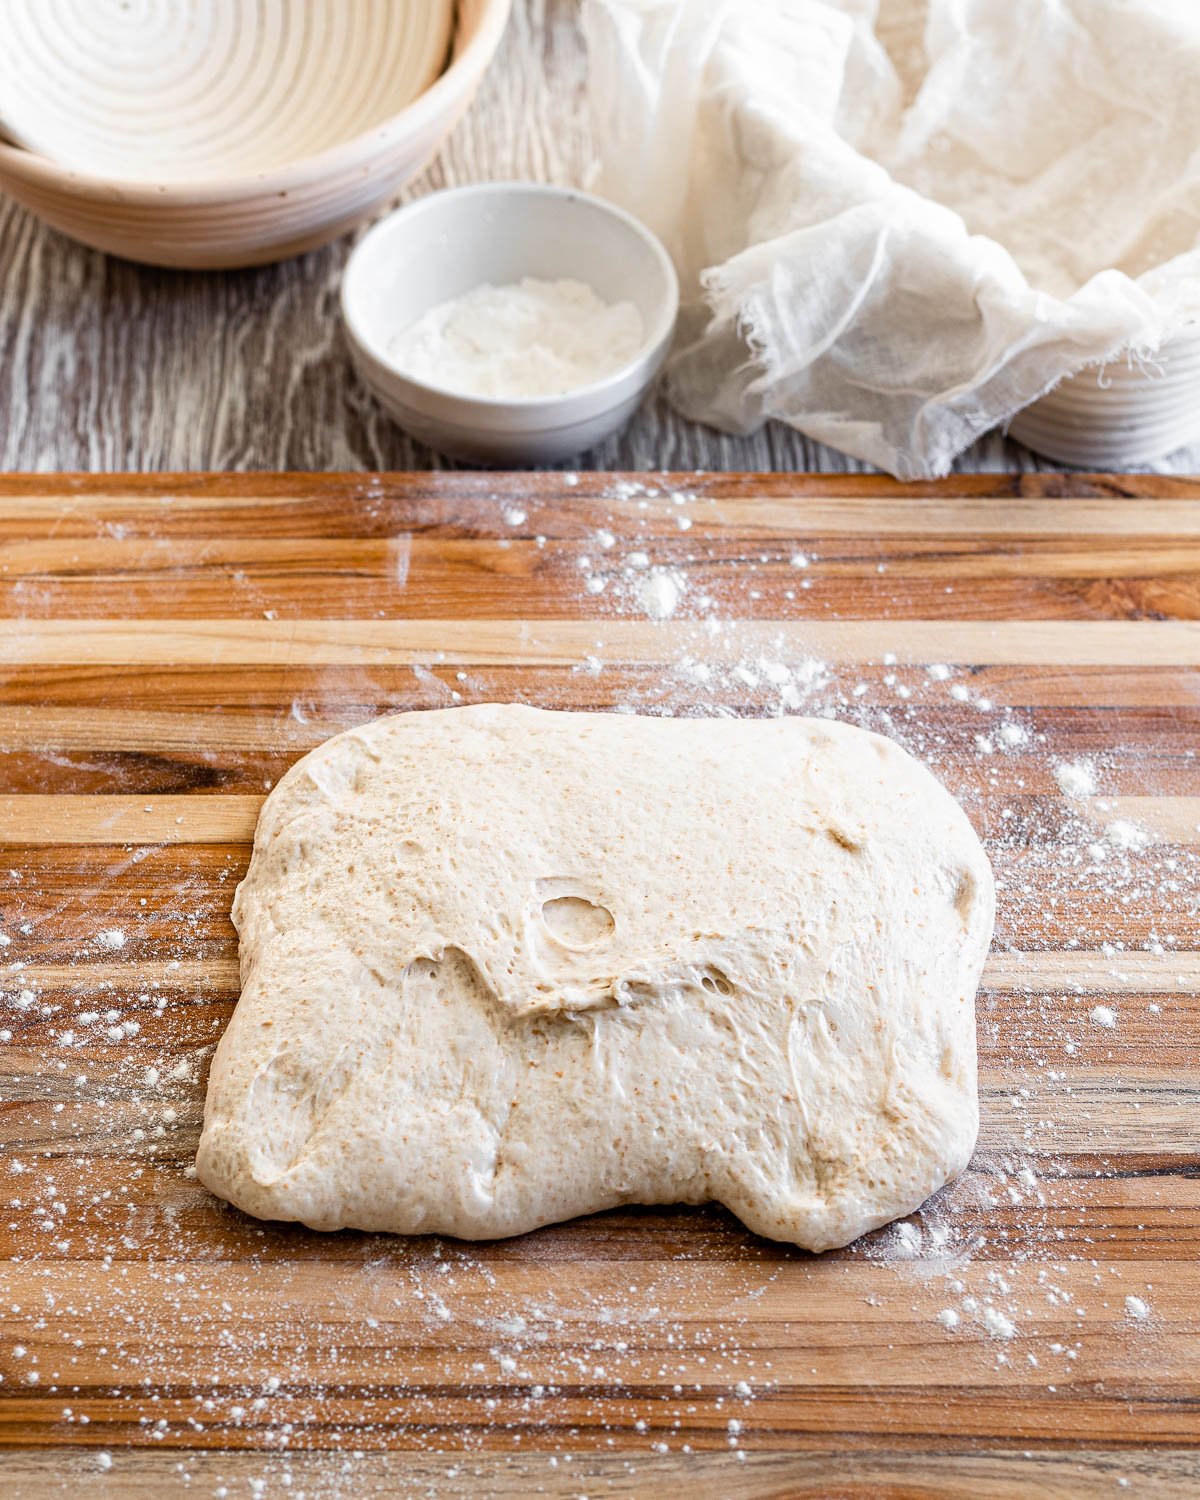
STEP 1: Turn your dough out on to a clean surface. Flip the dough over. Lightly flatten the dough out into a rectangle.
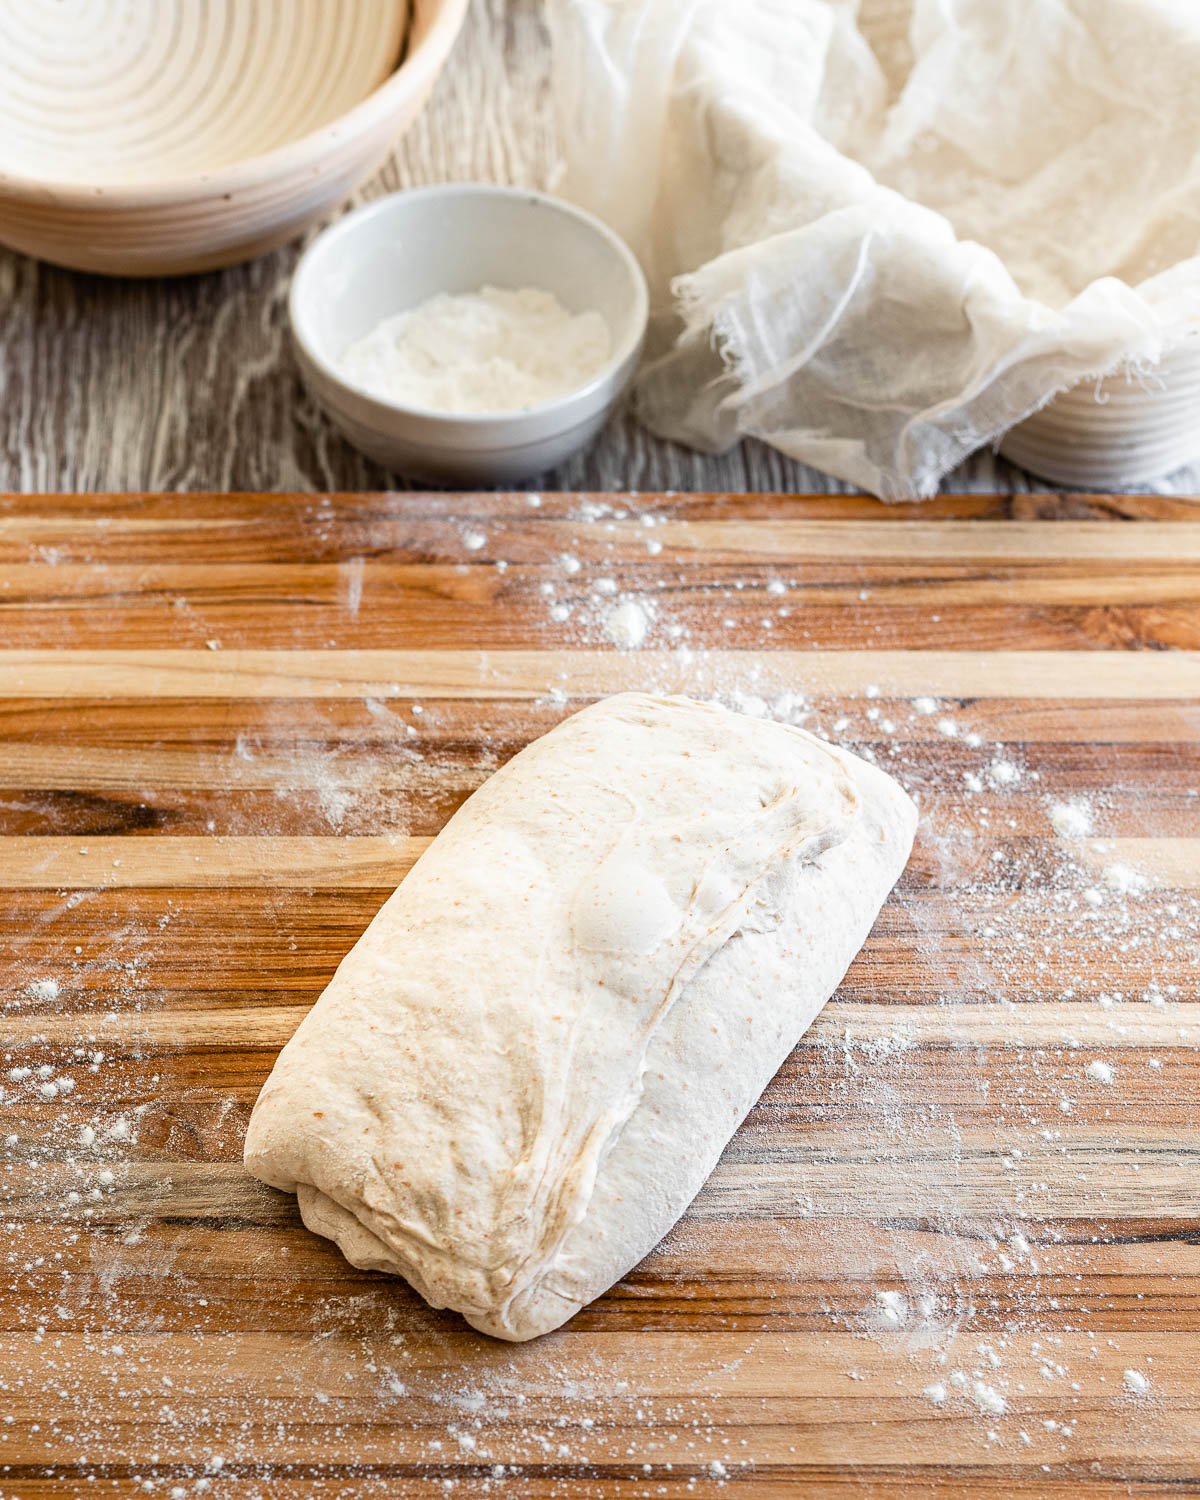
STEP 2: Working with the longer side of the rectangle, fold the bottom of the dough towards the middle and the top over that (like you’re folding a letter).
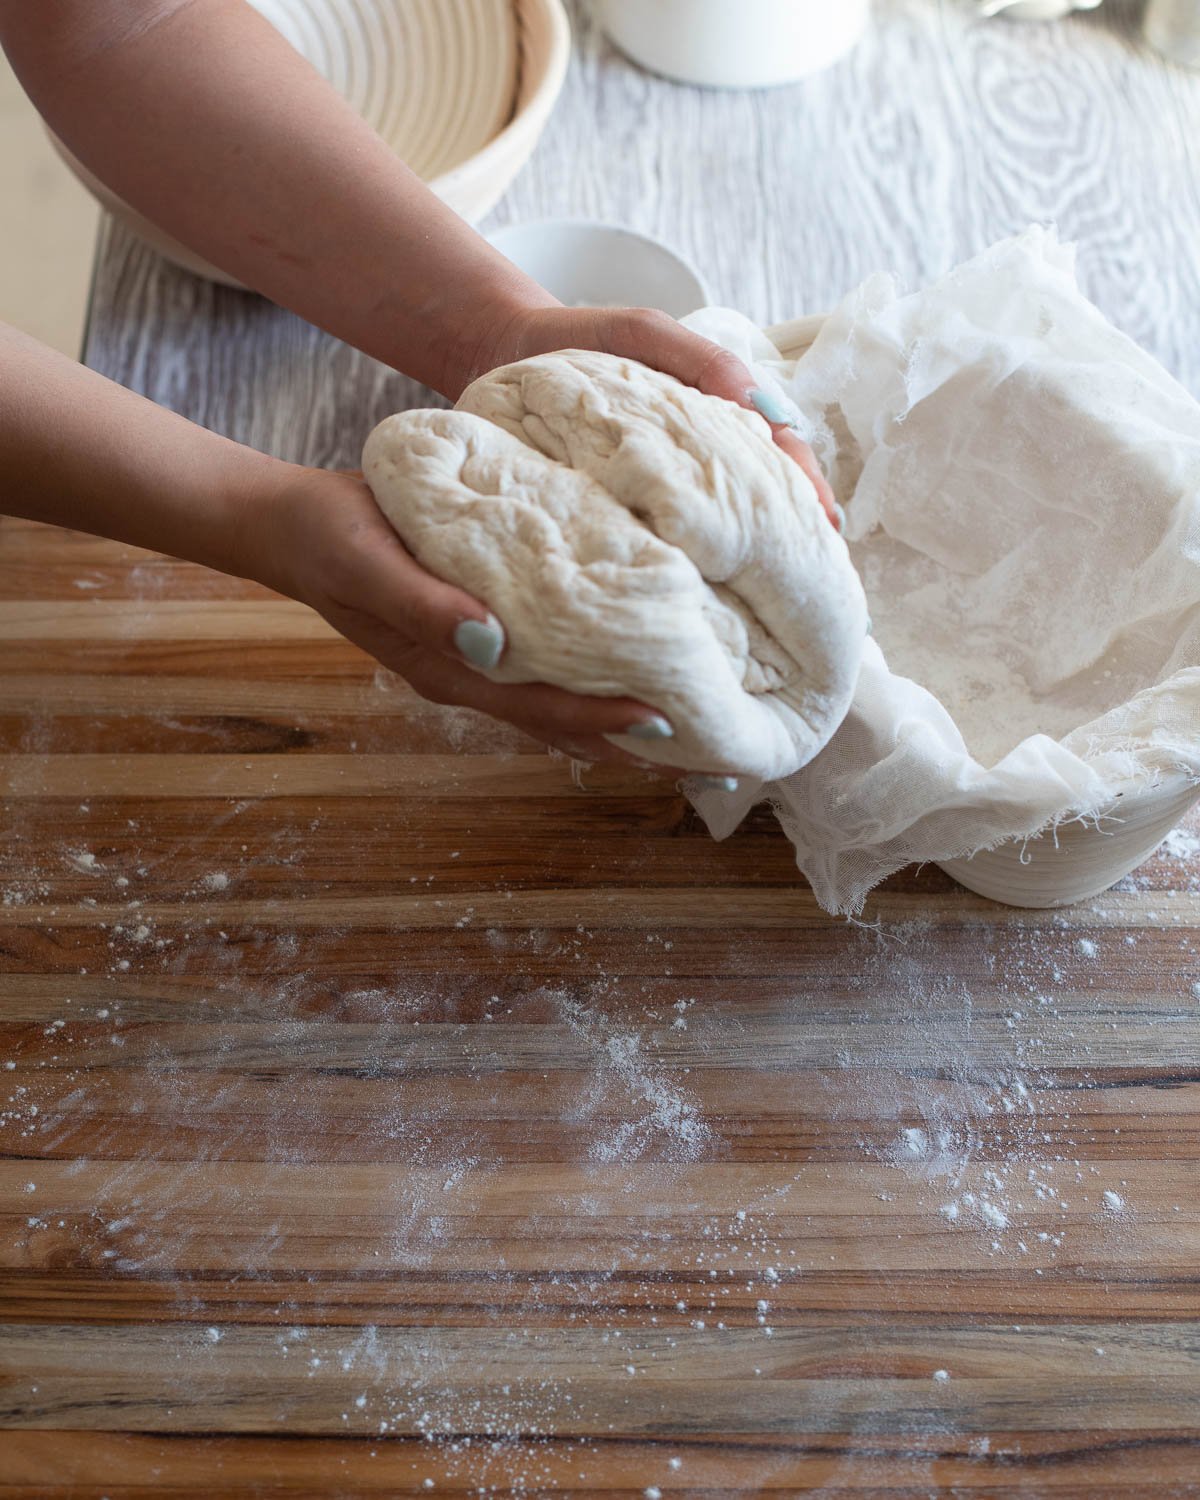
STEP 3: Pick up the dough from the shorter sides and gather them towards the center. Gently place the dough inside your proofing basket, seam side up.
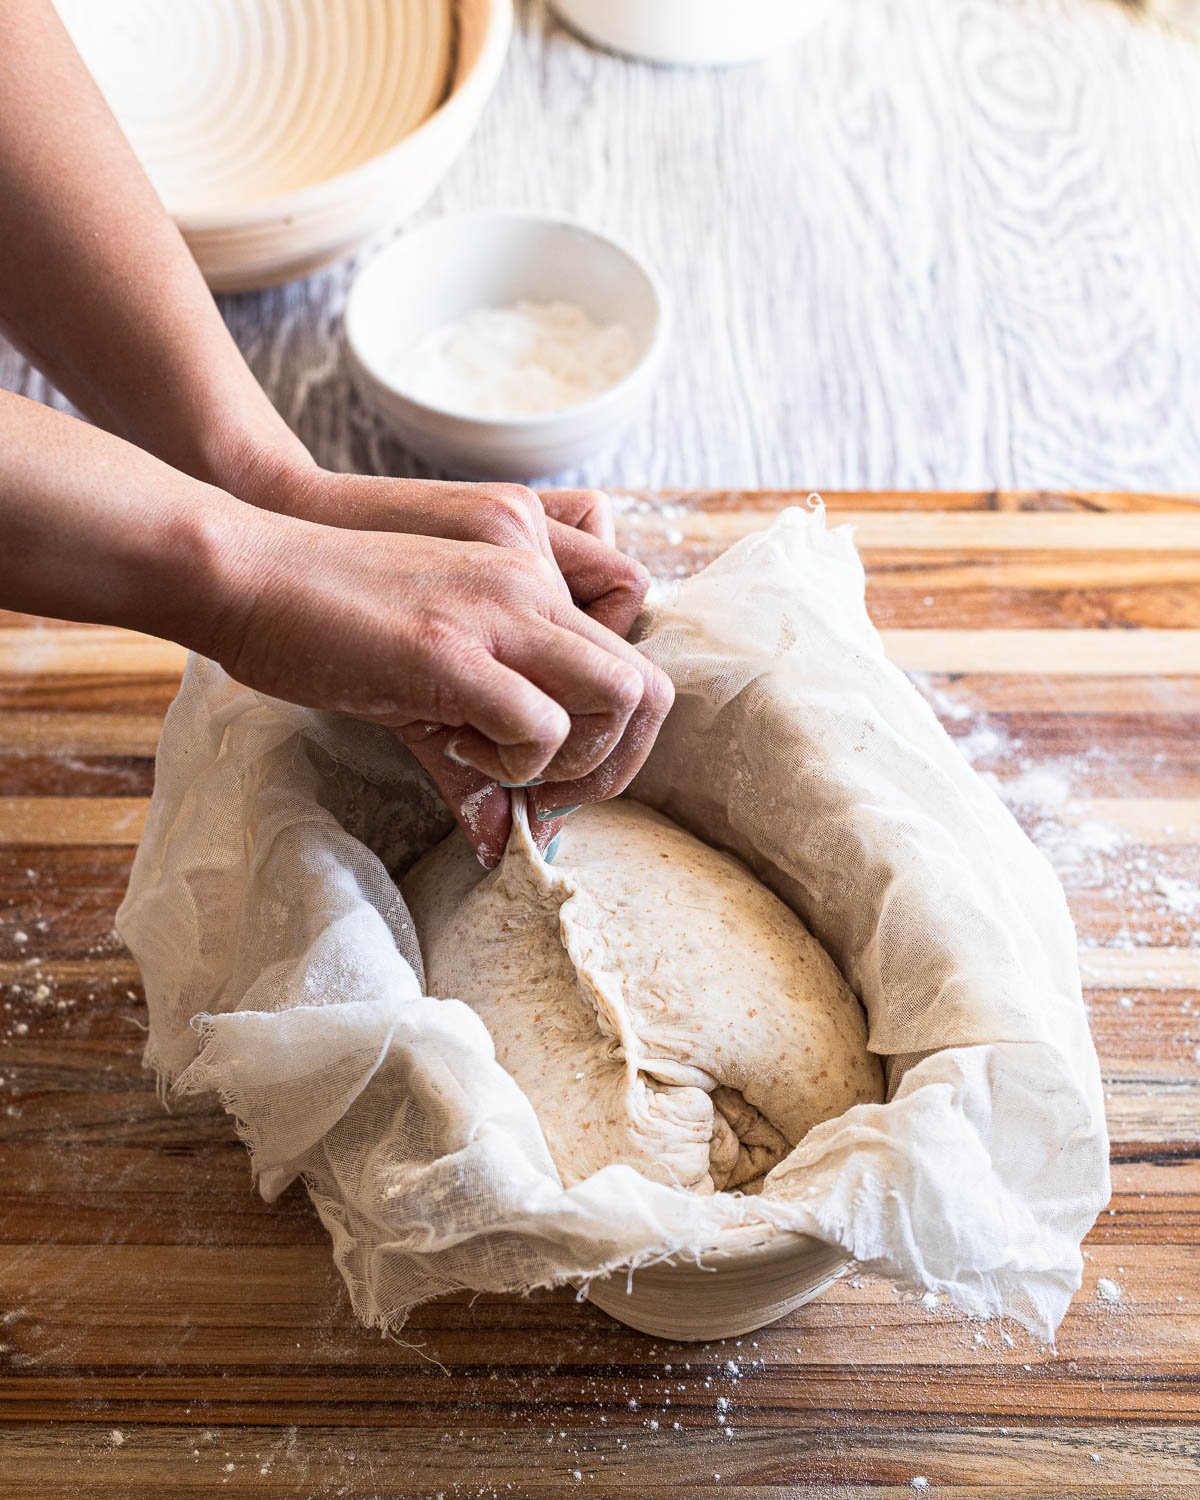
STEP 4: Pinch the seam shut. Wrap the towel over the top of the dough.
Handle your dough gently. While it's essential to create surface tension, take care not to tear the surface of your dough, as this could cause it to collapse as it bakes in the oven.
Method 2: Stitching
A much more aggressive way of shaping bread dough, best for high-hydration dough and bread made with a higher proportion of whole wheat or ancient grain flour, like Spelt Sourdough Bread. These doughs are usually more slack and need more support, so they benefit from extra folds and stitching which creates more tension.
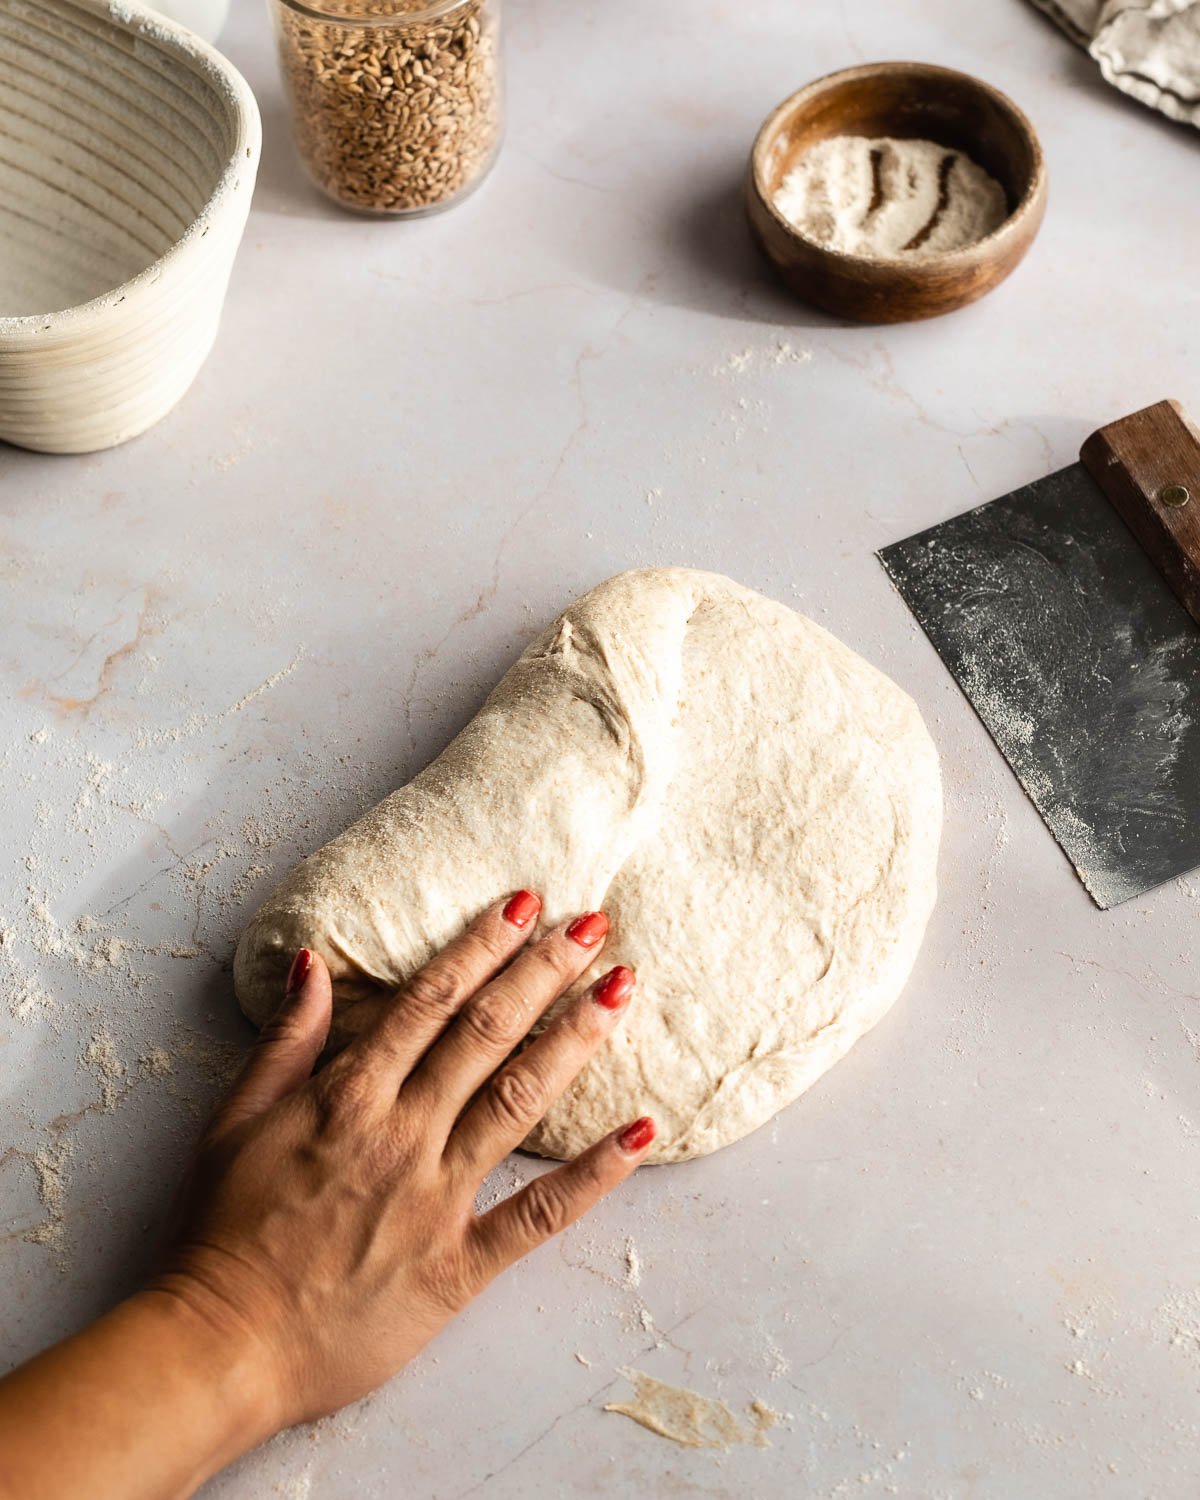
STEP 1: Fold the left side of the dough towards the center
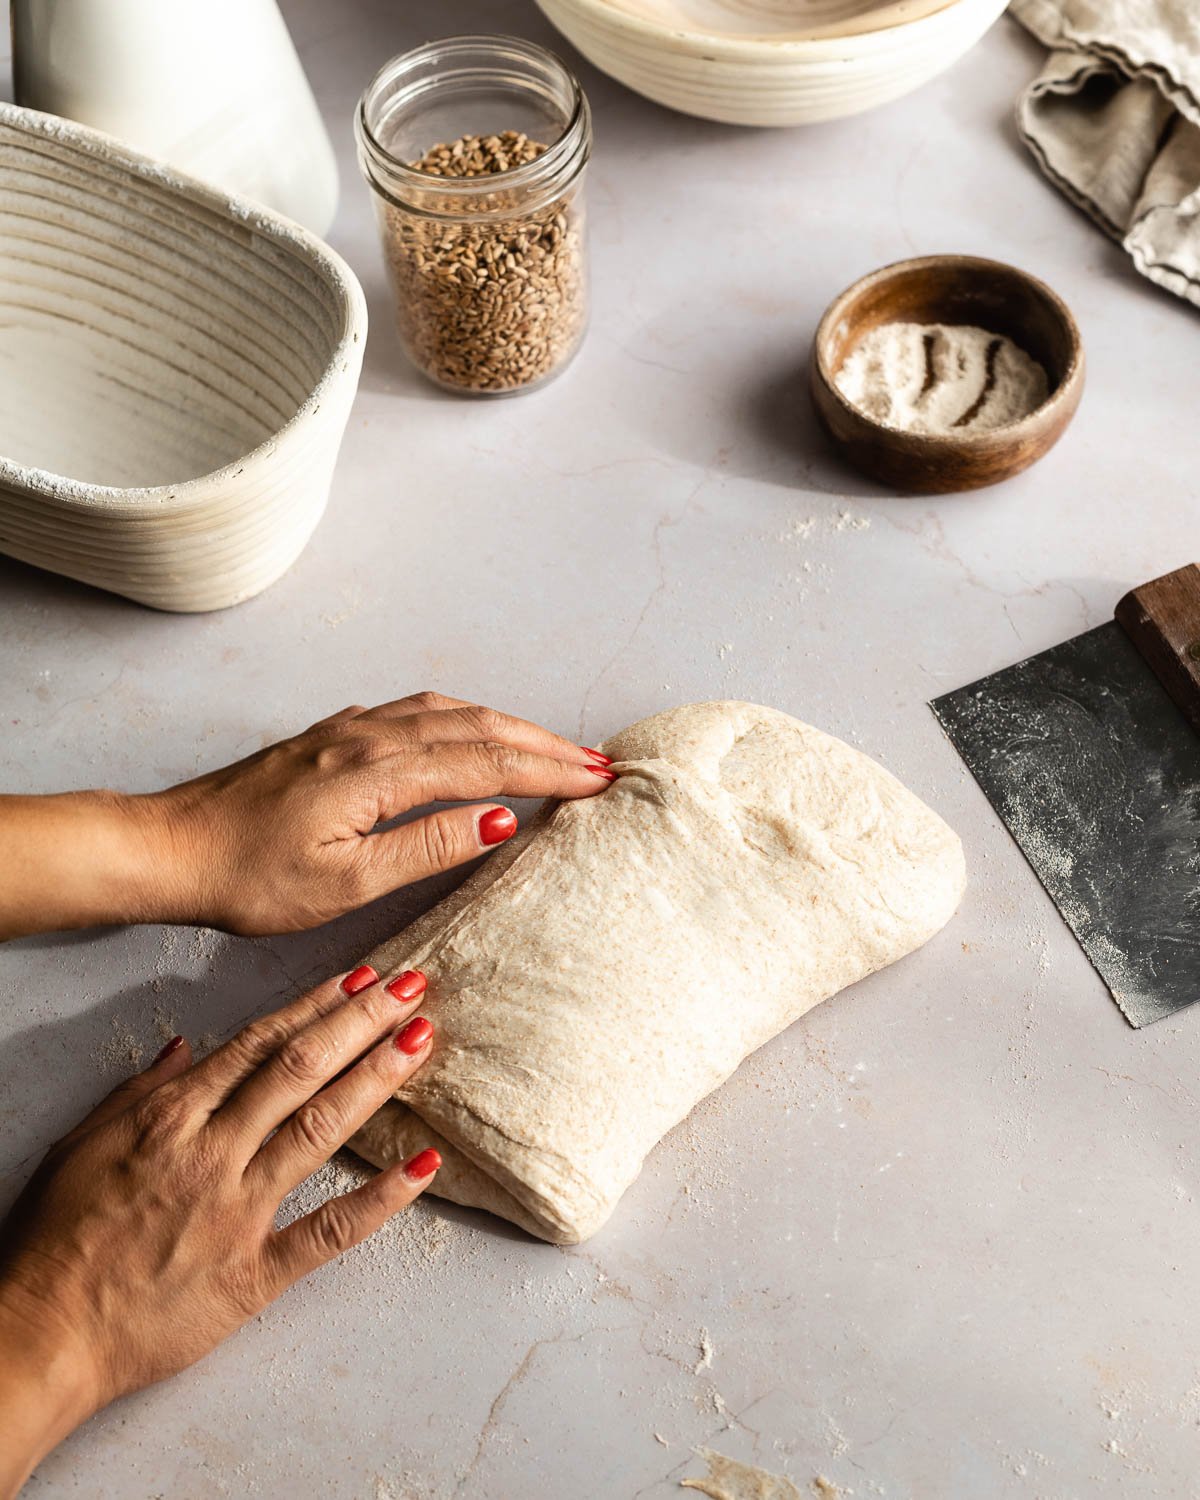
STEP 2: Fold the right side over the left
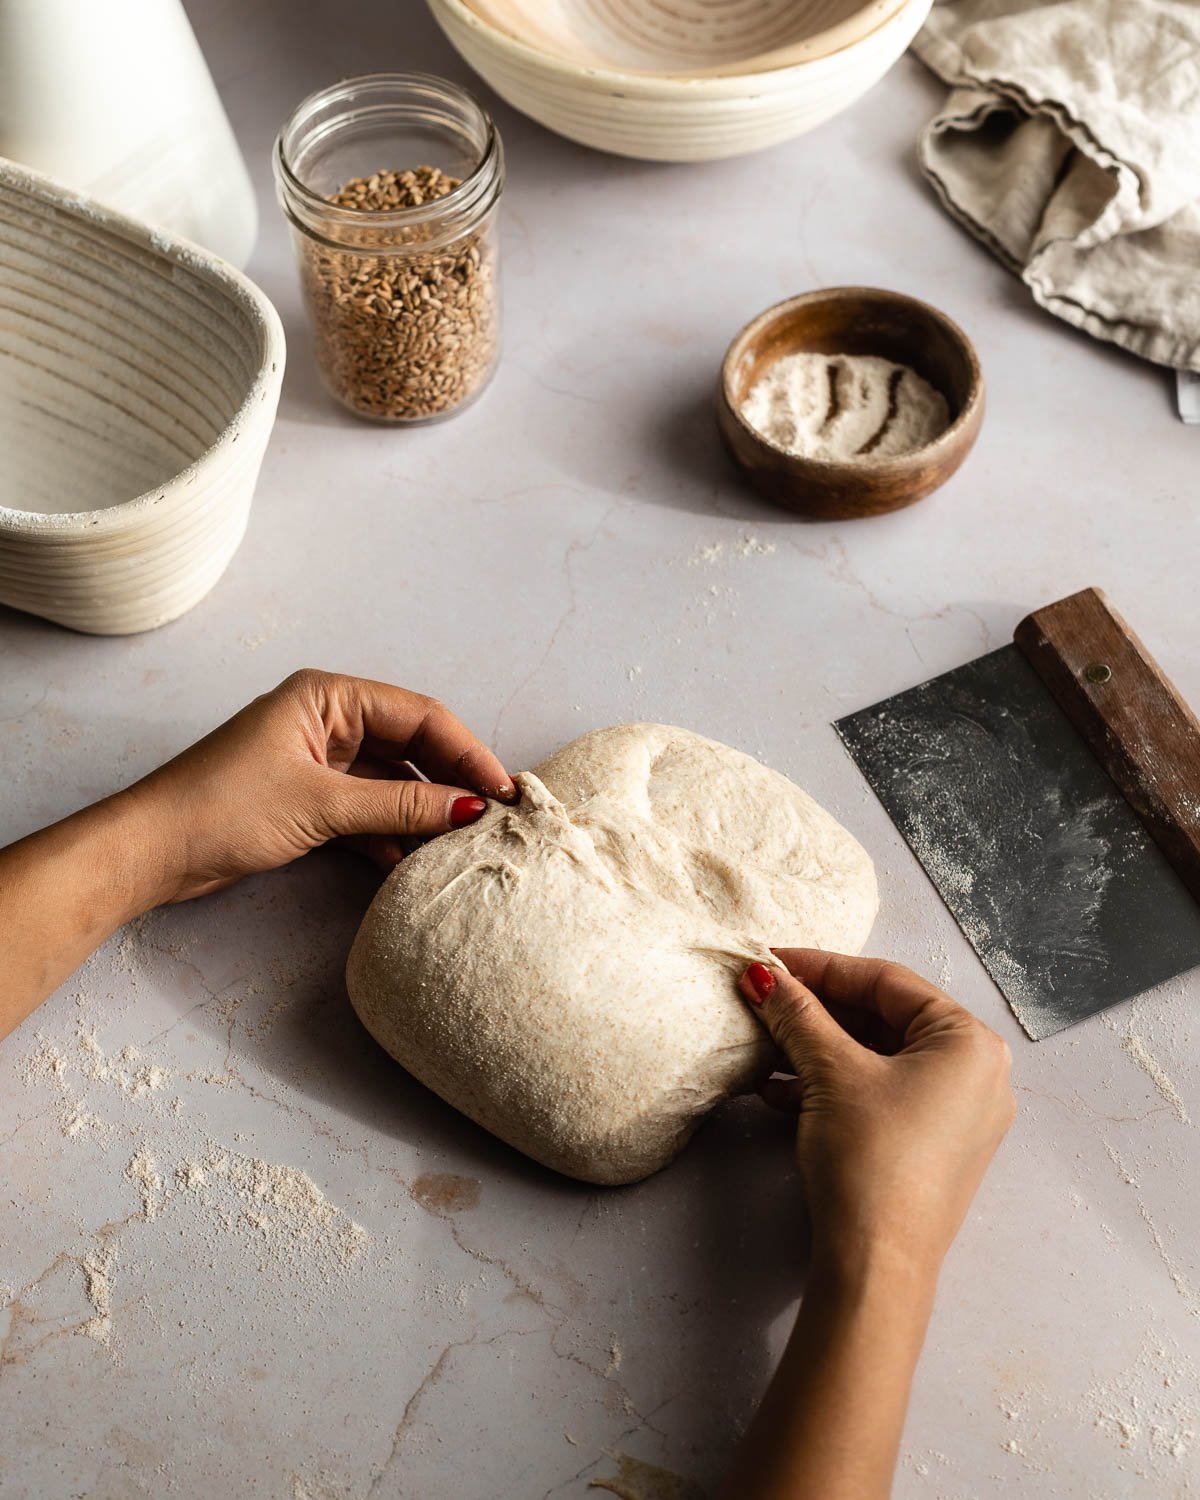
STEP 3: Fold the bottom of the dough towards the center
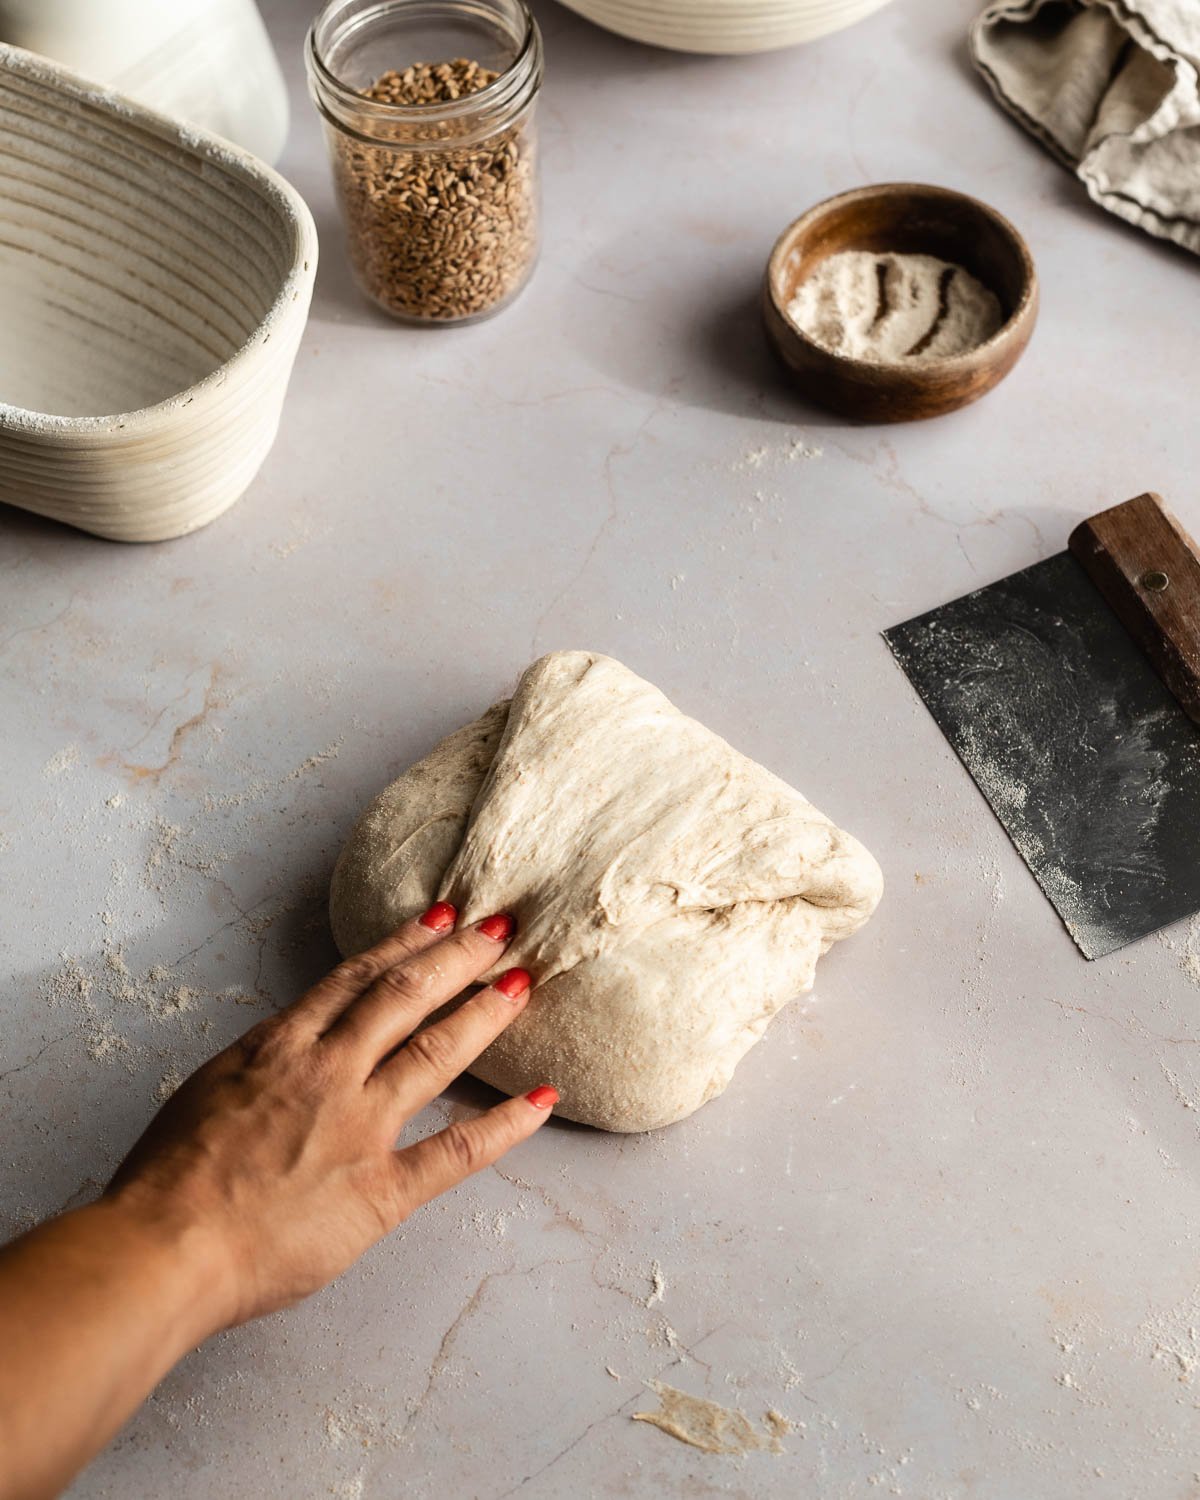
STEP 4: Fold the top over until it covers the bottom flap
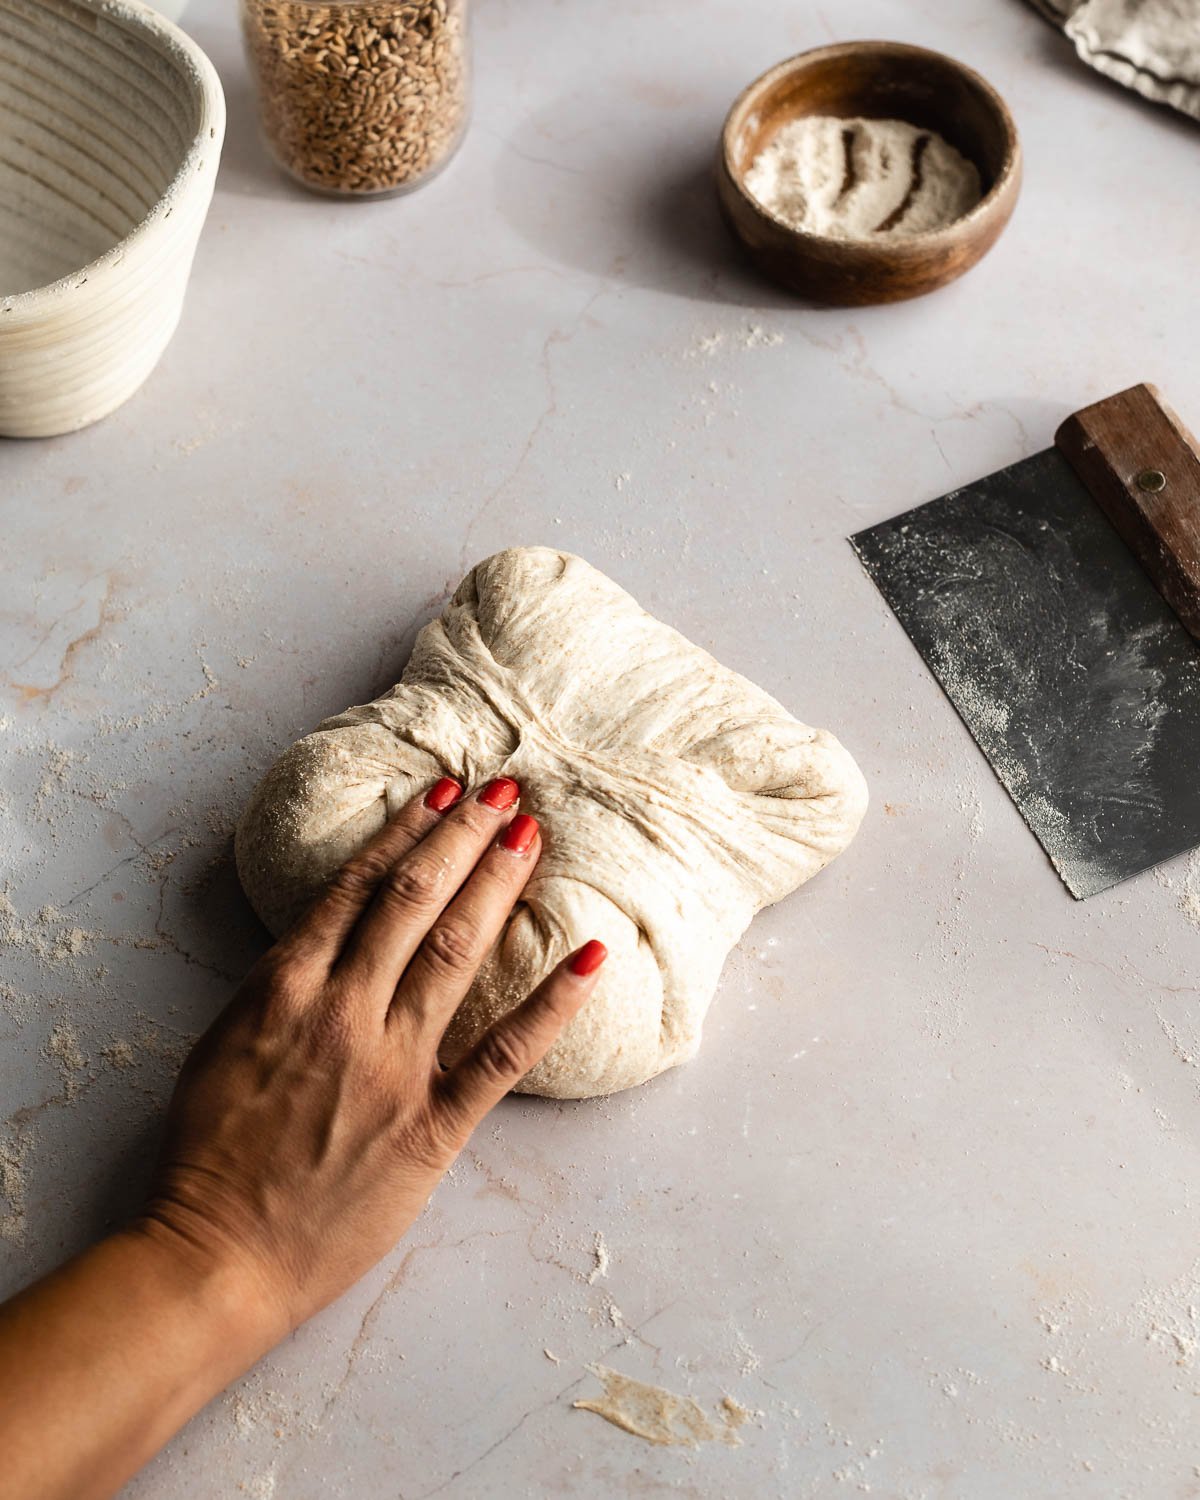
STEP 5: Pinch the sides of the dough together beginning with the center
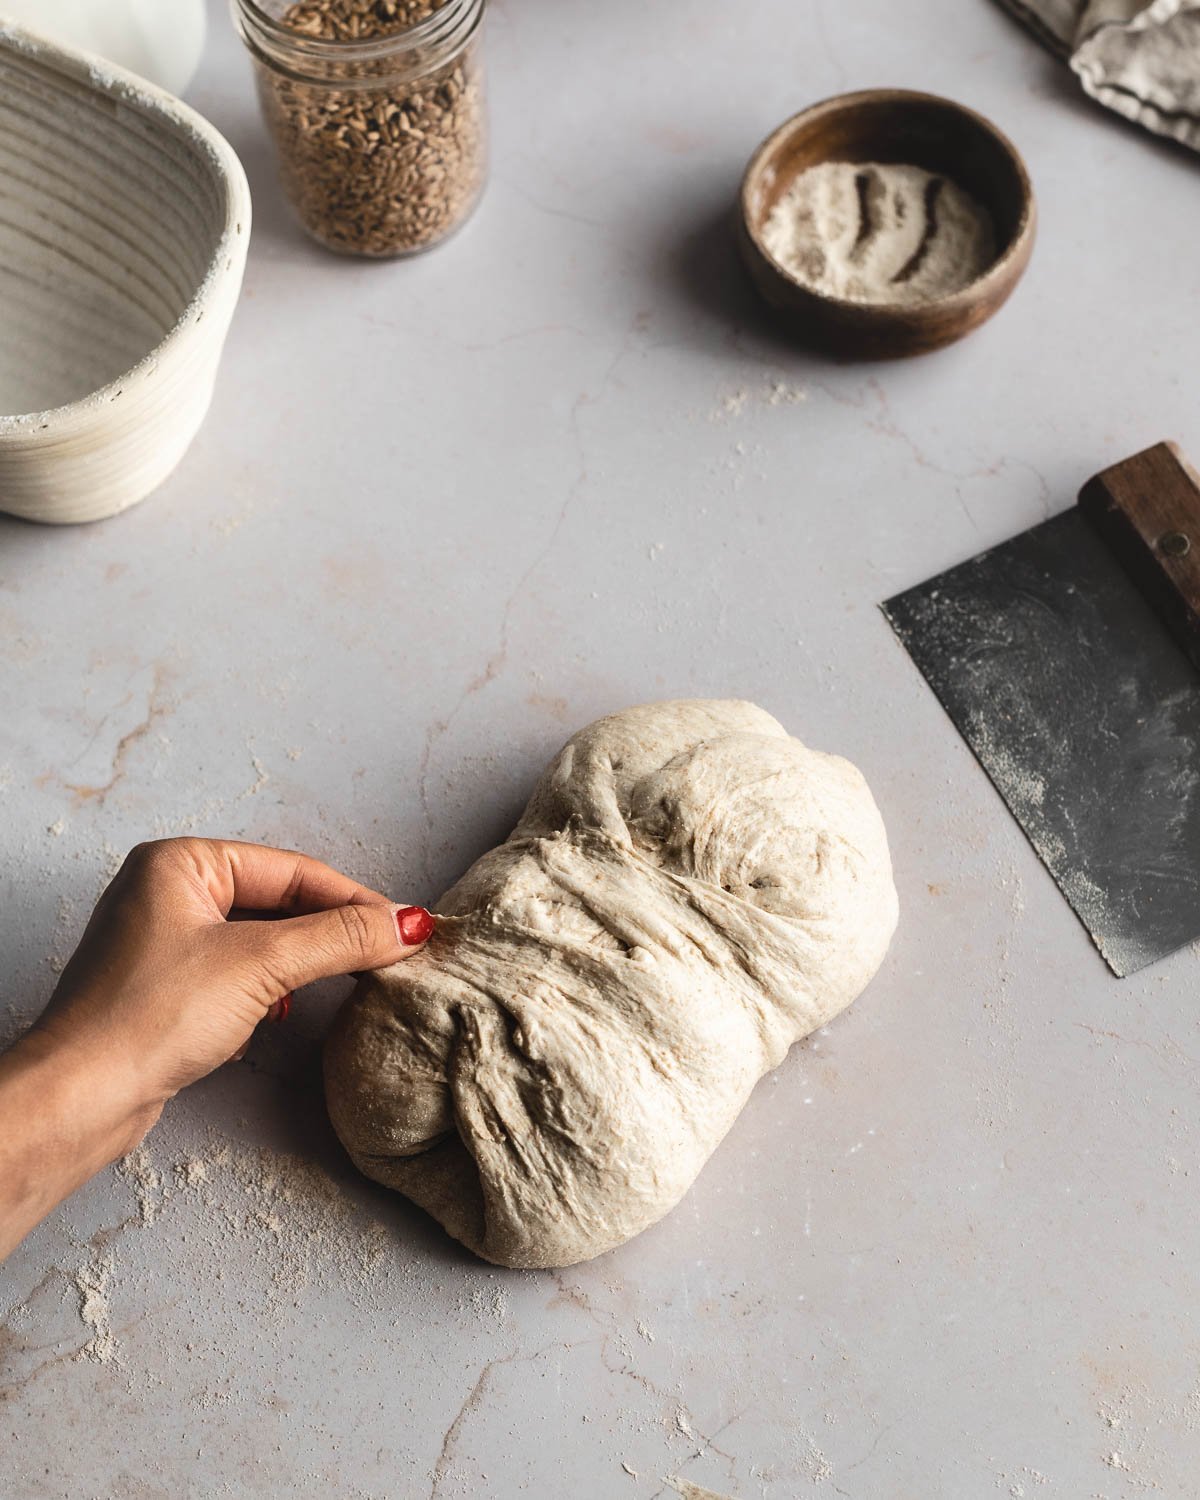
STEP 6: Stitch the top and bottom
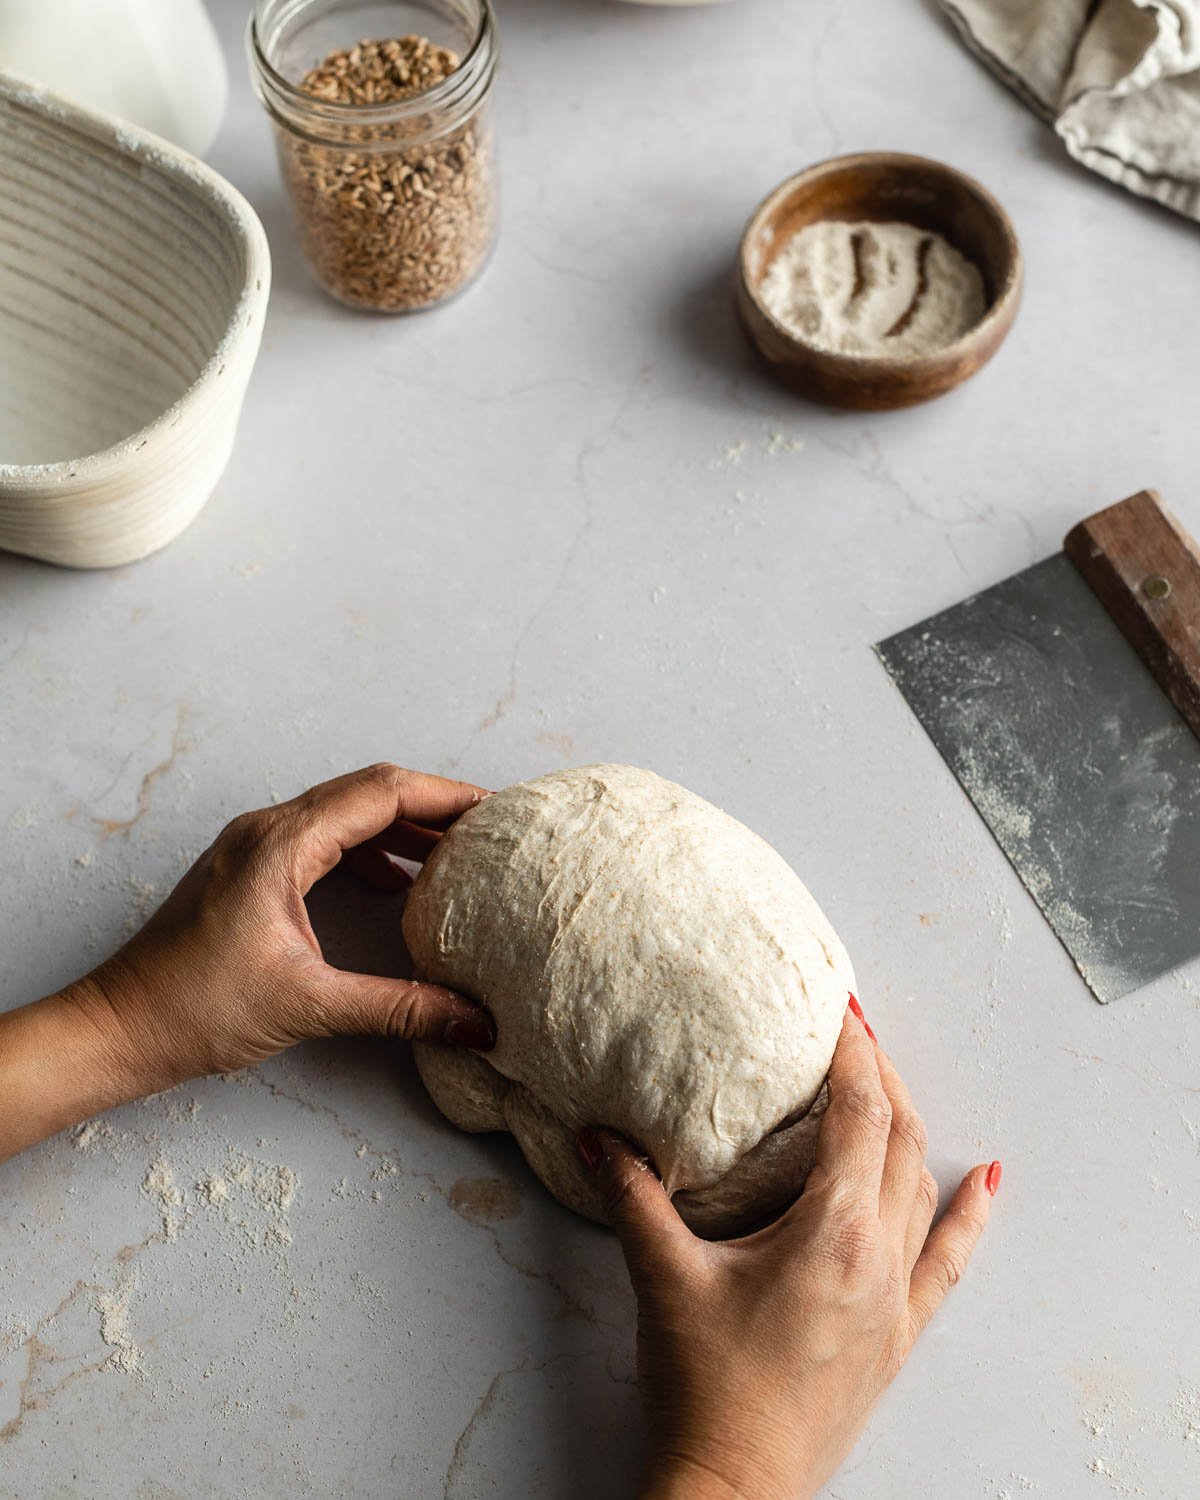
STEP 7: Fold the top, gently roll the dough over itself until it flips and the seam is in the bottom
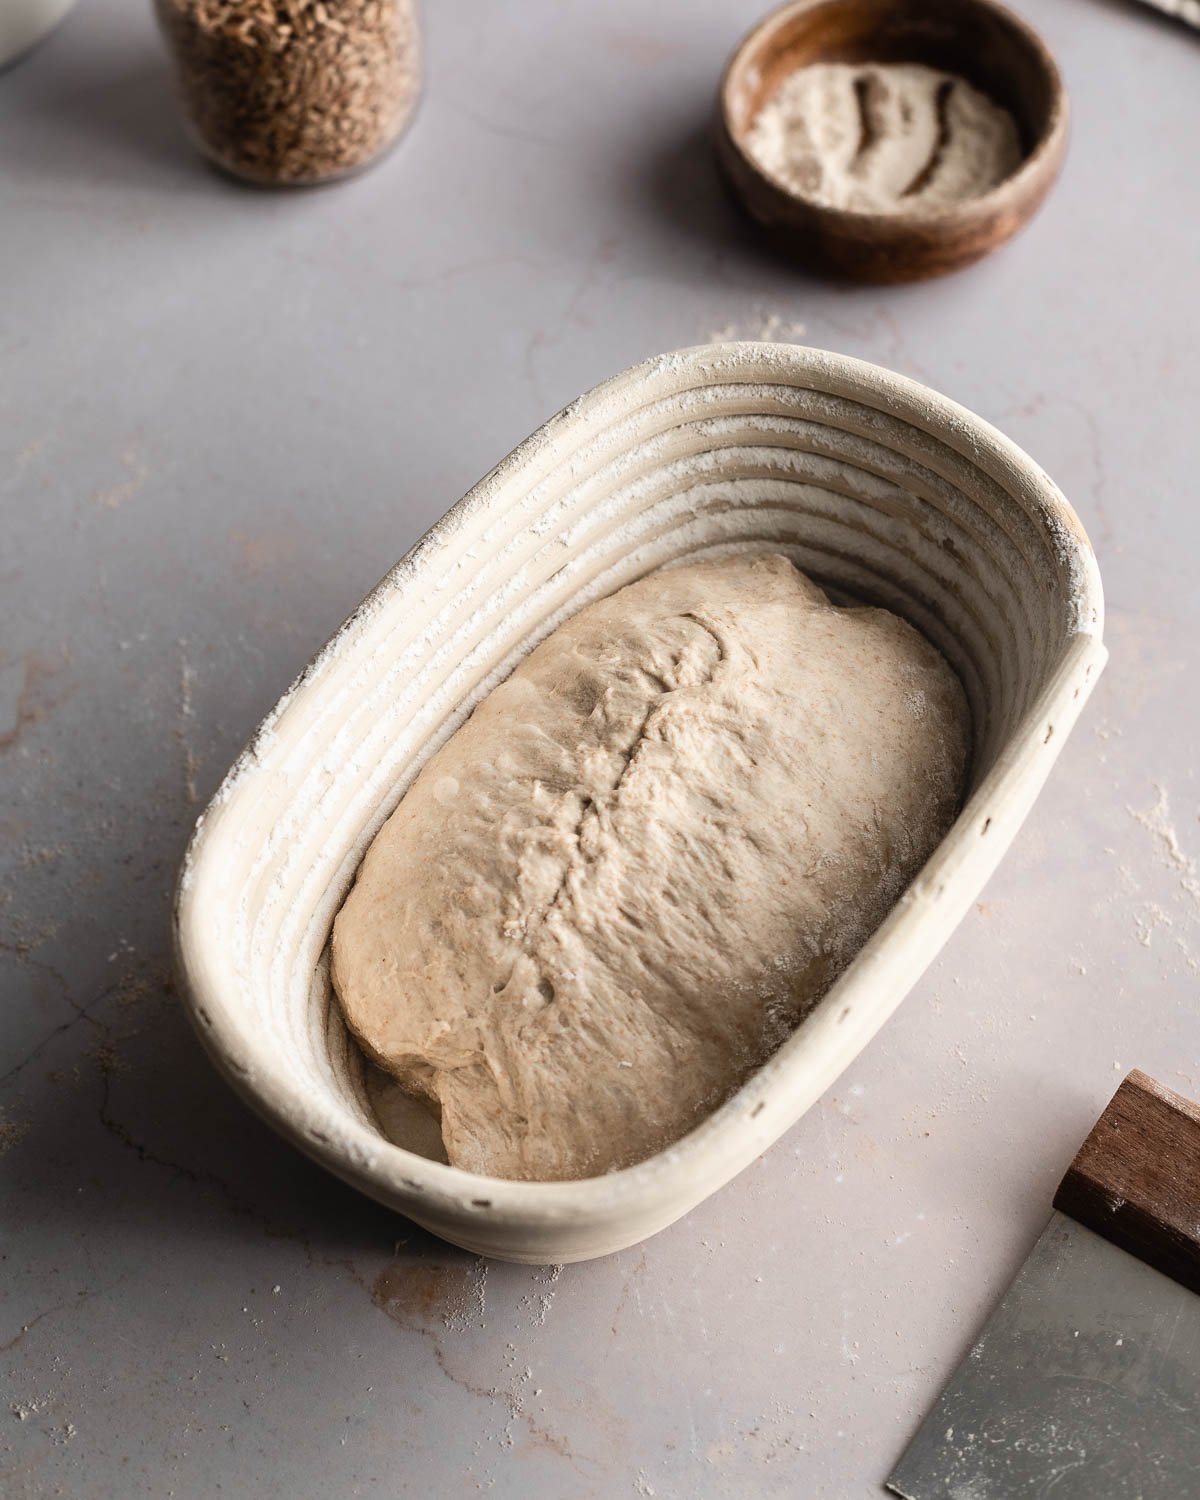
STEP 8: Transfer the dough to your banneton seam-side up
Expert Tips
Don’t skip pre-shape: Pre-shaping is an extra step that has always guaranteed much better results in my experience. It preps your dough to take its final shape. Additionally, it creates more strength and structure, and the short bench rest even makes handling sticky dough much easier.
Use damp hands: sourdough is usually quite sticky, if you have trouble handling wet dough, wet your hands a little before shaping.
Don’t be afraid of bench flour: Most people are afraid of using too much all-purpose flour during shaping, however, dough getting stuck to your work surface can break the lovely taut skin you’re hoping to create while shaping. Use as much flour as you need so that your bread doesn’t stick and use a brush to brush away any excess so not too much gets absorbed into your dough.

FAQs
Dough is ready to be shaped once it’s fully fermented. Some signs to look for are, a noticeable increase in volume, a few bubbles of varying sizes on the surface of the dough, it should feel like air has built up inside and it should easily slide out of the container when you turn it out onto your work surface.
Knowing when to end bulk fermentation or first rise, is the most important skill in bread baking. As you continue to bake you’ll get a better feel of dough and develop an instinct that will help you better determine when your dough is ready to shape.
Pre-shaping gets the dough ready to take its final form and makes it a little bit easier to handle during shaping. The practice was adapted by home bakers from professional bakers who preshape their dough out of necessity since they usually have to divide a large mass of dough into even portions.
If you’re only baking 1 loaf of sourdough at a time, preshaping usually isn’t required, but it’s highly recommended since it helps create tension, adds strength and imparts more structure to your dough.
If you don’t shape your dough, your bread will be flat like a ciabatta or focaccia bread.
Absolutely, I actually do this quite often using my 5-qt Lodge Dutch Oven. As long as the length of your shaped dough fits inside your Dutch oven it will work find.
Knead More Help?
Have more questions about this topic? Let me know in the comments!
Pin this post on Pinterest for easy access anytime!
Share your baking triumphs on Instagram - don't forget to tag @makeitdough, I love showcasing your bakes in my stories!
⭐ THANK YOU ⭐

Did you make this recipe? Do you have questions? Let me know below!