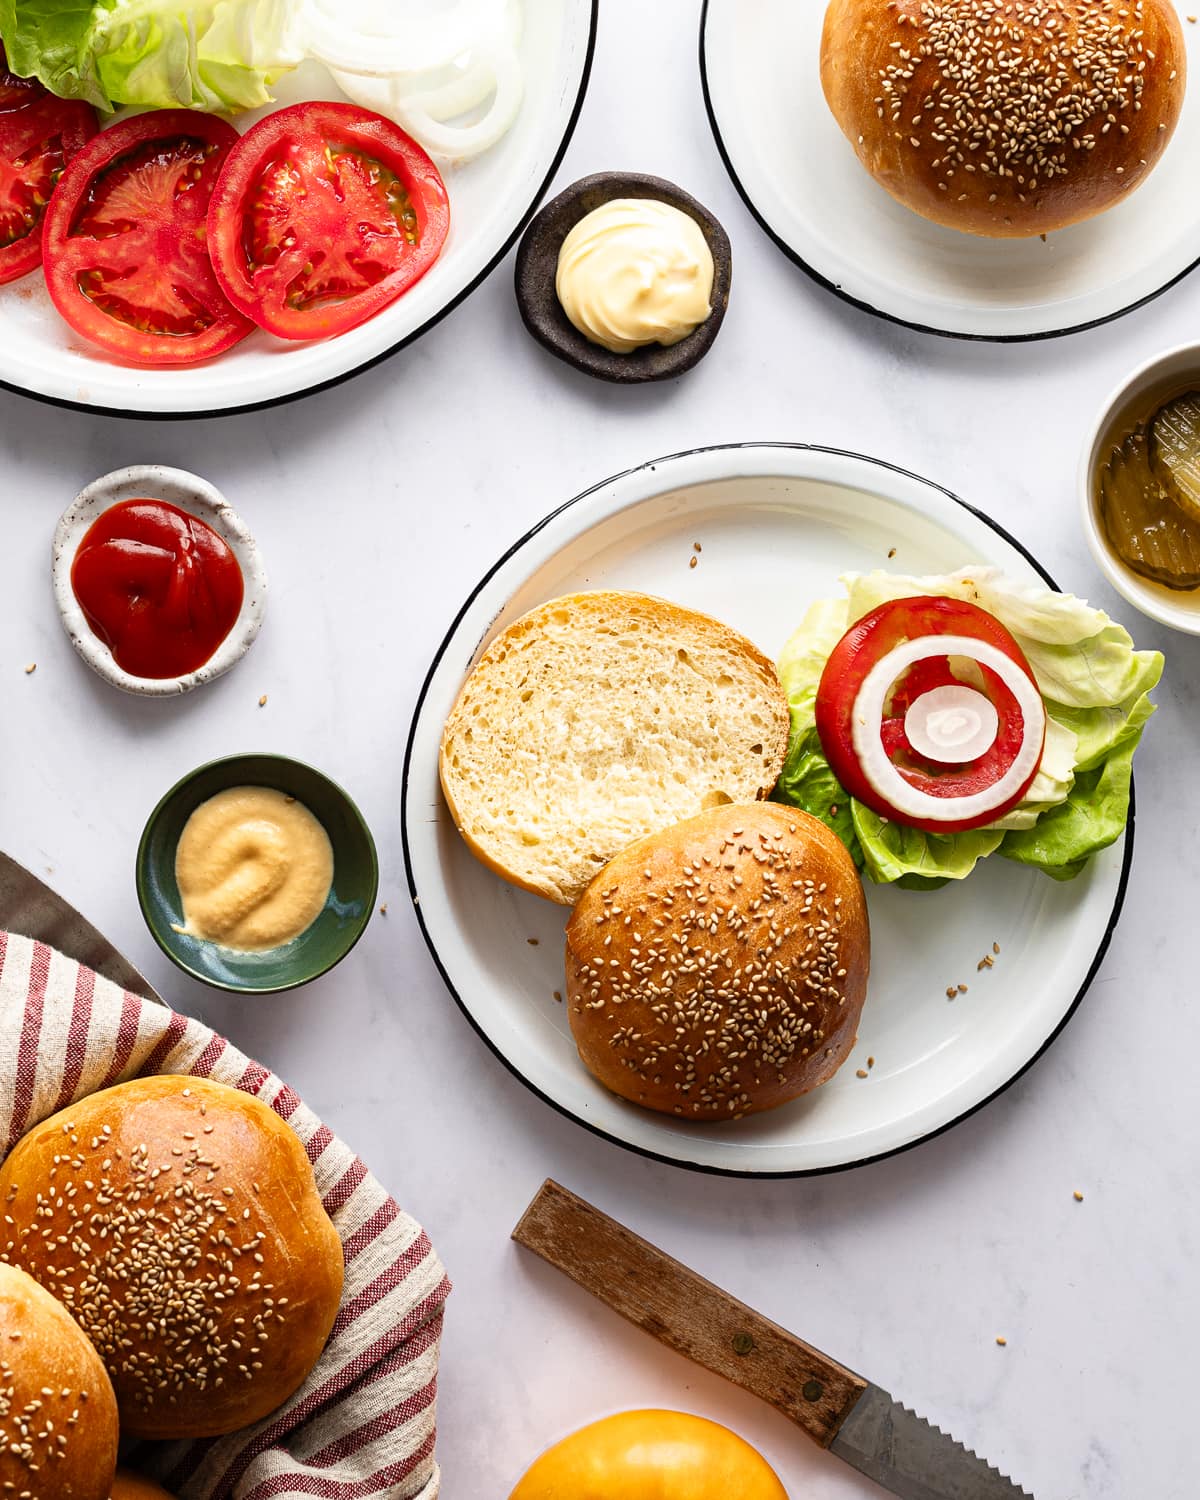
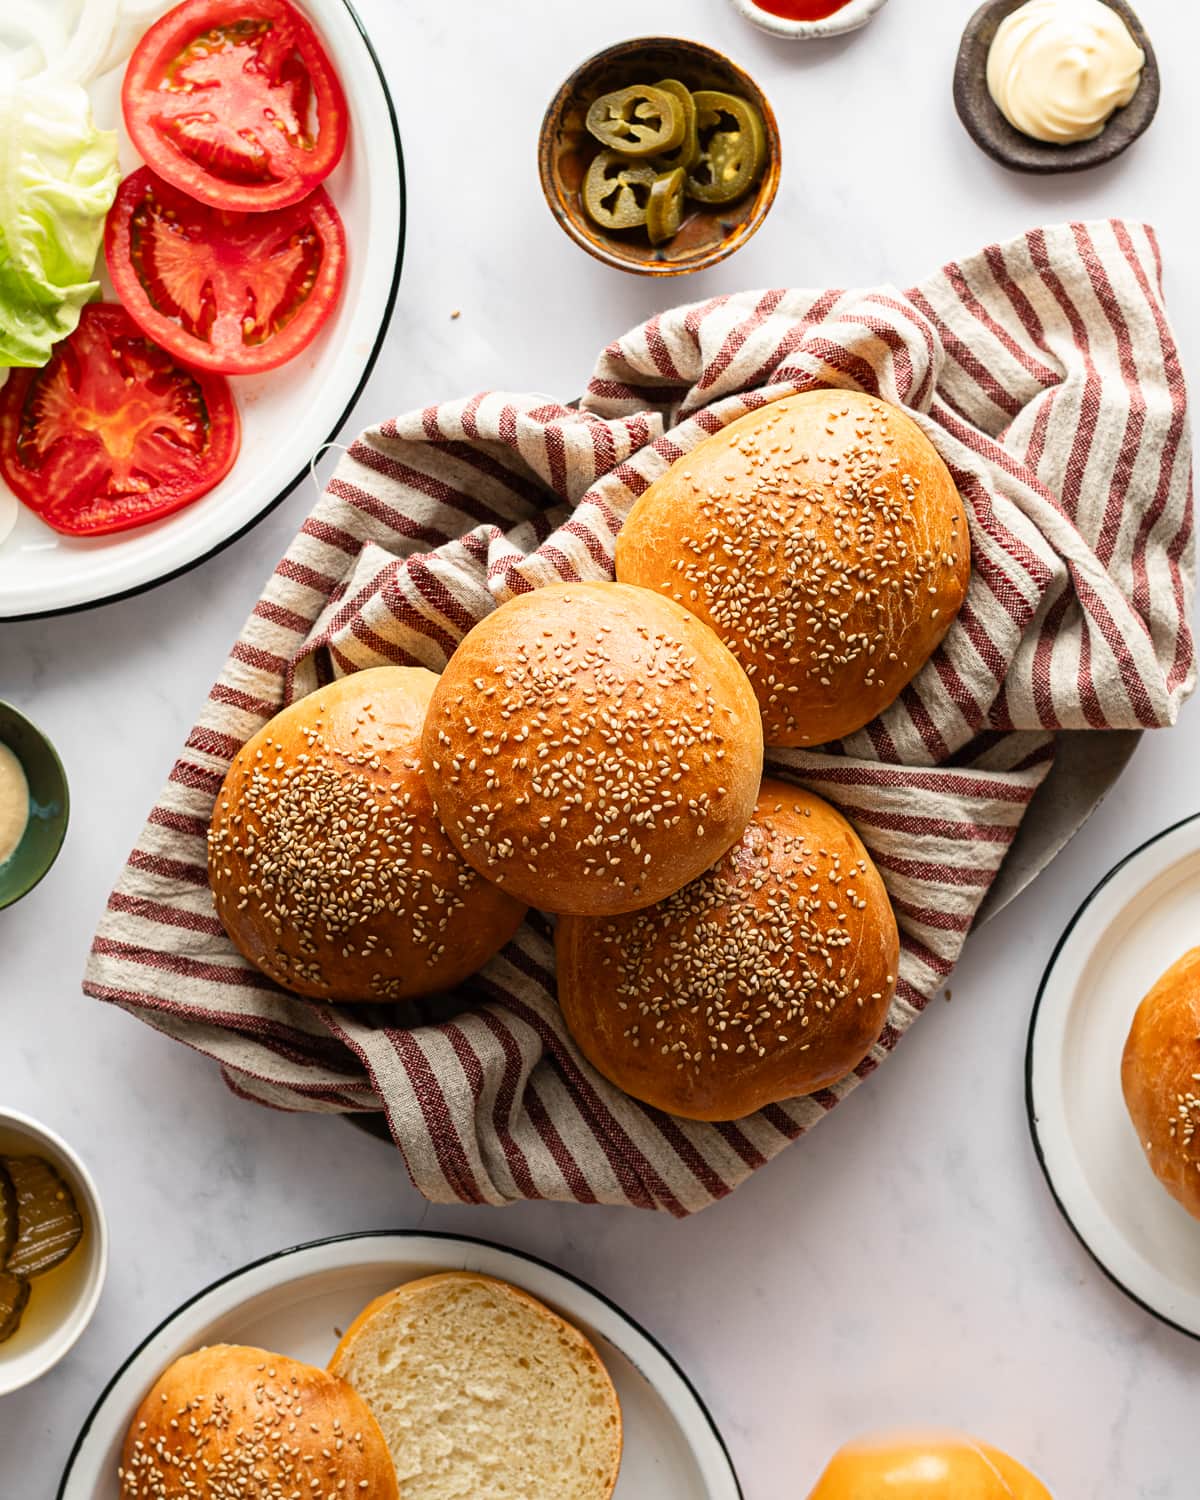
These fluffy Sourdough Hamburger Buns made with naturally-leavened, buttery brioche will be the star of your barbecue! Sourdough adds a delicious flavor and a spongey texture so your buns won’t get soggy and can stand up to all your burger toppings.
Jump to:
What makes these buns so special?
These homemade hamburger buns are extra special because they are naturally-leavened, made with sourdough and no commercial yeast.
Aside from the delicious and distinctive flavor that it imparts, sourdough also makes bread healthier and easier to digest. That’s because natural yeast in sourdough ferments dough much slower than commercial yeast, so while this means that the process to make these buns is a bit longer (a little over 2 days), in the process flavors intensify resulting in bread that’s more delicious.
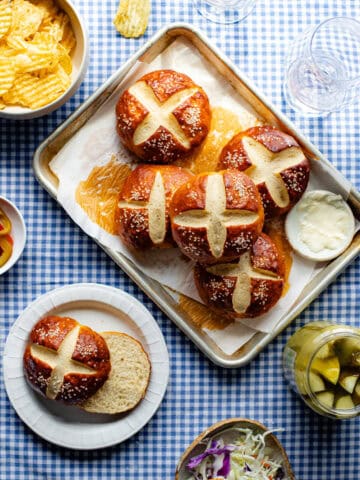
Want to amp up your burgers? Try my recipe for Sourdough Discard Pretzel Buns.
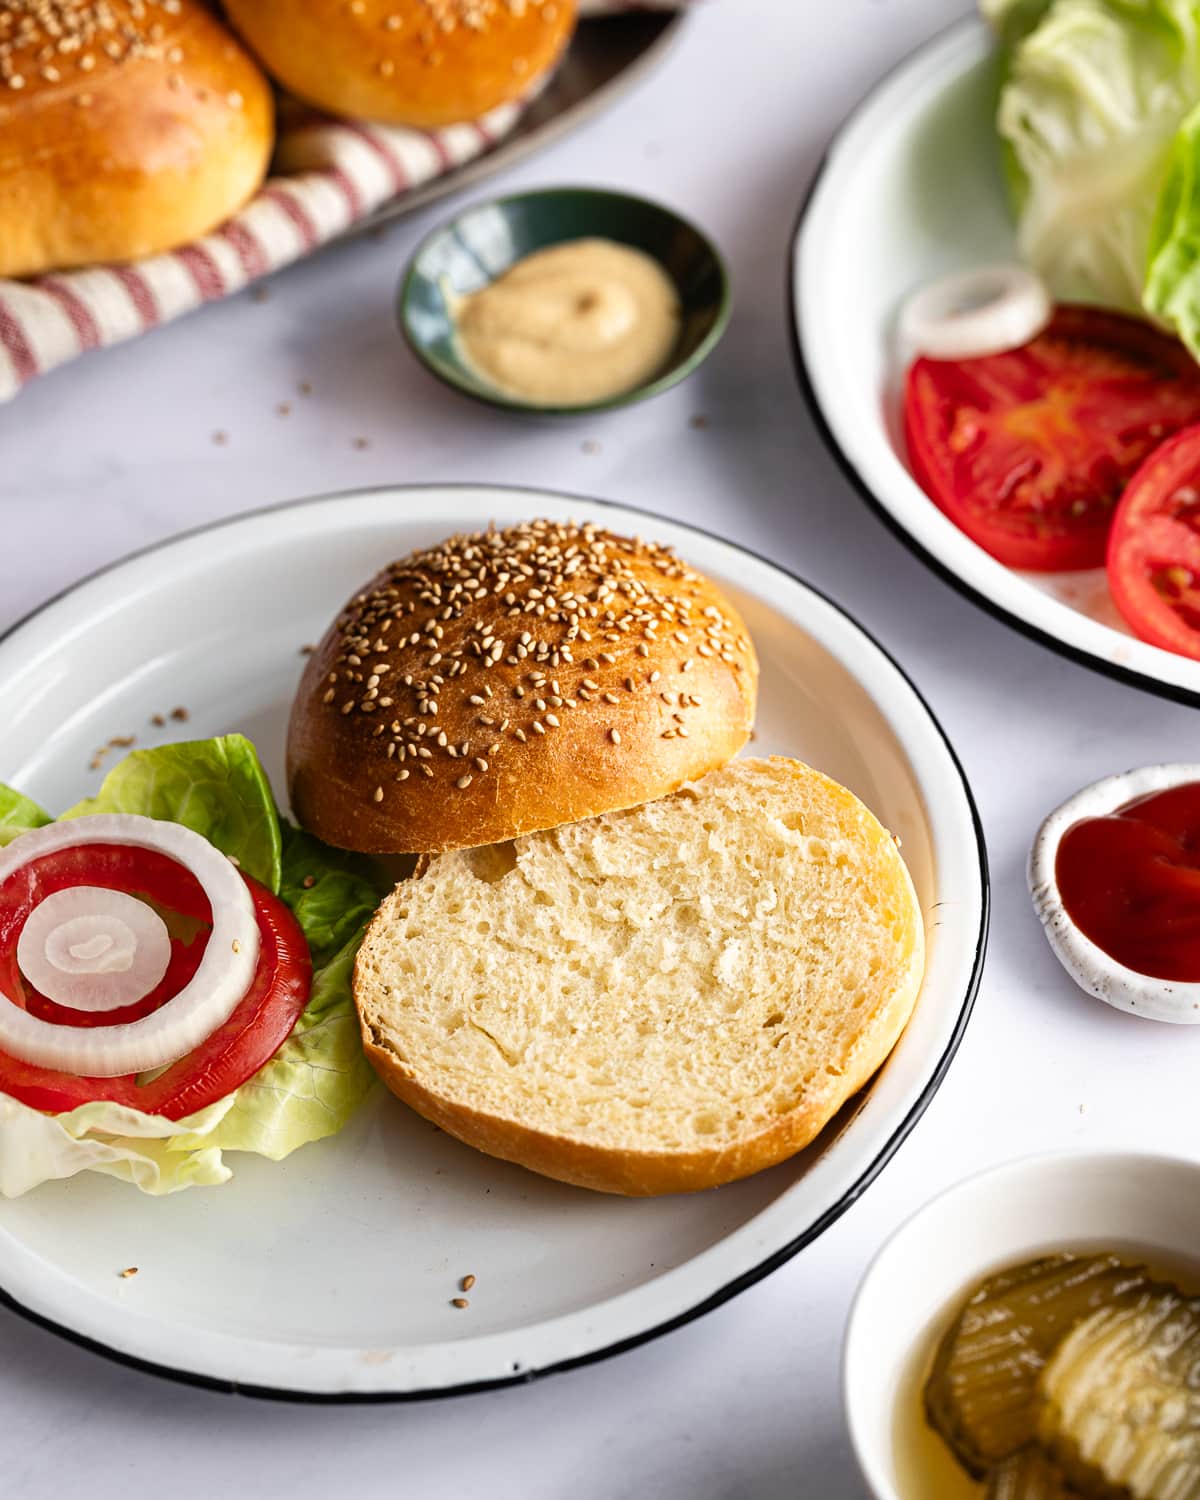
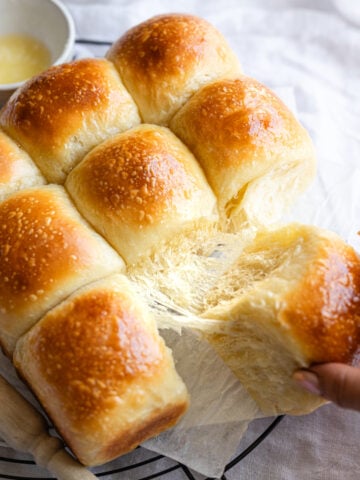
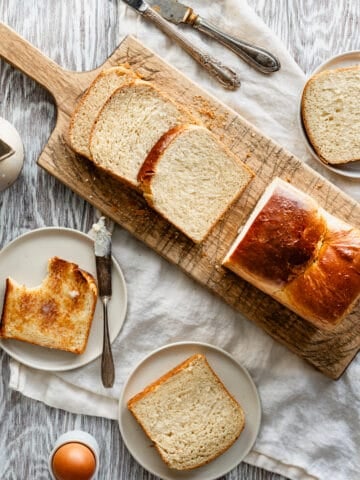
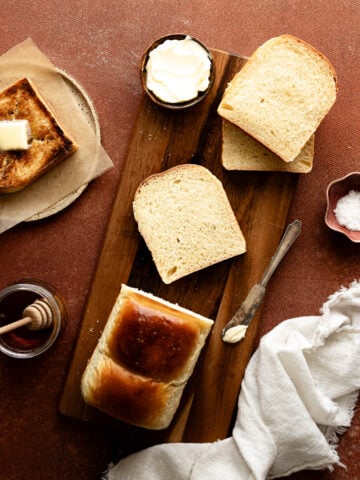
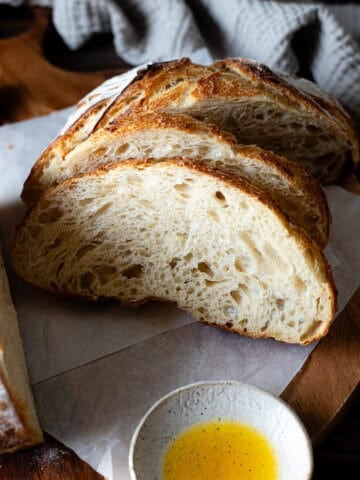
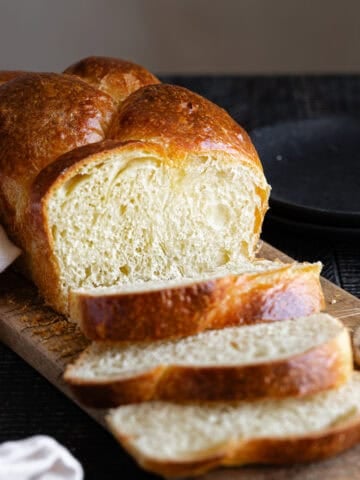
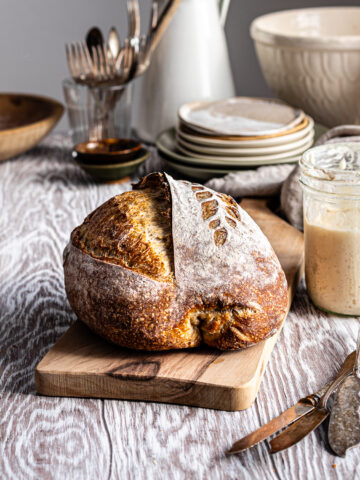
Looking for more soft, fluffy sourdough bread recipes? Try my Sourdough Brioche Bread, Sourdough Pull-apart Dinner Rolls and Sourdough Japanese Milk Bread.
Why I love this recipe
- Makes fluffy but sturdy burger buns that won't break down or get soggy.
- All mixed by hand - no mixer required.
- Naturally-leavened buttery brioche buns made with no commercial yeast!
Ingredients and Substitutions
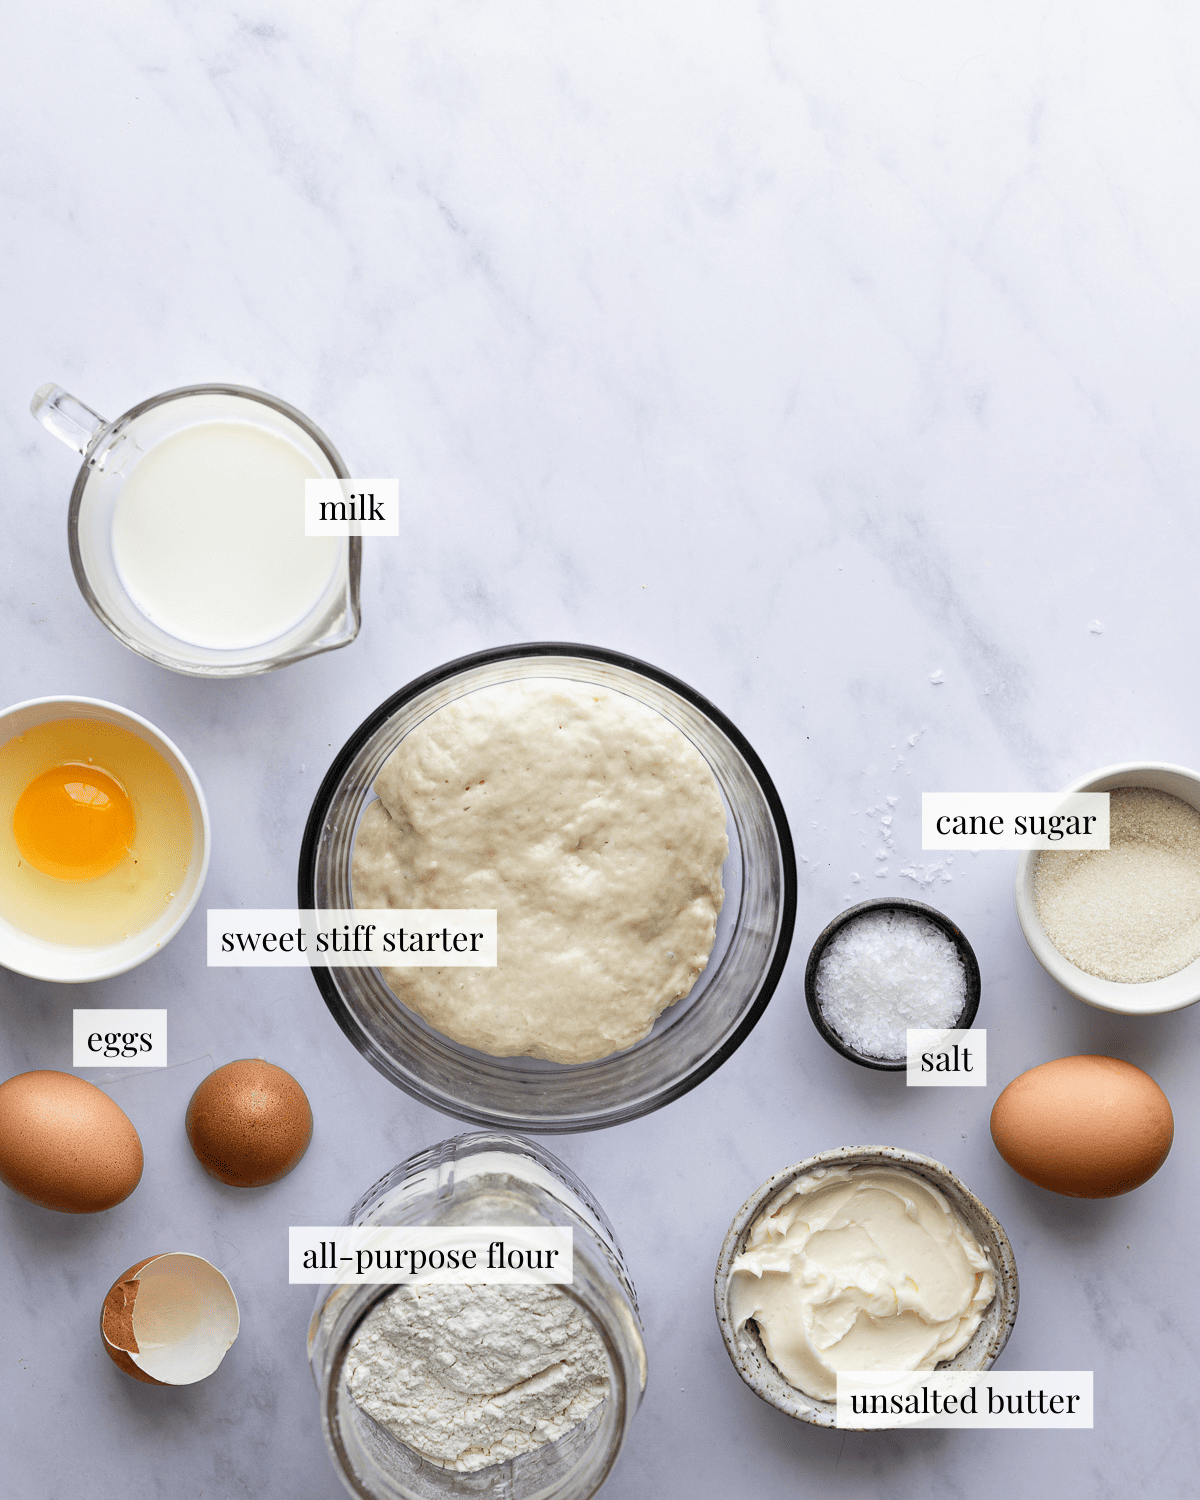
Sweet stiff sourdough starter: This is a 50% hydration starter with added sugar. Using a sweet stiff starter helps reduce sourness and keeps these hamburger buns tasting pleasantly sweet. To make a sweet stiff starter, you’ll need to already have a mature active sourdough starter.
All-purpose: With its lower protein content, all-purpose flour will impart the pillowy texture that you want in these homemade sourdough hamburger buns. You can substitute bread flour but your buns will be a bit chewier, don’t use whole wheat flour or your bread may become dense and dry.
Milk: This recipe was developed using whole milk it adds richness and tenderizes the bread, substitute your favorite plant-based milk.
Egg: Use large eggs for this recipe. You'll need 2 eggs for the dough and 1 egg for egg wash.
Butter: Adds flavor and impedes gluten development which results in softer buns. Substitute olive oil or your favorite plant-based alternative.
Cane sugar: I’ve been using organic cane sugar over granulated sugar because it's produced using more sustainable methods. Sugar imparts sweetness to these buns, it also feeds the stiff sweet starter which creates osmotic stress and reduces sourness.
Salt: Use kosher salt or sea salt for the best results.
Sesame seeds: Adds texture and a slightly nutty flavor. They are totally optional, or you can substitute poppy seeds or even everything bagel seasoning.
Importance of a mature active starter
Having a mature active sourdough starter is especially important for making enriched bread. Enrichments like butter, milk and eggs drastically slow down fermentation. Fermentation would occur too slowly with a weak starter which could cause acidification, causing the gluten in your dough to break down.
If this happens, the dough will tear as it rises and will be unable to collect and hold on to the carbon dioxide that’s built up during fermentation. As a result, your buns will be dense, heavy, and gummy.
How to Make Sourdough Hamburger Brioche Buns
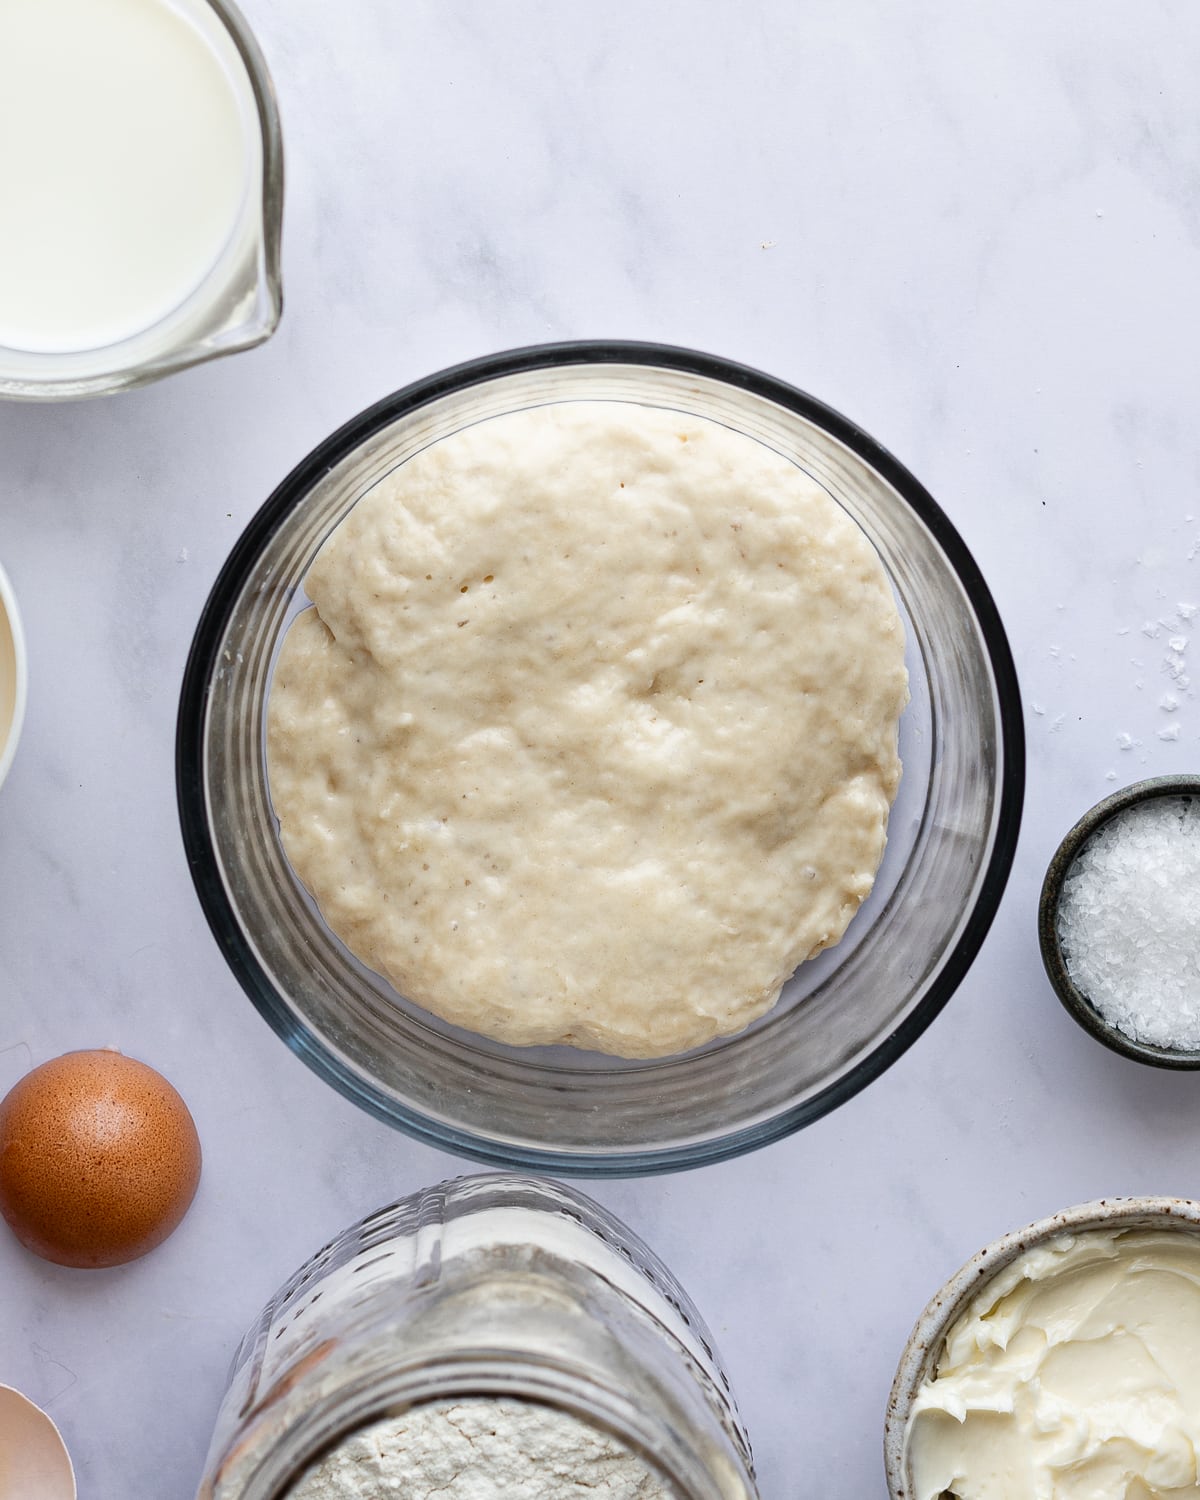
STEP 1. Make the sweet stiff starter
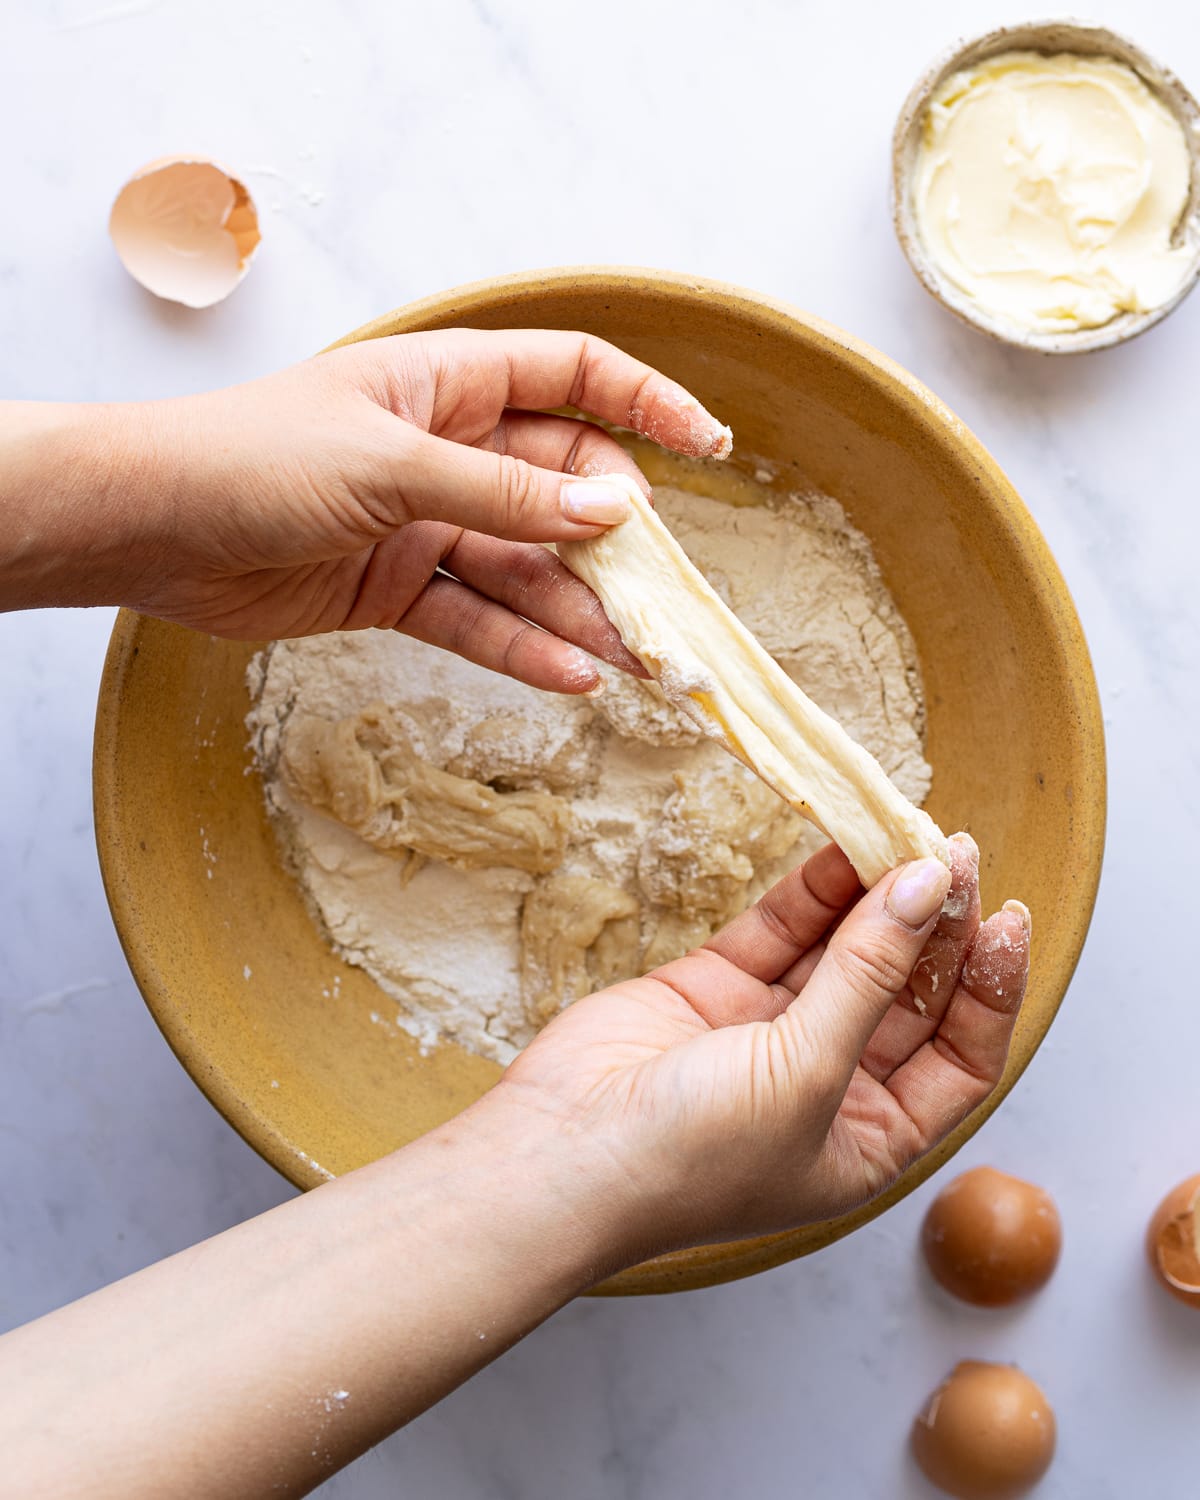
STEP 2. Mix the dough ingredients and stiff starter together
Breaking up the stiff starter makes it easier to mix it into your dough.
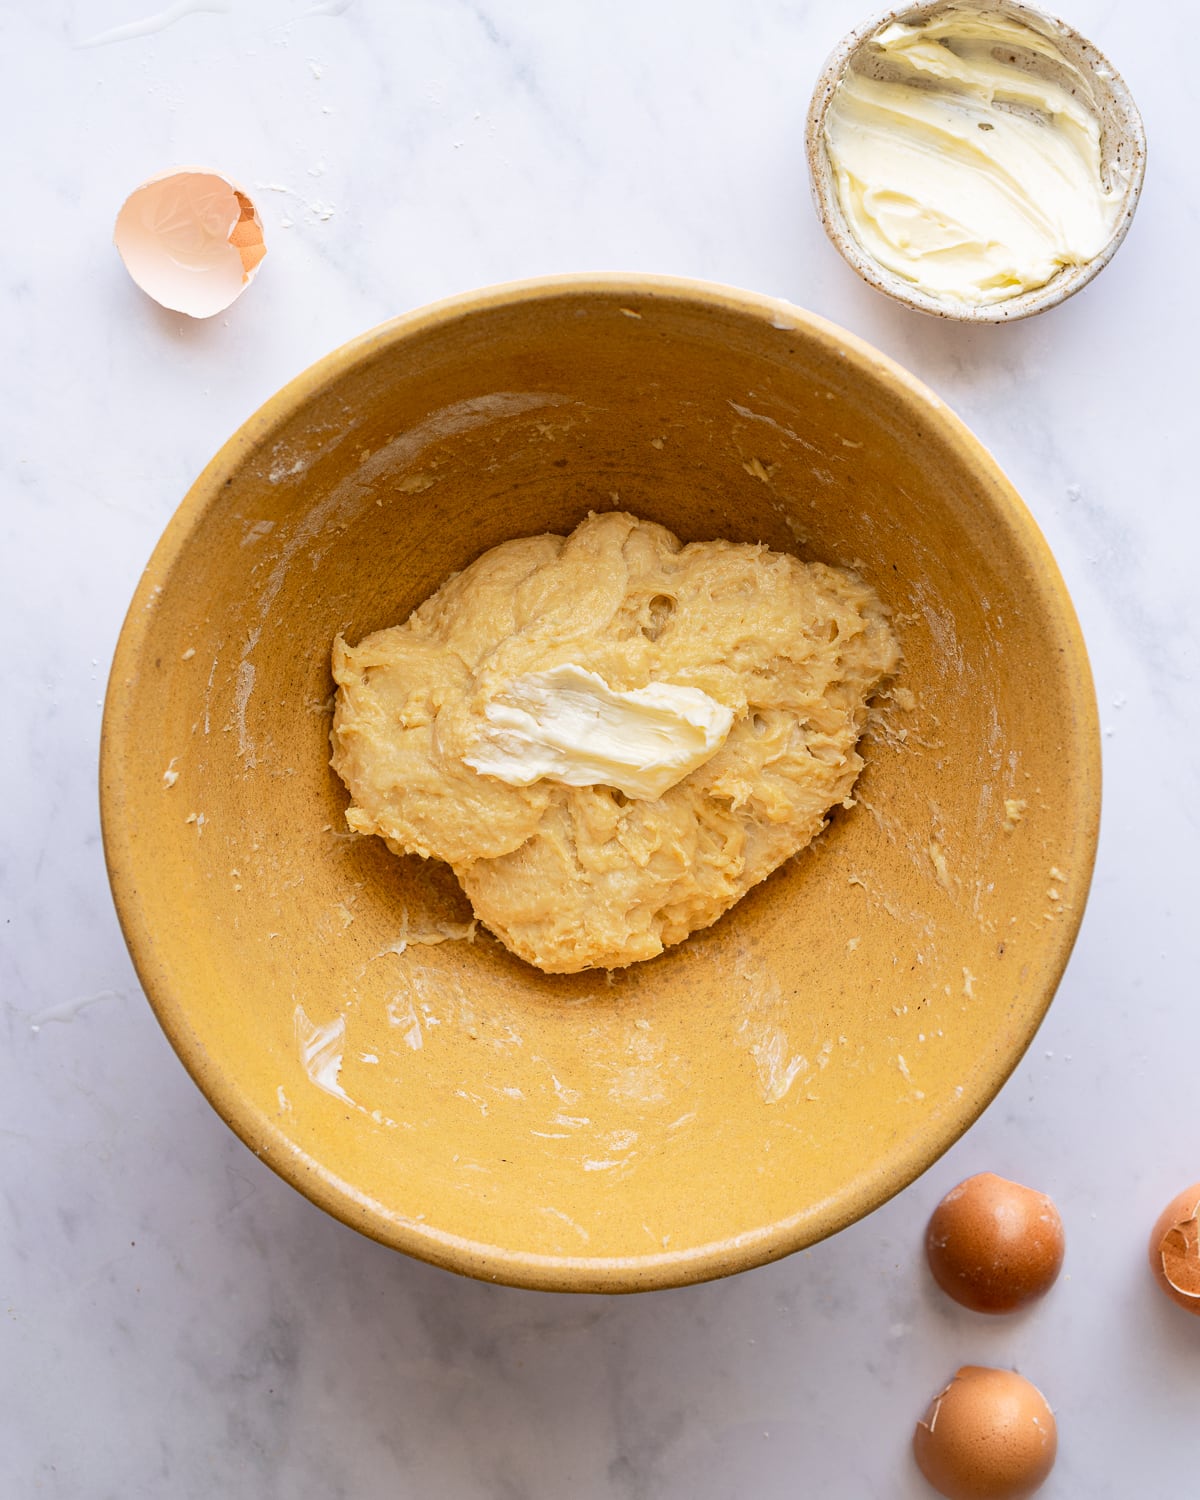
STEP 3. Add the butter into the dough
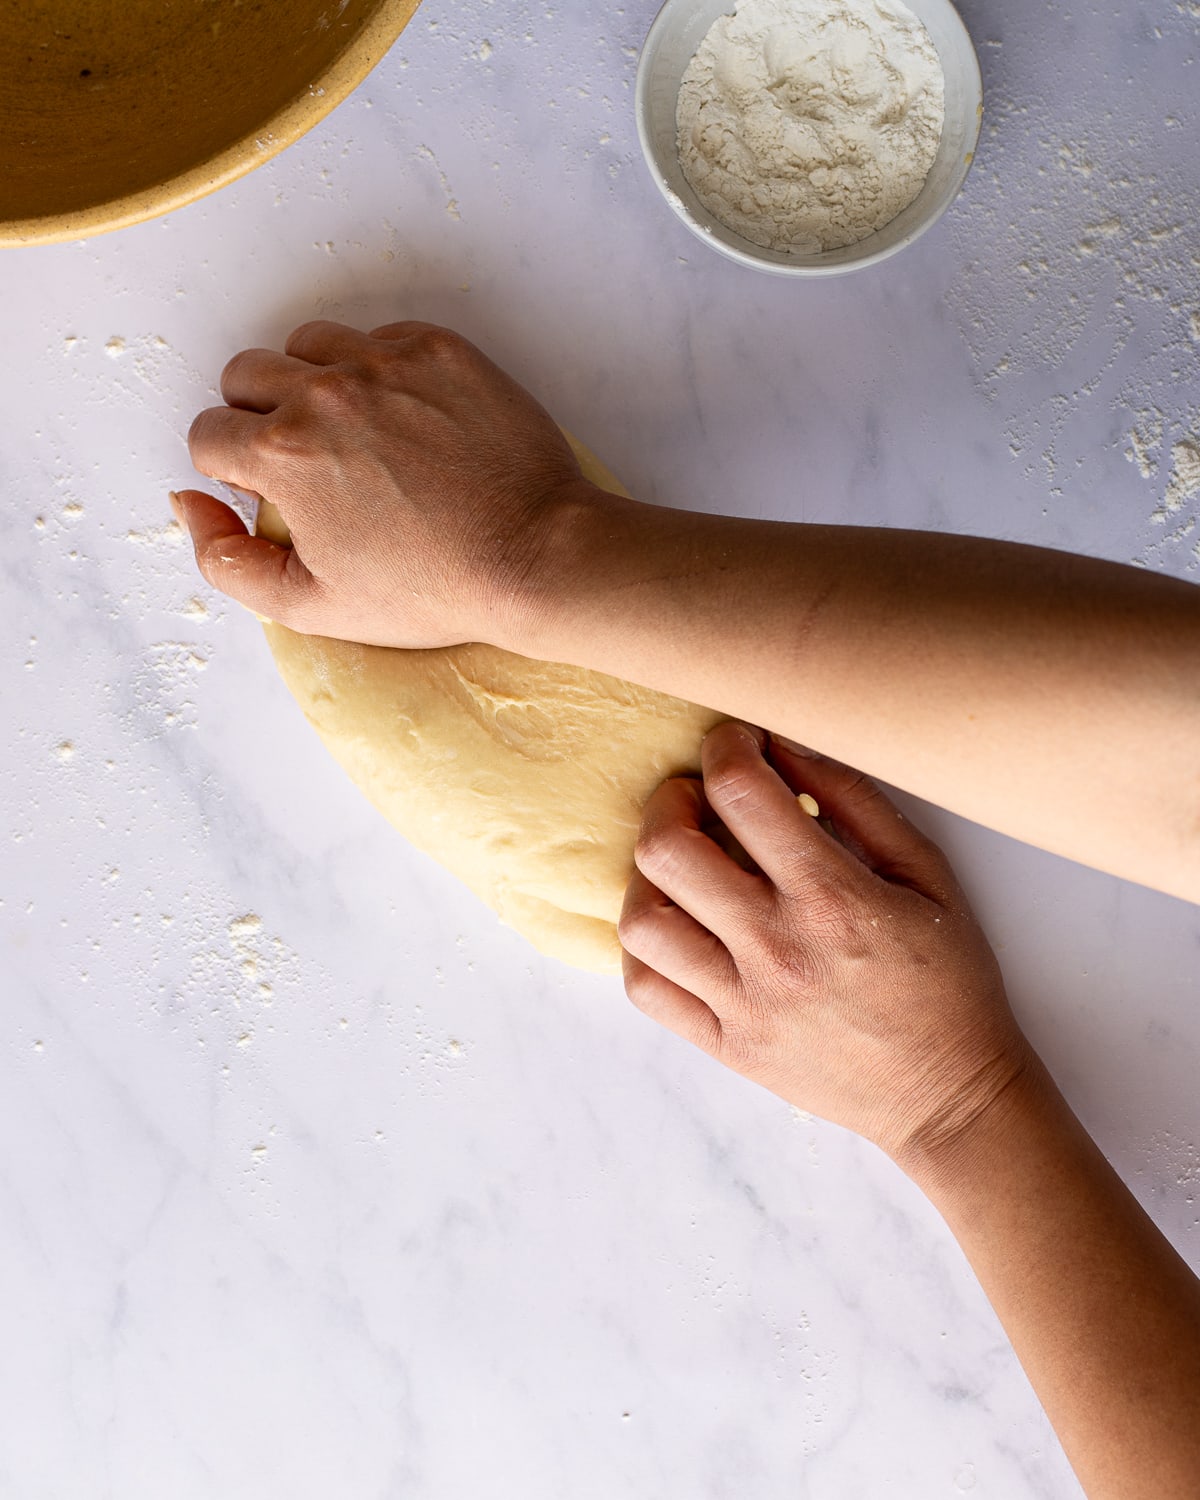
STEP 4. Knead the dough until it looks completely smooth
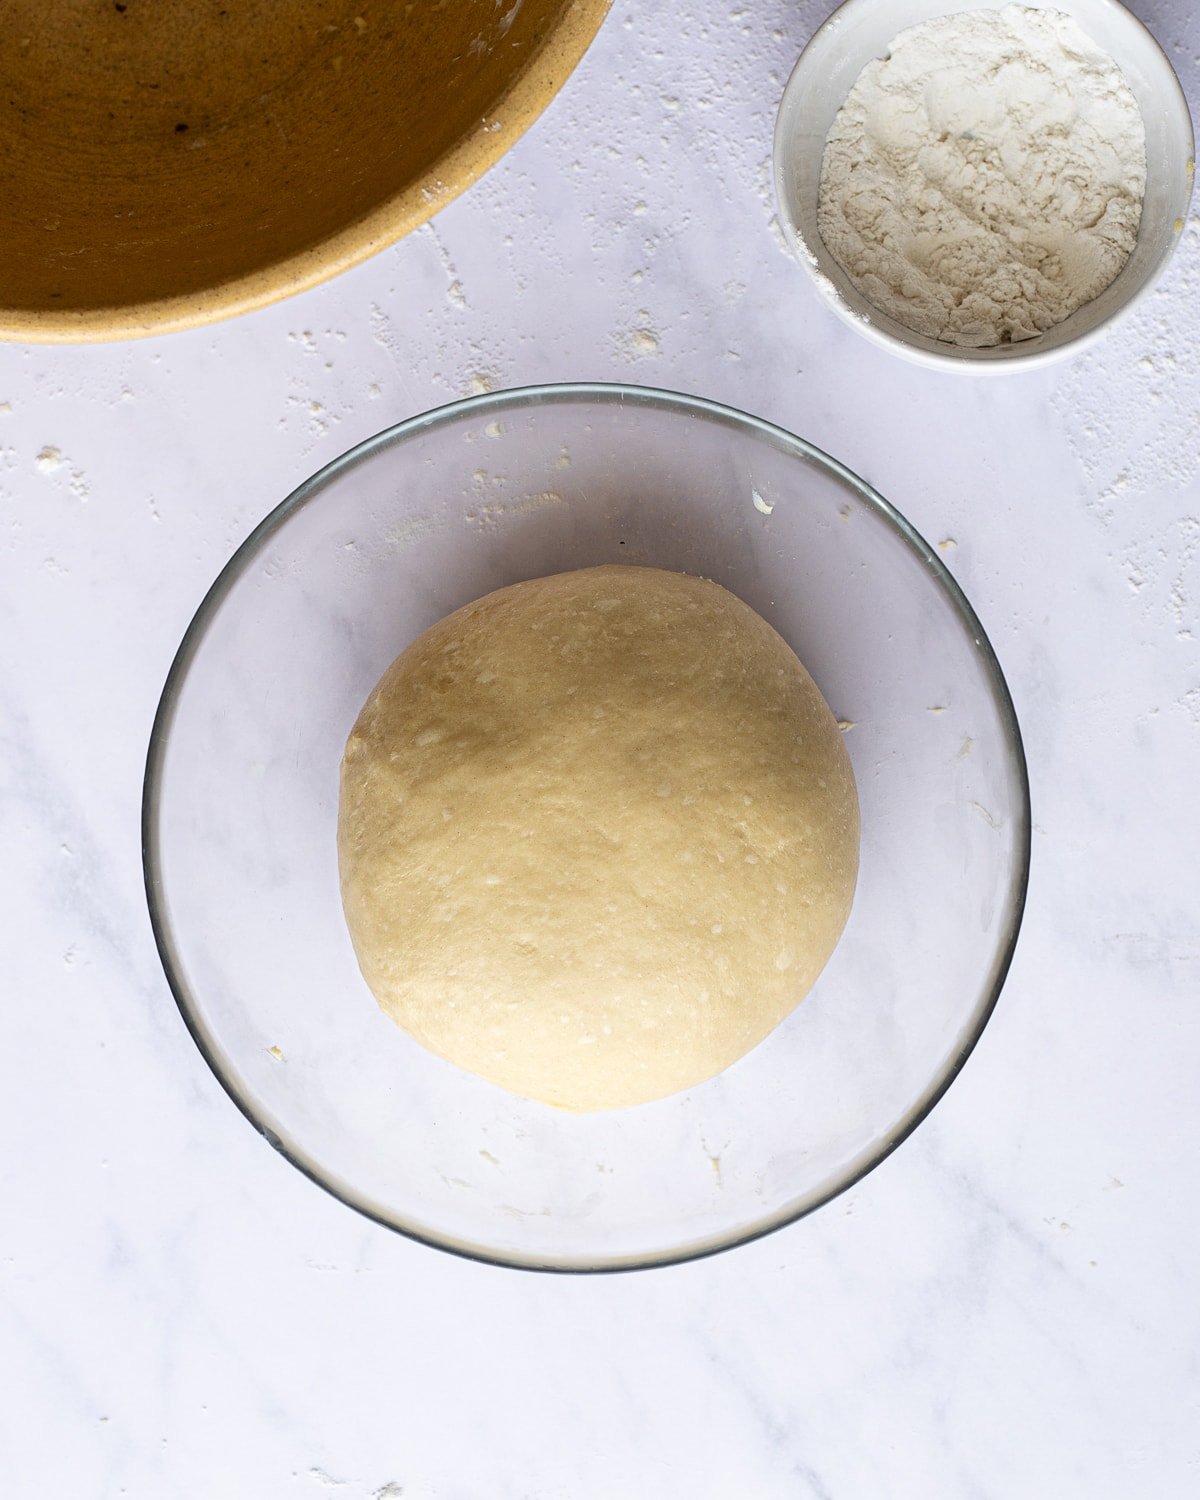
STEP 5. Let the dough bulk ferment in a warm place until doubled in volume. Cold proof overnight.
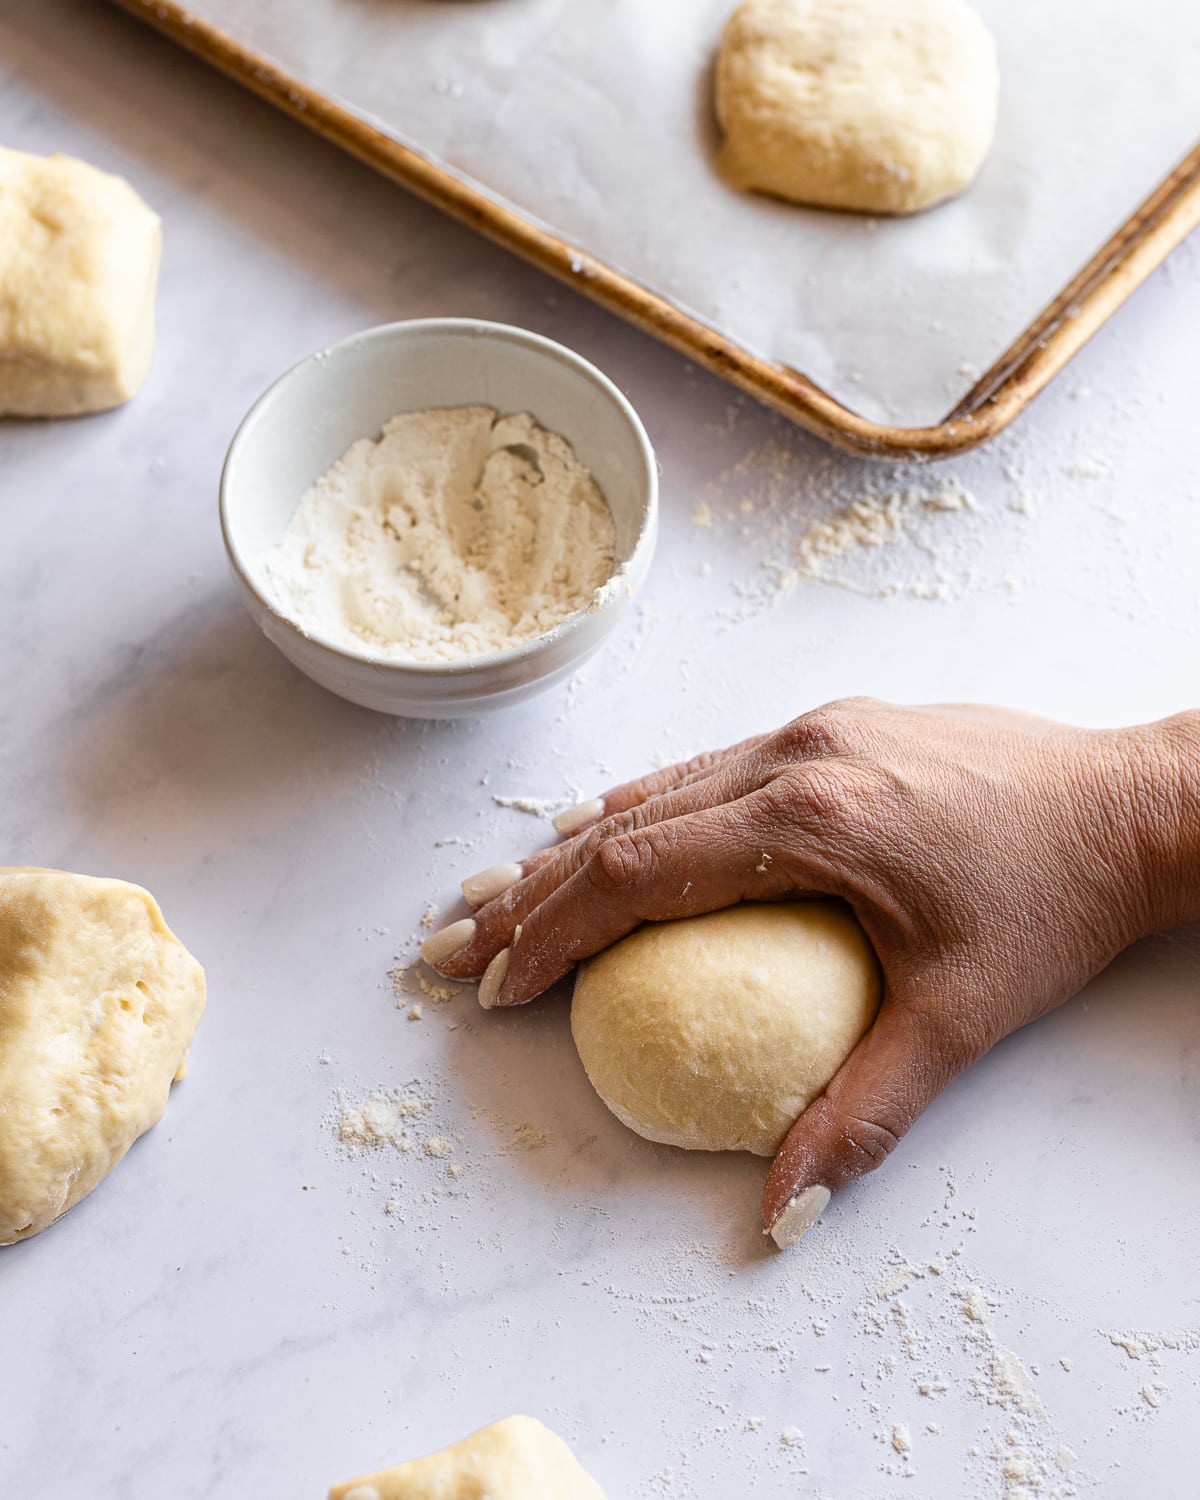
STEP 6. Divide the dough in 6 portions and round each piece into a tight ball
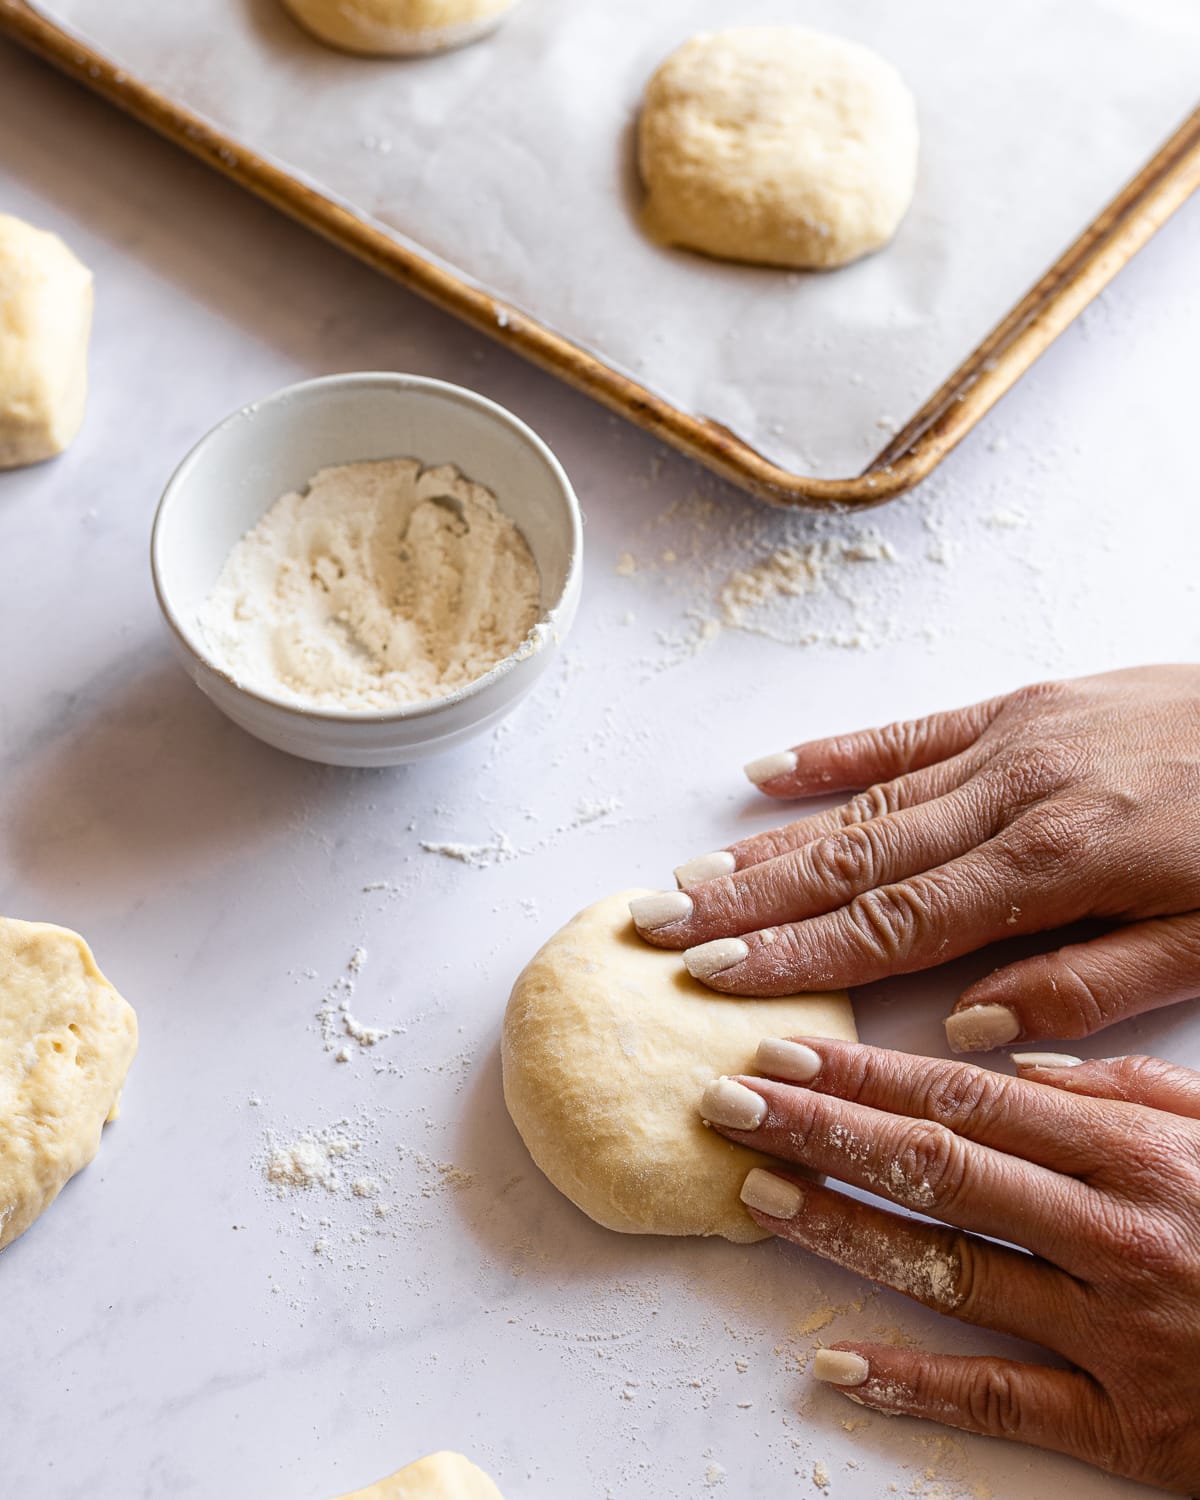
STEP 7. Flatten the dough into a disc. Place on a baking sheet and proof.
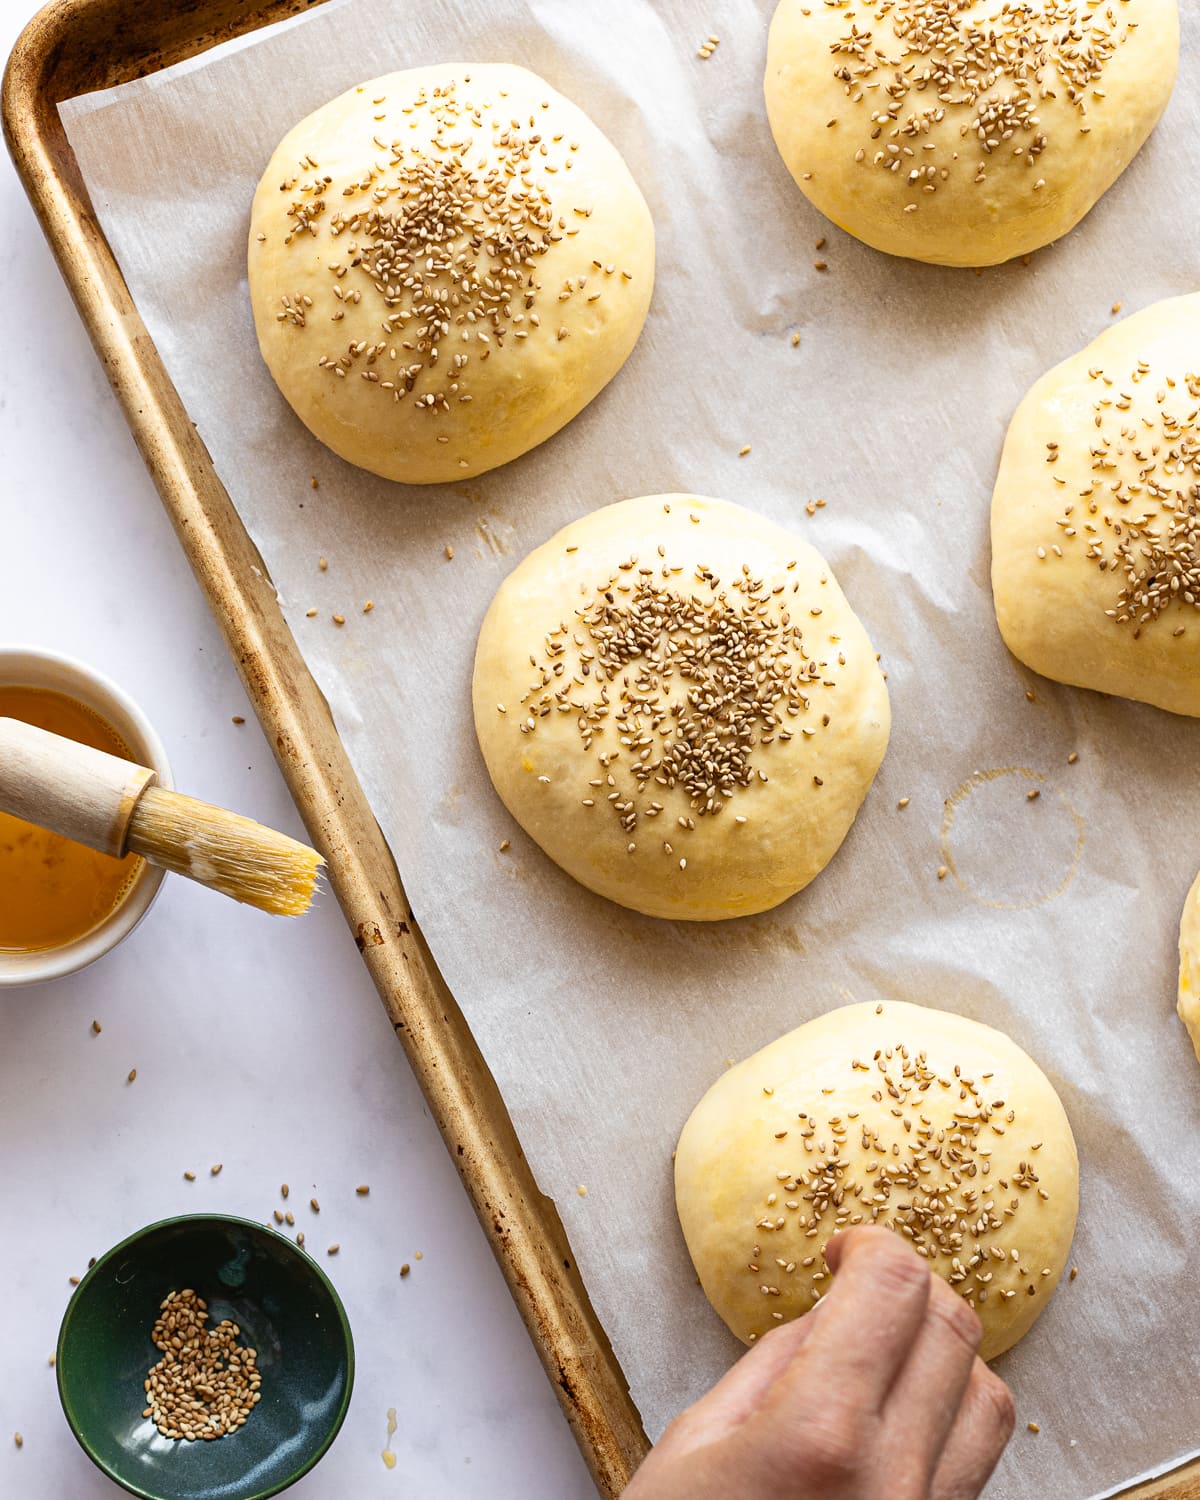
STEP 8. Brush with egg wash and top with sesame seeds. Bake at 350 F for 18 to 20 minutes.
Tips for Success
Use a strong, healthy, mature starter: You’ll need a mature, healthy starter to make this recipe. The enrichments (milk, eggs and butter) can drastically slow down fermentation which makes a strong starter even more important. If your starter is too weak, your dough won’t rise and your fluffy sourdough buns will end up dense instead.
Knead the dough until smooth: Gluten development is essential for these buns. A strong gluten network will allow the dough to capture and retain carbon dioxide during the fermentation process. This results in tender, pillowy hamburger buns.
Give buns enough time to proof: Proofing or fermentation is when your dough develops flavor and its soft texture. Wild yeast are much slower at fermentation, so you’ll have to be patient, and make sure your dough is bubbly and well-risen before shaping and baking your buns, this usually takes about 4-6 hours.
Don’t refrigerate leftover buns: The refrigerator has a tendency to dry out bread, it’s best to store any leftover buns in an airtight container at room temperature.
Short on time but still want fresh bread? Try out my Sourdough Discard Rolls, Sourdough Discard Hot Dog Buns and Sourdough Discard Sandwich Bread.
Recipe FAQs
Your starter may not have been active. Make sure you use a mature starter before you make this recipe. The sweet stiff starter should look bubbly before you make your dough. If you’re baking in a cold kitchen, your dough may take much longer to rise. Try mixing your dough using warm water (the temp should be less than 115 F) and allowing your dough to bulk ferment in a warmer spot, like inside the microwave or inside an oven that’s turned off but with the light turned on.
Dough handling can really depend on the baker. I’m quite used to kneading wet, sticky dough. But if your dough feels too sticky, don’t be afraid to dust a little flour on your work surface. I find that letting the dough rest for 10 to 15 minutes before continuing to knead makes it much easier to handle.
Yes! To use a mixer, combine the ingredients in the bowl of a stand mixer, use a paddle attachment to stir the ingredients together. Once the dough appears cohesive, switch to a dough hook and mix until the dough clings to the hook and away from pulls away from the sides. Round the dough into a ball and bulk ferment. Then proceed
No, these buns will taste buttery and slightly sweet. Using a sweet stiff starter helps prevent bread from becoming too acidic. A higher percentage of flour provides more nutrients to your starter and prevents it from producing too much acid. Furthermore adding sugar to sourdough creates osmotic stress and limits bacteria cell generation, which prevents further reduces sourness.
You may also like
Did this recipe rise to the occasion?
★★★★★
Please leave a star rating and a comment. Your feedback helps me create more delicious sourdough recipes. I read and truly appreciate every message.
Don't forget to PIN this recipe on Pinterest to save it for later!
Thank you for your support!
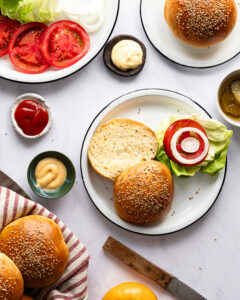
Sourdough Hamburger Bun Recipe
Equipment
- 18 by 13 inch baking sheet
This section may contain affiliate links
Ingredients
Sweet Stiff Starter
- 60 grams all-purpose flour
- 28 grams water
- 14 grams organic cane sugar
- 14 grams sourdough starter
Dough
- 2 egg large
- 113 grams whole milk
- 36 grams organic cane sugar
- 270 grams all-purpose flour
- 6 grams salt
- 56 grams unsalted butter softened
Topping
- 1 egg
- 28 grams sesame seeds toasted
Click US Customary to view volume measurements
Instructions
Make the sweet stiff starter
- Combine the sweet stiff starter ingredients together, stir until all the flour is hydrated, the mixture may appear a little dry. Continue mixing until it comes together into a shaggy dough. Transfer the starter to an airtight container, set it in a warm place, and let the starter activate overnight.60 grams all-purpose flour, 28 grams water, 14 grams organic cane sugar, 14 grams sourdough starter
Make the dough
- Whisk the eggs, milk, and sugar together in a large mixing bowl until no traces of egg whites remain.2 egg, 113 grams whole milk, 36 grams organic cane sugar
- Tear the sweet stiff starter into small pieces and add it into the large mixing bowl with the flour and salt. Stir all the ingredients together until the mixture looks like a cohesive dough.270 grams all-purpose flour, 6 grams salt
- Knead the butter into the dough one tablespoon at a time, wait until each portion is incorporated before adding more. Cover the bowl with plastic wrap and let it rest for 1 hour.56 grams unsalted butter
Strengthen the dough
- Turn the dough out on a lightly floured work surface and knead until it appears smooth and elastic. Round the dough into a smooth ball and place it into a clean, lightly-greased bowl.
First rise
- Cover the bowl with plastic wrap and let it rise in a warm spot until doubled in volume, about 4 to 6 hours.
Cold proof
- Deflate the dough, cover it with plastic, and place the bowl in the refrigerator overnight
Shape the dough
- Line a large baking sheet with parchment paper.
- Divide the dough into 6 equal portions. Roll each piece of dough into a tight ball. Flatten the dough ball until it’s about 3½ inches in diameter.
Second rise
- Cover the baking sheet completely with plastic wrap and set it in a warm place. Let the dough rise for 2 to 4 hours, or until the dough is puffy and well-risen.
Prep
- Preheat the oven to 350 F. Once the dough looks ready, beat the egg to make your egg wash. Using a pastry brush, brush the tops of the dough with egg wash. If using, sprinkle sesame seeds on top of the dough.1 egg, 28 grams sesame seeds
Bake
- Bake the buns for 18 to 20 minutes or until they are golden brown and register at least 190 F when probed with an instant-read thermometer.
Enjoy and store
- Let the buns cool completely before slicing, about 30 minutes. These buns are best enjoyed on the day they are baked. Store leftover buns in an airtight container at room temperature for up to 3 days.
Tips
These recipes were developed and tested using grams for precise measurements. To increase your chances of success, I recommend investing in a kitchen scale. I've included rough volume estimates (in tablespoons and cups), but they might not be totally accurate.
Remember all ovens are unique, these recipes were tested in my oven which runs cooler than others. You might need to lower the temperature if your bake appears to be browning too quickly. Monitor your bake closely and make adjustments if needed.
Notes
Nutrition
I am not a nutritionist or dietitian, any nutrition information provided is an estimate.


Did you make this recipe? Do you have questions? Let me know below!