

Making sourdough bread doesn't have to mean spending hours folding and babysitting your dough. You can absolutely use a mixer to make sourdough. Whether you're simply looking for a recipe for making sourdough at home with a spiral mixer or you want a more hands-off way to bake bread, I'll show you how to do it with much less hands-on work.
You'll still end up with a delicious loaf with a creamy crumb and delicately crisp crust. The mixer does most of the work, then you can get on with your day and let time and fermentation do the rest. This method has made sourdough baking so much more accessible for my lifestyle, and I hope it does the same for you!
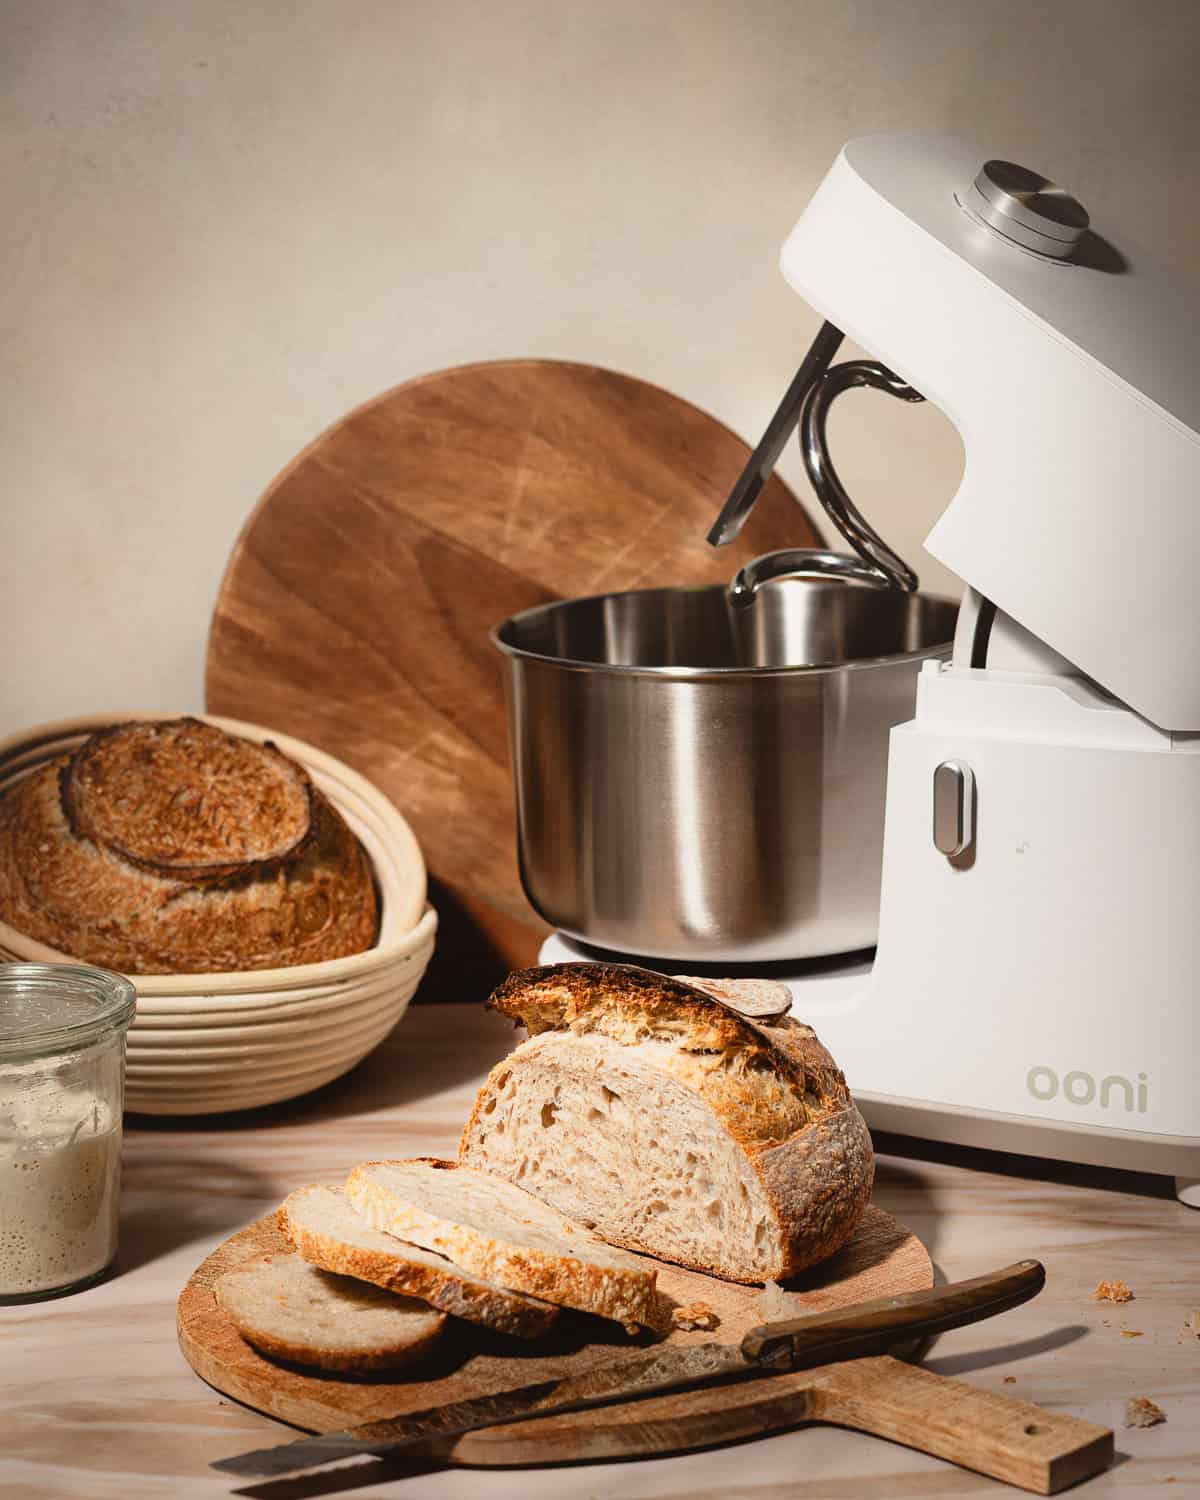
Sponsored by Ooni: I'm truly grateful for your support of the brands that help make Make It Dough possible. I want to assure you that all the recommendations and opinions expressed are my own.
Jump to:
Sourdough for Busy People
This recipe is what brought me back to baking naturally fermented sourdough bread. If you've been following me for the past few years, you'll know that I've been leaning a little more on sourdough discard breads.
I still love my basic sourdough bread recipe, but my lifestyle has changed a lot since I wrote it. I've picked up new hobbies like painting, training for and running marathons and I've even written another cookbook. Needless to say, I'm a lot busier than I was when sourdough was my main obsession. It has increasingly become harder to carve out several hours of my day to babysit dough and stop what I'm doing every 30 minutes to complete a set of stretch and folds.
This recipe changes all of that. Using the Halo Core Mixer Spiral Mixer, I developed a much simpler process. So even though this recipe isn't quick, since it still relies on natural fermentation, it requires very little hands-on time. Most of the process is simply waiting for the dough to ferment.
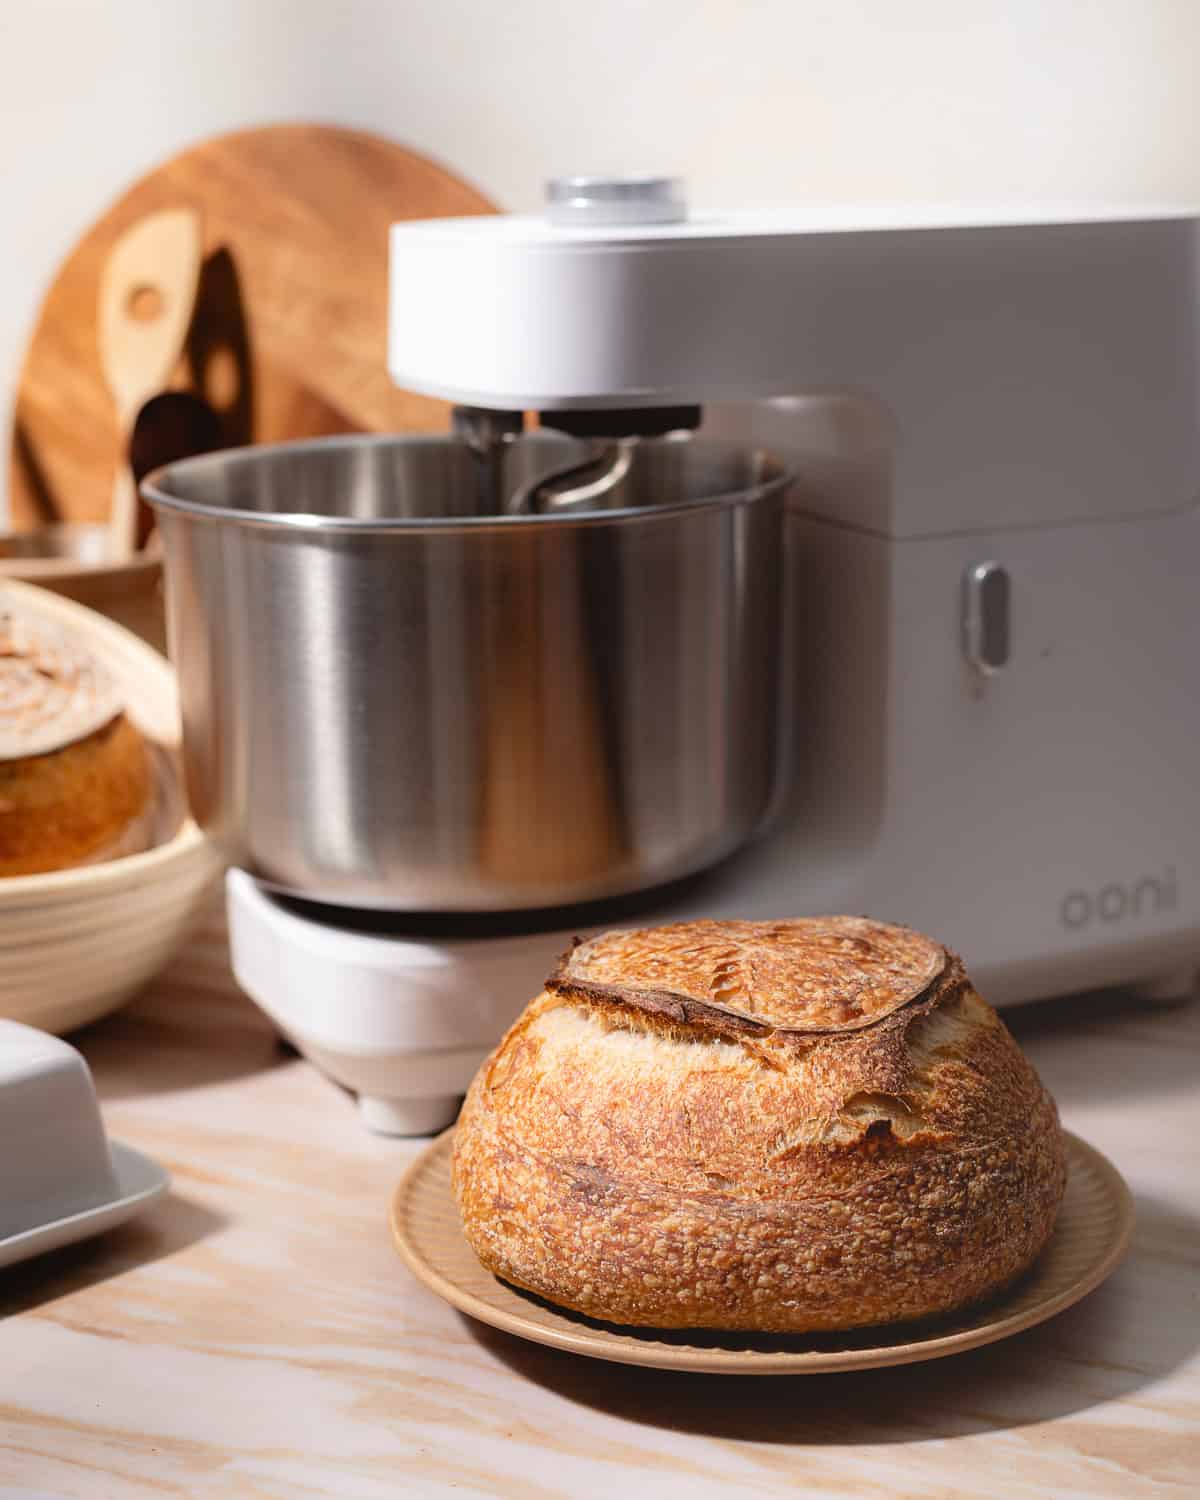
Why I Love This Method
More hands off: Mix the dough, leave it to ferment for 4 to 6 hours, then come back to shape it. I can run errands, work, go for a run or do whatever else I need to do without stopping every 30 minutes to fold the dough.
Easier to fit into your day: This method cuts out a lot of the hands-on work that has made sourdough difficult to fit into my day.
More accessible: The longer I work as a recipe developer, the more I've realized there are many reasons someone may not be able to knead, fold or manipulate dough by hand. This method lets the mixer take on most of that work, making sourdough more accessible to more bakers.
Key Ingredients
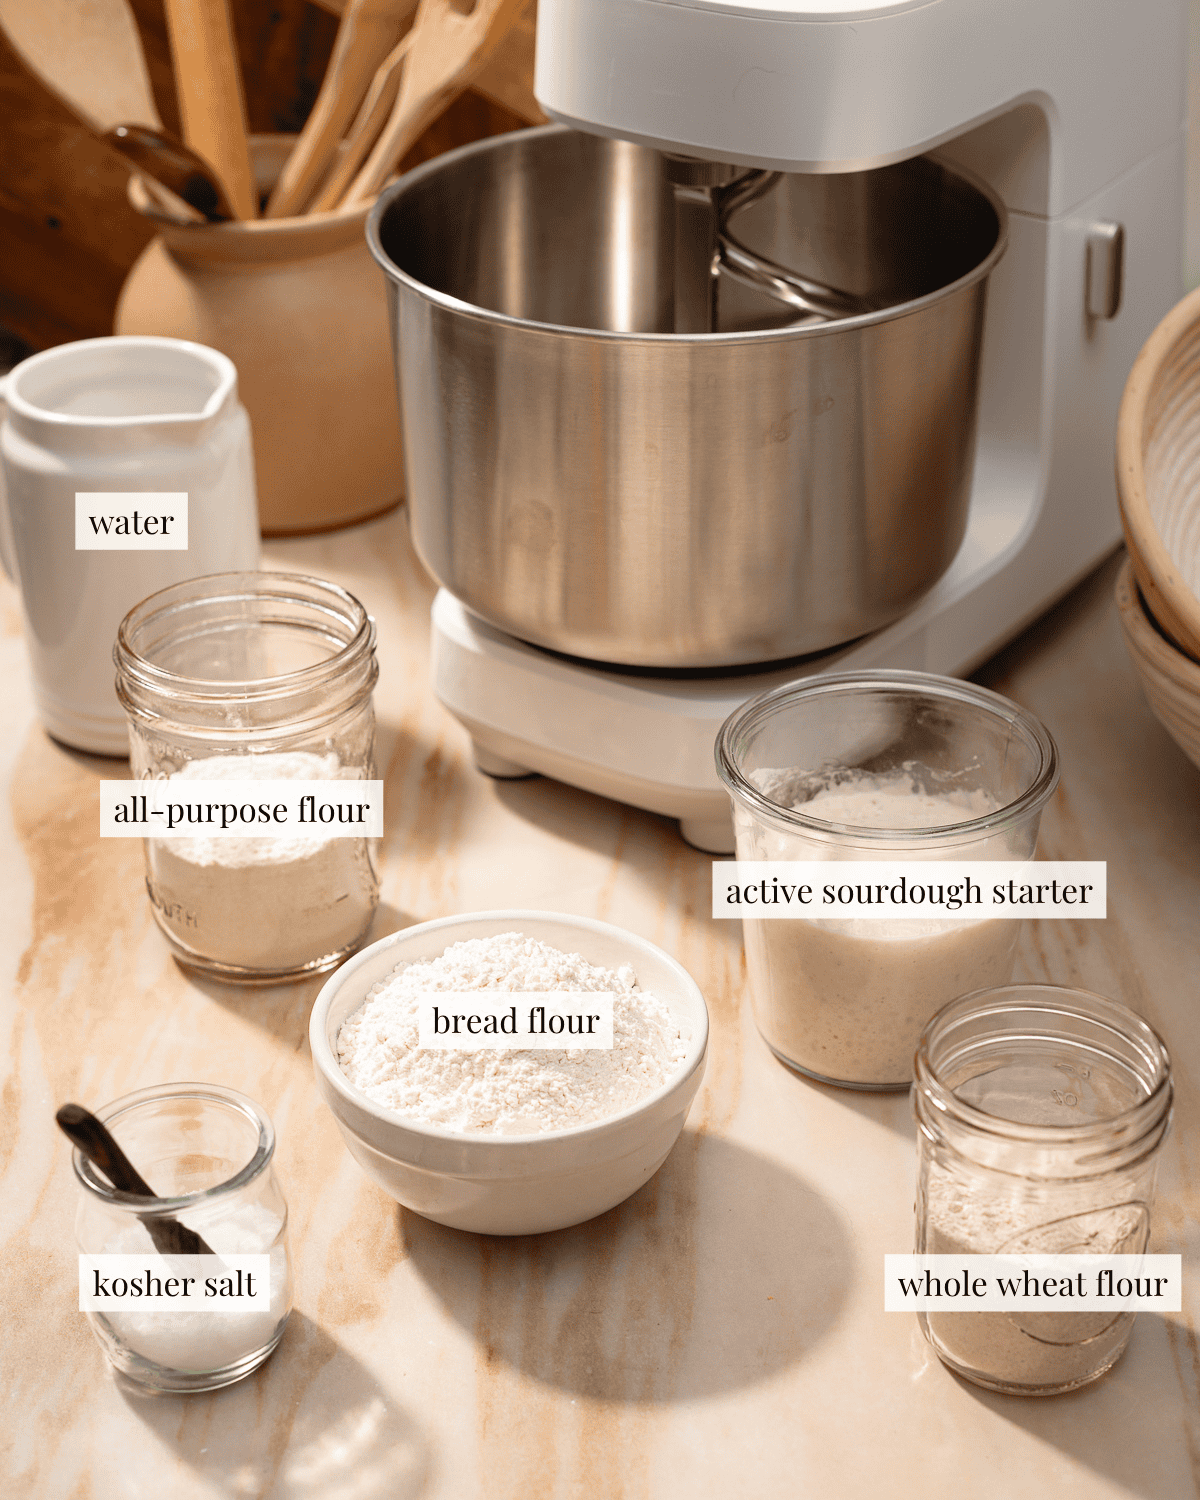
Flour mix: I use my tried-and-tested mix of all-purpose flour for softness, bread flour for structure and whole wheat flour for flavor in this recipe. But if you don't have all three, don't worry. You can substitute all-purpose flour for the bread flour or vice versa.
If you don't have whole wheat flour, you can use more white flour or swap in another whole grain flour. I often use spelt or rye instead.
Active sourdough starter: Make sure your sourdough starter is mature and active before attempting this recipe, otherwise your dough will not rise and your bread will bake up gummy and dense.
Cool water: Mixing generates heat, which can warm up the dough and make gluten development more difficult. To help prevent this, start with cooler water.
Ooni Halo Pro Vs Ooni Halo Core
Comparing Spiral Mixers
I'm lucky enough to have been gifted both the Ooni Halo Pro and Ooni Halo Core. If you've been thinking about investing in one of these spiral mixers, you really can't go wrong with either one.
They do have a few differences. I'm not going to get too specific about every feature here, but I'll break down the key differences in simple terms and share which one I prefer and why.
Features
Both mixers are spiral mixers, which means the spiral hook and bowl rotate at the same time. This makes them especially well suited for bread doughs. I also find that I rarely have to stop and scrape down the sides of the bowl when I'm mixing doughs or batters.
Both mixers also have a built-in light, which makes it easy to see what's happening in the bowl as you mix. The Halo Pro has a few additional features that the Halo Core doesn't, including a built-in timer and digital control panel which lets you dial in on your exact mixing speed.
Size
The Halo Core is much smaller than the Halo Pro, which is why I have a slight preference for it. If you bake my recipes, which tend to be smaller batches, the Halo Core might work better for you as well.
Power
I never really liked using a mixer until I tried the Ooni spiral mixers. I used to make almost everything by hand because my previous stand mixers were noisy, would shake or felt like the motor was struggling. I haven't had those issues with either of the Ooni mixers. They're quiet, smooth and now I use my mixers for everything.
Step-by-step Instructions (with photos)
Mix the dough
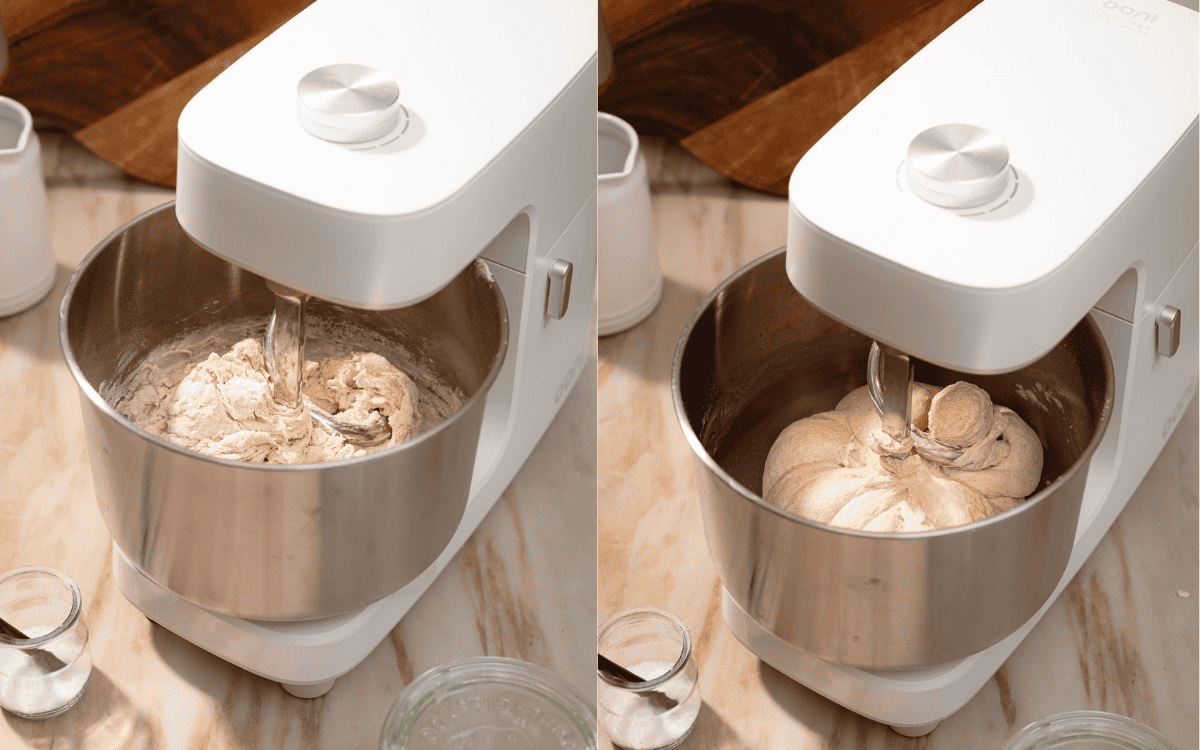
- Mix the flour, starter and 226 grams of water on low speed until a shaggy dough forms.
- Once the dough forms a "pumpkin shape," slowly stream 56 grams of water around the outside and continue mixing on medium low for an additional 5 minutes.
- Let the dough rest in the mixing bowl for 30 minutes.
- Turn the mixer on low and add the salt.
- Gradually increase the mixer to medium speed. As the mixer runs, slowly stream the remaining 56 grams of water around the perimeter of the dough.
Bulk fermentation
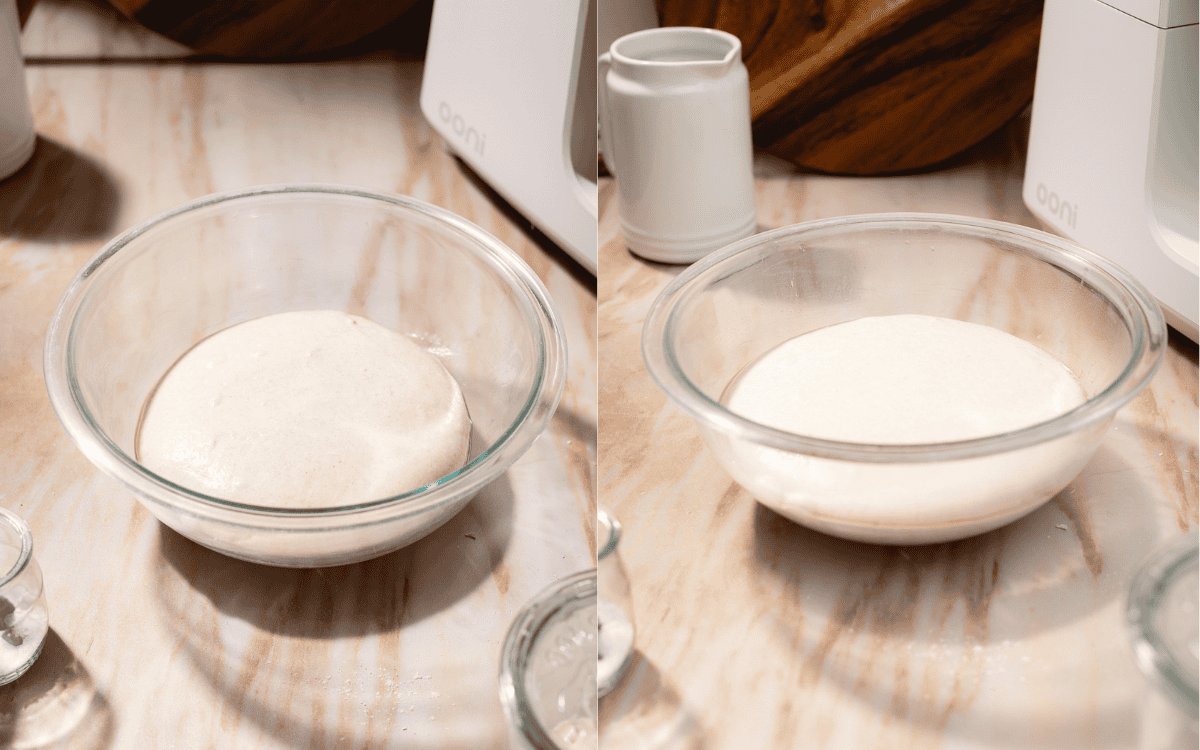
Round the dough into a tight ball and transfer to a lightly greased bowl. Cover with plastic wrap and let the dough rise in a warm place for 4 to 6 hours, or until it has noticeably increased in volume.
Create tension
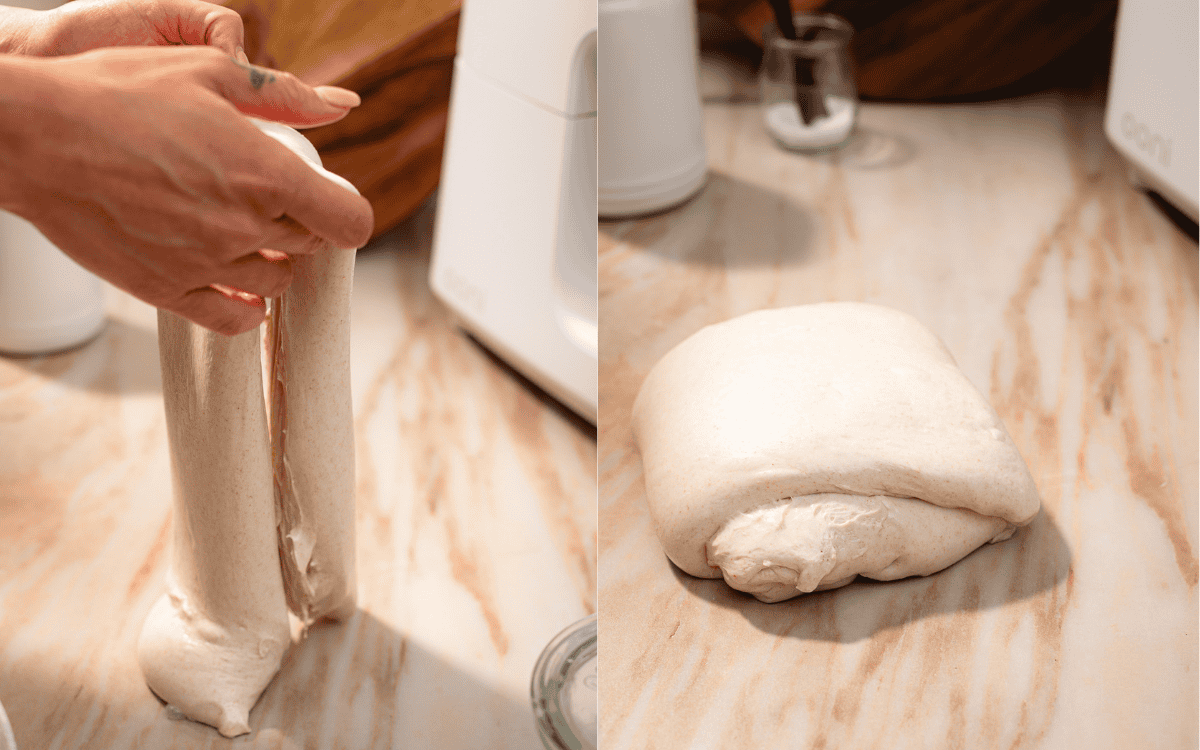
Turn the dough out onto a clean work surface. Gently pick it up from the center and lift until the ends pull away from the surface. Tuck the ends underneath the dough, cover with a tea towel and let it rest for 30 minutes. This helps create tension and prepares your dough for shaping.
Score and bake
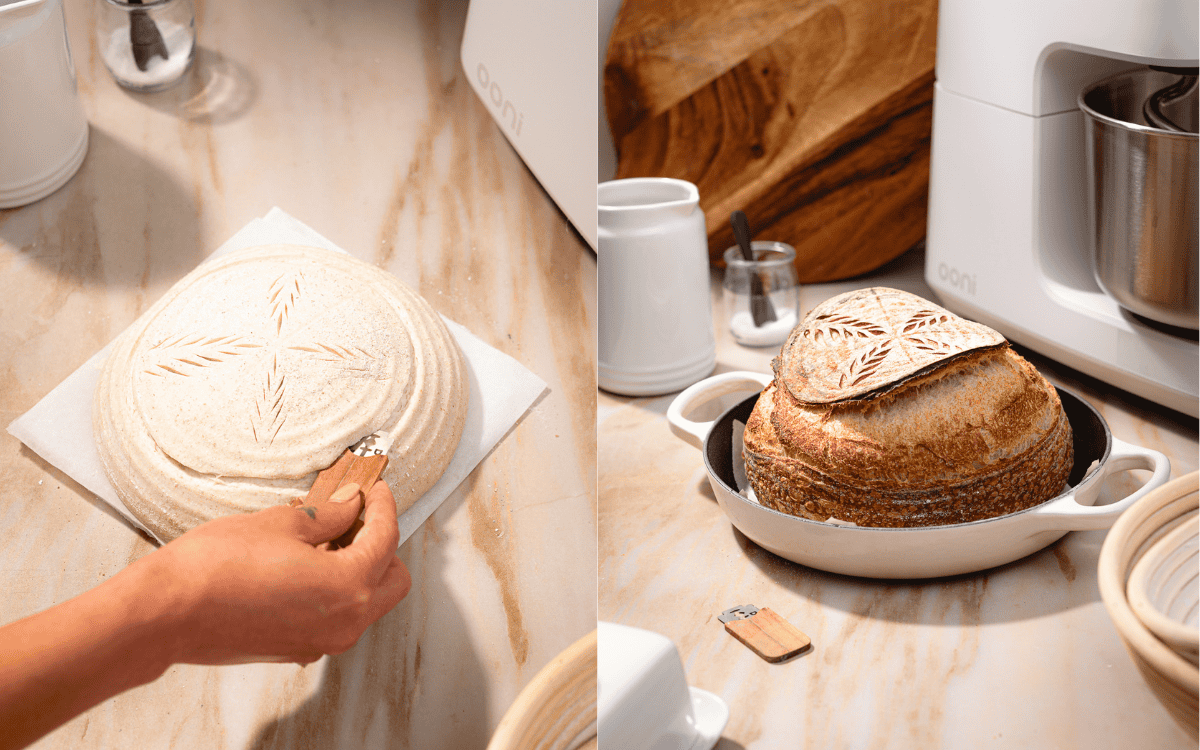
Score the dough and bake it in a preheated cast-iron pot at 450 F for 30 minutes covered, then remove the lid and bake for another 15 to 20 minutes.
Notes from the Test Kitchen
- Read the recipe from start to finish: The full process for this recipe takes two days from start to finish because the dough requires an overnight proof. Read through the entire recipe before you begin so you can plan baking around your schedule.
- Make sure your starter is active: Make sure your starter is active and bubbly attempting this recipe. A sluggish starter can lead to a dense and gummy loaf.
- Low and slow: Begin mixing on a low speed and be patient as the dough develops. Increasing the speed too quickly can cause the dough to become too warm or overworked, which can weaken the gluten and cause the dough to lose its structure.
- Add the water gradually: Holding some water back in the initial mix allows the dough to develop gluten and gain strength without becoming too loose and requiring excessive mixing. This is especially important when using a mixer, since prolonged mixing can cause the dough to become too warm which can interfere with gluten development.
- Look for the "pumpkin stage": This is a sign of good gluten development when using a spiral mixer. The dough should look silky and smooth, pull cleanly away from the bowl, form a pumpkin-like shape around the hook. Reaching this stage before adding more water helps ensure the dough has enough strength to absorb the additional liquid without losing structure.
- Use the timeline as a guide: Fermentation times can vary depending on the temperature of your kitchen, the strength of your starter and the temperature of your dough. Use the times in the recipe as a guide, but pay attention to how the dough looks and feels rather than relying on the clock alone.
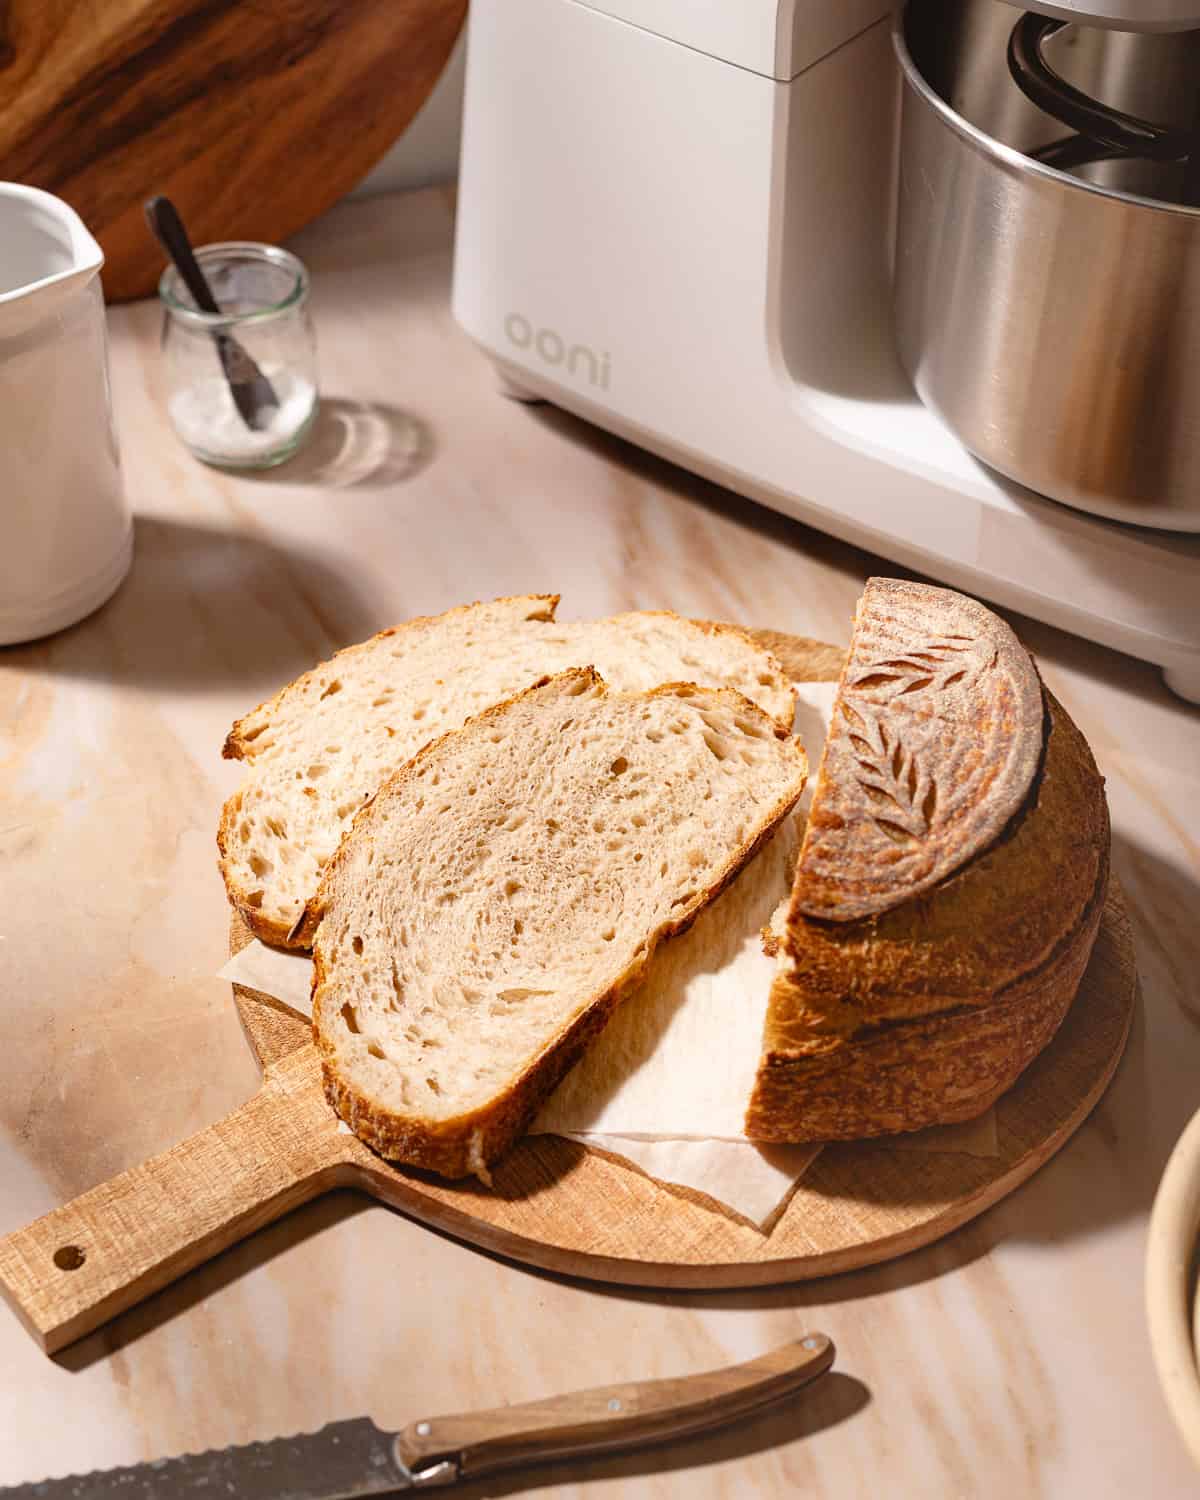
- Let the bread cool before slicing: As tempting as it is to cut into a warm loaf, let your bread cool completely before slicing. The crumb is still setting as the bread cools, and cutting into it too soon will cause the water to evaporate and your bread will dry out and stale quicker.
Did this recipe rise to the occasion?
★★★★★
Leave a star rating and a comment. Your feedback inspires future recipes and helps others feel confident choosing what to bake next. I read and respond to every message.
If you're looking for additional ways to support my work, share this recipe or buy me a Ko-fi. Every little bit helps me keep creating the recipes and guides you enjoy.
Thank you for your support!
Spiral Mixer Sourdough Recipe
Equipment
- Bread Pan
This section may contain affiliate links
Ingredients
Initial mix
- 200 g all-purpose flour
- 200 g bread flour
- 60 g whole wheat flour
- 113 g active sourdough starter
- 226 g water
Second Mix
- 56 g water
Final mix
- 9 g salt
- 56 g water see note
Click US Customary to view volume measurements
Instructions
Mix the dough
- Mix the flour, starter and 226 grams of water on low speed until a shaggy dough forms.200 g all-purpose flour, 200 g bread flour, 60 g whole wheat flour, 113 g active sourdough starter, 226 g water
- Once the dough reaches the "pumpkin stage," slowly stream 56 grams of water around the outside of the dough. Continue mixing on medium-low speed for 5 minutes.56 g water
- Let the dough rest in the mixing bowl for 30 minutes.
- Turn the mixer to low speed and add the salt.9 g salt
- Mix the dough for 10 minutes total, gradually increasing the speed to medium.
- While mixing, slowly stream the remaining 56 grams of water around the edges of the dough.56 g water
Bulk ferment the dough
- Round the dough into a tight ball and transfer it to a clean lightly-oiled bowl.
- Cover the bowl with plastic wrap and let the dough ferment in a warm area for 4 to 6 hours or until it has noticeably increased in volume.
Shape the dough
- Turn the dough out onto a clean work surface. Using your finger tips, gently pick it up from the center and lift until the ends pull away from the surface. Tuck the ends underneath the dough, cover with a tea towel and let it rest for 30 minutes.
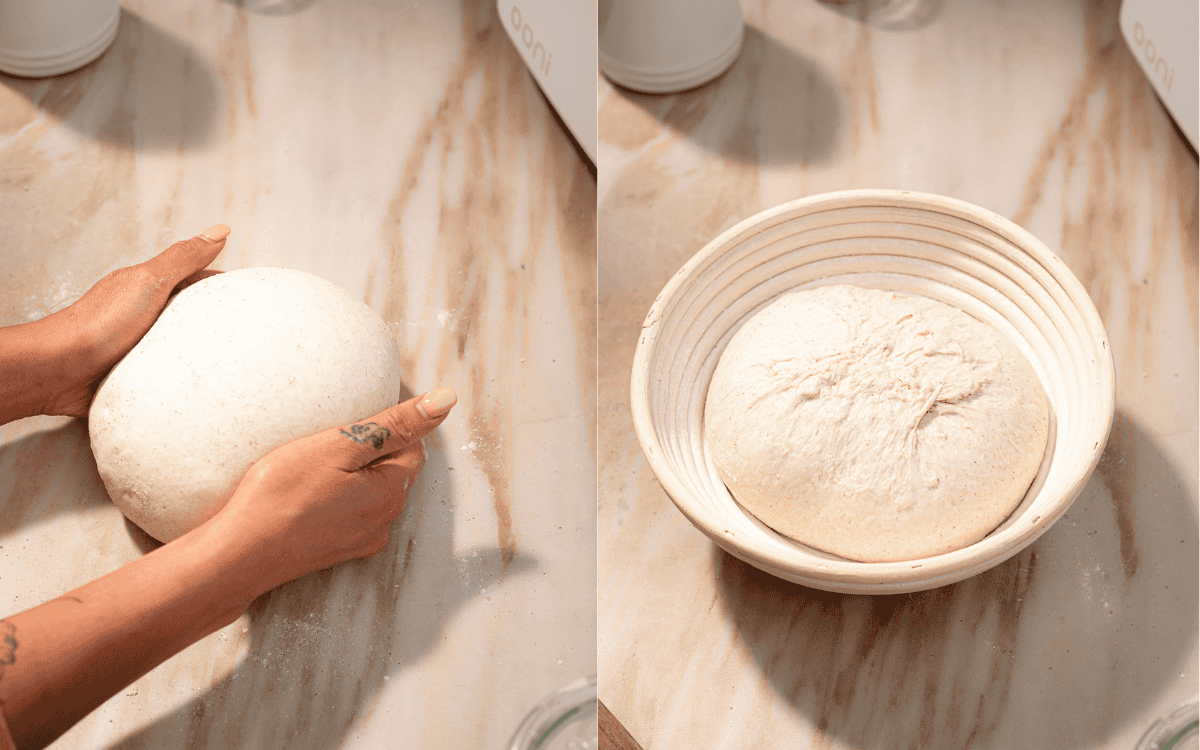
- After the rest period, shape the dough into a batard or boule and transfer to a proofing basket.
- Refrigerate the dough overnight
- Cover your proofing basket with plastic wrap and store it in the refrigerator overnight, 8 to 16 hours.
Prep for baking
- Place your bread baker or cast iron pot in the oven. Preheat to 450 F.
Score the dough
- Take the dough out of the refrigerator and transfer to a piece of parchment paper.
- Score the dough using a lame fitted with a sharp blade.
Bake the dough
- Transfer the dough with the parchment paper into your preheated bread baker.
- Bake with the lid on for 30 minutes.
- Remove the lid and bake for an additional 15 to 20 minutes or until the bread reaches your desired level of brownness.
Enjoy and store
- Transfer the baked loaf to a wire rack and let the bread cool completely, at least two hours, before slicing.
- Store any leftover slices in an airtight container at room temperature for up to 1 week.
Tips
These recipes were developed and tested using grams for precise measurements. To increase your chances of success, I recommend investing in a kitchen scale. I've included rough volume estimates (in tablespoons and cups), but they might not be totally accurate.
Remember all ovens are unique, these recipes were tested in my oven which runs cooler than others. You might need to lower the temperature if your bake appears to be browning too quickly. Monitor your bake closely and make adjustments if needed.
Notes
- Make sure your starter is active before starting this recipe.
- If you don't have the other types of flour on hand, you can use all bread flour or all-purpose flour instead.
- Use cool water instead of warm water, the mixing process warms the dough up and too much heat can interfere with gluten development.
- I provide time guidelines for fermentation, but if your dough needs more time to rise, let it ferment longer. Always use the appearance of the dough rather than the clock to determine when it's ready.
- This recipe is about 76% hydration. If you're not comfortable working with high-hydration dough, feel free to leave out the final 56 grams (¼ cup) of water added during the last mix.
Nutrition
I am not a nutritionist or dietitian, any nutrition information provided is an estimate.



Roberta Tracy says
Hi Hannnah,
I currently use a 6 quart Kitchen Aid for some dough preparations. I don't always get good mixing with darker grains. For those I use my hands. I've been looking at the Ooni mixer and wonder if you've made darker sourdough breads like spelt, rye or buckwheat in it and if it's strong enough to handle these doughs without a lot of moving or vibration. I typically make 2 loaves at a time.
Roberta Tracy
Hannah Dela Cruz says
Hi Roberta! I haven’t tried a fully whole grain loaf in the Ooni yet, but I have no doubt it could handle it. There’s virtually no vibration, even when I make stiffer doughs like brioche or challah.
I really can’t recommend these mixers enough. They have a lot of power, and I think you’d be surprised by how strong the motor is, especially on the larger model. If you tend to make bigger batches, the Ooni Halo Pro Spiral Mixer may even be a better fit.
Debbie says
Could you use this recipe with a kitchen aid mixer & dough hook?
Hannah Dela Cruz says
Hi Debbie! Yes, this recipe should work well with a KitchenAid mixer. You won’t reach the “pumpkin stage,” since that’s unique to spiral mixers, but you can still follow the same steps and get great results.