

Since posting these danishes on my Instagram a few weeks ago, I've gotten so many messages and requests asking for my recipe. I finally had the chance to recreate, tweak and perfect my recipe and I'm finally ready to share it with all of you.

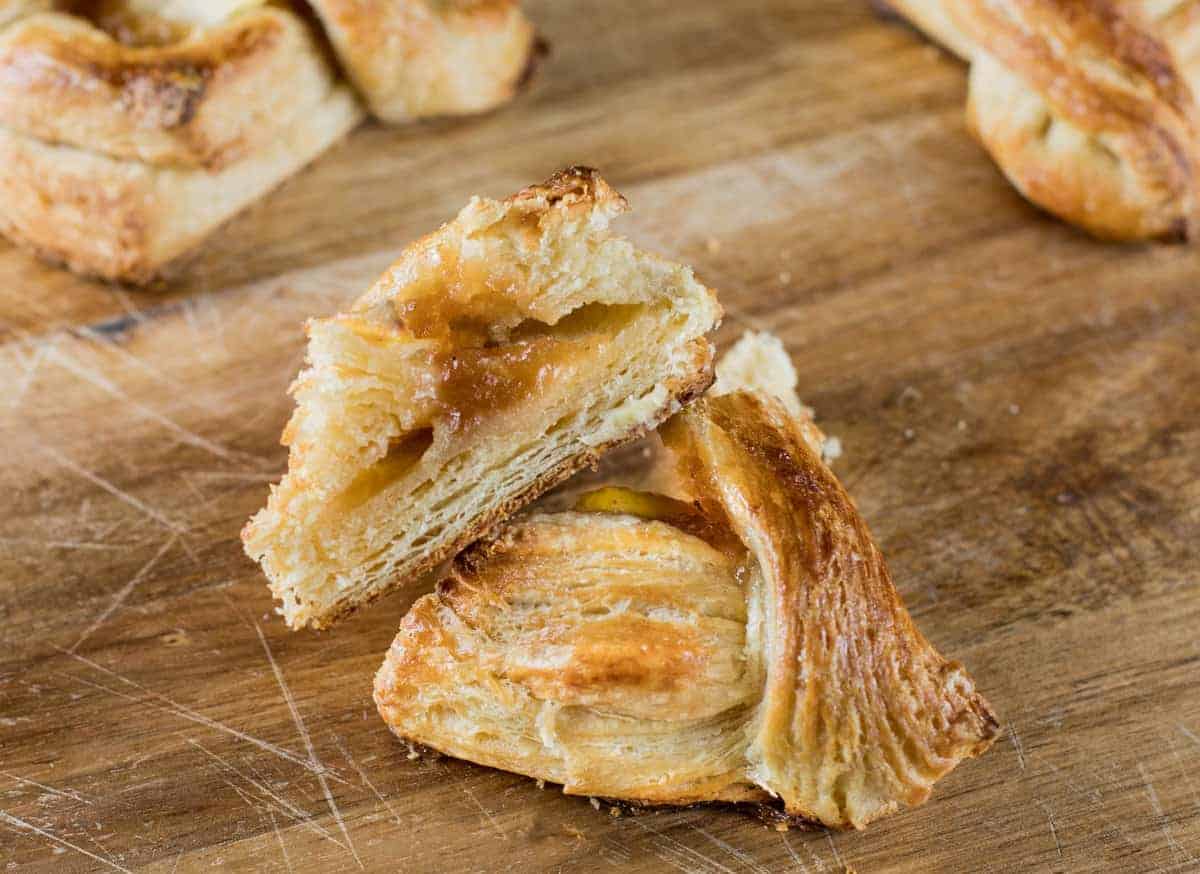
These danishes are extremely labor intensive, and take a lot of time, but the once you get the process down, you'll find that it's actually not very difficult and the reward is definitely worth the effort. What sets danishes apart from other baked goods is the flaky crumb made up of thin layers created through the process of lamination or folding butter into sweet dough.
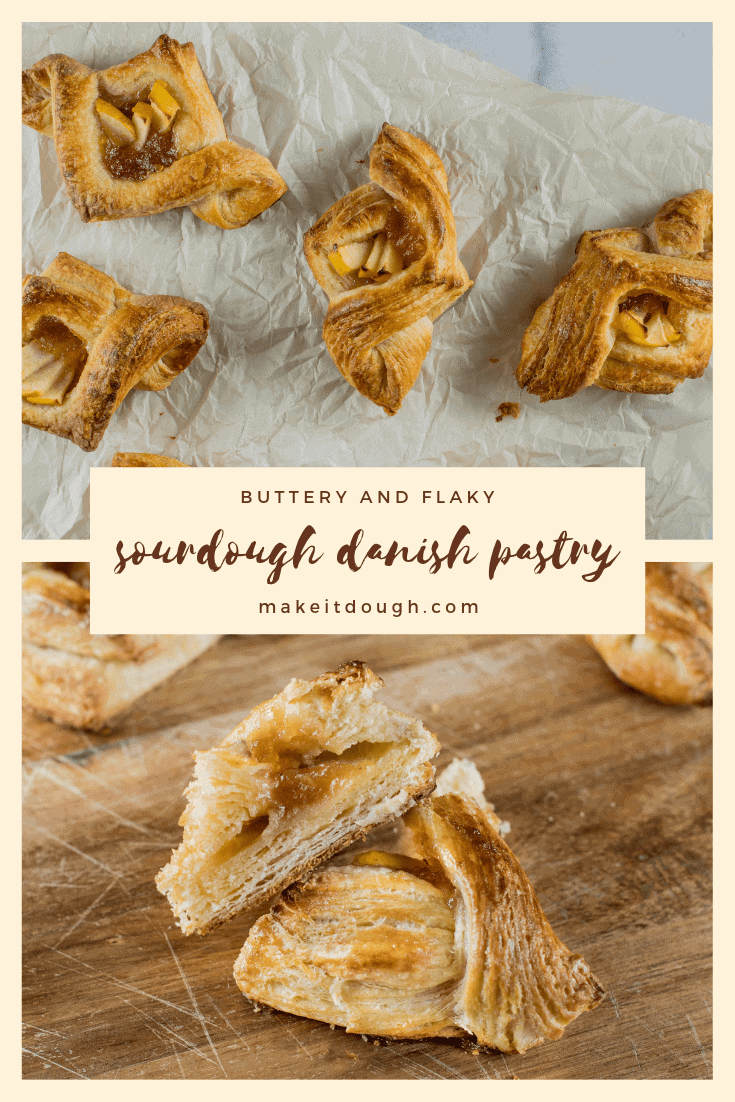
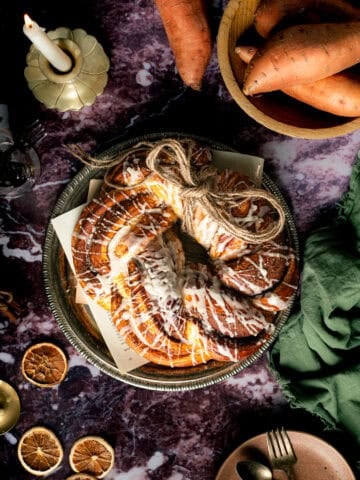
From shapes to fillings, there are millions of possibilities, but my favorite fillings so far have been guava cream cheese, and lemon curd. The danishes featured in this blog post are filled with apple butter from Murray Family Farms, but you can fill yours with any type of jam, or cream filling you choose. I'm not factoring in fillings in this recipe, but I usually fill each danish with a tablespoon of my filling of choice.
I use King Arthur Bread Flour, or any high protein bread flour that can provide enough strength and structure when making these danishes. More importantly, I always try to use European butter, either Plugra or Kerrygold since these are the most commonly available in my area. If you've had European butter you'll know that it has a richer taste, due to its higher butterfat content. It also makes this type of butter softer, which makes it easier to work with during the process of lamination.
Two important things to remember to attain those flaky layers is to not let your dough get too warm during lamination and to bake at a very high temperature.
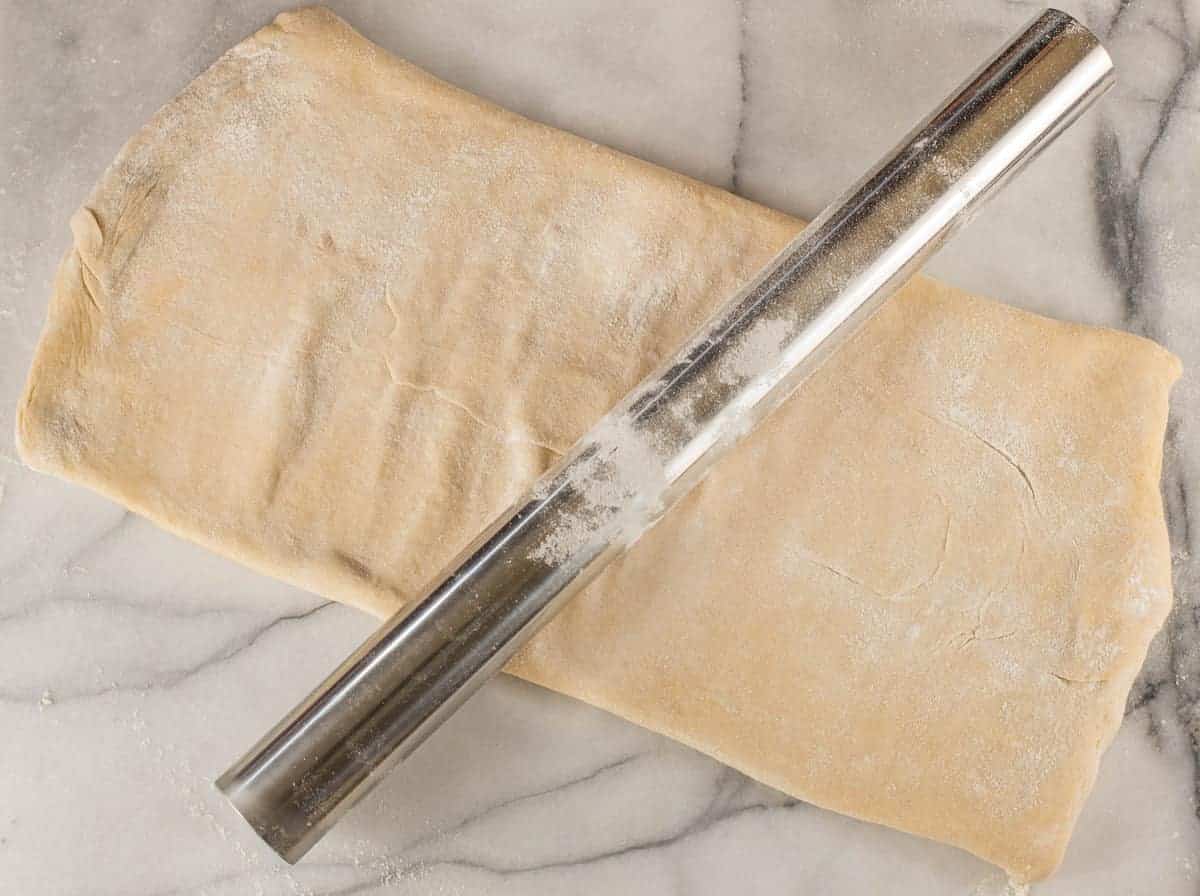
If your dough gets too warm from handling, you risk your butter melting and leaking out. To mitigate this, I try my best to work fast, and avoid putting my warm hands on the dough as much as possible. I also place my rolling pin in the freezer during rest periods when I'm not rolling out my dough. A stainless steel rolling pin or a marble rolling pin are great for this purpose because they can retain the cold. It's also important to keep your workspace well floured to avoid your dough sticking and ripping.
Also make sure your oven is very hot, otherwise your layers won't puff up and your danishes will taste raw and stodgy.
Ingredients
Stiff Levain
| Quantity | Ingredient | Baker's % |
| 10 G | Starter | 2% |
| 25 G | Water | 50% |
| 50 G | Flour | 100% |
| 5 G | Brown Sugar | 1% |
Danish Dough
| Quantity | Ingredient | Baker's % |
| 300 G | Bread flour | 100% |
| 12 G | Butter | 4% |
| 30 G | White sugar | 10% |
| 6 G | Salt | 2% |
| 3 G | Vanilla | 1% |
| 105 G | Milk | 35% |
| 51 G | Water | 17% |
| 1 | Egg | -- |
| 90 G | Starter | 30% |
Lamination
| Quantity | Ingredient | Baker's % |
| 200 G | Butter | 66% |
Egg Wash
| Quantity | Ingredient |
| 1 | Egg (beaten) |
Instructions
Create Stiff Levain
The night before you're ready to make your dough, combine the ingredients in the stiff levain section above. Allow to rise overnight.
** The starter in this section does not have to be active before combining it with the rest of the ingredients
Mix Dough
In a large bowl, whisk together the flour, sugar and salt.
Work in 12 g of cold butter into the flour mix with your fingers until no large lumps remain. This step coats the flour a bit with fat, making the pastry a tiny bit more tender.
Add the vanilla, milk, water, egg and levain. Mix and knead to make a cohesive, but sticky dough.
Gather dough into a ball and place in airtight container or cover it with plastic wrap, and let it rest for at least 2 hours (up to overnight) in the refrigerator while you prepare the butter.
Prepare Butter Block
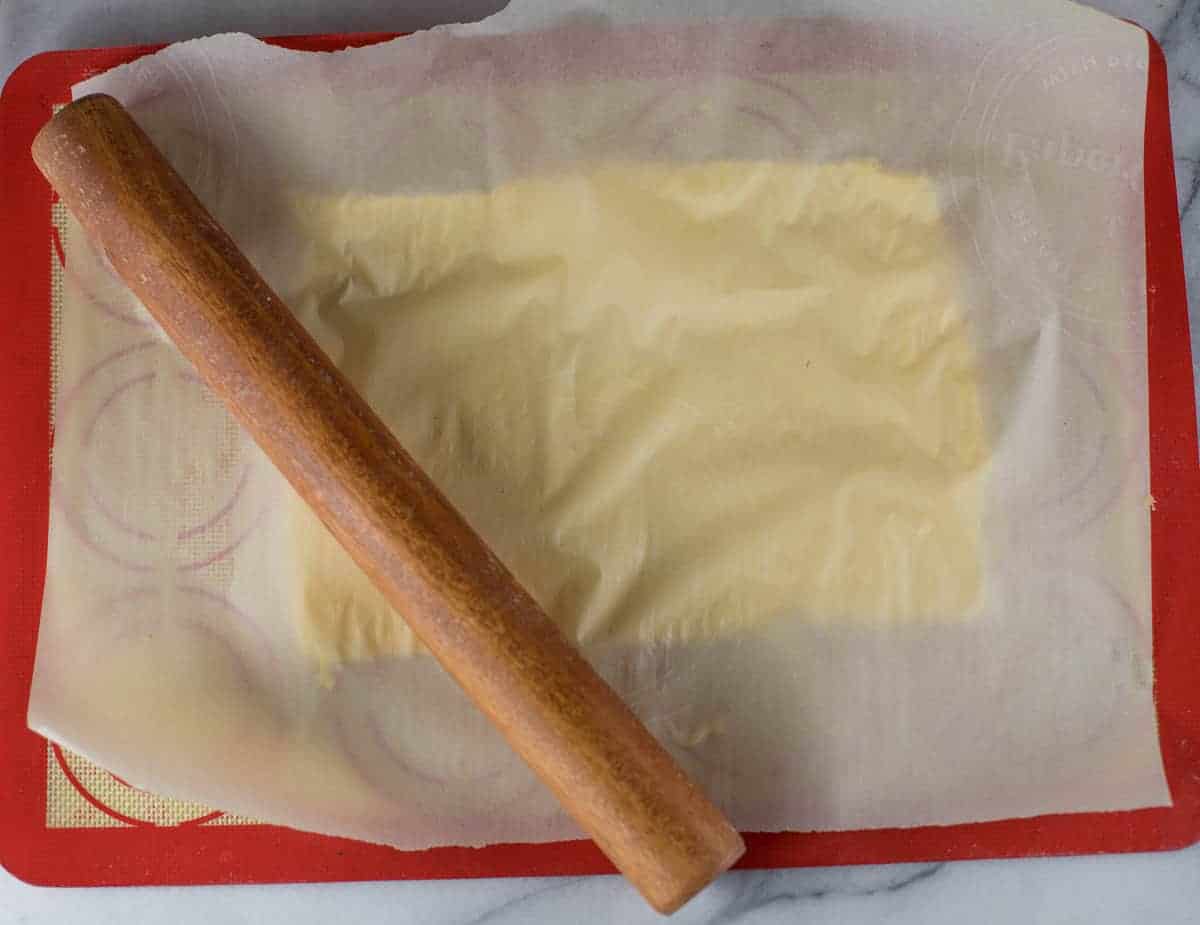
Cut each stick of butter lengthwise and place segments side by side on a piece of floured parchment paper, plastic wrap or silicone baking mat. Sprinkle lightly with flour and cover with another piece of parchment, plastic wrap or silicone baking mat.
Gently pound and roll the butter until it's about 6" by 9" (15 cm by 22 cm). Your measurement do not have to be exact here, and the butter pieces should meld together pretty easily, but it's ok if they don't.
Lamination
Turn your chilled dough out on a floured surface. Roll it out into a 12" by 10" (30 cm by 25 cm) rectangle. Don't worry about being too precise, but try to get fairly close.
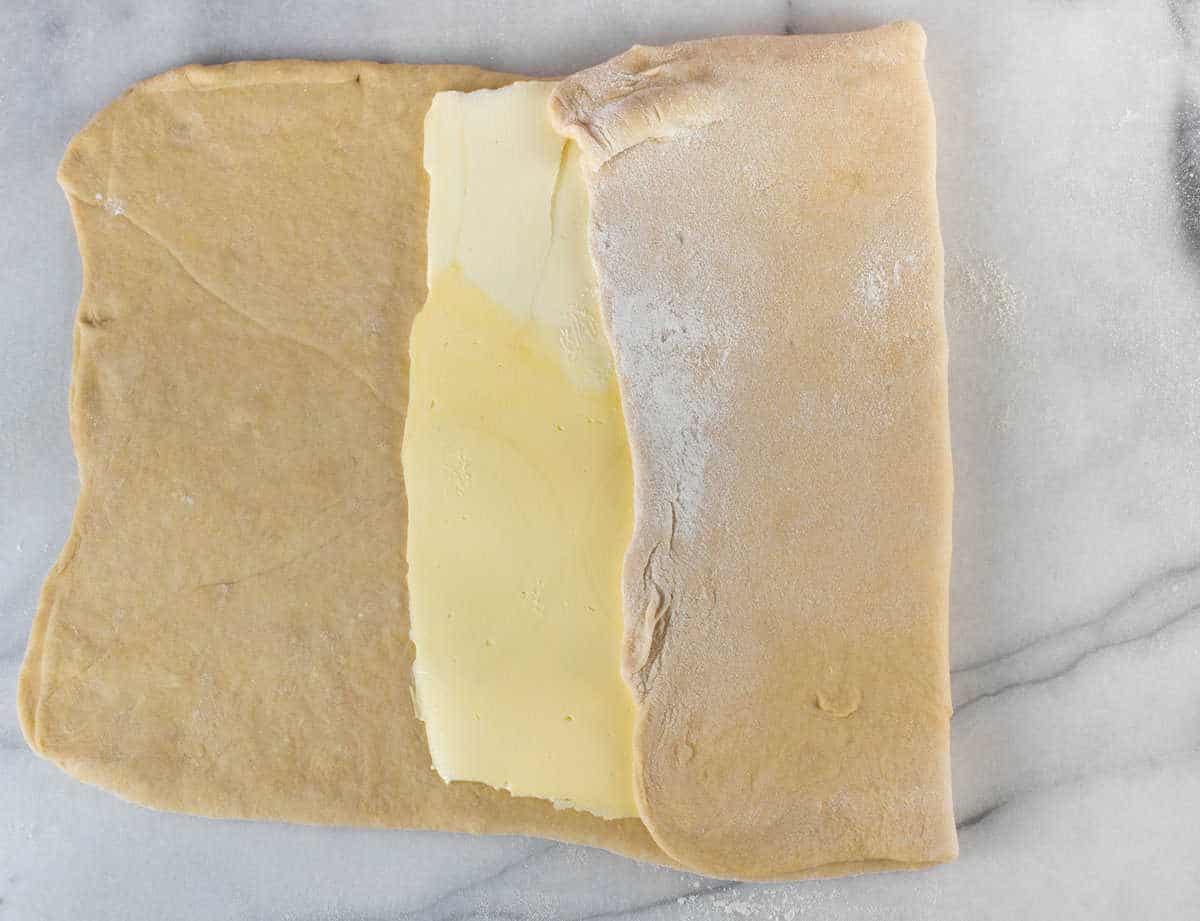
Place butter piece in the middle of your dough. Fold both sides of the dough towards the middle of the piece of butter. Pinch the dough ends together to enclose the butter completely to prevent the butter from leaking out.
Turn the dough 90°, so a 12" side is closest to you. Roll the dough into a 10" x 24" rectangle (approximately). Fold each side into the center; then fold one side over the other to make a rectangular packet about 6" x 10" (this is called a book turn).
Dust the surface of the dough with flour, wrap it in plastic wrap, and chill in the refrigerator for about 45 minutes.
Remove the dough from the fridge, and again roll it into a rectangle about 10" x 24." Before folding, trim the 10" edges of the dough. Complete another book turn. Wrap in plastic and chill for another 45 minutes.
Repeat book turn 1 more time before letting your dough chill overnight (at least 8 hours).
Shape
When you're ready to bake, remove your dough from the refrigerator, unwrap and divide in half.
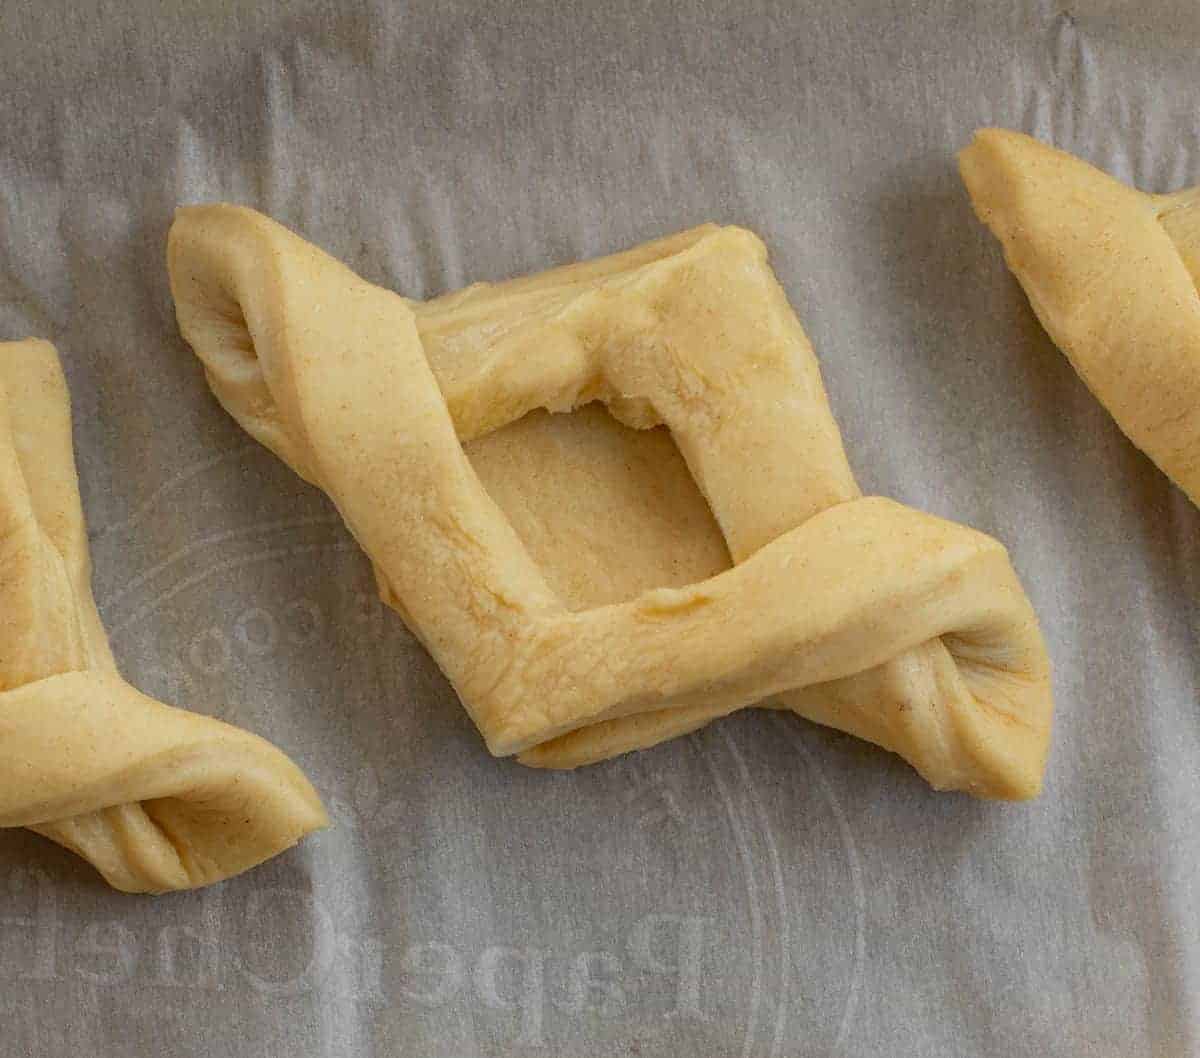
Roll each dough segment into a 12" by 8" (30 cm by 20 cm) rectangle. Divide into 4" by 4" (10 cm by 10 cm) squares.
Shape however you'd like, check out my video on 3 easy ways to shape a Danish pastry if you need a guide.
Place shaped pieces on a baking sheet lined with a silicone baking mat (I insist on a baking mat here, as I've gotten burnt bottoms everytime I use parchment to bake my Danishes)
Proof
Cover the Danishes with greased plastic wrap and allow to rise for a few hours or until puffy. This usually takes about 3 to 4 hours for me (as always watch your dough not the clock).
Bake
Towards the end of proofing, preheat your oven to 425 F / 218 C.
Spoon about a tablespoon of filling into the middle of each Danish.
Brush the exposed edges of pastry with egg wash to create a shiny, browned crust.
Bake for 15 minutes or until golden brown.
Remove from oven and place on a wire rack to cool.
Et Voila!
These pastries are a lot of work and there's a bit of a learning curve in the beginning, but these are so delicious you'll be addicted to baking them!
Please share this recipe if you enjoyed it! Follow me on Instagram @MakeItDough or like Make It Dough on Facebook for more sourdough and baking ideas. Remember to post a photo and tag me or use #makeitdough when you make this delicious recipe, so I can check out your bake!

Did you make this recipe? Do you have questions? Let me know below!