

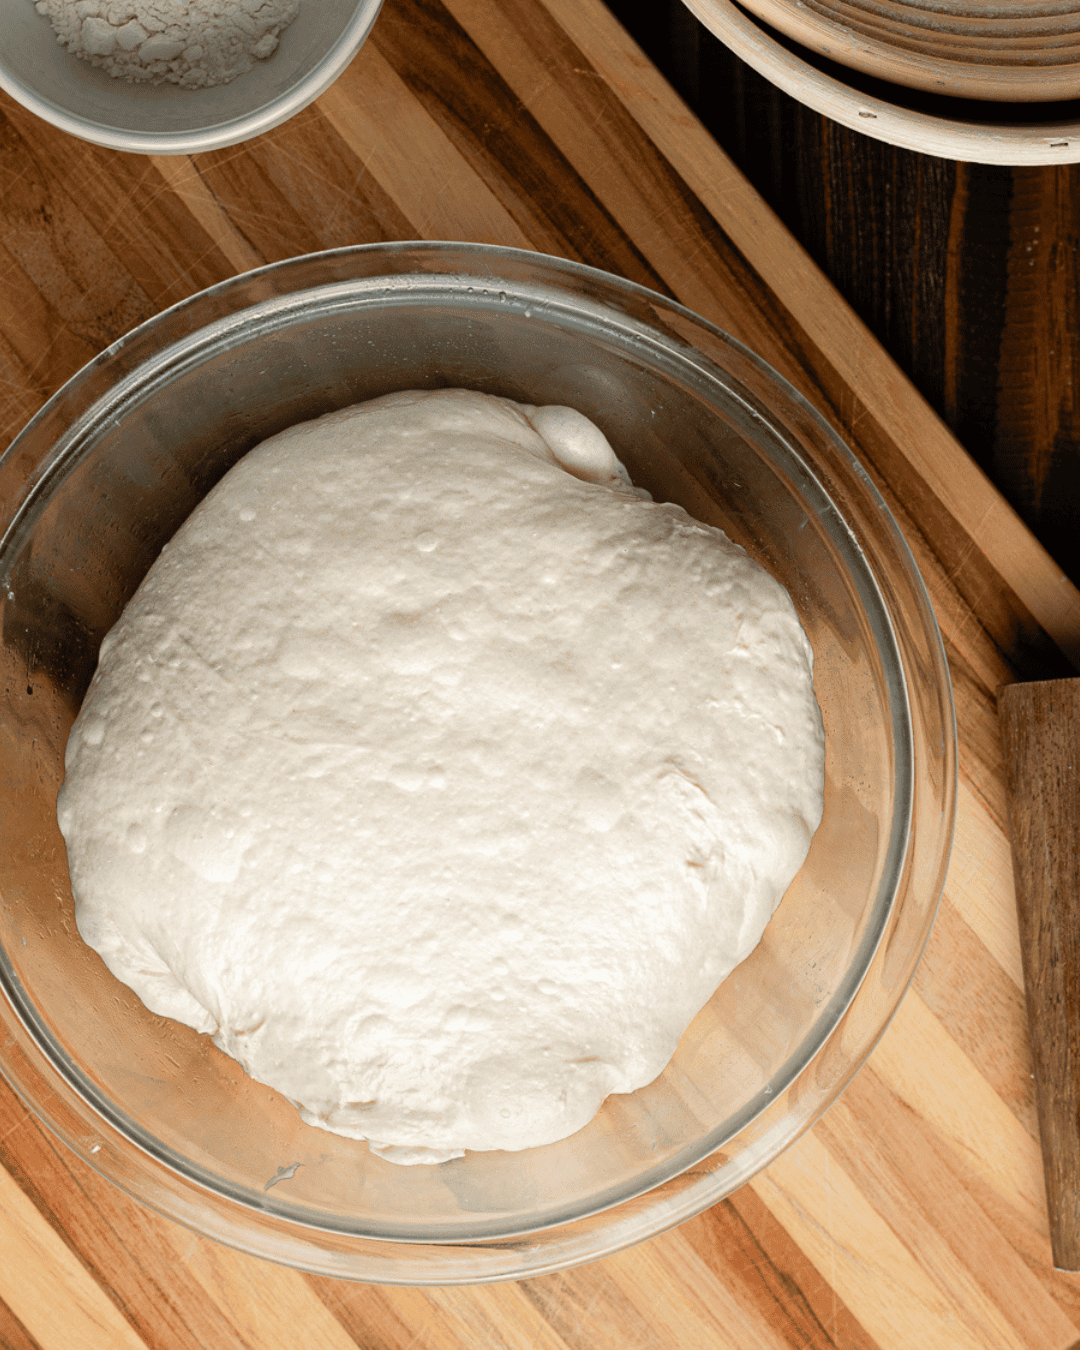
Have you ever spent hours making sourdough, only for your dough to be so sticky that it's impossible to shape or so slack that your blade drags and it becomes impossible to score? More often than not, the problem isn't with the recipe you used or dough development at all but bulk fermentation or proofing.
I get frustrated messages about these exact issues almost weekly, so if this has happened to you, you are definitely not alone. Learning what to look for during bulk fermentation can solve many of the problems bakers experience later in the process and result in tastier bread with a lighter texture and the airy crumb every sourdough baker wants.
Jump to:
Common Sourdough Baking Problems
Here's what I usually hear from bakers:
- My dough is very wet and sticky when I turn it out onto the bench.
- My dough gets stuck to the bowl.
- I need to use a lot of flour to shape it.
- My dough deflates when I score it.
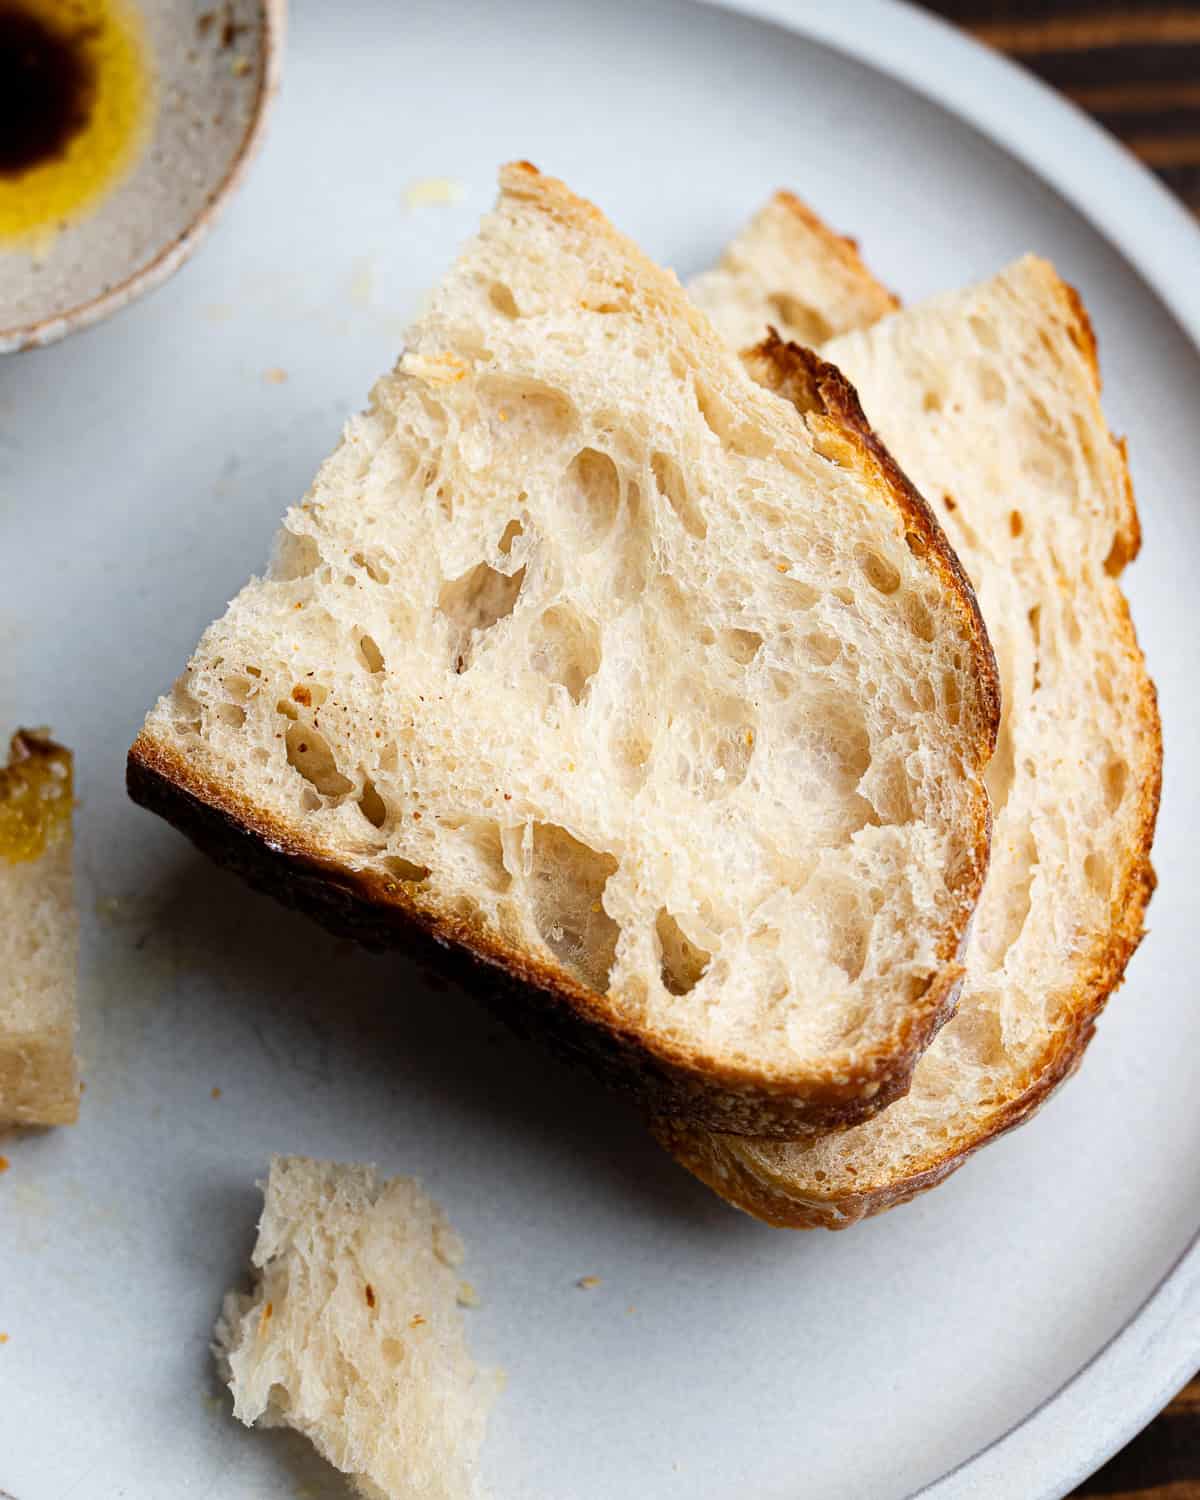
- My bread has large holes, but the crumb is still gummy.
What did I do wrong?
It's easy to blame a disappointing loaf on the recipe. Maybe there's too much water in the dough, or maybe you didn't do enough stretches and folds. But often, the problem isn't the recipe or your technique, but bulk fermentation.
One of the most common mistakes I see bakers make is relying too heavily on the fermentation times provided in recipes. If a recipe says four hours, it's natural to expect your dough to be ready in four hours.
But sourdough can be unpredictable, and not every variable that affects fermentation can be accounted for in a recipe. That's why the fermentation times I provide in my recipes should be treated as guidelines rather than strict deadlines. Factors like dough temperature, starter activity, and the type of flour you use can all affect how quickly your dough ferments. Learning to recognize the signs of fermentation is much more reliable than watching the clock.
What is bulk fermentation?
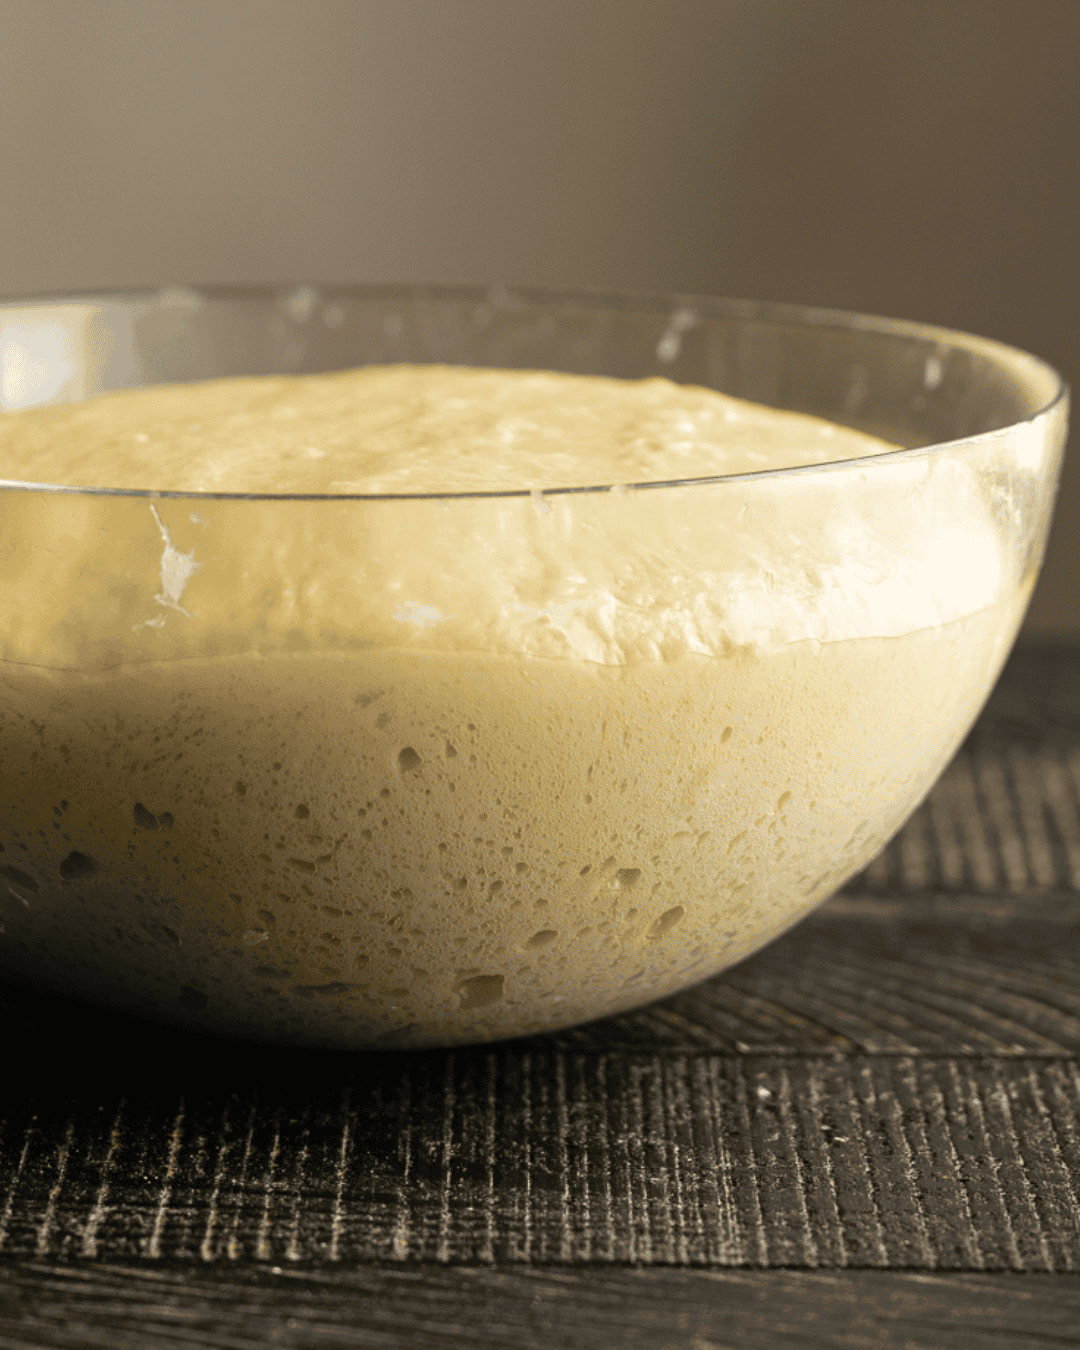
Bulk fermentation begins as soon as you mix your sourdough starter into your dough and ends when you're ready to shape it. During this stage, the wild yeast and bacteria in your starter feed on sugars in the flour, producing gas and acids that contribute to your bread's flavor and texture.
As fermentation progresses, gas gets trapped in the dough, causing it to rise and become lighter and airier. Although it's largely hands-off, bulk fermentation is one of the most important stages of the bread-making process. This is when your bread develops much of its flavor and the structure it needs to bake into a light, airy loaf with a tender crumb.
What factors can affect bulk fermentation?
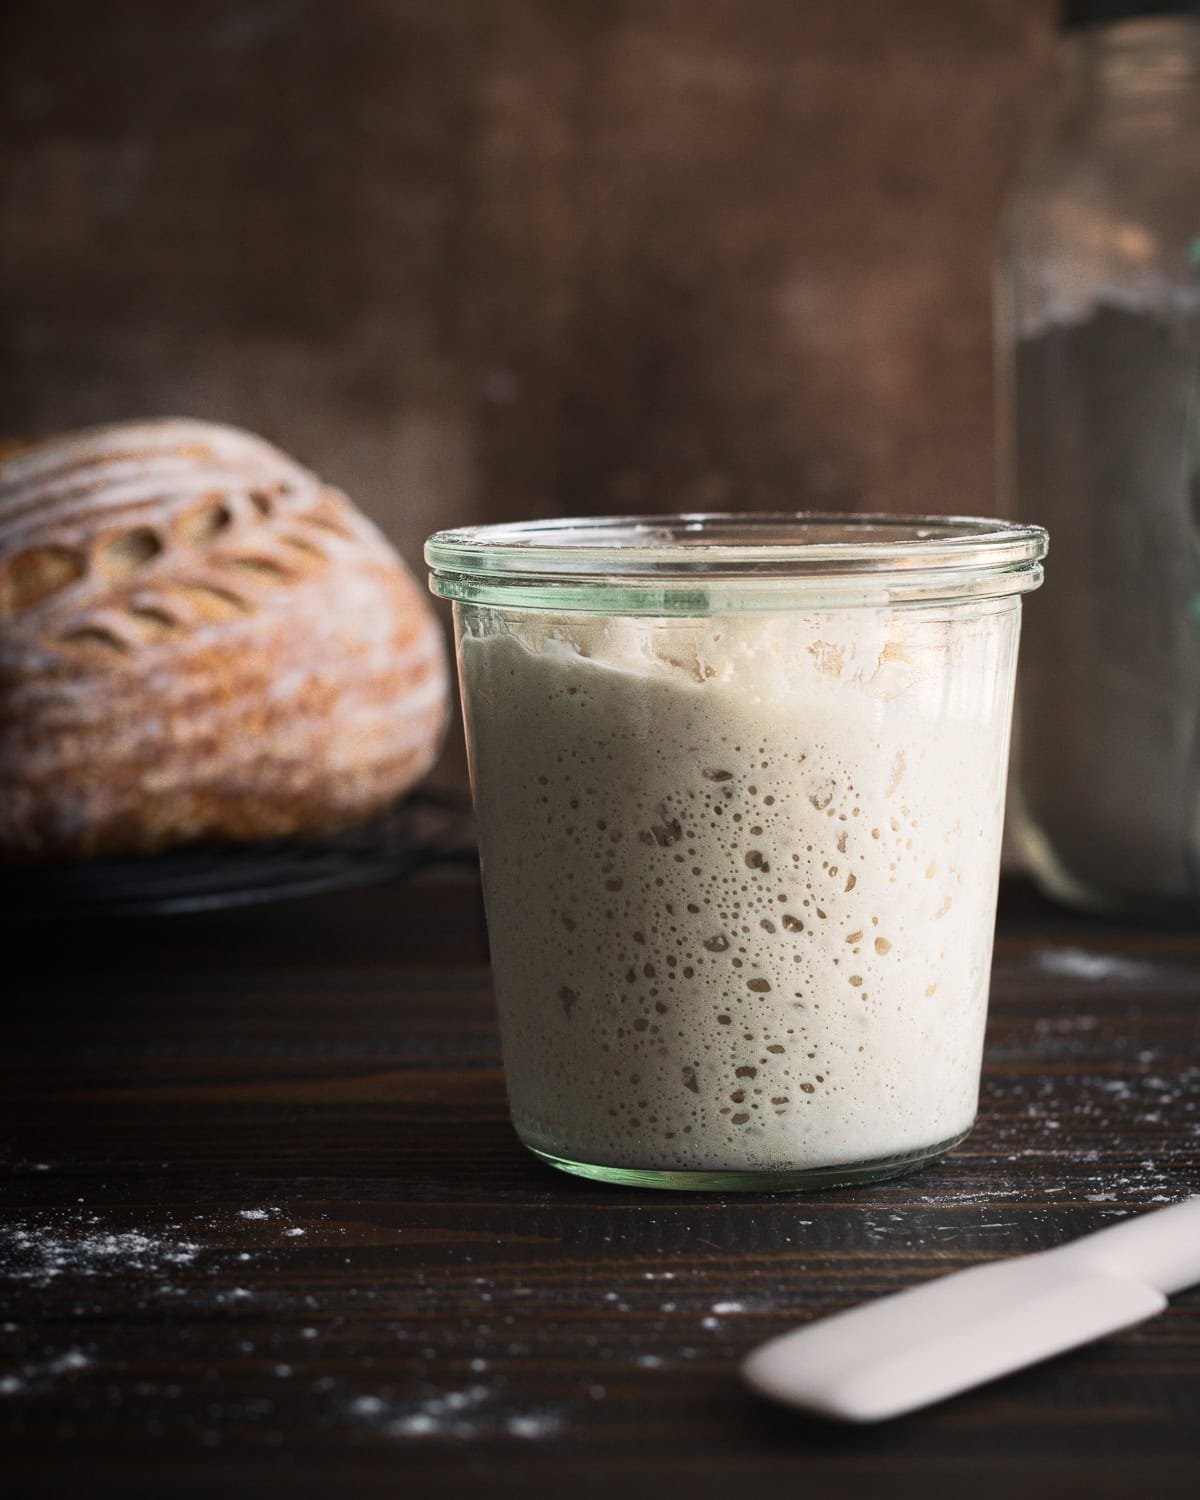
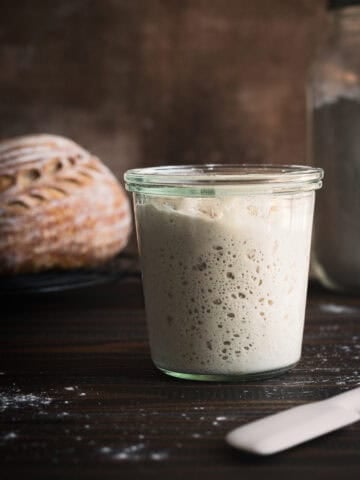
- Starter strength: A healthy, active sourdough starter is essential for consistent and predictable fermentation. When my starter is rising reliably after each feeding and developing lots of bubbles, I know my dough will likely ferment in around 4 hours under my usual conditions. But if I start with a sluggish starter, I know bulk fermentation could take considerably longer. If your starter is still relatively young or its activity varies between feedings, you may find that your fermentation times are less predictable. You'll need to pay closer attention to how your dough develops rather than relying on the timeline in the recipe. If your starter isn't rising at all after feeding, it's best to work on strengthening it before attempting to bake with it.
- Dough temperature: Temperature has a significant effect on how quickly your dough ferments. I generally aim for a dough temperature of 75 to 78°F (24 to 26°C), where fermentation progresses at a fairly predictable rate. Yeast tends to be sluggish at cooler temperatures but becomes more active as temperatures rise, causing your dough to ferment faster. The temperature of the water you use when mixing your dough is one of the easiest ways to control its starting temperature.
- Room temperature: Even if your dough starts at the ideal temperature, it will gradually warm up or cool down depending on its surroundings. This is why the same recipe might take considerably longer to ferment in winter than in summer. Using a thermometer to keep track of your dough temperature can help you anticipate these differences.
- Amount of starter used: The amount of starter you add to your dough also affects fermentation time. Using more starter introduces a larger population of yeast and bacteria, which generally speeds up fermentation. Using less starter slows the process down. This is why two recipes with different amounts of starter may have very different fermentation timelines, even when they're made under similar conditions.
- Type of flour in the recipe: The type of flour you use can also affect fermentation. Whole wheat and rye flours contain more minerals and nutrients that support microbial activity, often leading to faster fermentation than dough made entirely with white flour. They also contain more enzymes that help break down starches into sugars that microorganisms can use. This is one reason substituting whole grain flour can change how quickly your dough rises.
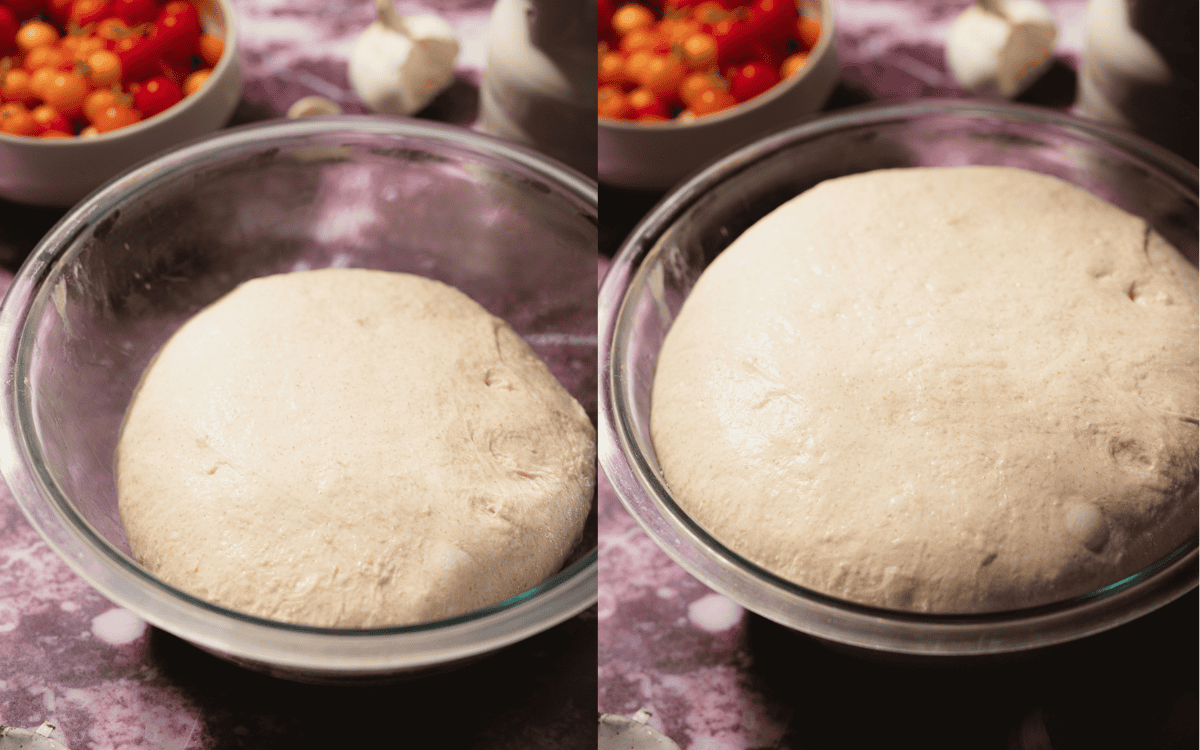
What does well fermented dough actually look like?
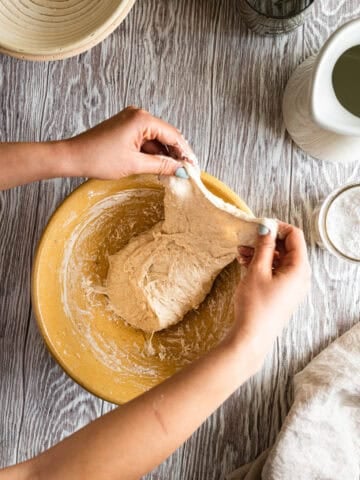
Well-fermented dough should look noticeably increased in volume, with a smooth, slightly domed surface. If you use a transparent proofing vessel, you should see bubbles evenly distributed throughout the dough. It should feel soft and full of air, almost like a deflated balloon.
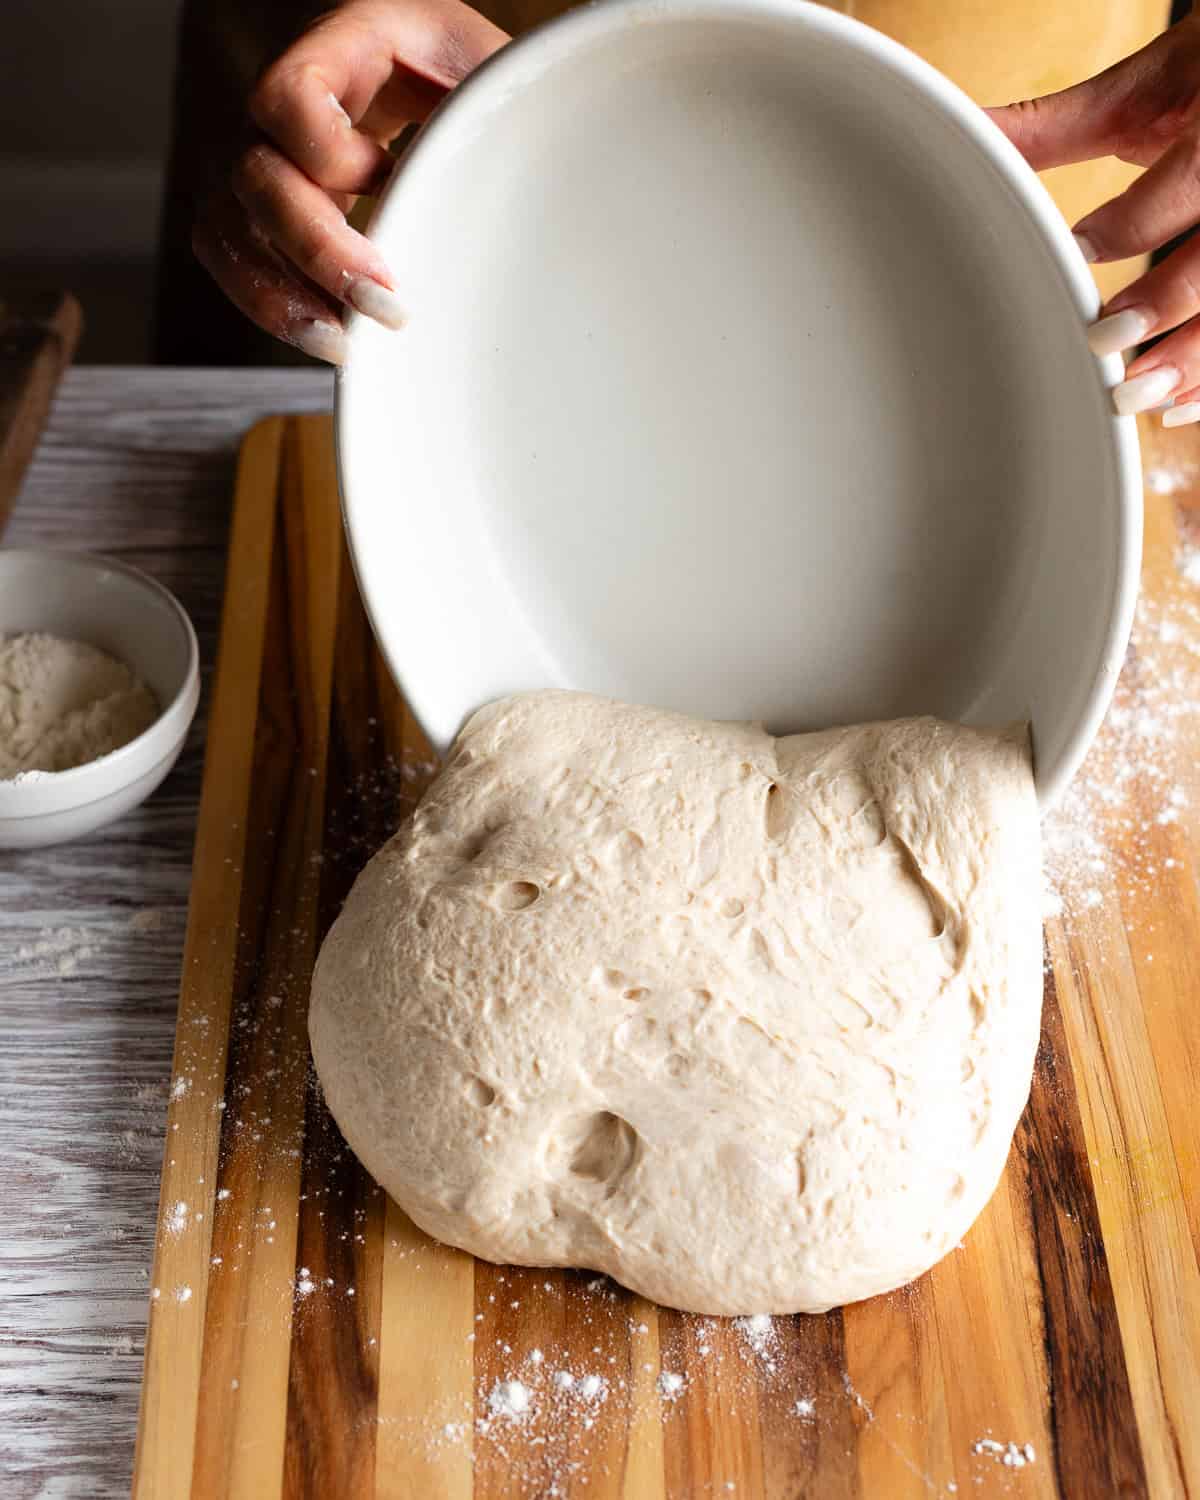
When you turn it out onto your work surface, the dough should release easily from the container and hold its shape on the bench. It may spread slightly and feel a little tacky, but it shouldn't be excessively sticky, slack or sloppy. Properly fermented dough should be manageable enough to shape without needing much bench flour.
If your dough hasn't developed these characteristics, don't rush into shaping just because you've reached the time indicated in your recipe. If your dough still looks flat, is very sticky and feels heavy give it more time to ferment and check its progress again. I usually recommend giving your dough another hour to start, then checking periodically for signs that it's ready to shape.
What should I do differently next time?
Make sure your starter is mature, healthy and active before attempting a recipe: Your sourdough starter is responsible for making your dough rise, so its health and activity have a significant effect on fermentation. Before attempting a recipe, make sure your starter consistently doubles or triples in volume after feeding and develops plenty of bubbles. I discuss this in more detail in my post about why you shouldn't bake with your starter straight from the refrigerator.
If your starter is still young or its activity is unpredictable, spend some time establishing a consistent feeding routine before baking. One way to check its activity is to feed your starter and observe how much it rises after four hours. Repeat this over several feedings, keeping the feeding ratio and temperature consistent. If your starter rises at a similar rate each time, that's a good indication that it's healthy, active, and ready to bake with.
Adjust starter amount depending on the season: One way to manage fermentation times is to adjust the amount of starter you use depending on the temperature of your kitchen. During particularly hot days, I sometimes reduce the amount of starter in my recipe to prevent my dough from fermenting too wildly. If my kitchen is too cold, I tend to add more starter to speed up bulk fermentation. This gives you more control over your baking schedule without having to change the entire recipe.
Don't blindly follow recipe times: Recipe developers like me are people, after all, and we can only provide fermentation timelines based on our own experiences and baking conditions. Someone developing a recipe in a cool climate may have a very different fermentation schedule from me baking during the hot Arizona summers, or from someone baking in the hot, humid tropics. If your recipe says to ferment for four hours but your dough hasn't risen sufficiently, don't be afraid to adjust your process. Give it more time and look for the visual and physical signs of fermentation I discussed above.
Watch your dough temperature: An instant-read thermometer is one of the most useful tools you can have when making sourdough. I generally aim to keep my dough between 75 and 78°F (24 to 26°C) during bulk fermentation. Checking your dough temperature throughout the process can help you understand why fermentation may be progressing faster or slower than expected.
You can also adjust the temperature of your mixing water to help control your dough's starting temperature. For example you can use cooler water during the hot summer months or warmer water (below 95°F / 35°C) in the winter.
Choose one recipe and perfect it: If you're struggling with inconsistent results, I recommend sticking with one sourdough recipe until you become familiar with how the dough behaves. My beginner sourdough bread recipe is a great place to start. By using the same ingredients and following the same process each time, you'll have a better understanding of how changes in temperature, starter activity and fermentation time affect your results.
Keep a baking journal and take notes on your dough temperature, fermentation time, starter activity and any adjustments you make along the way. It may seem excessive, but if you really want to improve your sourdough baking, keeping track of these details can be incredibly valuable. I even do this myself when I've taken a little break from baking sourdough bread and need to get back into the rhythm of things.
Over time, you'll develop a better feel for your dough, learn to recognize when it's properly fermented and become less reliant on recipe timelines.
Knead More Help?
Have more questions about this topic? Let me know in the comments!
Pin this post on Pinterest for easy access anytime!
Share your baking triumphs on Instagram - don't forget to tag @makeitdough, I love showcasing your bakes in my stories!
⭐ THANK YOU ⭐

Did you make this recipe? Do you have questions? Let me know below!